Introduction
The Singer M 2105 sewing machine is designed for a wide range of daily sewing tasks, suitable for both beginners and experienced users. Its robust metal frame and oscillating hook ensure durability and consistent performance across various fabric types. This manual provides essential information for setting up, operating, maintaining, and troubleshooting your Singer M 2105 sewing machine.
Key features include 8 stitch programs, basic and decorative stitches, a four-step buttonhole function, adjustable stitch length, variable needle positions, and reverse sewing capability. The free arm feature is particularly useful for circular sewing projects such as cuffs, pant hems, and sleeves.
Setup
Before operating your sewing machine, ensure it is properly set up according to these instructions.
1. Unpacking and Placement
Carefully remove the machine from its packaging. Place the machine on a stable, flat surface, ensuring adequate space for fabric handling. Connect the foot pedal and power cord to the machine and then to a suitable power outlet.

Figure 1: Front view of the Singer M 2105 Sewing Machine, showing the main body, needle area, and stitch selection dial.

Figure 2: Angled view of the Singer M 2105 Sewing Machine, highlighting its compact design and side ventilation.
2. Threading the Machine
Proper threading is crucial for good stitch quality. Follow the numbered guides on the machine for upper thread path. For the bobbin, ensure it is wound correctly and inserted into the bobbin case as per the diagram in the manual.
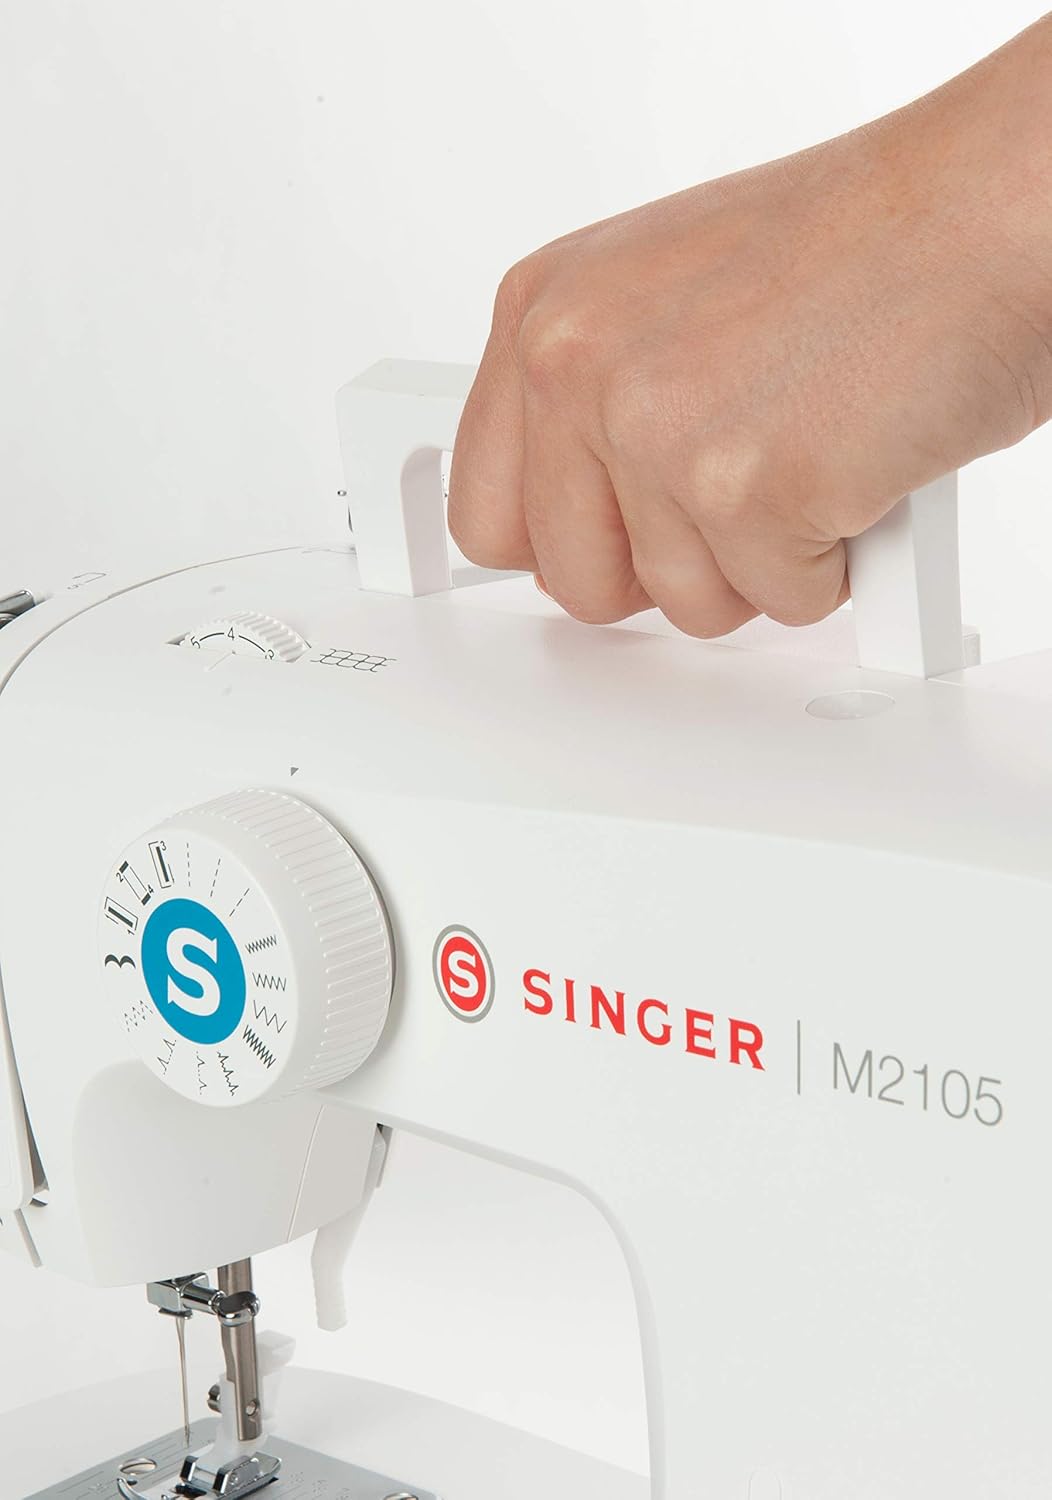
Figure 3: Top view of the sewing machine, illustrating the thread spool pin and initial thread guides for upper threading.

Figure 4: Another top view, showing the integrated carrying handle and the full path of the upper thread guides.

Figure 5: Close-up view of the bobbin case area, located beneath the needle plate, essential for lower thread management.
3. Needle Installation
Ensure the needle is inserted correctly with the flat side facing the back of the machine. Tighten the needle clamp screw securely. Always use the correct needle type and size for your fabric.
Operating Instructions
This section details the functions and controls for effective sewing.
1. Stitch Selection
The Singer M 2105 offers 8 built-in stitch patterns. Rotate the stitch selection dial to choose your desired stitch. The dial clearly indicates each stitch type, including straight stitches, zigzag stitches, and decorative patterns.

Figure 6: Detailed view of the stitch selection dial, showing various stitch patterns and settings.

Figure 7: Angled close-up of the stitch selection dial, providing a clear view of the stitch icons and numerical indicators.
2. Stitch Length and Width Adjustment
Adjust the stitch length using the appropriate control to suit your fabric and project requirements. While the M 2105 has fixed stitch widths for most patterns, the length can be varied for optimal results.
3. Reverse Sewing
To secure stitches at the beginning and end of a seam, press and hold the reverse lever. The machine will sew backward as long as the lever is depressed.
4. Free Arm Function
Remove the accessory storage compartment to reveal the free arm. This feature is ideal for sewing small, tubular items such as sleeves, pant legs, and cuffs, allowing the fabric to rotate freely around the arm.
5. Buttonhole Sewing
The machine features a four-step buttonhole process. Refer to the stitch selection dial for the buttonhole steps (1-4) and follow the instructions for attaching the buttonhole foot and marking your fabric.
Maintenance
Regular maintenance ensures the longevity and optimal performance of your sewing machine.
1. Cleaning the Machine
Periodically clean lint and dust from the bobbin area and feed dogs using a small brush. Turn off and unplug the machine before cleaning. Do not use compressed air, as it can push lint further into the machine.
Figure 8: The bobbin area, which should be regularly cleaned to remove lint and thread debris for smooth operation.
2. Needle Replacement
Replace needles frequently, especially after 8-10 hours of sewing or if they become bent or dull. A dull needle can cause skipped stitches and fabric damage.
3. Accessory Care
Keep all accessories, such as presser feet, bobbins, and tools, clean and stored in the accessory compartment to prevent loss or damage.

Figure 9: Included accessories for the Singer M 2105, such as various presser feet, bobbins, and a seam ripper.
Troubleshooting
Refer to this section for solutions to common issues you might encounter.
1. Skipped Stitches
- Cause: Incorrect needle insertion, bent or dull needle, improper threading, wrong needle type for fabric.
- Solution: Reinsert needle correctly, replace needle, re-thread machine, use appropriate needle.
2. Thread Breaking
- Cause: Incorrect tension, poor quality thread, improperly wound bobbin, burrs on needle plate or bobbin case.
- Solution: Adjust tension, use good quality thread, re-wind bobbin, check for burrs and clean.
3. Fabric Jamming
- Cause: Incorrect presser foot, fabric not placed correctly, pulling fabric while sewing.
- Solution: Use correct presser foot, ensure fabric is flat, guide fabric gently without pulling.
Specifications
| Feature | Detail |
|---|---|
| Brand | Singer |
| Model Number | M2105 |
| Color | White |
| Product Dimensions (L x W x H) | 38.5 x 18.7 x 29 cm |
| Item Weight | 4.9 Kilograms |
| Power | 70 Watts |
| Material | Metal, Plastic |
| Auto-stop Function | Yes |
| Spare Parts Availability (EU) | 7 Years |
| International Article Code (EAN) | 07393033102739 |
Warranty and Support
The Singer M 2105 sewing machine comes with a standard return policy of 30 days. Spare parts are available for 7 years within the EU. For any issues not covered in this manual or for warranty claims, please contact Singer customer support or your retailer.
For further assistance, you may visit the official Singer website or consult authorized service centers.


