
LEPOWER YY02C-BL
LEPOWER 1600LM LED Solar Security Light (Model YY02C-BL) User Manual
Comprehensive instructions for installation, operation, and maintenance.
Introduction
Thank you for choosing the LEPOWER 1600LM LED Solar Security Light. This manual provides detailed instructions for the safe and efficient use of your new solar-powered security light. Please read this manual thoroughly before installation and operation, and retain it for future reference.
Important Safety Information
- Always disconnect power before installing or servicing.
- Ensure the solar panel is installed in a location that receives maximum direct sunlight for optimal charging.
- Do not look directly into the LED light source when illuminated, as it may cause eye damage.
- This product is designed for outdoor use and is IP65 waterproof. However, do not submerge it in water.
- Keep children away from the product during installation.
- Use only the provided mounting hardware.
Package Contents
Please check the package to ensure all components are present and undamaged:
- LEPOWER 1600LM LED Solar Security Light Fixture (with 3 adjustable heads and motion sensor)
- Solar Panel (with 15-foot connecting cable)
- Mounting Hardware (screws, wall anchors)
- User Manual (this document)
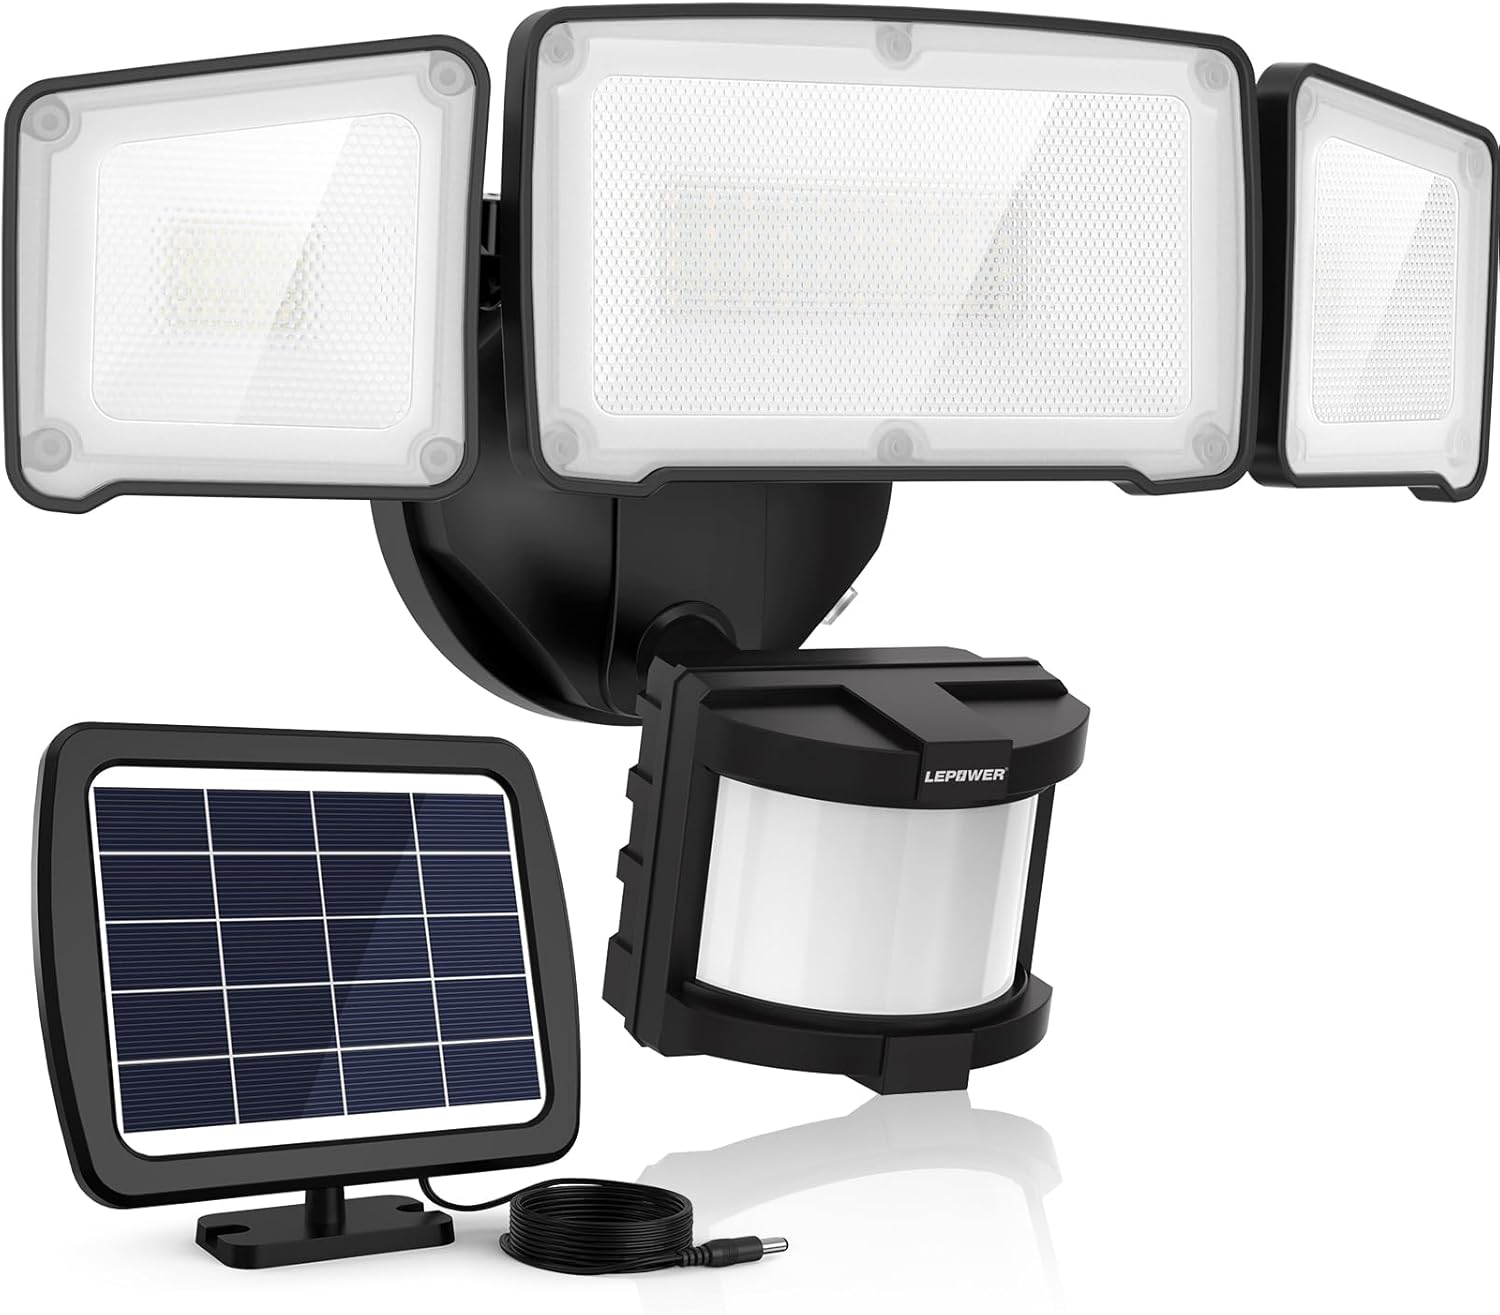
Image: The LEPOWER solar security light fixture with its three adjustable heads, integrated motion sensor, and separate solar panel with connecting cable.
Product Overview and Features
The LEPOWER Solar Security Light is designed to provide efficient and reliable outdoor illumination with motion detection capabilities. Key features include:
- High Brightness: Delivers up to 1600 lumens of 5500K white light.
- Adjustable Light Heads: Three independently adjustable light heads allow for wide coverage.
- Advanced Motion Sensor: Detects motion up to 72 feet with a 180-degree detection angle.
- Solar Powered: Equipped with a monocrystalline silicon solar panel for energy-efficient charging.
- Durable Design: IP65 waterproof rating ensures reliable operation in various weather conditions.
- Flexible Installation: 15-foot cable allows for optimal placement of the solar panel.
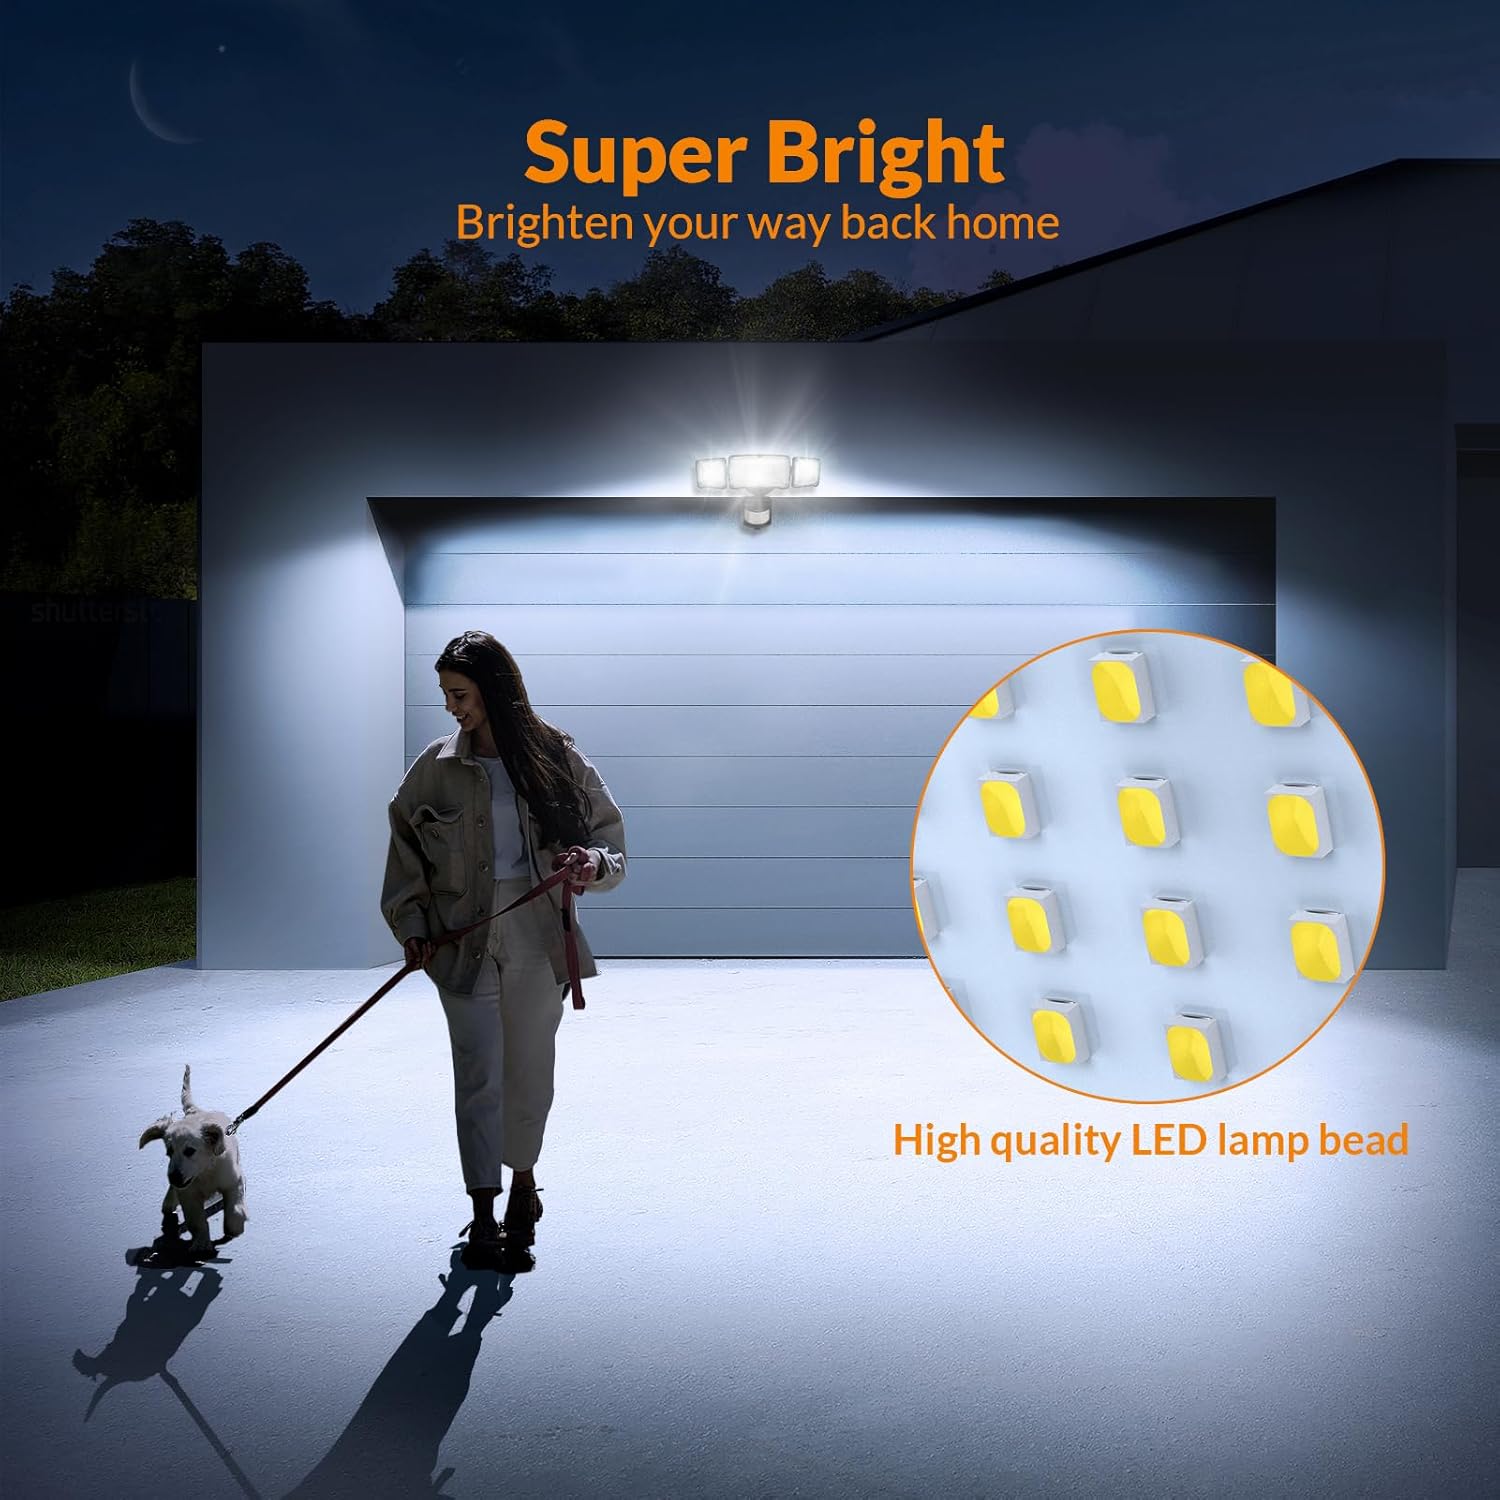
Image: A person walking a dog at night, illuminated by the bright output of the LEPOWER solar security light, highlighting its 1600 lumen brightness.
Setup and Installation
Follow these steps to properly install your LEPOWER Solar Security Light:
1. Choose an Installation Location
- Solar Panel: Select a location for the solar panel that receives at least 6-8 hours of direct sunlight daily. Avoid shaded areas from trees, buildings, or other obstructions.
- Light Fixture: Mount the light fixture on a wall, eave, or other stable surface where illumination is desired. Ensure the motion sensor faces the area you wish to monitor.
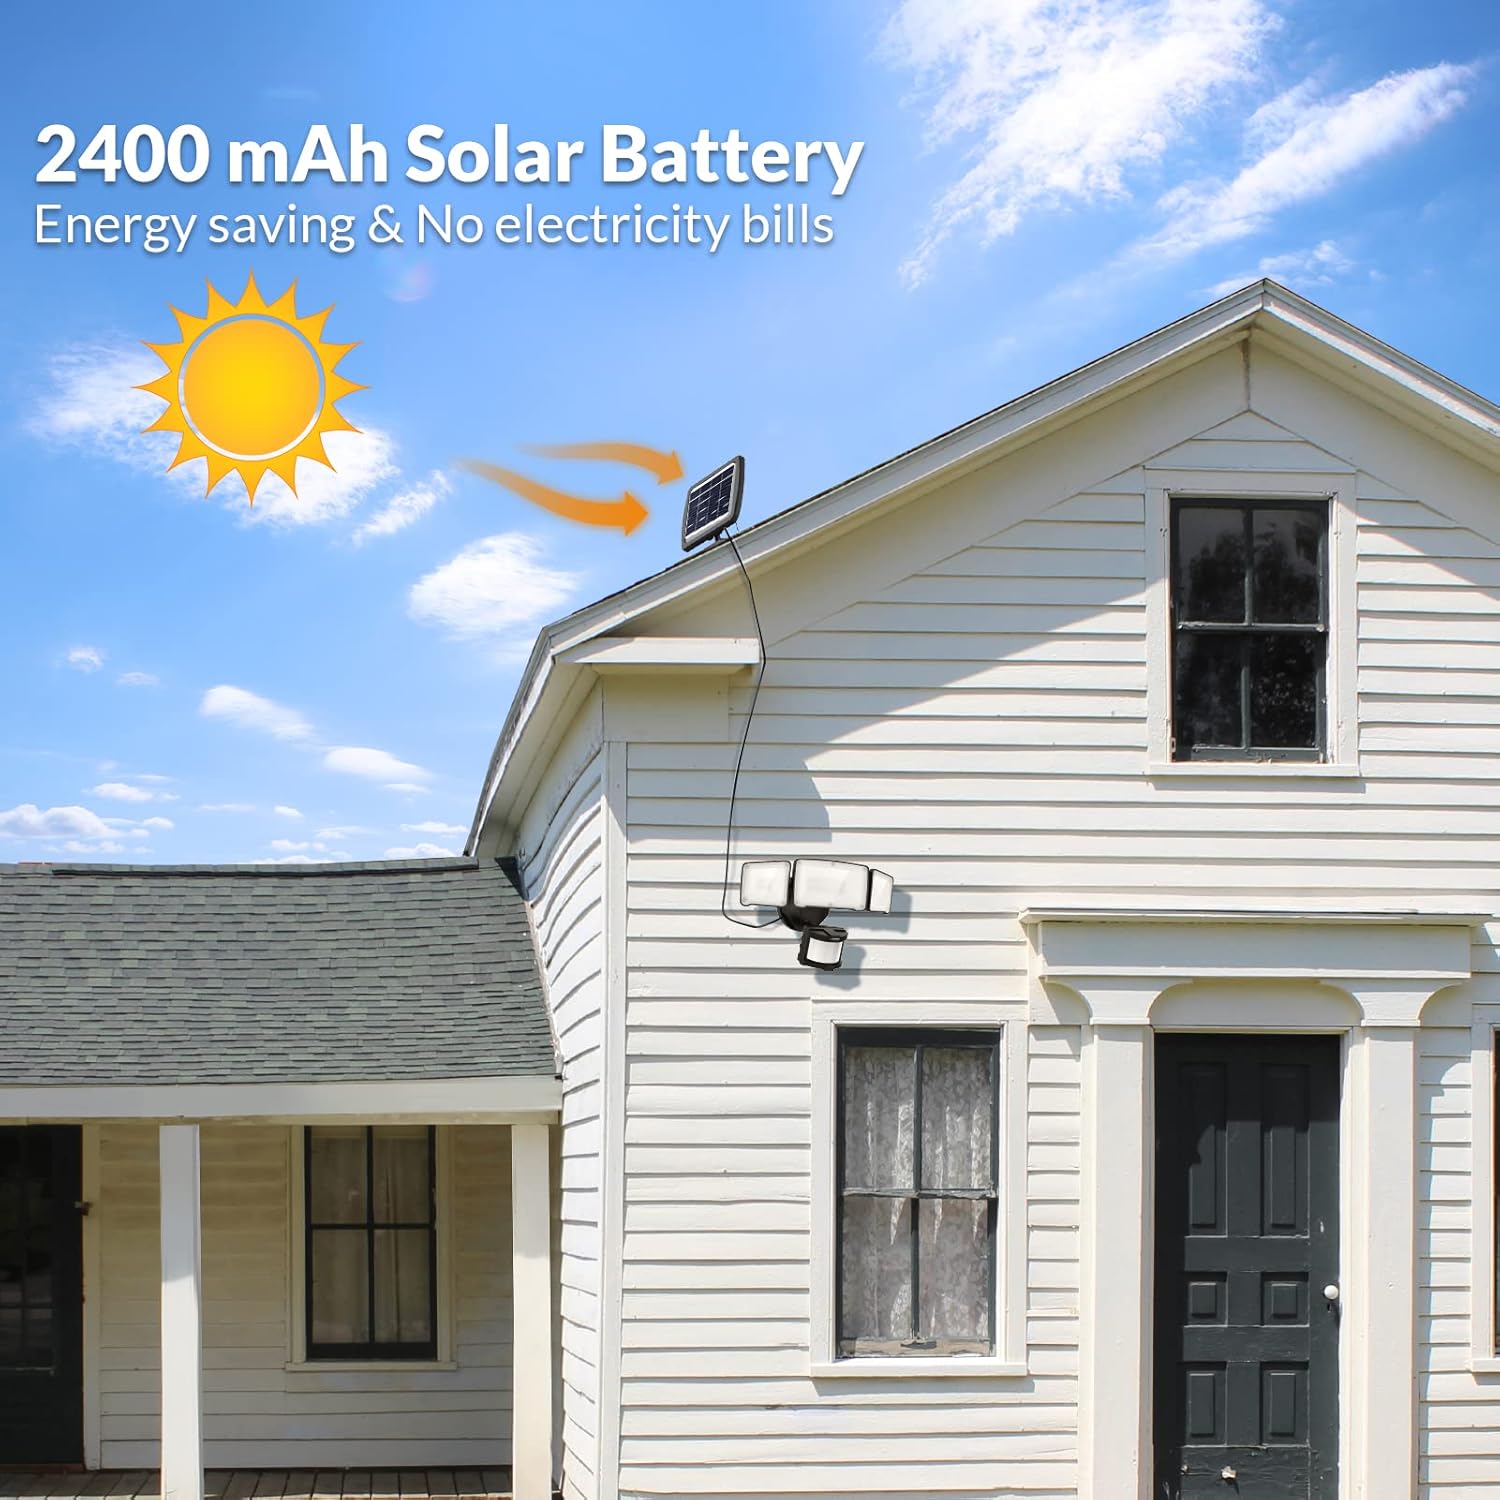
Image: An illustration showing the solar panel mounted on a rooftop and the light fixture installed on the side of a house, demonstrating optimal placement for solar charging and light coverage.
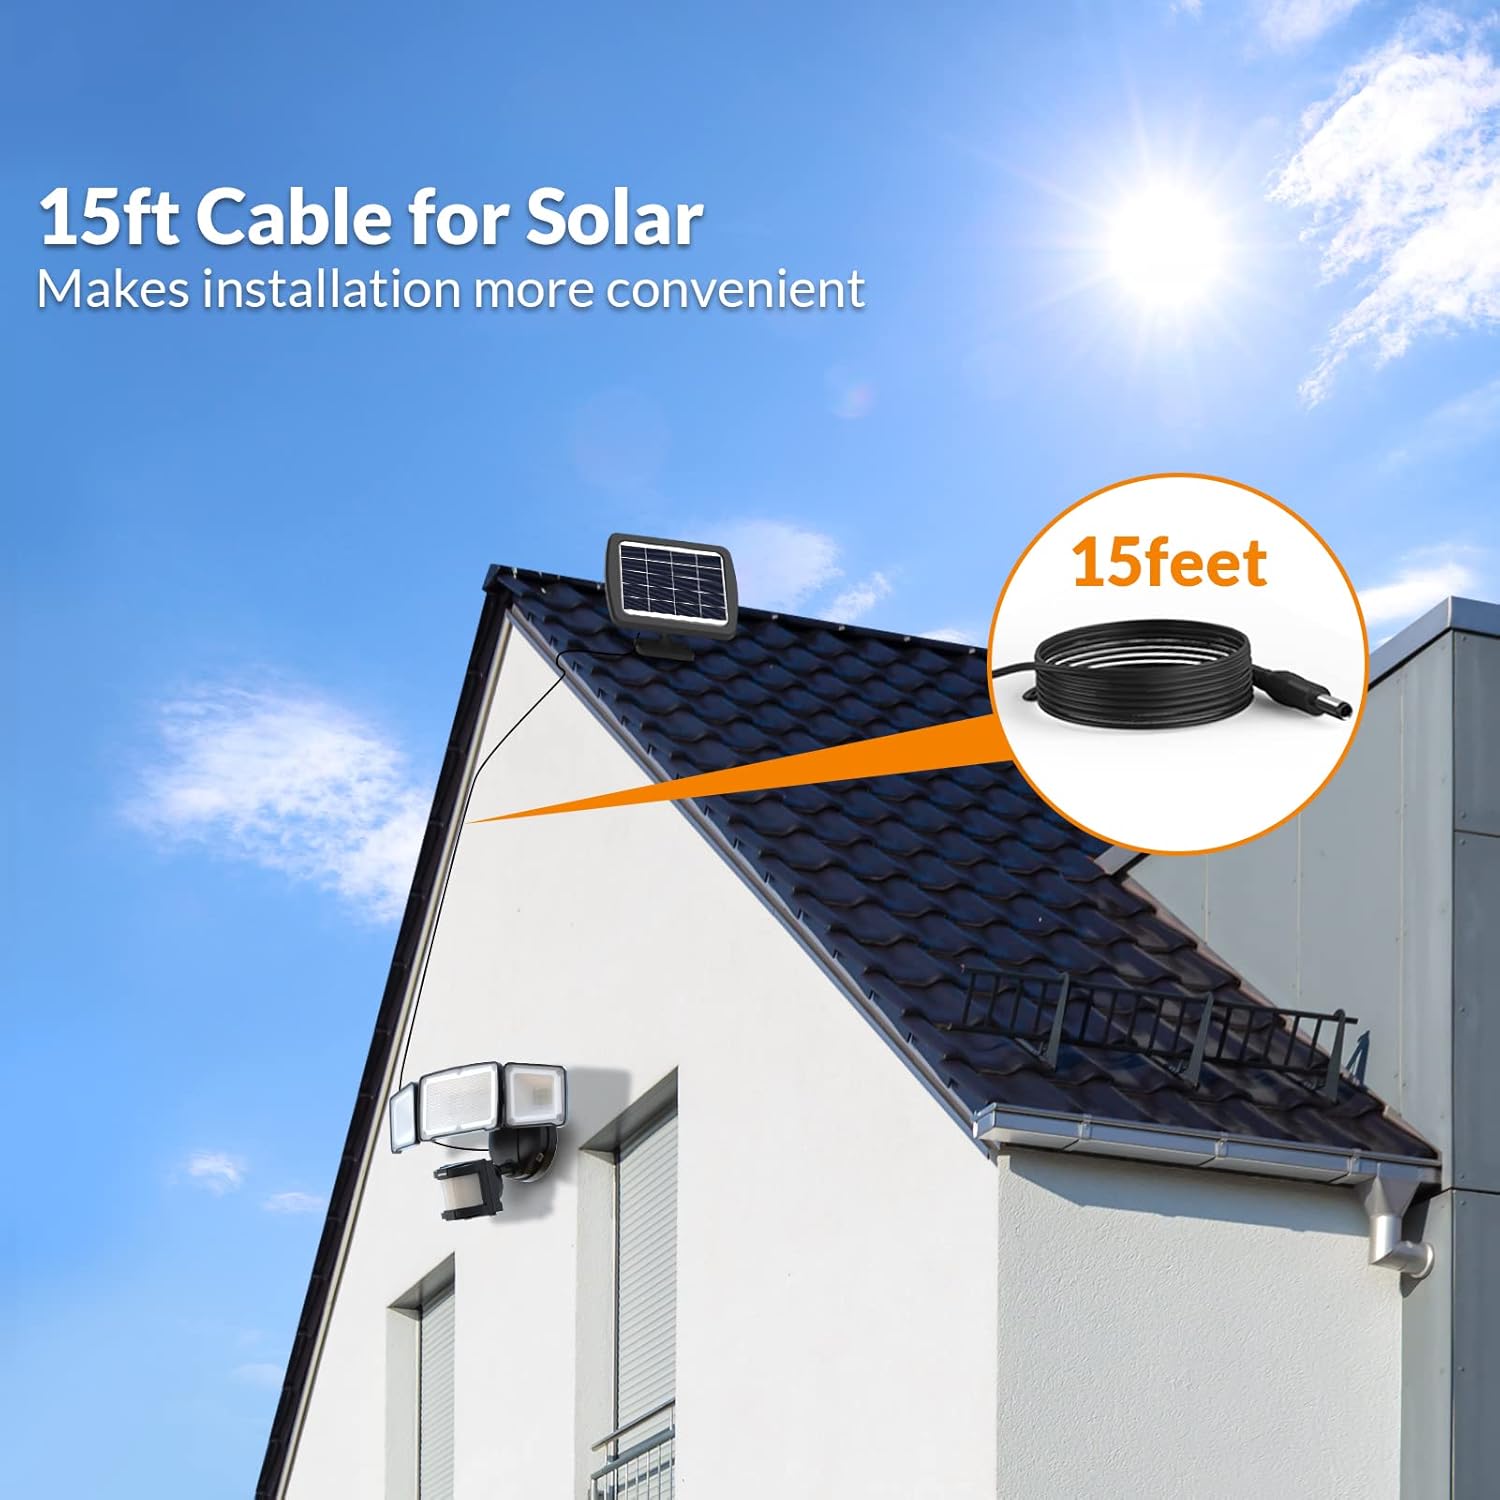
Image: A visual representation of the 15-foot cable connecting the solar panel, mounted on a roof, to the security light fixture on the wall, emphasizing flexible installation options.
2. Mount the Solar Panel
- Position the solar panel bracket on your chosen surface.
- Mark the drilling points through the bracket holes.
- Drill pilot holes and insert wall anchors if necessary.
- Secure the solar panel bracket using the provided screws.
- Adjust the angle of the solar panel to face the sun directly.
3. Mount the Light Fixture
- Position the light fixture's mounting base on your chosen surface.
- Mark the drilling points.
- Drill pilot holes and insert wall anchors if necessary.
- Secure the light fixture using the provided screws.
- Ensure the motion sensor is oriented correctly to cover the desired detection area.

Image: A step-by-step diagram illustrating the mounting process for the solar panel and the light fixture, including proper orientation for the motion sensor when mounted on an eave.
4. Connect the Solar Panel to the Light Fixture
- Connect the 15-foot cable from the solar panel to the input port on the light fixture. Ensure a secure connection.
5. Adjust Light Heads and Motion Sensor
- Adjust the three light heads to cover the desired illumination area.
- The motion sensor can be adjusted for both detection distance and duration. Refer to the "Operating Instructions" section for details.
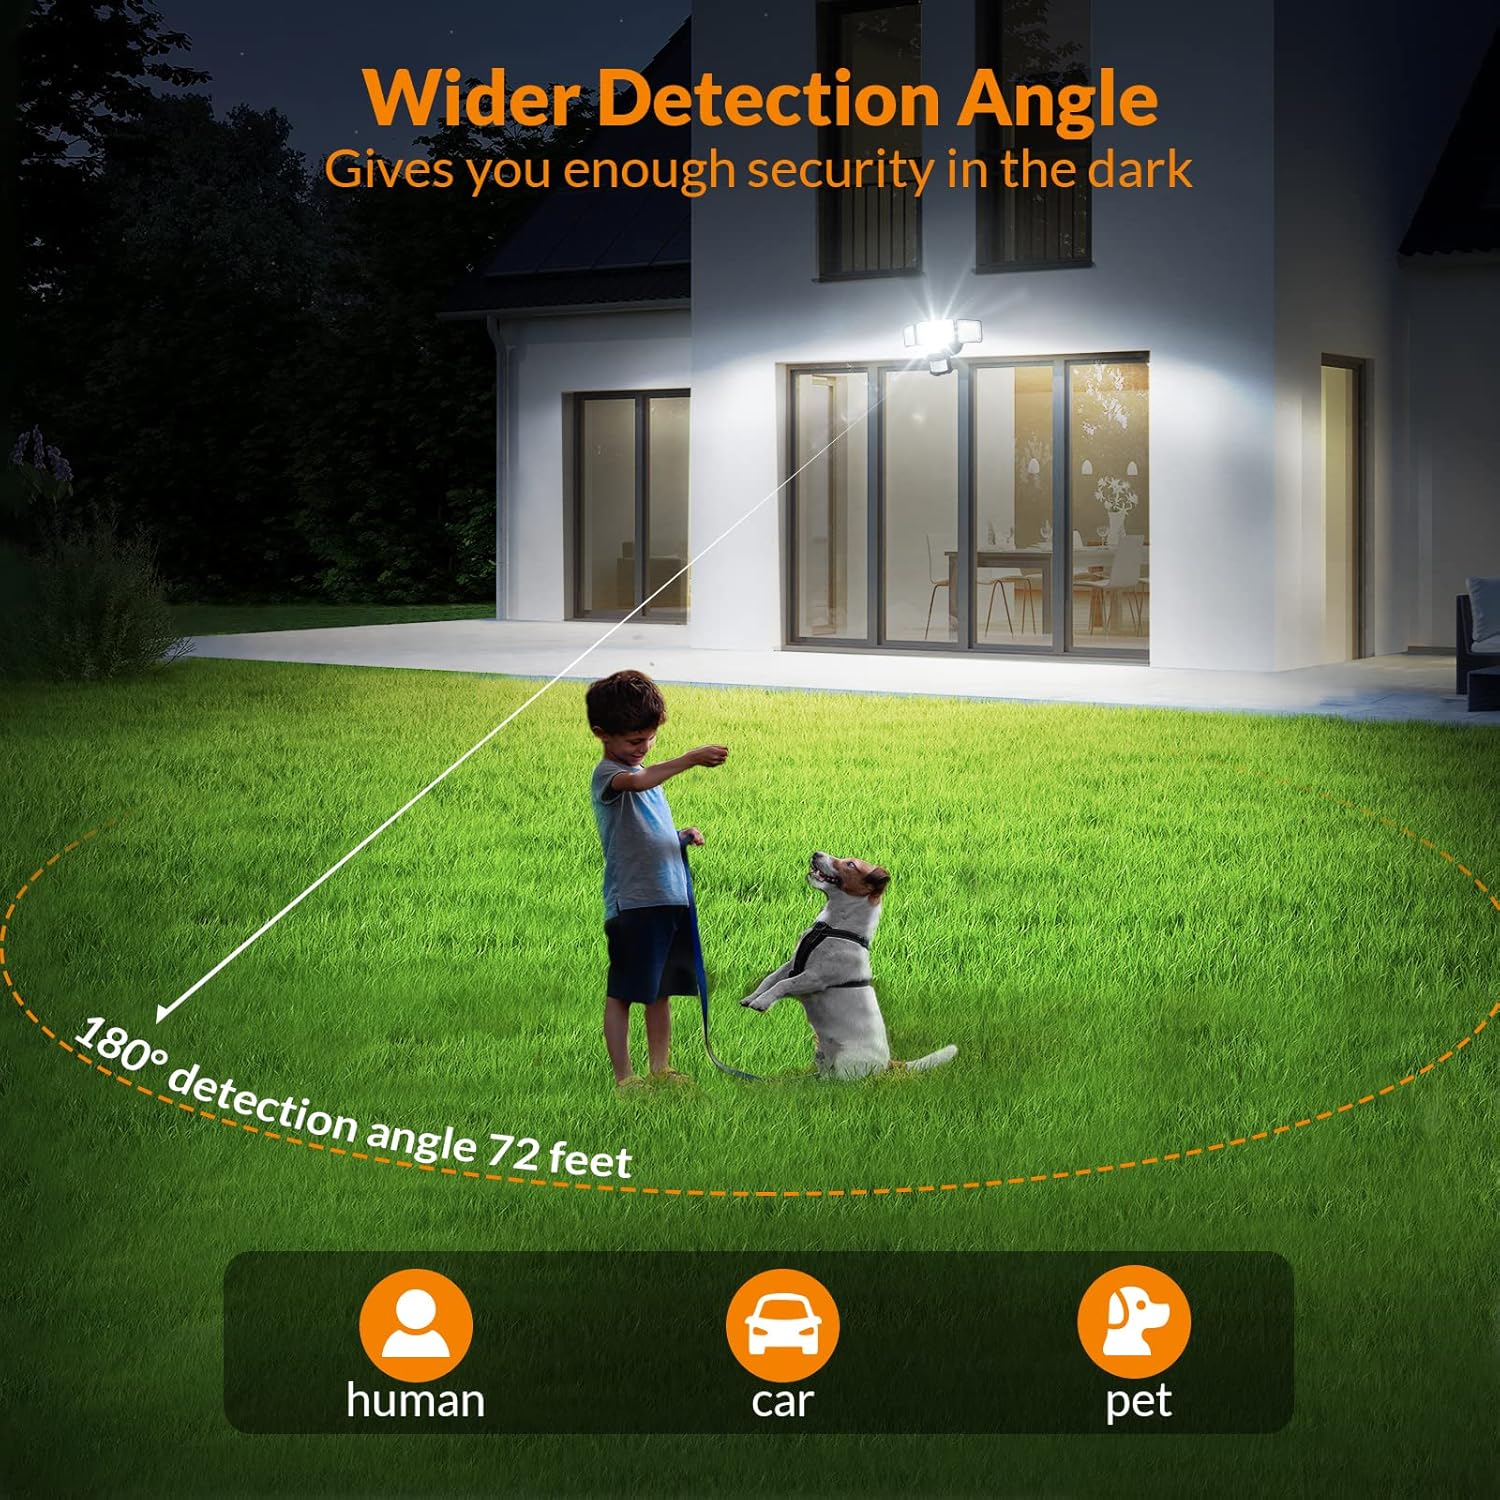
Image: A graphic illustrating the wide 180-degree detection angle and 72-foot range of the motion sensor, showing it detecting a child and a dog in a large outdoor area.
Operating Instructions
The LEPOWER Solar Security Light features a stepless adjustable switch for controlling its operational modes and settings.
Control Panel Overview

Image: A detailed view of the control panel on the LEPOWER solar security light, showing the "Timer Minutes" and "Feet" adjustment dials, along with the three operational modes: Test, Auto, and Normally On.
Adjusting Settings
- "Timer Minutes" Dial: Adjusts the duration the light stays on after motion is detected, from approximately 10 seconds to 120 seconds.
- "Feet" Dial: Adjusts the motion detection sensitivity and range, from 0 to 72 feet.
Operational Modes
Select one of the following modes using the switch on the control panel:
- Test Mode:
- Used for quick adjustment and testing of the light before final installation.
- The light will turn on for approximately 7 seconds when motion is detected, regardless of ambient light conditions (day or night).
- Auto Mode:
- This is the standard motion-activated security mode.
- The light will only activate at night or in dimly lit environments when motion is detected.
- The light will stay on for the duration set by the "Timer Minutes" dial (10-120 seconds) after motion ceases.
- Normally On Mode:
- Push the switch to "ON" to activate this mode.
- The solar motion light will stay on continuously for approximately 50 minutes after being fully charged. This mode is not motion-activated.
Note on Daytime Activation:
In "Test Mode," the light will activate during the day. This is normal for testing purposes. In "Auto Mode," the light is designed to only activate at night or in low-light conditions. If the light activates frequently during the day in "Auto Mode," ensure the solar panel is receiving sufficient direct sunlight to maintain battery charge, and consider adjusting the motion sensor's sensitivity ("Feet" dial) to prevent unnecessary activation.
Maintenance
- Cleaning the Solar Panel: Regularly wipe the solar panel with a soft, damp cloth to remove dust, dirt, or debris. A clean panel ensures optimal sunlight absorption and charging efficiency.
- Cleaning the Light Fixture: Periodically clean the light heads and motion sensor lens with a soft, dry cloth to maintain clear illumination and accurate motion detection.
- Battery: The product uses integrated Lithium-Ion batteries. Do not attempt to replace the batteries yourself. Contact customer support if battery issues arise.
Troubleshooting
| Problem | Possible Cause | Solution |
|---|---|---|
| Light does not turn on at night. |
|
|
| Light turns on during the day in "Auto Mode". |
|
|
| Light stays on too long or not long enough. | "Timer Minutes" dial setting is incorrect. | Adjust the "Timer Minutes" dial to your desired duration (10-120 seconds). |
| Motion detection range is too short or too long. | "Feet" dial setting is incorrect. | Adjust the "Feet" dial to your desired detection range (0-72 feet). |
Specifications
| Brand | LEPOWER |
| Model Number | YY02C-BL |
| Brightness | 1600 Lumens |
| Light Color Temperature | 5500K (White Light) |
| Power Source | Solar Powered |
| Wattage | 4.44 Watts |
| Voltage | 3.7 Volts |
| Motion Sensor Range | Up to 72 feet |
| Motion Sensor Angle | 180 degrees |
| Cable Length (Solar Panel) | 15 feet |
| Water Resistance | IP65 Waterproof |
| Material | Acrylonitrile Butadiene Styrene, Polycarbonate (PC + ABS) |
| Dimensions (L x W x H) | 14.09" x 6.26" x 7.6" |
| Batteries | 2 Lithium Ion batteries (included) |
| Lifespan | Up to 50,000 hours |

Image: A technical diagram displaying the key dimensions of both the LEPOWER solar security light fixture and its accompanying solar panel.
Warranty and Support
Warranty Information
This LEPOWER product is covered by a 1-year manufacturer's warranty from the date of purchase. This warranty covers defects in materials and workmanship under normal use. It does not cover damage caused by misuse, accident, unauthorized modification, or improper installation.
Please retain your proof of purchase for warranty claims.
Customer Support
If you have any questions, require assistance with installation, or encounter any issues with your LEPOWER Solar Security Light, please contact our customer support team. For the most up-to-date contact information, please visit the official LEPOWER website or refer to your purchase documentation.
We are committed to providing high-quality products and excellent customer service.
Related documentsYY02C-BL

Ask a question about this manual
Ask about setup, troubleshooting, compatibility, parts, safety, or missing instructions. Manuals+ will review the question and use this page’s manual context to help answer it.