Introduction
This manual provides detailed instructions for the installation, operation, and maintenance of your Fanimation Studio Collection LP8347BLGR Level Ceiling Fan with LED Light Kit. Please read this manual thoroughly before installation and use to ensure safe and efficient operation. Keep this manual for future reference.
The Level ceiling fan is designed to provide comfort and style to your indoor space. This 44-inch hugger fan features three blades, three speed settings, and an 18-watt dimmable LED light kit. Control is managed via an included wall control.
Key Features:
- Matte greige finish with matching blades.
- Integrated 18-watt dimmable LED light kit with frosted glass shade.
- 44-inch fan size, ideal for small rooms.
- Hugger mount design for low-profile installation.
- Three speed settings for customized airflow up to 4,530-CFM.
- Includes wall control for fan speed and light level adjustment.
- Reverse switch for seasonal direction change.
Safety Instructions
WARNING: To reduce the risk of fire, electric shock, or personal injury, always follow these basic precautions:
- Read all instructions carefully before installing and operating the fan.
- All wiring must be in accordance with the National Electrical Code (NEC) and local electrical codes. If you are unfamiliar with wiring, consult a qualified electrician.
- Before beginning installation, disconnect power by turning off the circuit breakers to the fan's junction box.
- Ensure the installation site allows the fan blades to rotate without obstruction and that the blades are at least 7 feet (2.1 meters) from the floor.
- The outlet box and support structure must be securely mounted and capable of supporting a minimum of 35 lbs (15.9 kg). Use only UL/ETL listed outlet boxes marked "ACCEPTABLE FOR FAN SUPPORT."
- Do not operate the fan with a damaged power cord or plug.
- Avoid placing fingers or objects into the fan blades while the fan is operating.
- Do not use the fan with any solid-state speed control device other than the provided wall control.
- Always turn off the fan and wait for the blades to stop completely before cleaning or performing maintenance.
Package Contents
Carefully unpack your fan and inspect the contents. You should have the following items:
- Ceiling Fan Motor Assembly
- Fan Blades (3)
- LED Light Kit with Frosted Glass Shade
- Wall Control Unit
- Mounting Hardware Kit (screws, washers, wire nuts)
- Instruction Manual

Figure 1: Fanimation Level Ceiling Fan with LED Light Kit. This image shows the complete fan assembly, including the motor housing, three blades, and the integrated LED light fixture.
Installation
This section outlines the general steps for installing your ceiling fan. It is highly recommended to have a qualified electrician perform the installation if you are not experienced with electrical wiring.
Tools Required:
- Phillips screwdriver
- Flathead screwdriver
- Wire strippers
- Adjustable wrench
- Step ladder
- Electrical tape
Installation Steps:
- Turn Off Power: Before starting, ensure the power is turned off at the circuit breaker or fuse box to prevent electrical shock.
- Mount the Outlet Box: Securely attach the UL/ETL listed outlet box (not included) to the ceiling joist, ensuring it can support the fan's weight.
- Install Mounting Bracket: Attach the fan's mounting bracket to the outlet box using the provided screws and washers.
- Wire the Fan: Connect the fan's electrical wires to the household wiring according to the wiring diagram provided in the full installation guide (refer to manufacturer's website for detailed diagrams). Ensure all connections are secure with wire nuts.
- Attach Fan Assembly: Carefully lift the fan motor assembly and attach it to the mounting bracket. This is a hugger-style fan, so it mounts directly to the ceiling.
- Install Fan Blades: Securely attach the three fan blades to the motor housing using the provided screws. Ensure all screws are tightened.
- Install Light Kit: Connect the wires for the LED light kit and attach the light kit assembly to the bottom of the fan motor. Secure the frosted glass shade.
- Install Wall Control: Follow the instructions provided with the wall control unit to install it in a standard wall switch box. Ensure proper wiring for fan speed and light control.
- Restore Power: Once all connections are secure and the fan is fully assembled, restore power at the circuit breaker.
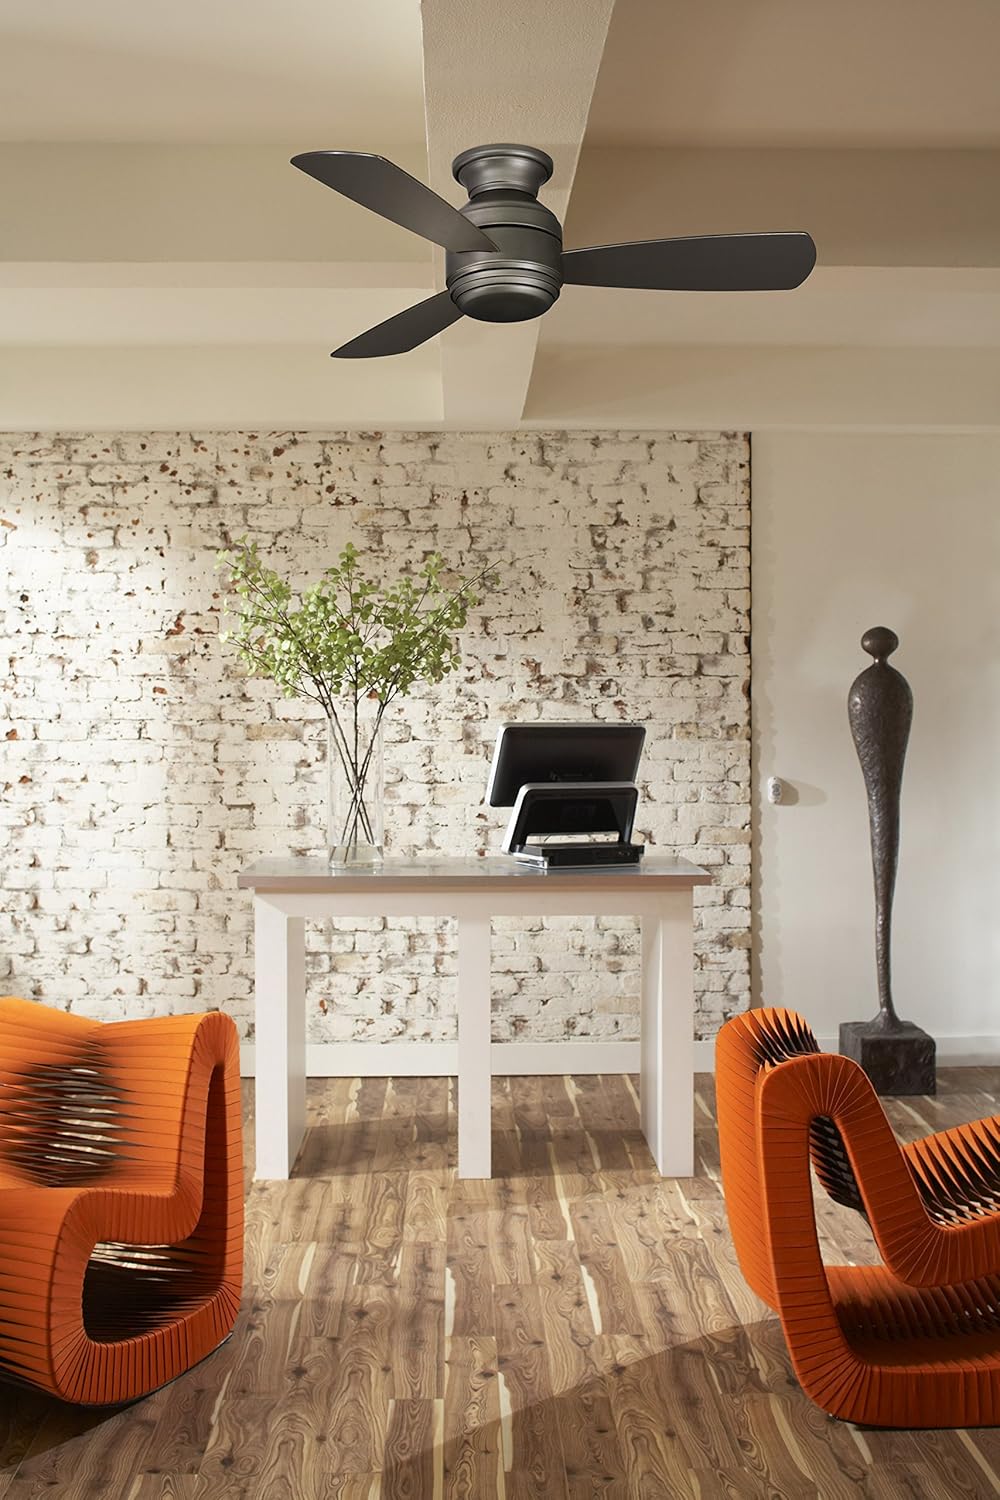
Figure 2: Fanimation Level Ceiling Fan installed in a living space. This image demonstrates the fan's appearance when mounted, showing its compact hugger design and how it integrates into a room's decor.
Operation
Your Fanimation Level Ceiling Fan is controlled by the included wall control unit. Familiarize yourself with its functions for optimal use.
Fan Speed Control:
- The wall control allows you to select from three fan speeds: Low, Medium, and High.
- Press the fan speed buttons to cycle through the desired airflow level.
Light Control:
- The integrated LED light kit is dimmable.
- Use the light control button on the wall unit to turn the light on/off and to adjust its brightness. Typically, holding the button will dim or brighten the light.
Reverse Function:
The fan features a reverse switch, usually located on the motor housing, which allows you to change the direction of blade rotation. This is useful for seasonal comfort:
- Summer Operation: Blades rotate counter-clockwise, pushing air down to create a cooling breeze.
- Winter Operation: Blades rotate clockwise, drawing air up to circulate warm air trapped near the ceiling.
- Always turn off the fan and wait for the blades to stop completely before changing the direction of rotation.
Care and Maintenance
Regular care and maintenance will help prolong the life and maintain the appearance of your ceiling fan.
Cleaning:
- Always turn off the power to the fan at the circuit breaker before cleaning.
- Use a soft, damp cloth to clean the fan blades and motor housing. Do not use abrasive cleaners or solvents, as these may damage the finish.
- Dust the fan blades regularly to prevent dust buildup, which can cause wobbling.
Light Bulb Replacement:
- The fan comes with an integrated LED light kit. LEDs have a long lifespan and typically do not require frequent replacement.
- If the LED light module requires service, contact a qualified electrician or Fanimation customer support. Do not attempt to replace individual LED components.
General Maintenance:
- Periodically check all screws on the fan and mounting hardware to ensure they are tight.
- No lubrication is necessary for the fan motor.
Troubleshooting
Before contacting customer support, try these common troubleshooting steps:
| Problem | Possible Cause | Solution |
|---|---|---|
| Fan does not start. | No power to the fan; loose wire connections; faulty wall control. | Check circuit breaker. Ensure all wire connections are secure. Verify wall control is properly installed and functioning. |
| Light does not work. | Loose wire connection to light kit; faulty LED module; incorrect wall control setting. | Check light kit wiring. Ensure wall control is set to "on" and brightness is adjusted. If LED module is faulty, contact support. |
| Fan wobbles. | Loose blade screws; unbalanced blades; loose mounting bracket. | Tighten all blade screws. Check for bent blades. Ensure mounting bracket is securely fastened to the ceiling box. Use a balancing kit if necessary. |
| Noisy operation. | Loose screws; motor hum; fan not properly seated. | Check and tighten all screws. Allow a 24-hour break-in period for new motors. Ensure fan is securely mounted. |
Specifications
| Attribute | Detail |
|---|---|
| Model Name | Level |
| Model Number | LP8347BLGR |
| Brand | Fanimation |
| Color | Matte Greige |
| Size | 44 Inch |
| Number of Blades | 3 |
| Blade Material | Wood |
| Air Flow Capacity | 4,530 CFM (Cubic Feet Per Minute) |
| Wattage | 18 watts (LED Light Kit) |
| Voltage | 120 Volts (AC) |
| Control Method | Wall Control |
| Product Dimensions | 44 x 44 x 11.25 inches |
| Item Weight | 15.72 pounds |
| Indoor/Outdoor Usage | Indoor |
| UPC | 840506087675 |
Warranty Information
The Fanimation Studio Collection LP8347BLGR Level Ceiling Fan comes with a Limited Lifetime Warranty. This warranty covers defects in materials and workmanship under normal use and service. Please retain your proof of purchase for warranty claims.
For full details regarding warranty coverage, limitations, and how to make a claim, please refer to the official warranty statement included with your product packaging or visit the Fanimation official website.
Customer Support
If you encounter any issues not covered in the troubleshooting section, or require further assistance with your Fanimation Level Ceiling Fan, please contact Fanimation customer support.
For the most up-to-date contact information, including phone numbers and online support resources, please visit the official Fanimation website:
When contacting support, please have your model number (LP8347BLGR) and proof of purchase readily available.


