1. Introduction and Product Overview
This manual provides detailed instructions for the installation, operation, and maintenance of your ECOELER 6-inch LED Low Profile Surface Mount Disk Light, model CDR615-5K-4. This energy-efficient LED ceiling light features 16.5 watts of power, delivering 1000 lumens of 5000K daylight illumination. Its ultra-thin design with an aluminum trim is suitable for various indoor applications and is ETL & FCC listed for safety and quality.
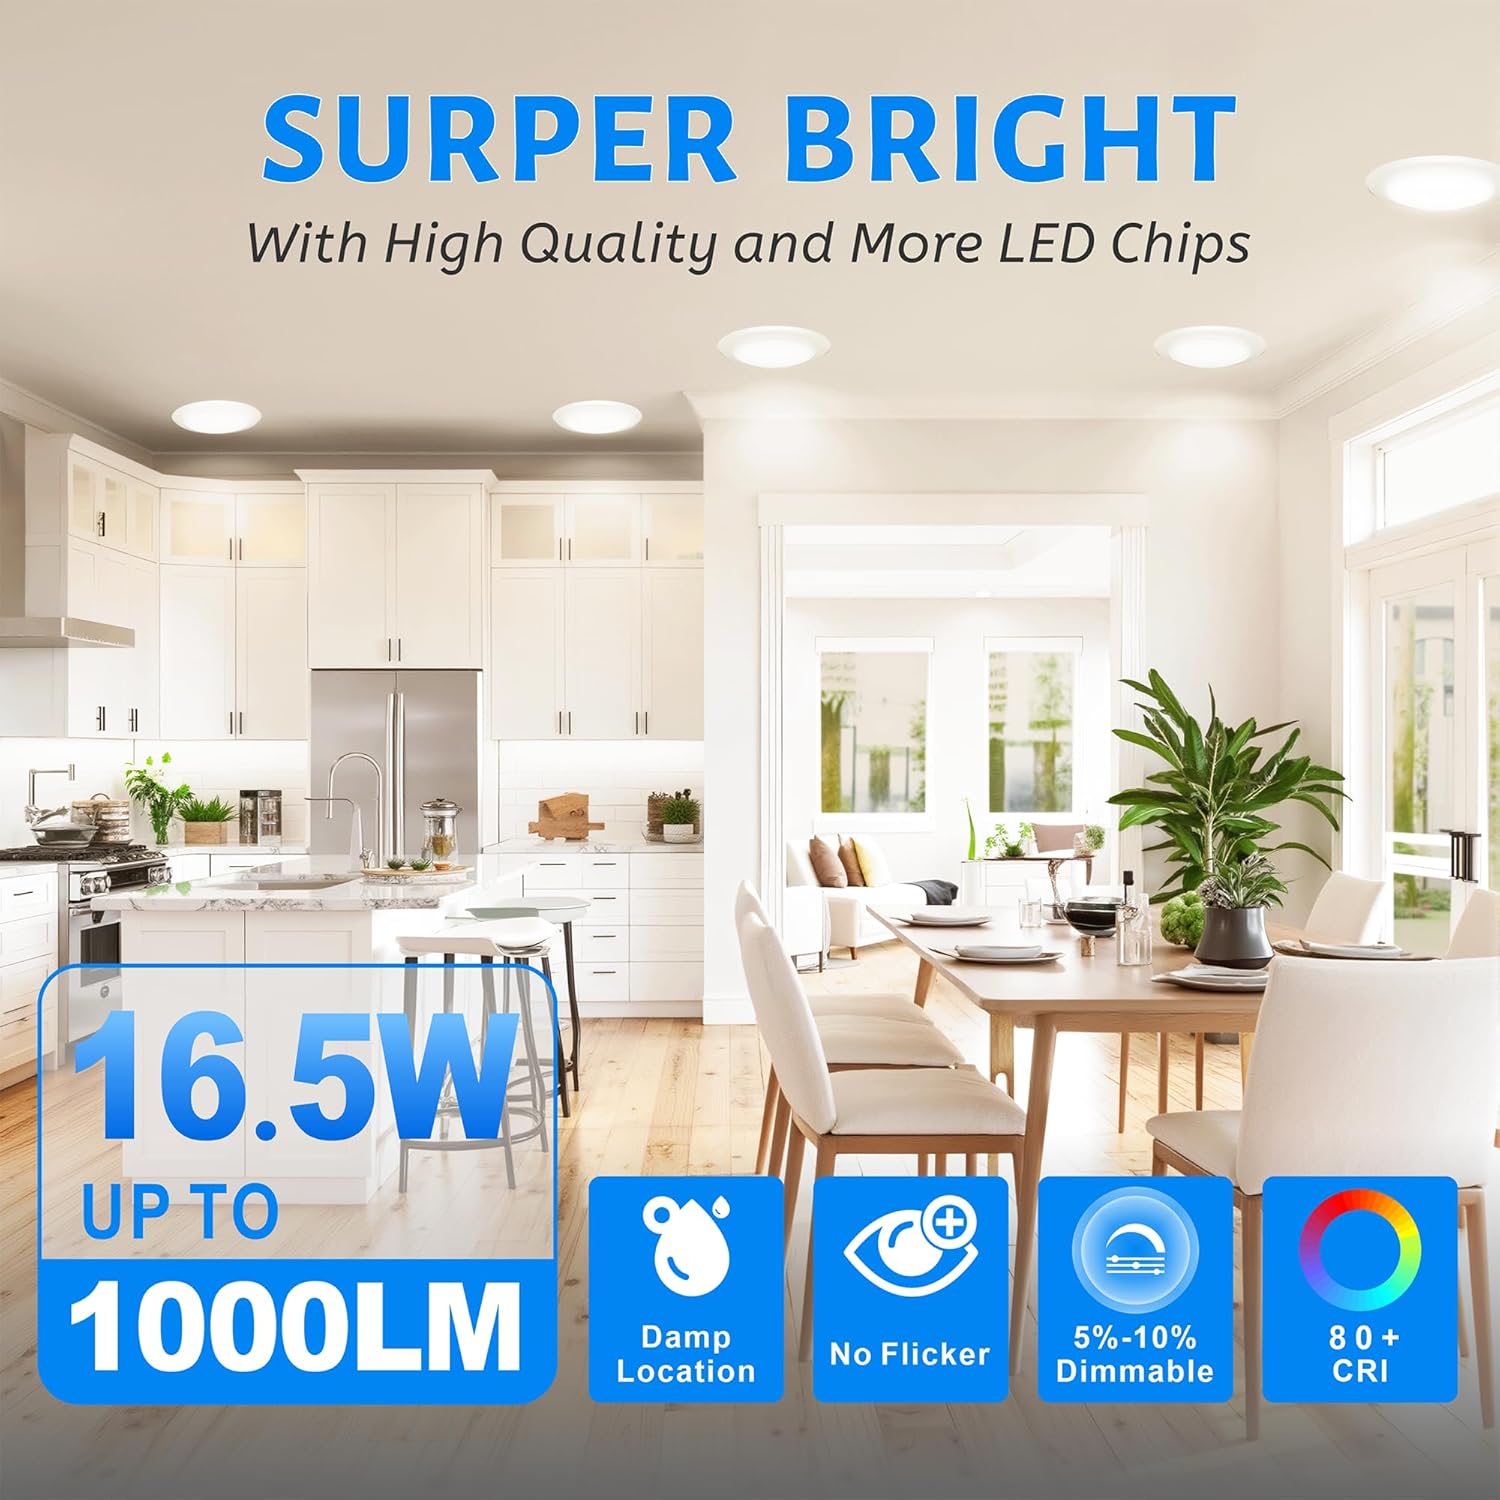
Figure 1: ECOELER 6-inch LED Low Profile Disk Light, showcasing its sleek design.
Key Features:
- High Quality: Aluminum cover for corrosion protection and rust prevention. Provides 16.5W, 1000Lm output with no flickering and a 50,000-hour lifespan.
- Smooth Dimmable: Offers seamless dimming from 5% to 100% for adjustable brightness.
- Easy Installation: Designed for installation into both recessed cans (5/6 inch) and junction boxes (3.5/4 inch).
- Wide Applications: Suitable for damp locations, ideal for entrances, living rooms, bedrooms, kitchens, dens, bathrooms (dry areas), laundry rooms, and covered outdoor areas.
- Safety Assured: ETL Listed and FCC compliant.
2. Safety Information
Please read all instructions carefully before installation. Failure to do so may result in electric shock, fire, or other hazards. Always follow local electrical codes and regulations. If you are unsure about any part of the installation, consult a qualified electrician.
- WARNING: Risk of electric shock. Disconnect power at the fuse or circuit breaker before installing or servicing.
- CAUTION: Risk of fire. Use only in circuits rated for 120V AC.
- Do not modify the fixture. Any modifications may void the warranty and create safety hazards.
- Ensure all connections are secure and properly insulated.
- This product is suitable for damp locations but should not be directly exposed to water.
3. Package Contents
Verify that all components are present before beginning installation. If any parts are missing or damaged, please contact customer support.

Figure 2: Included installation accessories for the ECOELER LED Disk Light.
- LED Disk Light Fixture
- 2 Spring Clips
- E26 Adapter
- 2 Short Screws
- 2 Long Screws
- 3 Wire Nuts
- Instruction Manual
4. Installation Instructions
The ECOELER LED Disk Light is designed for versatile installation, fitting both 3.5" & 4" junction boxes and 5/6" recessed cans. Choose the appropriate method below.
4.1. Junction Box Installation
- Turn off power: Ensure power to the junction box is turned off at the circuit breaker.
- Remove lens: Gently twist the lens counter-clockwise to remove it from the fixture.
- Connect wires: Connect the supply wires to the fixture wires using the provided wire nuts (black to black, white to white, ground to ground).
- Attach fixture: Align the fixture with the junction box and secure it using the provided screws.
- Reattach lens: Twist the lens clockwise until it is securely in place.
- Restore power: Turn on power at the circuit breaker.

Figure 3: Step-by-step guide for Junction Box Installation.
4.2. Recessed Can Installation
- Turn off power: Ensure power to the recessed can is turned off at the circuit breaker.
- Remove lens: Gently twist the lens counter-clockwise to remove it from the fixture.
- Install E26 adapter: Screw the E26 adapter into the existing recessed can socket.
- Connect wires: Connect the fixture wires to the E26 adapter wires (black to black, white to white).
- Attach spring clips: Insert the spring clips into the designated slots on the fixture.
- Push into can: Carefully push the disk light into the recessed can until the spring clips hold it securely in place.
- Reattach lens: Twist the lens clockwise until it is securely in place.
- Restore power: Turn on power at the circuit breaker.

Figure 4: Step-by-step guide for Recessed Can Installation.
5. Operating Instructions
The ECOELER LED Disk Light is designed for simple operation once installed.
5.1. Power On/Off
Control the light using a standard wall switch connected to the circuit. Flip the switch to turn the light on or off.
5.2. Dimming Functionality
This fixture is smoothly dimmable from 5% to 100% when connected to a compatible LED dimmer switch. Adjust the dimmer switch to achieve your desired brightness level.

Figure 5: Illustration of the smooth dimming range.
6. Maintenance
The ECOELER LED Disk Light requires minimal maintenance.
- Cleaning: Ensure power is off before cleaning. Wipe the fixture with a soft, dry or slightly damp cloth. Do not use harsh chemicals or abrasive cleaners, as these may damage the finish or electrical components.
- Bulb Replacement: This fixture uses integrated LED technology and does not require bulb replacement. The LEDs are designed for a long lifespan of approximately 50,000 hours.
7. Troubleshooting
If you encounter issues with your ECOELER LED Disk Light, refer to the following common troubleshooting steps:
| Problem | Possible Cause | Solution |
|---|---|---|
| Light does not turn on. | No power to the fixture. Loose wiring connection. Faulty switch. | Check circuit breaker. Ensure all wire connections are secure (power off first). Test the switch with another device. |
| Light flickers. | Incompatible dimmer switch. Loose wiring. | Ensure dimmer is LED compatible. Check wiring connections (power off first). |
| Light is too dim or too bright. | Dimmer setting. | Adjust the dimmer switch to the desired brightness. |
If these steps do not resolve the issue, please contact ECOELER customer support for further assistance.
8. Specifications
| Feature | Detail |
|---|---|
| Brand | ECOELER |
| Model Name | LED DISK LIGHT |
| Item Model Number | CDR615-5K-4 |
| Color Temperature | 5000K Daylight |
| Wattage | 16.5 Watts |
| Brightness | 1000 Lumens |
| Voltage | 120 Volts |
| Material | Acrylic, Aluminum Shell |
| Product Dimensions | 7.2"L x 7.2"W x 0.9"H |
| Installation Type | Flush Mount (fits 3.5"/4" J-Box or 5"/6" Recessed Can) |
| Dimmable | Yes (5%-100% smooth dimming) |
| Average Life | 50,000 Hours |
| Color Rendering Index (CRI) | 90.00 |
| Certifications | ETL, FCC |
| Indoor/Outdoor Usage | Indoor (Suitable for Damp Location) |
9. Warranty and Support
This ECOELER product comes with a manufacturer and seller combination warranty. For specific details regarding the warranty period and coverage, please refer to the product packaging or contact ECOELER customer service.
If you have any questions, require technical assistance, or need to report a problem with your product, please contact ECOELER customer support through the retailer where the product was purchased or visit the official ECOELER website for contact information.


