
1. Introduction
Thank you for choosing the AgfaPhoto ACCUCharger Value Energy. This charger is designed to efficiently and safely recharge AA, AAA, and 9V Ni-MH/Ni-Cd rechargeable batteries. Please read this manual carefully before using the device to ensure proper operation and to prevent damage.
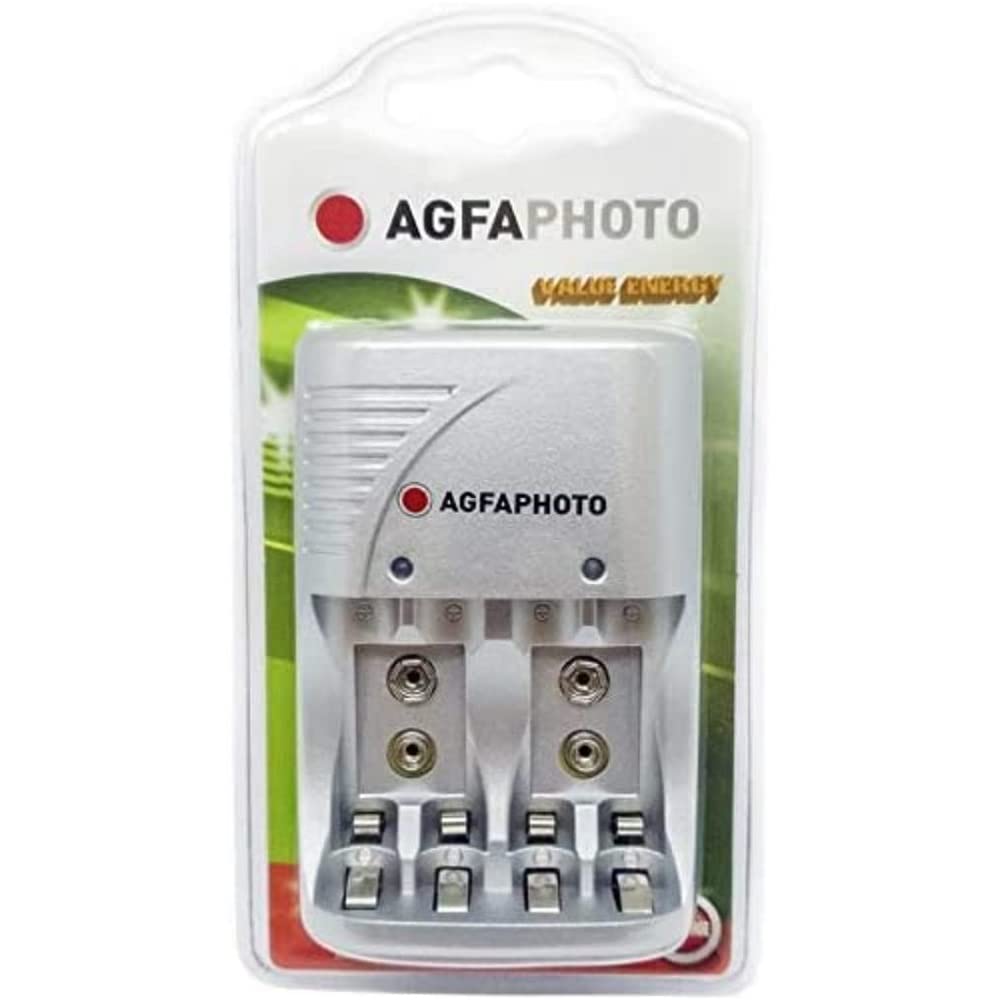
Image 1.1: The AgfaPhoto ACCUCharger Value Energy, showing slots for AA, AAA, and 9V batteries. The charger is black with a compact design.
2. Safety Instructions
- Use only with Ni-MH or Ni-Cd rechargeable batteries. Do not attempt to charge alkaline, carbon-zinc, or other non-rechargeable batteries, as this may lead to leakage, rupture, or explosion.
- Do not expose the charger to rain or moisture.
- Do not disassemble or modify the charger.
- Keep out of reach of children.
- Ensure proper polarity (+/-) when inserting batteries.
- Unplug the charger from the power outlet when not in use or before cleaning.
- Do not operate the charger if it has been damaged in any way.
3. Setup
- Unpack the Charger: Carefully remove the AgfaPhoto ACCUCharger from its packaging.
- Power Connection: Plug the charger into a standard wall power outlet.
- Insert Batteries:
- For AA/AAA batteries: Insert up to four AA or AAA rechargeable batteries into the designated slots, ensuring correct polarity (+ and -).
- For 9V batteries: Insert up to two 9V rechargeable batteries into the dedicated 9V slots, ensuring correct polarity.
Note: The charger can charge AA, AAA, and 9V batteries simultaneously.
4. Operating Instructions
4.1 Charging Process
Once batteries are correctly inserted and the charger is plugged in, the charging process begins automatically.
- Indicator Lights: The charger features green indicator lights. A green light indicates that the corresponding battery is charging.
- Charging Time: Charging times vary depending on the battery capacity (mAh) and its current charge level. Refer to your battery's specifications for estimated charging times.
- Completion: The green indicator light will remain lit when charging is complete. It is recommended to remove batteries once fully charged to prevent overcharging, although the charger has built-in protection.
4.2 Removing Batteries
Once charging is complete, unplug the charger from the power outlet and carefully remove the charged batteries.
5. Maintenance
- Cleaning: Disconnect the charger from the power supply before cleaning. Use a soft, dry cloth to wipe the exterior of the charger. Do not use liquid cleaners or solvents.
- Storage: Store the charger in a cool, dry place away from direct sunlight and extreme temperatures.
- Battery Care: For optimal battery life, avoid completely draining batteries before recharging.
6. Troubleshooting
| Problem | Possible Cause | Solution |
|---|---|---|
| Charger not working / No indicator lights | No power supply or faulty connection. | Ensure the charger is securely plugged into a working power outlet. Check the power outlet with another device. |
| Battery not charging | Incorrect battery type, incorrect polarity, or battery is faulty. |
|
| Charger or batteries become warm during charging | Normal operation. | It is normal for batteries and the charger to become slightly warm during charging. If they become excessively hot, discontinue use and contact support. |
7. Specifications
- Model Number: 140-849959
- Brand: AgfaPhoto
- Compatible Battery Types: AA, AAA, 9V Ni-MH/Ni-Cd rechargeable batteries
- Number of Ports: 3 (for AA/AAA, and 9V)
- Output Voltage: 9 volts (for 9V batteries, specific output for AA/AAA not detailed in provided data but implied by function)
- Product Dimensions: 29.99 x 5.16 x 12.69 cm
- Item Weight: 100 g
- Color: Black
- Certification: CE
8. Warranty and Support
AgfaPhoto products are manufactured to high-quality standards. For information regarding warranty coverage, technical support, or service, please refer to the warranty card included with your purchase or visit the official AgfaPhoto website.
Please retain your proof of purchase for warranty claims.