Introduction
This manual provides detailed instructions for the assembly, operation, and maintenance of your InnoGear Microphone Boom Arm Stand Kit. Please read this manual thoroughly before use to ensure proper setup and optimal performance. This kit is designed to provide a stable and adjustable platform for various microphones, enhancing your recording and streaming experience.
Safety Information
- Ensure the desk clamp is securely fastened to a stable surface before attaching the boom arm.
- Do not overload the boom arm beyond its maximum weight capacity of 3.3 lbs (1.5 kg).
- Avoid sudden movements or excessive force when adjusting the arm to prevent damage or instability.
- Keep all components away from water and extreme temperatures.
Package Contents
Verify that all items listed below are included in your package:
- 1 x Microphone Stand (Boom Arm)
- 1 x Zinc Alloy Table Mounting Clamp
- 1 x 3/8" to 5/8" Metal Screw Adapter
- 1 x Pop Filter
- 1 x Shock Mount
- 5 x Cable Ties

Image: All components included in the InnoGear Microphone Boom Arm Stand Kit.
Setup Instructions
- Install the Table Mounting Clamp:
Attach the zinc alloy table mounting clamp to a sturdy desk or table edge. Ensure the surface thickness is no more than 2 inches (5 cm). Tighten the screw firmly until the clamp is stable. The clamp features a sponge pad to protect your desk surface.
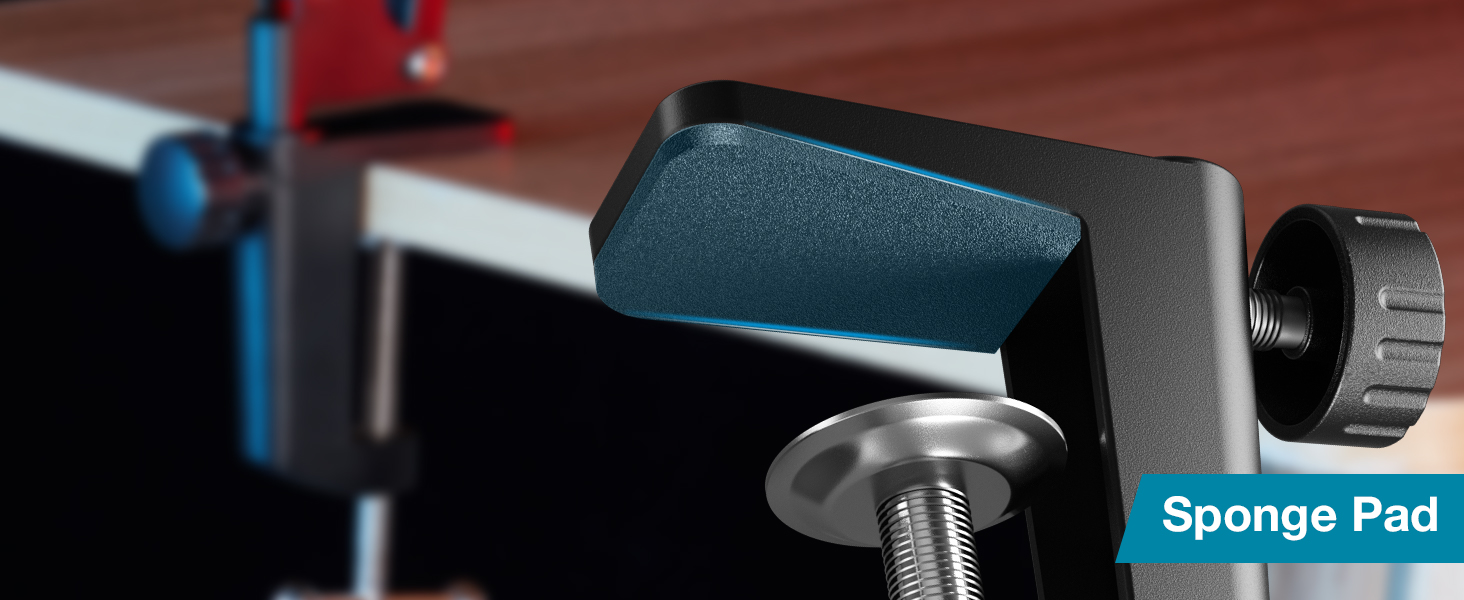
Image: Close-up of the desk clamp with its protective sponge pad.

Image: Diagram illustrating compatible and incompatible desk edge types for the clamp. The clamp fits flat surfaces up to 2 inches thick and is not suitable for slanted or curved edges.
- Attach the Boom Arm:
Insert the base of the microphone boom arm into the hole on the table mounting clamp. Tighten the screw on the clamp to secure the arm in place.
- Mount Your Microphone:
Depending on your microphone, you may need to use the included 3/8" to 5/8" metal screw adapter. Screw the microphone directly onto the boom arm's thread, or attach the shock mount first.
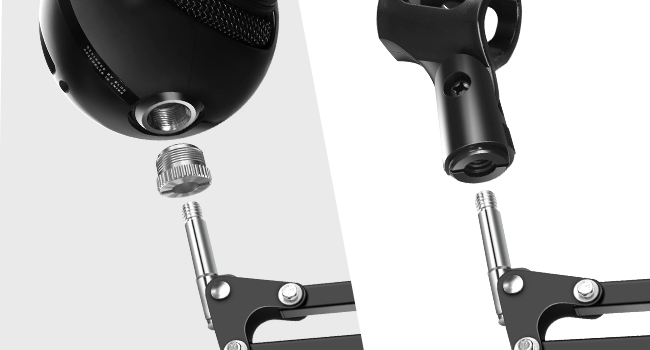
Image: Illustration of attaching a microphone to the boom arm, showing the 3/8" to 5/8" adapter.
- Install the Shock Mount:
If using the shock mount, screw it onto the boom arm's thread. Then, carefully place your microphone into the shock mount. Note: The included shock mount is designed for microphones with an outer diameter of 40-53mm and is NOT compatible with Blue Yeti or Blue Snowball microphones.

Image: Detailed view of the premium shock mount with dimensions (2.05 in, 3.35 in, 2.24 in) and a clear warning that it is not suitable for Blue Yeti microphones.

Image: Visual guide showing various microphones compatible with the shock mount (e.g., Fifine K669B, MPM-1000, NT1-A, TONOR Q9, NW-800, NW-700, HyperX QuadCast, AT2035). It reiterates that the shock mount fits mics with an outer diameter of 40-53mm and is not for Blue Yeti or Blue Snowball.
- Attach the Pop Filter:
The pop filter can be clamped directly onto the boom arm or your desk. Position it in front of your microphone to reduce plosive sounds.

Image: Close-up of the double-screen pop filter, highlighting its close-weave surface for preventing saliva spraying.
- Cable Management:
Use the provided cable ties to neatly secure your microphone cable along the boom arm, preventing tangles and maintaining a clean setup.
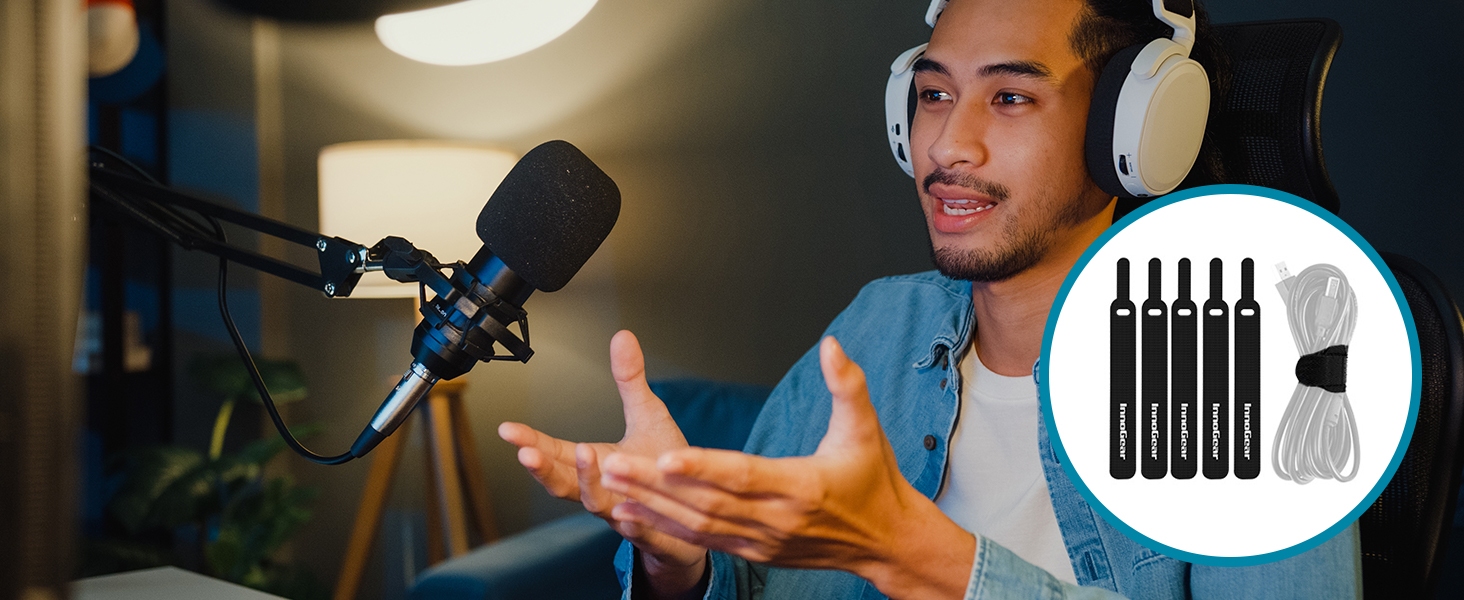
Image: A user speaking into a microphone mounted on the boom arm, with cable ties managing the microphone cable.
Operating Instructions
Adjusting the Boom Arm
The InnoGear boom arm is designed for flexible positioning. It features multiple adjustable joints:
- The base rotates 360° for full horizontal movement.
- The arm segments can be extended 135° back and forth.
- The microphone attachment point can be adjusted 180° up and down.
Loosen the adjustment knobs at each joint to reposition the arm, then tighten them to secure the desired angle and height. The arm's strong springs provide stability and prevent accidental dropping, supporting microphones up to 3.3 lbs (1.5 kg).

Image: Diagram showing the adjustable range of the boom arm, including 13.8 inch reach, 270° and 180° arm articulation, and 360° base rotation.
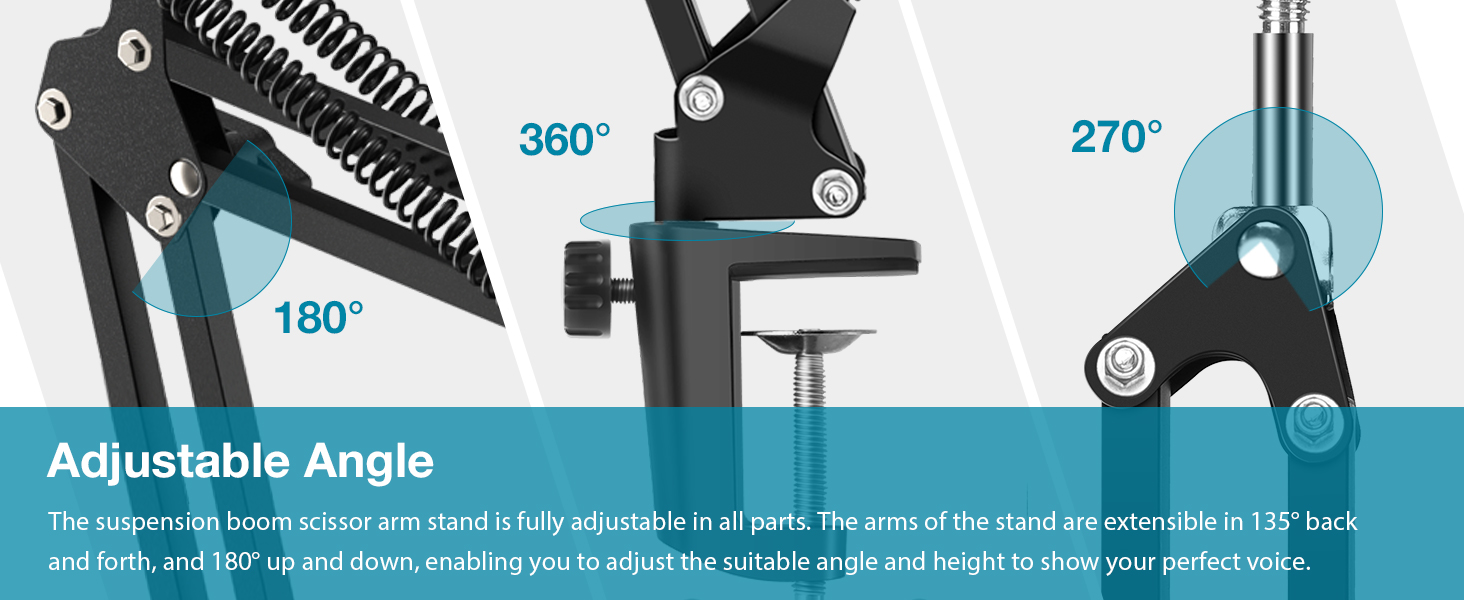
Image: Three detailed views illustrating the 360° rotation at the base, 270° articulation of the lower arm, and 180° articulation of the upper arm for precise positioning.
Load Capacity Adjustment
The boom arm features two positioning screw options to adjust load-bearing capacity. If your microphone is heavier, you can switch the spring's attachment point to the second hole to increase stability and support.

Image: Illustration demonstrating the heavy-duty construction and a maximum load capacity of 3.3 lbs. It also shows the two positioning screw options for adjusting spring tension.
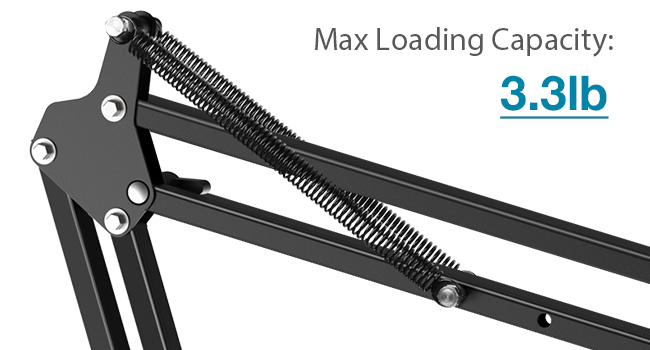
Image: Close-up of the boom arm's spring mechanism, indicating a maximum loading capacity of 3.3 lbs.
Compatibility
The InnoGear Microphone Boom Arm is designed for wide compatibility with various microphones. It includes a 3/8" to 5/8" screw adapter to fit most standard microphone threads.
Microphone Compatibility (with 3/8" to 5/8" adapter):
- Blue Yeti
- Blue Snowball
- HyperX QuadCast S
- HyperX SoloCast
- Fifine AM8
- Fifine K669B
- Shure MV7
- Fifine A6V
- And other standard-sized microphones.
Microphone Clip Holder Compatibility:
The included microphone clip holder is suitable for microphones with a maximum diameter of 1.26 inches (32mm), such as:
- Shure SM58
- Shinco
- Fifine K6
- Samson Q2U

Image: Visual chart detailing wide compatibility with various microphones using the 3/8" to 5/8" screw adapter and the microphone clip holder.
Maintenance
- Cleaning: Wipe the boom arm and accessories with a soft, dry cloth. Avoid using abrasive cleaners or solvents.
- Joints: Periodically check the tightness of all screws and knobs. Tighten if necessary to maintain stability.
- Storage: When not in use, the boom arm can be folded for compact storage.
Troubleshooting
- Problem: Boom arm is unstable or sags.
- Solution: Ensure the desk clamp is securely tightened. Verify that your microphone's weight does not exceed the 3.3 lbs (1.5 kg) capacity. Adjust the spring tension by moving the positioning screw to the second hole if applicable.
- Problem: Microphone does not fit the shock mount.
- Solution: The shock mount is designed for microphones with an outer diameter of 40-53mm. It is not compatible with Blue Yeti or Blue Snowball microphones. If your microphone falls outside this range or is one of the incompatible models, you will need a different shock mount or microphone clip.
- Problem: Microphone does not screw onto the boom arm.
- Solution: Ensure you are using the correct 3/8" to 5/8" screw adapter if your microphone requires it. Check the threading on both the microphone and the arm for any damage.
- Problem: Pop filter is not effective.
- Solution: Ensure the pop filter is positioned correctly, approximately 2-3 inches in front of the microphone, and that the microphone is speaking into the side of the pop filter facing the user.
Specifications
| Brand | InnoGear |
| Model Number | MU059 |
| Item Weight | 2.16 pounds (0.98 kg) |
| Package Dimensions | 16.02 x 7.72 x 2.44 inches |
| Body Material | Alloy Steel |
| Color | Black |
| Max Load Capacity | 3.3 lbs (1.5 kg) |
| Desk Clamp Thickness | Max 2 inches (5 cm) |
| Shock Mount Diameter | 40-53mm (internal) |
| Microphone Clip Diameter | Max 1.26 inches (32mm) |
Warranty and Support
InnoGear products come with a standard manufacturer's warranty. For specific warranty details, technical support, or customer service inquiries, please refer to the official InnoGear website or contact their customer support directly. Keep your purchase receipt for warranty claims.
