
Trevi AB 210
Trevi Bidet Toilet Seat Instruction Manual
Model: AB 210 | Brand: Trevi
Introduction
The Trevi Bidet Toilet Seat is designed to provide a superior level of personal hygiene and comfort. This manual provides detailed instructions for the proper installation, operation, and maintenance of your new bidet seat. Please read all instructions carefully before installation and use to ensure safe and efficient operation.
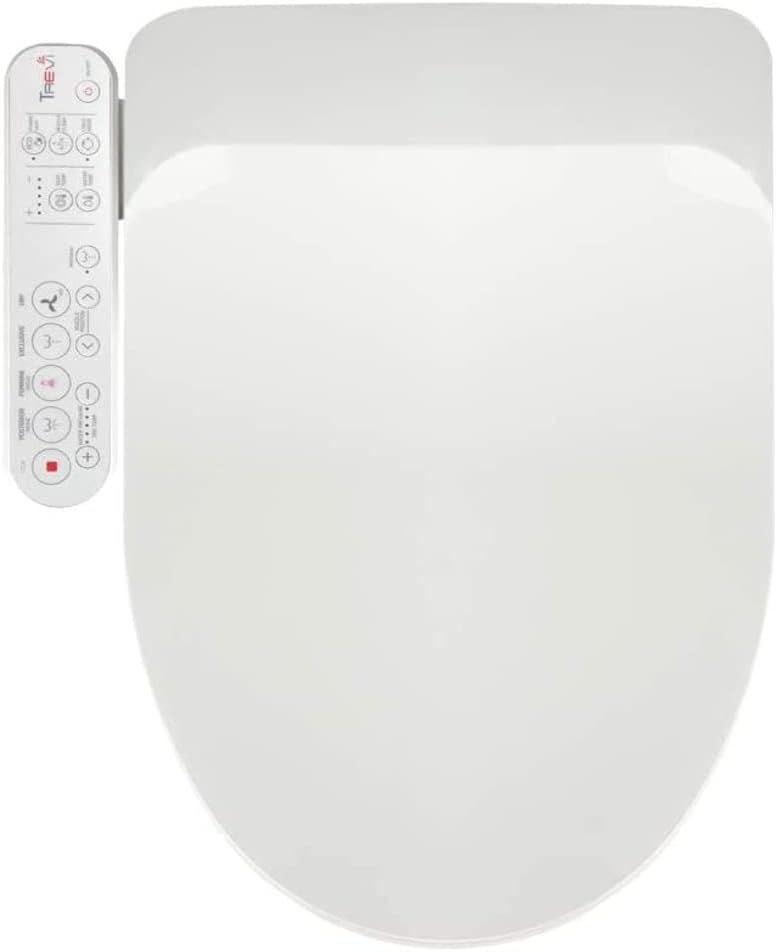
Image: Top-down view of the Trevi Bidet Toilet Seat, highlighting its sleek design and integrated control panel.
Key Features
- 3 Wash Functions: Posterior, Feminine, and Aerated Exclusive wash for comfortable and thorough cleaning.
- Nozzle Oscillation and Pulse: For wider wash coverage and varying water pressure.
- Warm Air Dryer: Provides a comfortable drying experience after washing.
- Heated Seat: Adjustable seat temperature for year-round comfort.
- Full Stainless Steel Nozzle: Durable and hygienic.
- Self-Cleaning Nozzle: Automatically cleans before and after each use, with a dedicated 2-minute cleaning cycle.
- Power Save Mode: Minimizes energy consumption.
- Child Mode: Specialized setting for children's use.
- Soft Close Lid: Prevents slamming and reduces noise.
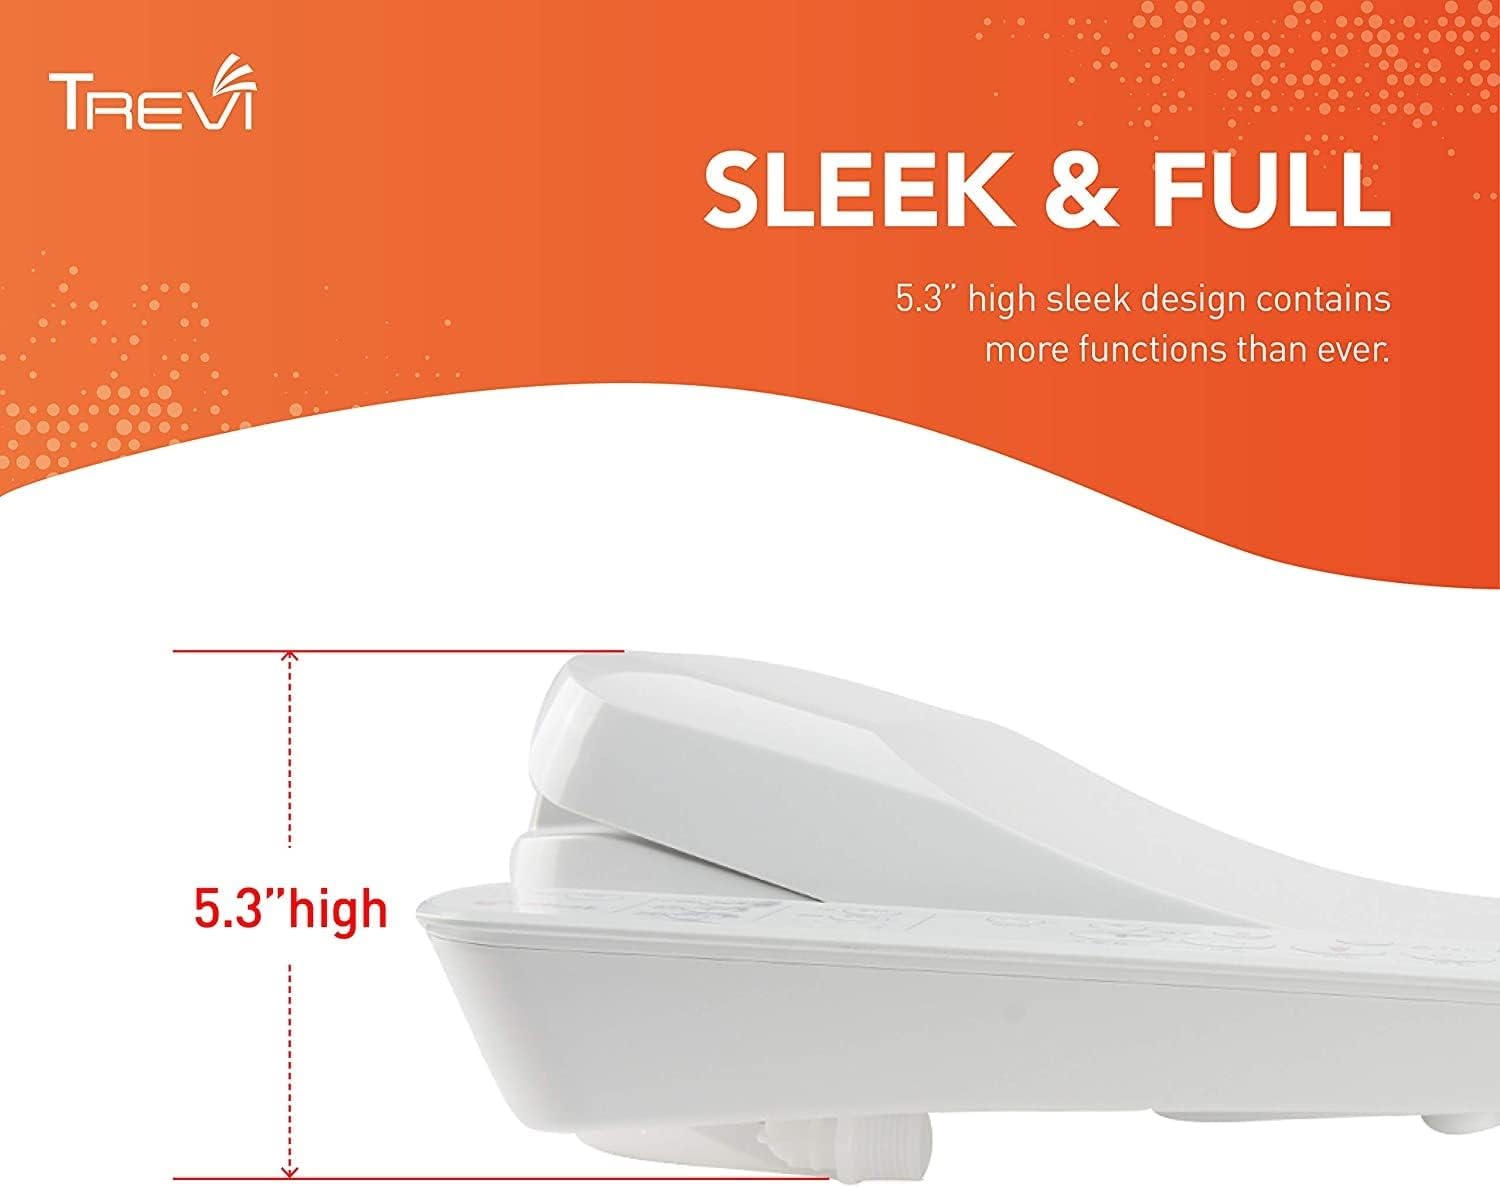
Image: The bidet seat features a sleek, low-profile design, measuring 5.3 inches high.

Image: Detail of the air bubble function, showing aerated water for a gentle yet effective wash.

Image: Visual representation of the warm air dryer in operation, providing comfortable post-wash drying.

Image: The nozzle cleaning function, showing water actively rinsing the stainless steel nozzle.
Setup and Installation
The Trevi Bidet Toilet Seat is designed for DIY easy installation. No plumber is typically required. Follow these steps for a smooth setup:
- Turn off Water Supply: Locate and turn off the water supply valve to your toilet. Flush the toilet to drain the tank completely.
- Remove Existing Toilet Seat: For most toilet seats, flip up the screw caps behind the seat and use a flathead screwdriver to loosen the screws. Remove the old seat.
- Connect to Water Line: Disconnect the existing flexible hose from your toilet tank. Prepare the T-valve (tank adapter) by inserting a black washer inside. Connect the top side of the T-valve to the tank of your toilet tightly. Connect the Trevi hose to the side hole of the T-valve.
- Attach Base Plate: Place the Trevi base plate onto the toilet bowl, ensuring the side with rubber non-slip pads is facing down. Align the back of the base plate with the tank, leaving a gap of at least 3/4 inches. Line up the mounting brackets on the base plate over the toilet bolt holes and click them into the grooves. Insert the mounting bolts into the bolt holes and tighten the packing, washer, and nuts from the bottom of the toilet bowl.
- Attach Bidet Unit: Place your Trevi Bidet onto the toilet bowl, connecting the slots of the main body with the base plate. You will hear a click when it is properly attached.
- Plug In: Plug your Trevi Bidet into a grounded, 3-prong 120V outlet.
- Restore Water Supply: Open the water supply valve to fill the toilet tank. It will take about 1 minute to complete, and you may hear a 'beep' sound when the tank is full.
Video: Official installation guide for the Trevi Bidet Toilet Seat, demonstrating each step of the setup process.
Important Note on Toilet Bowl Shape:
This bidet seat is designed for elongated toilet bowls. Ensure your toilet bowl measures 20.6 inches or more from the toilet tank to the front of the toilet bowl for proper fit and function.

Image: Diagram illustrating the required dimensions for an elongated toilet bowl to ensure compatibility with the bidet seat.
Operating Instructions
The Trevi Bidet Toilet Seat features an intuitive side control panel. Ensure you are seated on the bidet for wash functions to activate, as it includes a sensor.

Image: Detailed view of the bidet's control panel, showing buttons for wash modes, temperature, and other settings.
Wash Functions:
- Posterior Wash: Press the 'Posterior' button for a rear wash.
- Feminine Wash: Press the 'Feminine' button for a front wash.
- Exclusive Wash: Press the 'Exclusive' button for an aerated wash, which can assist with constipation.
- Nozzle Oscillation: Press the 'Move' button during a wash to make the nozzle oscillate back and forth for wider coverage.
- Water Pressure Pulse: Water pressure pulsates from strong to soft during certain wash cycles.
- Water Pressure Adjustment: Use the '+' and '-' buttons to adjust water pressure.
- Nozzle Position Adjustment: Use the arrow buttons to adjust the nozzle's position.
Temperature Controls:
- Seat Temperature: Adjust the heated seat temperature using the 'Seat Temp' buttons.
- Water Temperature: Adjust the water temperature using the 'Water Temp' buttons.
Other Functions:
- Warm Air Dryer: Press the 'Dry' button to activate the warm air dryer.
- Nozzle Clean: Press the 'Nozzle Clean' button to activate a 2-minute automatic self-cleaning cycle for the nozzle.
- Power Save Mode: Activates an eco-friendly mode to reduce energy consumption.
- Child Mode: Adjusts settings for a gentler experience suitable for children.
- Stop: Press the 'Stop' button to end any active function.
Video: Overview of the Trevi Bidet Toilet Seat AB210, showcasing its various features and functions in action.
Maintenance
Regular cleaning and maintenance will ensure the longevity and hygienic operation of your Trevi Bidet Toilet Seat.
- Nozzle Cleaning: Utilize the dedicated 'Nozzle Clean' function regularly to ensure the nozzle remains hygienic.
- Exterior Cleaning: Wipe down the exterior of the bidet seat with a soft, damp cloth and mild, non-abrasive cleaner. Avoid harsh chemicals that could damage the surface.
- Filter Cleaning: Refer to the detailed user manual (PDF) for instructions on cleaning or replacing any internal filters, if applicable.
Troubleshooting
If you encounter any issues with your Trevi Bidet Toilet Seat, please refer to the following common solutions:
- No Power/Functions Not Working: Ensure the bidet is properly plugged into a grounded 120V outlet. Check if the power save mode is active. Verify the seat sensor is engaged (you must be seated for wash functions to operate).
- No Water/Low Water Pressure: Confirm the water supply valve to the toilet is fully open. Check all hose connections for kinks or leaks.
- Nozzle Not Extending/Retracting: Ensure the seat sensor is properly engaged. Run the 'Nozzle Clean' cycle to clear any obstructions.
- Unusual Noises: A 'beep' sound is normal when the tank fills. Other unusual noises may indicate an issue; refer to the detailed user manual or contact customer support.
For more complex issues or problems not listed here, please consult the comprehensive user manual (PDF) or contact Trevi customer support.
Technical Specifications
| Feature | Specification |
|---|---|
| Brand | Trevi |
| Model Number | AB 210 |
| Color | White |
| Material | PP material |
| Style | AB210 (With Dryer) |
| Shape | Oval (Elongated) |
| Product Dimensions | 21"L x 18.7"W |
| Item Weight | 12.7 Pounds |
| Operation Mode | Automatic |
| Power Source | AC |
| Voltage | 120 Volts |
| Maximum Power | 860 Watts |
| Manufacturer | Ace Life Co., Ltd |
Warranty and Support
For detailed warranty information and customer support, please refer to the official user manual or contact the manufacturer directly.
Manufacturer: Ace Life Co., Ltd
User Manual (PDF): Download PDF
Related documentsAB 210

Ask a question about this manual
Ask about setup, troubleshooting, compatibility, parts, safety, or missing instructions. Manuals+ will review the question and use this page’s manual context to help answer it.