1. Introduction
Thank you for choosing the KLARSTEIN Lady Marmalade 27L Pasteurizer and Hot Beverage Dispenser. This versatile appliance is designed for both preserving food through pasteurization and serving hot beverages. With its 1800 Watt heating element and precise temperature control, it offers efficient and reliable performance. Please read this manual carefully before initial use to ensure safe operation and optimal performance.
2. Safety Instructions
- Always connect the appliance to a grounded power outlet with the correct voltage (220-240 V~ | 50-60 Hz).
- Do not immerse the appliance, power cord, or plug in water or other liquids.
- Keep the appliance out of reach of children and pets.
- Ensure the appliance is placed on a stable, heat-resistant surface.
- Do not operate the appliance if the power cord or plug is damaged. Contact qualified service personnel.
- Exercise caution when handling hot liquids and surfaces. The appliance surfaces become hot during operation. Use the Cool-Touch handles.
- Never operate the appliance empty. Ensure there is always sufficient liquid inside when heating.
- Unplug the appliance from the power outlet before cleaning or when not in use.
- This appliance is equipped with overheating protection. If the appliance overheats, it will automatically shut off.
3. Product Overview
The KLARSTEIN Lady Marmalade is a versatile appliance designed for both pasteurization and hot beverage dispensing. It features a durable stainless steel construction and intuitive controls.
3.1 Components
- Main Unit (Stainless Steel Pot with Base)
- Lid
- Sterilization Grid (Insert Rack)
- Service Tap (Spigot)
- Power Cable (Integrated)
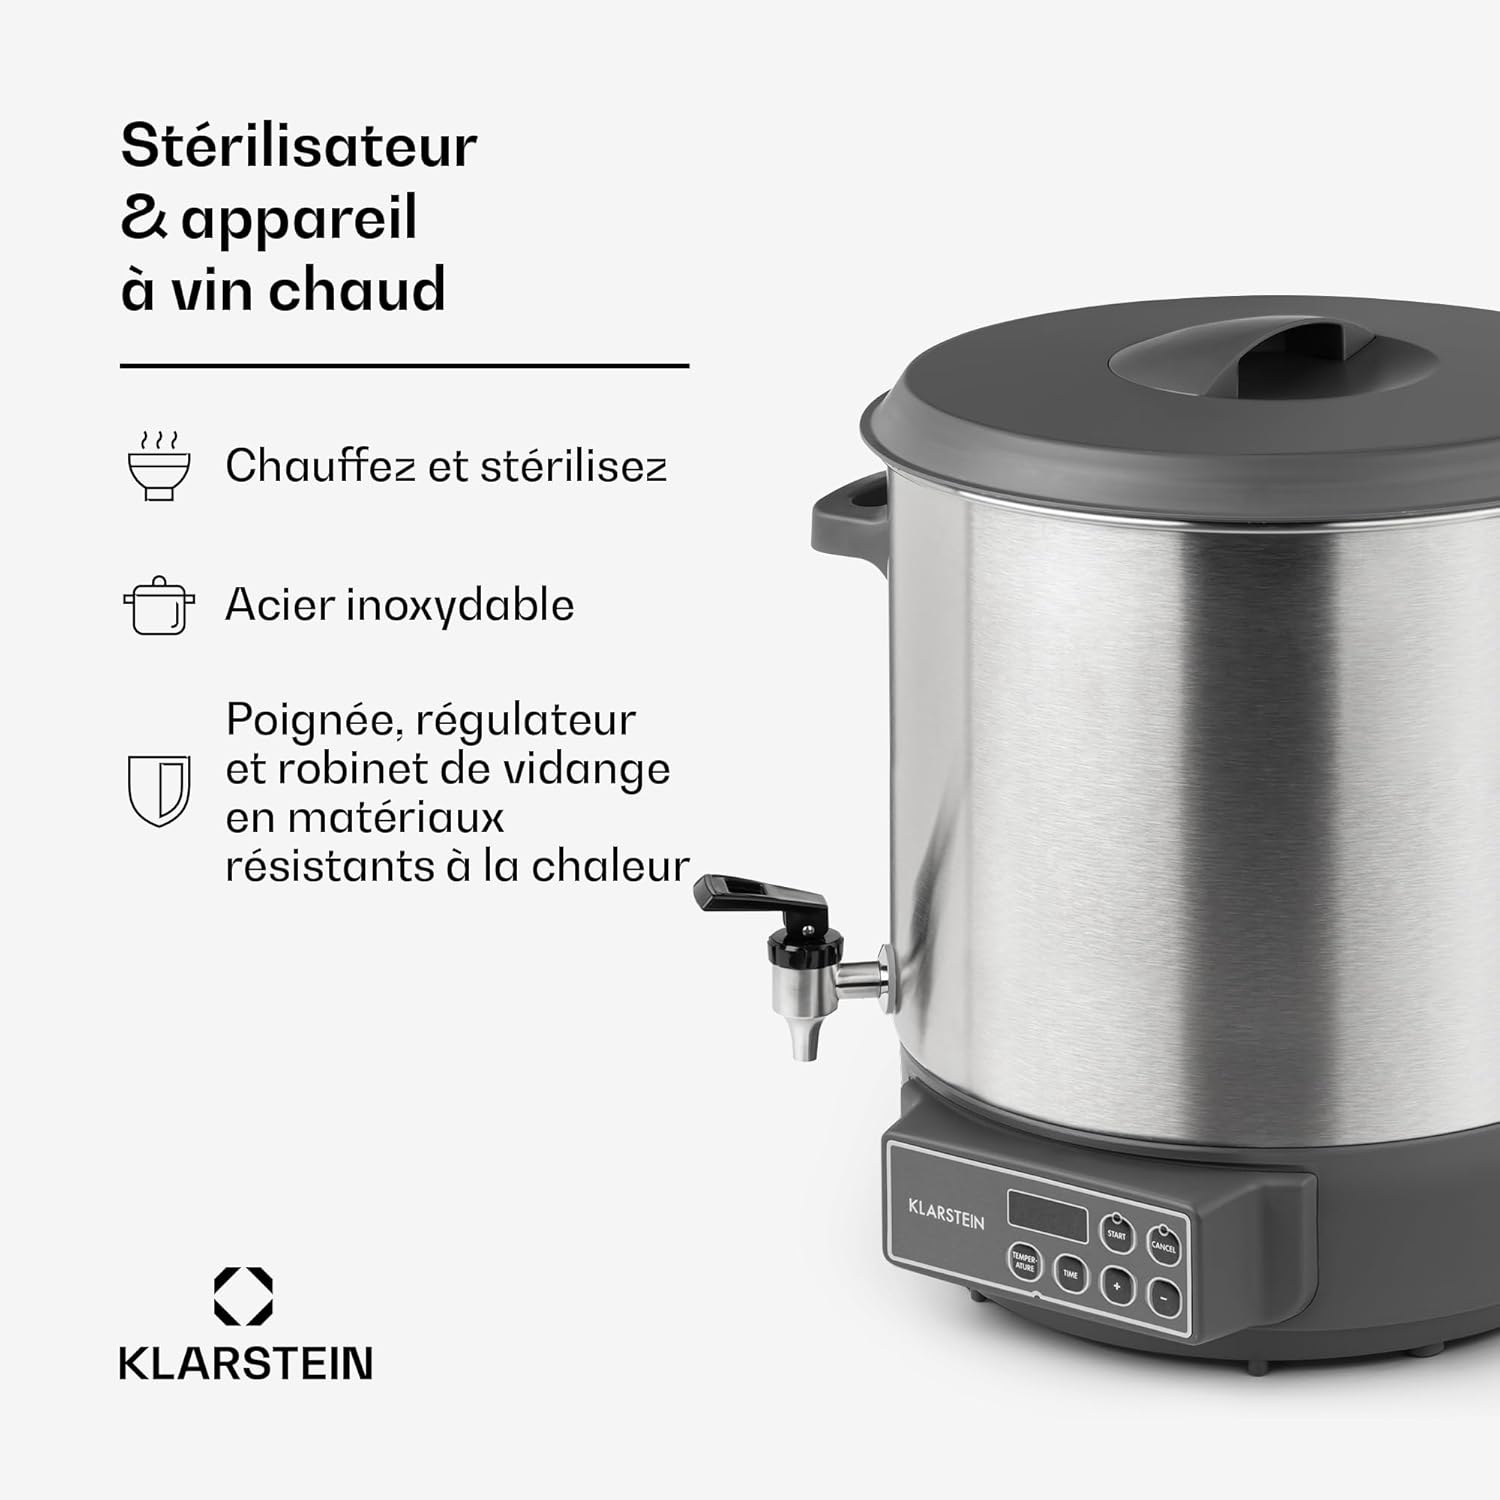
Image 1: Overview of the KLARSTEIN Lady Marmalade Pasteurizer, showing its stainless steel body, lid, and service tap. The handles and control knobs are made of heat-resistant material.
3.2 Control Panel
The control panel features an intuitive touch interface and a digital display for temperature and timer settings.
- Digital Display: Shows current temperature and remaining time.
- TEMPERATURE Button: Selects temperature setting mode.
- TIME Button: Selects timer setting mode.
- '+' / '-' Buttons: Adjust temperature or time values.
- START Button: Initiates the selected program.
- CANCEL Button: Stops the current program or clears settings.

Image 2: Detailed view of the control panel, highlighting the digital display, temperature and time adjustment buttons, and start/cancel controls. The temperature range is 30-100 °C and the timer range is 5-120 minutes.
4. Setup
- Unpacking: Carefully remove all components from the packaging. Retain packaging for future storage or transport.
- Initial Cleaning: Before first use, clean the interior of the pot, the lid, and the sterilization grid with warm soapy water. Rinse thoroughly and dry.
- Assemble Tap: Attach the service tap to the designated opening on the lower front of the appliance. Ensure it is securely fastened to prevent leaks.
- Placement: Place the appliance on a flat, stable, and heat-resistant surface, away from walls and other heat-sensitive objects. Ensure adequate ventilation.
5. Operating Instructions
5.1 Pasteurizing / Canning
The appliance can be used to pasteurize up to 14 one-liter jars. Always refer to a reliable canning guide for specific processing times and temperatures for different foods.
- Place the sterilization grid at the bottom of the pot.
- Arrange filled and sealed canning jars on the grid. Ensure jars do not touch each other or the sides of the pot.
- Fill the pot with water until the jars are covered by at least 2-3 cm (approximately 1 inch) of water. Do not exceed the maximum fill line.
- Place the lid on the pot.
- Plug the appliance into a power outlet.
- Press the TEMPERATURE button and use the '+' / '-' buttons to set the desired pasteurization temperature (e.g., 90°C for fruits).
- Press the TIME button and use the '+' / '-' buttons to set the required processing time (e.g., 30 minutes). The timer will only start counting down once the set temperature is reached.
- Press the START button to begin the process. The display will show the current temperature.
- Once the set time has elapsed, the appliance will beep and automatically switch to a keep-warm function or turn off, depending on the model's specific programming.
- Carefully remove the hot jars using appropriate canning tongs. Allow them to cool completely before storing.

Image 3: Interior view of the pasteurizer, showing the removable sterilization grid at the bottom. This grid prevents jars from directly touching the heating element and allows for even heat distribution during canning.
5.2 Hot Beverage Dispensing
The appliance can also be used to heat and dispense hot beverages such as tea, punch, or mulled wine.
- Ensure the service tap is closed.
- Pour the desired beverage into the pot. Do not exceed the maximum fill line.
- Place the lid on the pot.
- Plug the appliance into a power outlet.
- Press the TEMPERATURE button and use the '+' / '-' buttons to set the desired serving temperature (e.g., 70°C for mulled wine).
- If a specific heating time is required, press the TIME button and set the duration. For simple heating, you can omit setting a time; the appliance will maintain the set temperature.
- Press the START button. The appliance will heat the beverage to the set temperature.
- To dispense, open the service tap. Close it securely after use.

Image 4: Close-up of the hygienic stainless steel service tap with a Cool-Touch handle, designed for easy and splash-free dispensing of hot beverages.
6. Maintenance and Cleaning
Regular cleaning ensures the longevity and hygienic operation of your appliance.
- Disconnect Power: Always unplug the appliance from the power outlet and allow it to cool completely before cleaning.
- Interior Cleaning: The stainless steel pot is easy to clean. Wash the interior with warm water and a mild dish soap. Use a soft sponge or cloth to avoid scratching the surface. Rinse thoroughly.
- Exterior Cleaning: Wipe the exterior with a damp cloth. Do not use abrasive cleaners or scouring pads, as these can damage the brushed stainless steel finish.
- Tap Cleaning: The service tap can be disassembled for thorough cleaning if necessary. Ensure all parts are clean and reassembled correctly to prevent leaks.
- Descaling: Over time, mineral deposits (limescale) may build up, especially if using hard water. Descale the appliance regularly using a commercial descaling agent suitable for stainless steel appliances, or a solution of water and vinegar/citric acid. Follow the descaling product's instructions.
- Storage: Store the clean and dry appliance in a cool, dry place.
7. Troubleshooting
If you encounter issues with your appliance, please consult the following table before contacting customer support.
| Problem | Possible Cause | Solution |
|---|---|---|
| Appliance does not turn on. | Not plugged in; power outage; faulty outlet. | Check power cord connection; verify power supply; try a different outlet. |
| Appliance not heating. | Overheating protection activated; incorrect temperature setting; insufficient liquid. | Allow appliance to cool down; ensure correct temperature is set and START button pressed; add sufficient liquid. |
| Leakage from the tap. | Tap not properly assembled or tightened; seal damaged. | Ensure tap is securely tightened; check and replace seal if damaged. |
| Digital display not working. | Power issue; internal fault. | Check power supply. If problem persists, contact customer support. |
8. Specifications
- Model: FP14-LadyMarmaladef
- Capacity: 27 Liters
- Power: 1800 Watts
- Voltage: 220-240 Volts
- Frequency: 50-60 Hz
- Temperature Range: 30 - 100 °C
- Timer Range: 5 minutes - 12 hours
- Dimensions (L x W x H): 42 x 46 x 37 cm
- Weight: 5.1 Kilograms
- Material: Brushed Stainless Steel (pot), Heat-resistant plastic (handles, lid, control knobs)

Image 5: Diagram illustrating the dimensions of the KLARSTEIN Lady Marmalade Pasteurizer, showing a height of 46 cm, width of 45 cm (likely including handles), and depth of 37 cm.
9. Disposal Information
Do not dispose of this appliance with household waste. This product is subject to the European Directive 2012/19/EU on Waste Electrical and Electronic Equipment (WEEE). Ensure proper disposal at an authorized collection point for electrical and electronic equipment. This helps protect the environment and human health.
10. Warranty and Support
For warranty claims, technical support, or spare parts inquiries, please contact your retailer or the KLARSTEIN customer service department. Information regarding spare parts availability is not provided in this manual. Please retain your proof of purchase for warranty purposes.


