Introduction
This manual provides essential information for the safe and effective operation, maintenance, and troubleshooting of your STANLEY SS30 300W 125mm Variable Speed Random Orbital Sander. Please read this manual thoroughly before using the tool to ensure proper handling and to maximize its performance and lifespan.
The STANLEY SS30 is designed for efficient sanding of various surfaces, offering variable speed control for optimal results on different materials. Its compact design and ergonomic features contribute to user comfort during extended use.
Safety Instructions
WARNING: Read all safety warnings and all instructions. Failure to follow the warnings and instructions may result in electric shock, fire and/or serious injury.
- Always wear appropriate personal protective equipment (PPE) including safety glasses, dust mask, and hearing protection.
- Ensure the work area is well-lit and free of clutter.
- Do not operate power tools in explosive atmospheres, such as in the presence of flammable liquids, gases or dust.
- Keep children and bystanders away while operating a power tool.
- Avoid accidental starting. Ensure the switch is in the off-position before plugging in.
- Do not overreach. Keep proper footing and balance at all times.
- Disconnect the plug from the power source before making any adjustments, changing accessories, or storing power tools.
- Maintain power tools. Check for misalignment or binding of moving parts, breakage of parts and any other condition that may affect the power tool’s operation.
- Use the power tool, accessories and tool bits etc. in accordance with these instructions, taking into account the working conditions and the work to be performed.
Product Overview
Familiarize yourself with the components of your STANLEY SS30 Random Orbital Sander:

Front view of the STANLEY SS30 Random Orbital Sander, showing the main body, handle, and attached dust collection bag.

Side view of the STANLEY SS30 Random Orbital Sander, highlighting its compact design and ergonomic grip.

Close-up of the variable speed dial on the STANLEY SS30, allowing adjustment of sanding speed.

View of the sanding pad with hook and loop system, and a detached sandpaper disc, ready for attachment.
Key features include:
- Rubber Grip: Improves ergonomics for comfortable handling.
- Compact Size: Ensures more comfort and less fatigue during use.
- Hook and Loop Base: For quick and easy sandpaper changes, with suction holes for dust extraction.
- Dust Extraction System: Includes a vacuum adapter and dust collector for a cleaner work environment.
- Variable Speed: Allows adjustment of sanding speed up to 3000 RPM for different applications.
Setup
- Unpacking: Carefully remove the sander and all accessories from the packaging. Ensure all components listed in the "What's in the Box" section are present.
- Attaching Sandpaper:
- Ensure the sander is unplugged from the power source.
- Align the holes on the sandpaper disc with the holes on the sander's hook and loop base.
- Press the sandpaper firmly onto the base to secure it.
Proper alignment and attachment of sandpaper to the sanding pad.
- Attaching Dust Collection Bag:
- Slide the dust collection bag onto the dust port at the rear of the sander until it is securely fitted.
- Alternatively, connect a vacuum adapter to the dust port for external dust extraction.
The dust collection bag securely attached to the sander's dust port.
Operating Instructions
- Power Connection: Plug the sander into a suitable power outlet (240 Volts).
- Selecting Speed: Use the variable speed dial to select the desired sanding speed. Lower speeds are suitable for delicate work or polishing, while higher speeds are for aggressive material removal.
- Starting the Sander: Hold the sander firmly with both hands. Press the ON/OFF switch to start the tool.
- Sanding Technique:
- Place the sander flat on the workpiece before turning it on.
- Apply light, even pressure. Let the sander do the work. Excessive pressure can reduce efficiency and damage the workpiece or tool.
- Move the sander in overlapping circular or back-and-forth motions to ensure even sanding.
- For best results, sand with the grain of the wood where applicable.
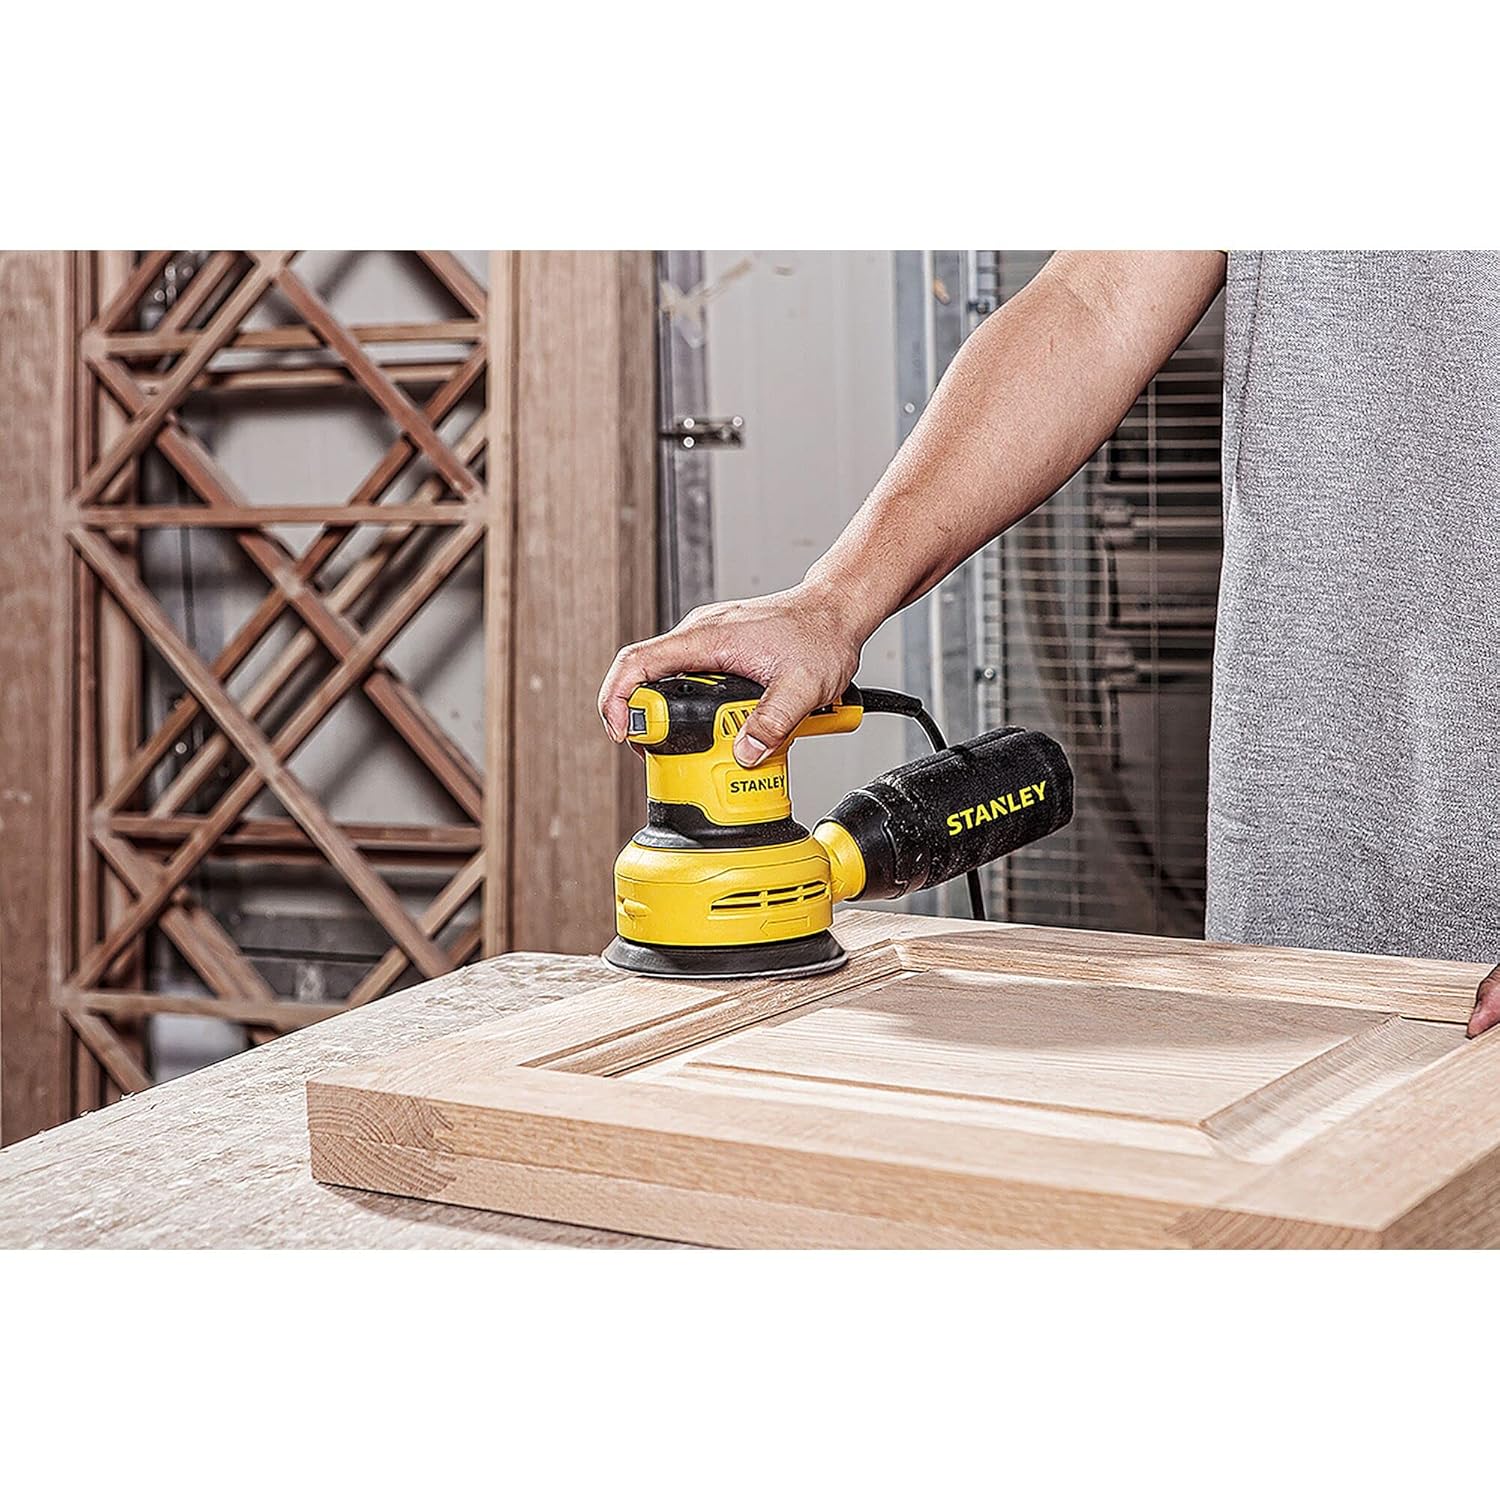
A user demonstrating proper sanding technique on a wooden door panel.

The sander in use on a wooden plank, showing dust particles being collected.
- Stopping the Sander: Lift the sander from the workpiece before turning it off. Press the ON/OFF switch to stop the tool.
Maintenance
Regular maintenance ensures the longevity and optimal performance of your sander.
- Cleaning: After each use, unplug the sander and clean the exterior with a damp cloth. Do not use harsh chemicals or abrasive cleaners.
- Dust Bag/System: Empty the dust collection bag frequently to maintain effective dust extraction. If using an external vacuum, ensure the filter is clean.
- Sanding Pad Inspection: Periodically inspect the hook and loop sanding pad for wear or damage. A worn pad can lead to poor sandpaper adhesion and inefficient sanding. Replace if necessary.
- Ventilation Openings: Keep the ventilation openings clear of dust and debris to prevent overheating. Use compressed air to blow out dust if needed.
- Cord Inspection: Regularly check the power cord for any signs of damage. If damaged, have it repaired by a qualified service technician.
Troubleshooting
| Problem | Possible Cause | Solution |
|---|---|---|
| Sander does not start. | No power supply; ON/OFF switch is off; Damaged power cord. | Check power outlet and circuit breaker; Ensure switch is ON; Inspect power cord for damage and replace if necessary. |
| Poor sanding performance. | Worn sandpaper; Incorrect grit sandpaper; Worn sanding pad; Excessive pressure. | Replace sandpaper; Use appropriate grit for the task; Replace sanding pad; Apply lighter, even pressure. |
| Excessive vibration. | Improperly attached sandpaper; Damaged sanding pad; Internal component issue. | Re-attach sandpaper correctly; Replace sanding pad; If problem persists, contact service center. |
| Ineffective dust collection. | Full dust bag; Clogged dust port/hoses; Improperly attached dust bag. | Empty dust bag; Clear dust port/hoses; Ensure dust bag is securely attached. |
Specifications
| Attribute | Value |
|---|---|
| Brand | STANLEY |
| Model Number | SS30 |
| Wattage | 300 Watts |
| Voltage | 240 Volts |
| Power Source | Corded Electric |
| Maximum Rotational Speed | 3000 RPM |
| Disc Diameter | 125 Millimeters |
| Item Weight | 1.46 Kilograms |
| Product Dimensions | 28 x 9 x 15.6 cm |
| Grit Type | Medium |
| Included Components | Main Unit |
| Country of Origin | China |
Warranty and Support
Your STANLEY SS30 Random Orbital Sander comes with a 1-year warranty provided by the manufacturer from the date of purchase.
For any warranty-related issues or product feedback, please contact STANLEY customer care:
- Customer Care Number: 1860-425-1111
- Operating Hours: 10 AM to 5 PM, Monday to Friday (except government holidays)
- Manufacturer Address: STANLEY, For any warranty related issues or product feedback, please feel free to contact us through our customer care number on: [ 1860-425-1111 ] between 10AM to 5PM from Monday to Friday (except government holidays)
- Packer Address: Stanley Black & Decker India Pvt Limited, GAT NO. 135. 137 & 157. PO Mahalunge Talukha - Khed Pune 410501. India.
- Importer Address: Stanley Black & Decker India Private Ltd #28, Akemps, 3rd Main, 1st Cross, Ashwini Layout Koramangala Bangalore - 560047
Please retain your purchase receipt as proof of purchase for warranty claims.