
Run Bison MEUHB-100/125/150/-40/50K-WH-1PK
Contents
Run Bison LED UFO High Bay Light Instruction Manual
Model: MEUHB-100/125/150/-40/50K-WH-1PK
Brand: Run Bison
1. Introduction
This manual provides essential information for the safe installation, operation, and maintenance of your Run Bison LED UFO High Bay Light. Please read these instructions thoroughly before installation and retain them for future reference. This product is designed for commercial and industrial applications, offering adjustable power output and color temperature to suit various environments.
Safety Information
- Professional Installation: Installation should be performed by a qualified electrician in accordance with national and local electrical codes.
- Power Disconnection: Always disconnect power at the circuit breaker before installing, servicing, or performing any maintenance on the fixture.
- Grounding: Ensure the fixture is properly grounded to avoid potential electrical shock.
- Operating Environment: This fixture is rated IP66, suitable for damp locations. Do not immerse in water.
- Heat: The fixture may become hot during operation. Allow adequate cooling time before handling.

Figure 1: Main view of the Run Bison LED UFO High Bay Light.
2. What's in the Box
Verify that all components are present and undamaged upon opening the package:
- LED UFO High Bay Light (1 unit)
- Pre-assembled Hook (1 unit)
3. Specifications
| Feature | Specification |
|---|---|
| Model Name | MEUHB-100/125/150/-40/50K-WH-1PK |
| Brand | Run Bison |
| Power (Adjustable) | 100W / 125W / 150W |
| Luminous Flux (Adjustable) | 14000lm / 17500lm / 21000lm |
| Color Temperature (CCT) | 4000K (Cool White) / 5000K (Daylight) |
| Dimming | 0-10V Dimmable |
| Voltage | 120-277V |
| Material | Aluminum Alloy Body, Polycarbonate (PC) Lens |
| Product Dimensions | 10.4"L x 10.4"W x 7.1"H |
| Item Weight | 3.6 Pounds |
| IP Rating | IP66 (Suitable for damp locations) |
| Certifications | UL, DLC, FCC |
| Bulb Features | Dimmable, Non-flicker, Anti-glare |
| Color Rendering Index (CRI) | 80.00 |
| Light Direction | Downlight |
| Installation Type | Hook Mounting (Hanging Mount) |

Figure 2: Product dimensions and key components.
4. Setup and Installation
The Run Bison LED UFO High Bay Light is designed for easy hook mounting. Ensure the mounting surface can support the weight of the fixture.
Installation Steps:
- Disconnect Power: Turn off the main power supply at the circuit breaker before beginning installation.
- Prepare Mounting Location: Securely install a suitable hook or mounting bracket capable of supporting the fixture's weight in the desired location.
- Hang the Fixture: Carefully hang the LED UFO High Bay Light using the pre-assembled hook onto the installed mounting point. Ensure it is stable and secure.
- Wiring: Connect the fixture's electrical wires to the building's power supply. Follow standard electrical wiring practices:
- Connect the black wire (Live) from the fixture to the Live wire from the power supply.
- Connect the white wire (Neutral) from the fixture to the Neutral wire from the power supply.
- Connect the green wire (Ground) from the fixture to the Ground wire from the power supply.
- For 0-10V dimming, connect the purple wire (Dim+) and gray wire (Dim-) to a compatible 0-10V dimmer switch (consult an electrician for proper dimmer selection and wiring).
- Secure Connections: Ensure all wire connections are secure and properly insulated.
- Restore Power: Once installation is complete and all connections are checked, restore power at the circuit breaker.
Recommended Installation Heights:
The optimal installation height depends on the desired wattage and light coverage:
- 100W: 10-13 feet (approx. 26 ft diameter coverage)
- 125W: 13-16 feet (approx. 33 ft diameter coverage)
- 150W: 16-20 feet (approx. 39 ft diameter coverage)

Figure 3: Recommended installation heights and light coverage.
5. Operating Instructions
Your Run Bison LED UFO High Bay Light features adjustable power output and color temperature, allowing customization for your specific lighting needs.
Adjusting Power (Wattage) and Color Temperature (CCT)
The fixture includes easy-selection slider switches for adjusting wattage and CCT. These switches are typically located on the side or top of the fixture, often under a protective cover. Ensure power is disconnected before making adjustments.
- Power Adjustment: Locate the wattage selection switch. Slide it to choose between 100W, 125W, or 150W.
- CCT Adjustment: Locate the CCT selection switch. Slide it to choose between 4000K (Cool White) or 5000K (Daylight).
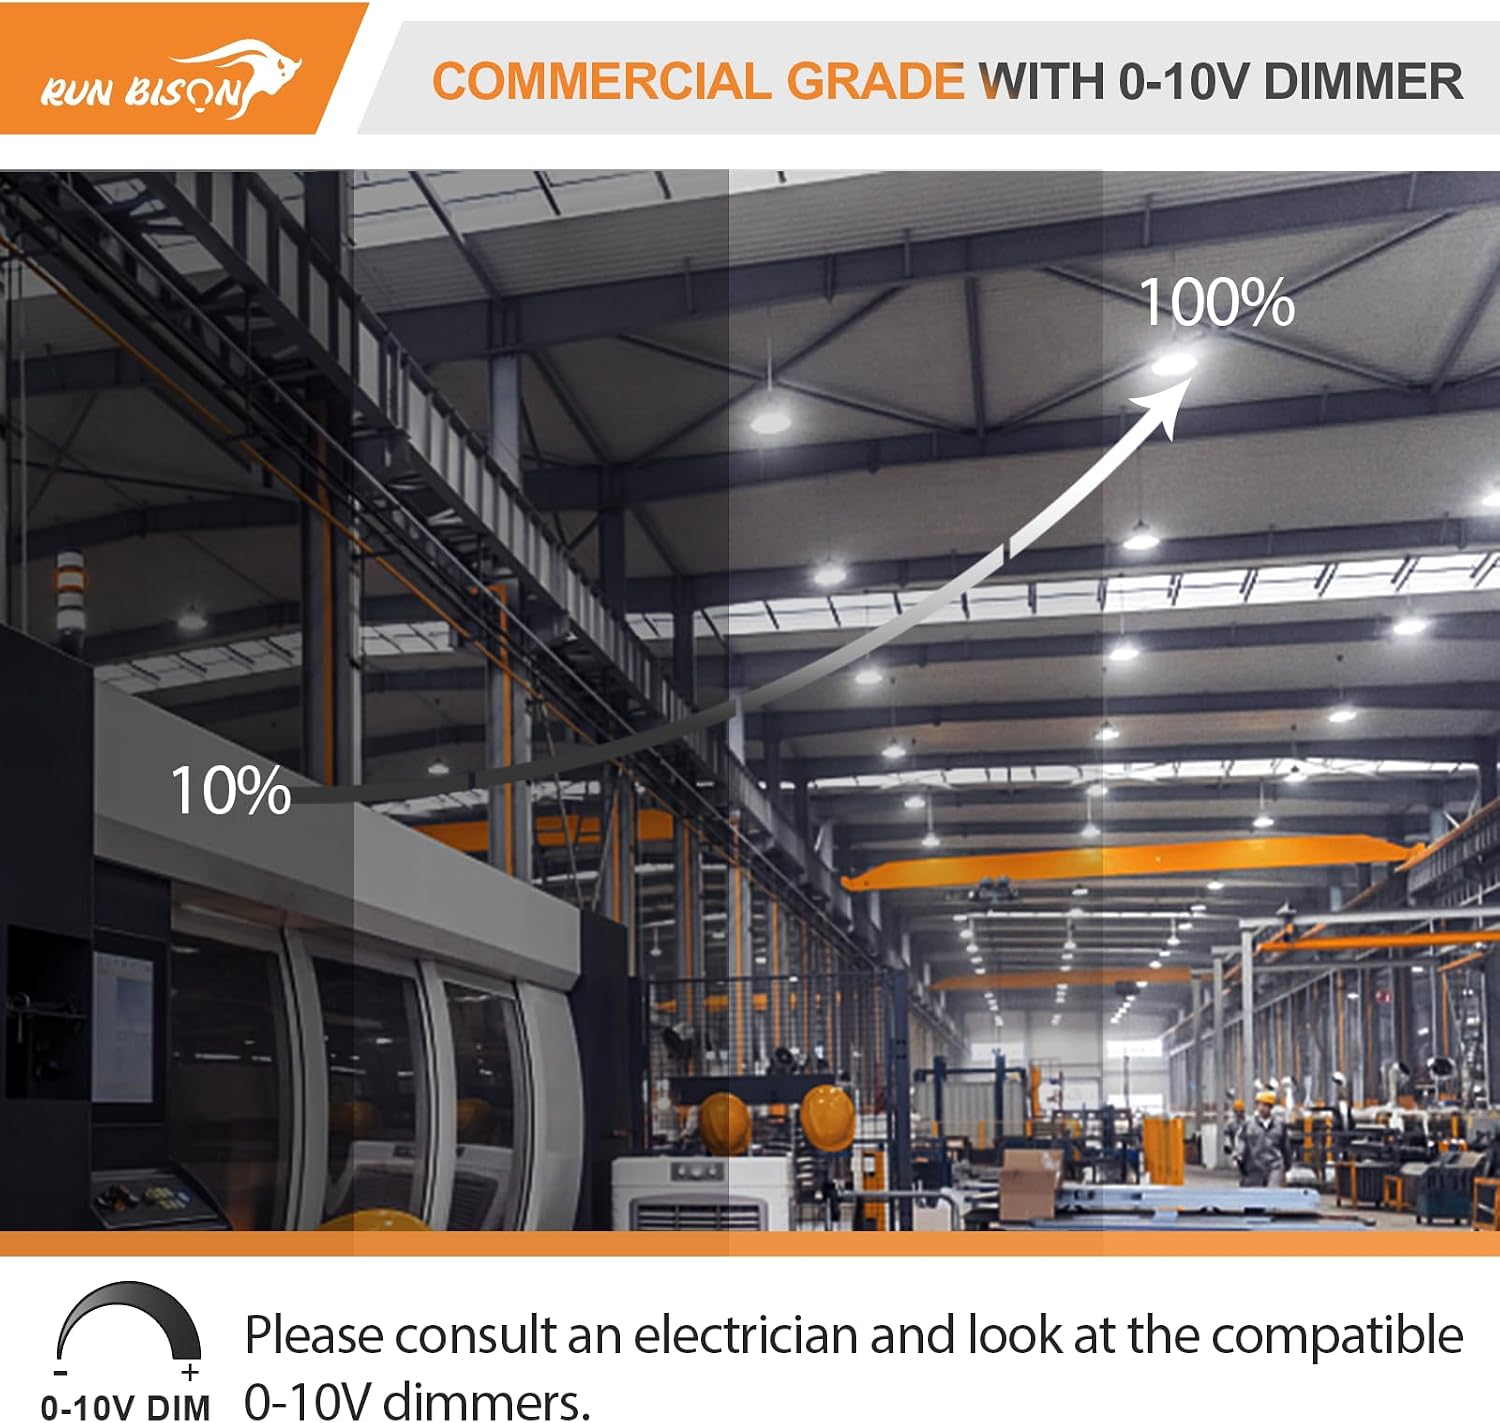
Figure 4: Location of power and CCT selection switches.
0-10V Dimming
This fixture supports 0-10V dimming, allowing for smooth brightness adjustment from 10% to 100% when connected to a compatible 0-10V dimmer switch. This feature helps save energy and provides a comfortable visual experience (UGR<28).
- Ensure the dimmer switch is compatible with 0-10V LED drivers.
- Follow the dimmer manufacturer's instructions for wiring and operation.

Figure 5: 0-10V dimming capability.
6. Maintenance
Regular maintenance ensures optimal performance and extends the lifespan of your LED UFO High Bay Light.
- Cleaning: Disconnect power before cleaning. Use a soft, dry, or slightly damp cloth to wipe the exterior of the fixture. Avoid abrasive cleaners, solvents, or harsh chemicals that could damage the finish or electrical components.
- Inspection: Periodically inspect the fixture for any signs of damage, loose connections, or wear. Address any issues promptly.
- Heat Dissipation: Ensure the heat sink remains clear of obstructions to allow for proper airflow and heat dissipation.

Figure 6: The unique heat sink design for effective thermal management.
7. Troubleshooting
If you encounter issues with your LED UFO High Bay Light, refer to the following common problems and solutions:
| Problem | Possible Cause | Solution |
|---|---|---|
| Light does not turn on | No power supply; Loose wiring; Faulty switch or circuit breaker; Incorrect CCT/Wattage setting. | Check power supply at the source; Verify all wire connections are secure; Inspect circuit breaker and wall switch; Ensure CCT/Wattage switches are set correctly. |
| Light flickers or dims unexpectedly | Unstable power supply; Incompatible dimmer switch; Loose wiring. | Check power stability; Ensure dimmer is 0-10V compatible and correctly wired; Tighten all electrical connections. |
| Light output is too low/high | Incorrect wattage setting; Dimmer setting too low/high. | Adjust the wattage selection switch; Adjust the 0-10V dimmer to the desired brightness level. |
| Incorrect color temperature | Incorrect CCT setting. | Adjust the CCT selection switch to 4000K or 5000K. |
If the problem persists after attempting these solutions, please contact customer support.
8. Warranty and Support
Warranty Information
This Run Bison LED UFO High Bay Light comes with a 5-year manufacturer warranty from the date of purchase. This warranty covers defects in materials and workmanship under normal use. It does not cover damage caused by improper installation, misuse, abuse, or acts of nature.
Customer Support
For technical guidance, warranty claims, or replacement services, please contact Run Bison customer support. Have your model number and purchase date available when contacting support.
You can visit the official Run Bison store on Amazon for more information: Run Bison Store
Ask a question about this manual
Ask about setup, troubleshooting, compatibility, parts, safety, or missing instructions. Manuals+ will review the question and use this page’s manual context to help answer it.