1. Introduction
Thank you for choosing the RSHTECH Dual Bay USB 3.0 HDD Docking Station. This manual provides detailed instructions for the proper setup, operation, and maintenance of your device. Please read this manual thoroughly before use to ensure optimal performance and to prevent any damage.
2. Product Overview
The RSHTECH Dual Bay USB 3.0 HDD Docking Station is designed for convenient data management, offering high-speed data transfer and offline cloning capabilities for 2.5-inch and 3.5-inch SATA HDDs and SSDs. It also features integrated SD and TF card readers.
Key Features:
- Super Speed UASP: Utilizes an upgraded JMS56X (JMicron) chipset, supporting UASP protocol for data transfer speeds up to 6 Gbps, faster than traditional USB 3.0.
- Dual Bay Support: Accommodates two 2.5-inch or 3.5-inch SATA I/II/III HDDs/SSDs simultaneously, with support for up to 16TB per drive.
- Offline Cloning: Perform direct disk-to-disk cloning without needing a computer.
- Broad Compatibility: Compatible with Windows, Mac OS, Linux, PS4, PS4 Pro, Xbox 360, and Xbox One. Backward compatible with USB 2.0/1.1.
- Integrated Card Reader: Features dedicated slots for SD and TF cards.
Package Contents:
- RSHTECH Dual Bay USB 3.0 HDD Docking Station
- USB 3.0 Type-A Cable (1m)
- DC Power Adapter (12V/3A)
- User Manual
Component Identification:

Figure 2.1: Front view of the RSHTECH Dual Bay USB 3.0 HDD Docking Station.

Figure 2.2: Front panel with TF card slot, SD card slot, two USB 3.0 ports, and LED indicators for power, SD/TF, USB, HDD activity, and cloning progress (25%, 50%, 75%, 100%).

Figure 2.3: Rear panel with OTC/OTB button, USB 3.0 port (for PC connection), DC 12V power input, and ON/OFF switch.
3. Setup Instructions
- Power Connection: Connect the provided DC 12V/3A power adapter to the DC 12V port on the rear of the docking station. Plug the adapter into a power outlet.
- USB Connection: Connect the provided USB 3.0 Type-A cable from the USB 3.0 port on the rear of the docking station to an available USB 3.0 port on your computer.
- Insert Drives: Ensure the docking station is powered off. Gently insert your 2.5-inch or 3.5-inch SATA HDDs/SSDs into the drive bays (Slot A and Slot B) until they are securely seated.
- Power On: Flip the ON/OFF switch on the rear of the docking station to the 'ON' position. The power indicator LED will illuminate.
4. Operating Instructions
4.1. Data Transfer Mode
When connected to a computer via USB, the docking station functions as an external drive enclosure and card reader. Insert your SATA drives into the bays and connect the device to your computer. The drives will appear as removable storage, allowing you to transfer files directly.

Figure 4.1: Docking station in use, connected to a laptop. Note the additional USB ports can be used for other devices.
4.2. Offline Cloning Function
The offline cloning function allows you to duplicate a hard drive without connecting to a computer. This process copies all data from a source disk (Slot A) to a target disk (Slot B).
Important Considerations:
- Cloning only supports copying from Slot A (Source Disk) to Slot B (Target Disk).
- The capacity of the target disk (Slot B) must be equal to or greater than the capacity of the source disk (Slot A).
- Ensure both disks are free of bad sectors for a successful clone.
- All data on the target disk (Slot B) will be overwritten during the cloning process. Back up any important data from the target disk before proceeding.

Figure 4.2: Visual representation of the offline cloning process, showing data transfer from Source Disk A to Target Disk B, with LED indicators for progress.
Cloning Method Steps:
- Prepare Disks: Ensure the docking station is powered off. Insert the source disk into Slot A and the target disk into Slot B.
- Power On: Connect the power adapter and turn on the docking station using the ON/OFF switch. Wait 3-5 seconds for the device to initialize.
- Initiate Cloning: Press and hold the OTC/OTB button on the rear panel for 3 to 5 seconds. The 25%, 50%, 75%, and 100% progress indicators will flash simultaneously.
- Confirm Cloning: Release the OTC/OTB button, then press it again within 3 seconds to confirm and start the cloning process.
- Monitor Progress: The cloning progress will be indicated by the LEDs:
- The 25% indicator will flash. Once 25% is complete, it will remain solid.
- The 50% indicator will then flash. Once 50% is complete, it will remain solid.
- This sequence continues for 75% and 100%.
- Power Off: Once cloning is complete, turn off the docking station and remove the drives.
4.3. Card Reader Functionality
Insert SD or TF cards into their respective slots on the front panel. When connected to a computer, these cards will appear as separate removable drives, allowing for direct file access and transfer.
5. Compatibility
The RSHTECH Dual Bay USB 3.0 HDD Docking Station offers broad compatibility with various operating systems and drive types.
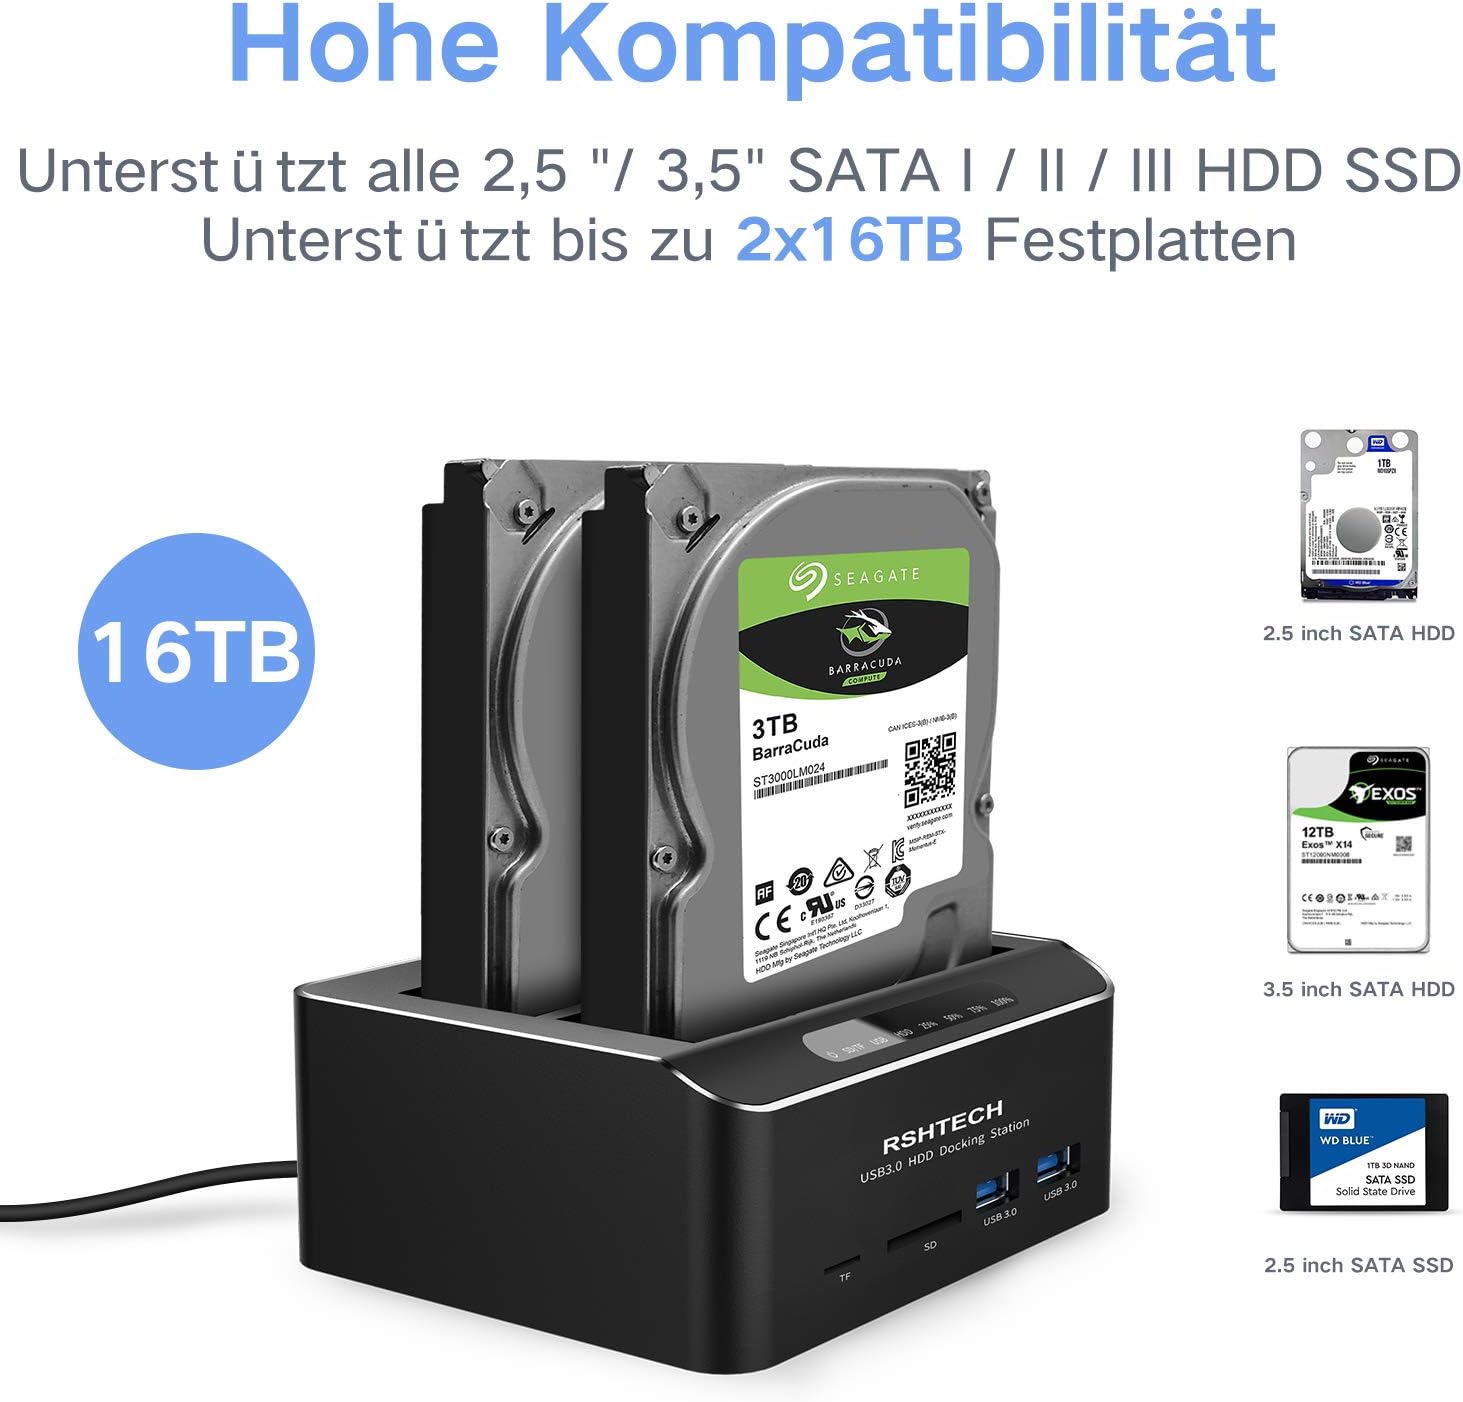
Figure 5.1: The docking station supports all 2.5-inch and 3.5-inch SATA I/II/III HDDs/SSDs, up to 2x16TB capacity.
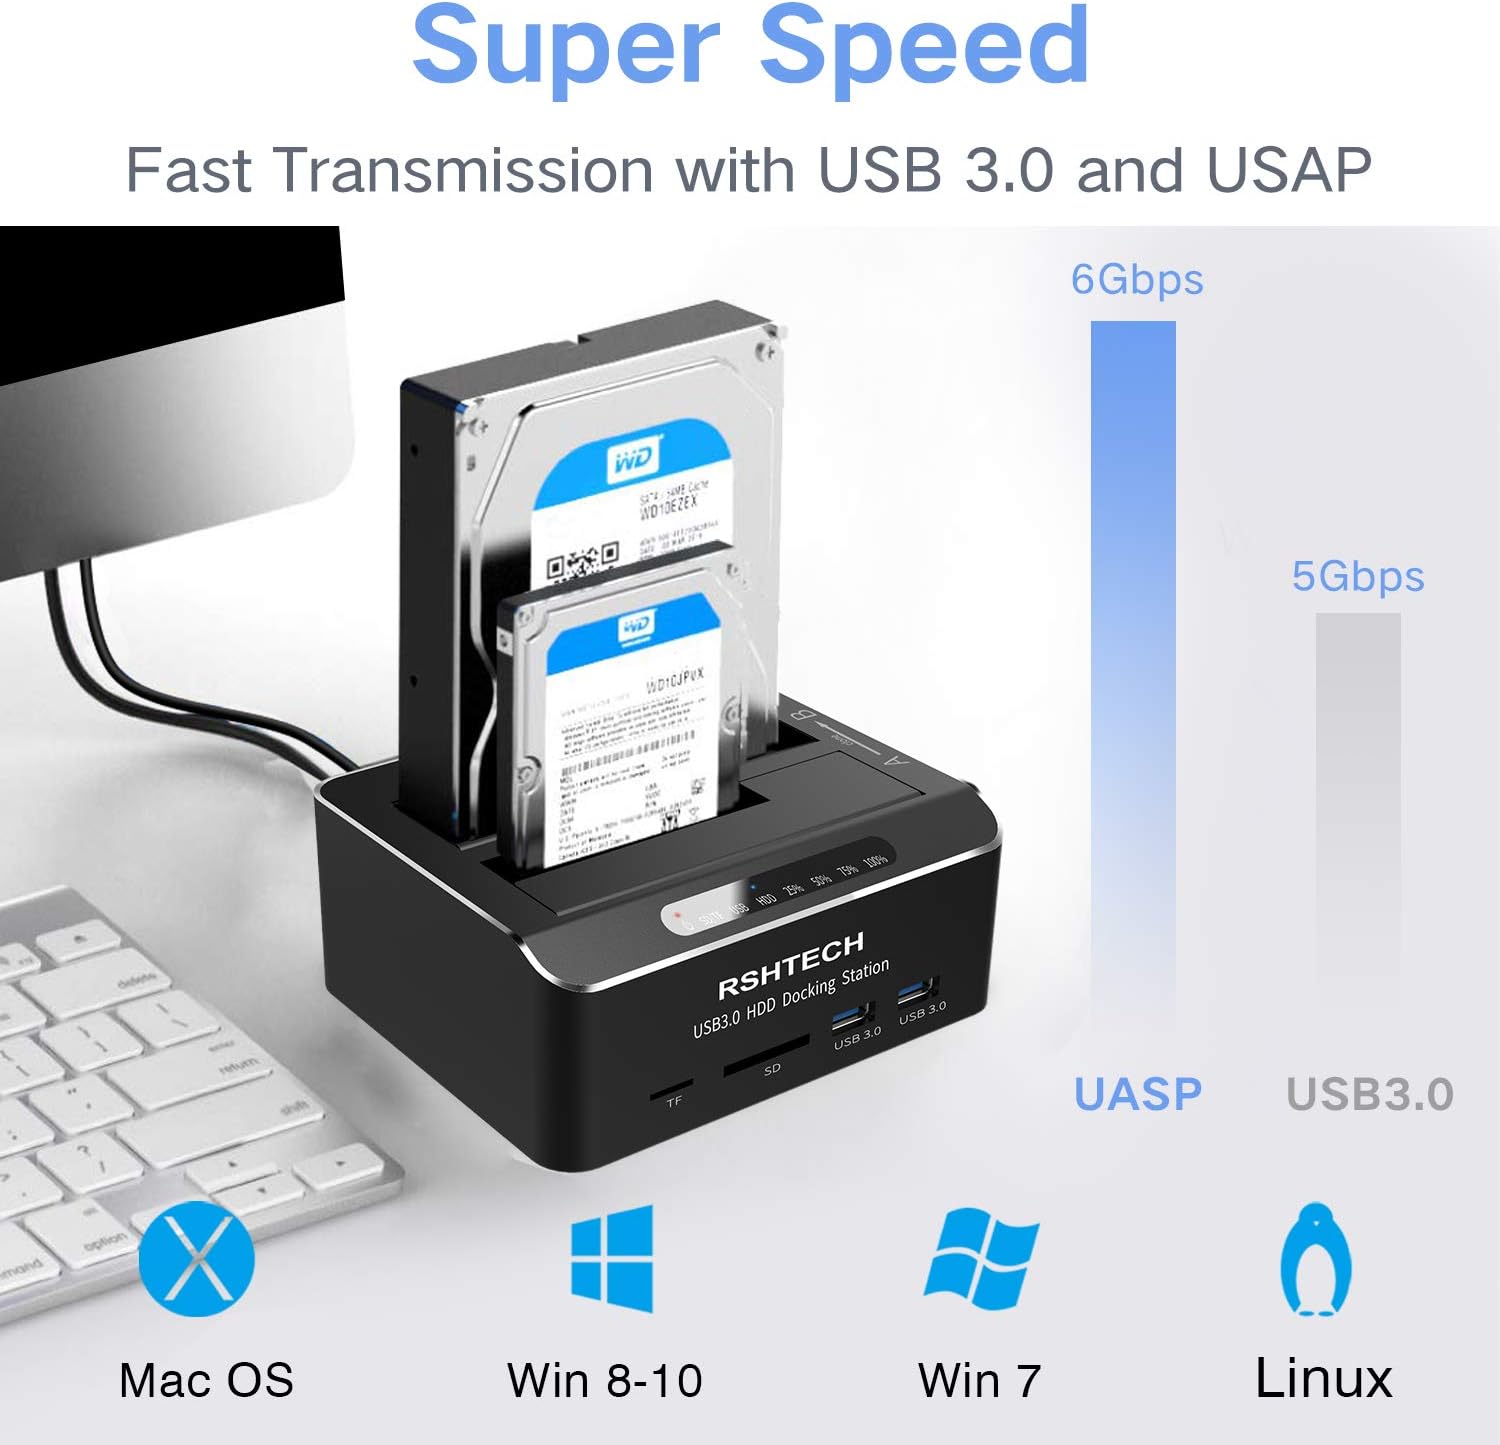
Figure 5.2: Compatible with Mac OS, Windows (8-10, 7), and Linux. Illustrates UASP (6Gbps) vs. USB 3.0 (5Gbps) transfer speeds.
Supported Operating Systems:
- Windows 2003 / XP / Vista / 7 / 8 / 10
- Mac OS (9 and above)
- Linux
- Gaming Consoles: PS4, PS4 Pro, Xbox 360, Xbox One
Supported Drive Types:
- 2.5-inch and 3.5-inch SATA I/II/III HDDs and SSDs
- Maximum capacity: 16TB per bay (32TB total)
6. Specifications
| Brand | RSHTECH |
| Model Number | DE-RSH-DS02 |
| Material | Aluminum |
| Hardware Interface | SSD, USB, USB 2.0, USB 3.0 |
| Connections | SATA |
| Total USB Ports | 3 (1 for PC connection, 2 for peripherals) |
| Hard Drive Form Factor | 2.5 Inches, 3.5 Inches |
| Memory Storage Capacity | Up to 16 TB per drive (32 TB total) |
| Maximum Supported Devices | 2 (hard drives) |
| Data Transfer Rate | 6 Gigabits per second (via UASP) |

Figure 6.1: Product dimensions: 91mm (3.6in) width, 131.5mm (5.2in) depth, 52mm (2in) height.
7. Maintenance
- Keep the device in a dry, dust-free environment.
- Avoid exposing the device to extreme temperatures or direct sunlight.
- Clean the exterior with a soft, dry cloth. Do not use liquid cleaners.
- Ensure proper ventilation around the device during operation.
- Always power off the device before inserting or removing hard drives.
8. Troubleshooting
Common Issues and Solutions:
- Device not recognized by computer:
- Ensure the USB cable is securely connected to both the docking station and the computer.
- Verify the docking station is powered on.
- Try connecting to a different USB port on your computer.
- Test with a different USB cable if available.
- Hard drive not detected:
- Ensure the hard drive is properly seated in the bay.
- Check if the hard drive is functional by testing it in another device.
- For new drives, they may need to be initialized and formatted in Disk Management (Windows) or Disk Utility (Mac OS) before use.
- Offline cloning fails or target disk not visible after cloning:
- Verify that the target disk's capacity is equal to or greater than the source disk's capacity.
- Ensure there are no bad sectors on either disk.
- Follow the cloning steps precisely, especially the timing for pressing the OTC/OTB button.
- If the target disk is not visible after cloning, connect it to a computer, open Disk Management (Windows) or Disk Utility (Mac OS), and ensure the disk is set to 'Online' status. You may need to assign a drive letter.
- Slow data transfer speeds:
- Ensure you are connected to a USB 3.0 port on your computer.
- Verify that your operating system and drivers support UASP.
- The actual speed may vary depending on the hard drive's performance and system configuration.
9. Warranty and Support
RSHTECH products are designed for reliability and performance. For warranty information or technical support, please refer to the official RSHTECH website or contact your retailer. Please note that information regarding spare parts availability and software updates is not provided in this manual.


