1. Introduction
Thank you for choosing the LOVCUBE 8-Inch Digital Photo Frame L08X. This manual provides essential information for setting up, operating, and maintaining your digital photo frame. Please read it thoroughly before use to ensure optimal performance and longevity of your device.
1.1 Package Contents
Verify that all items listed below are included in your package:
- LOVCUBE 8-Inch Digital Photo Frame
- Remote Control
- Power Adapter
- User Manual (this document)

Image 1.1: The LOVCUBE 8-Inch Digital Photo Frame L08X and its included accessories: the frame, remote control, power adapter, and user manual.
2. Product Overview
Familiarize yourself with the components and controls of your digital photo frame.
2.1 Front View

Image 2.1: Front view of the LOVCUBE 8-Inch Digital Photo Frame L08X, showcasing its 8-inch display.
2.2 Rear View and Ports
The rear of the frame features various ports and control buttons for media input and device operation.
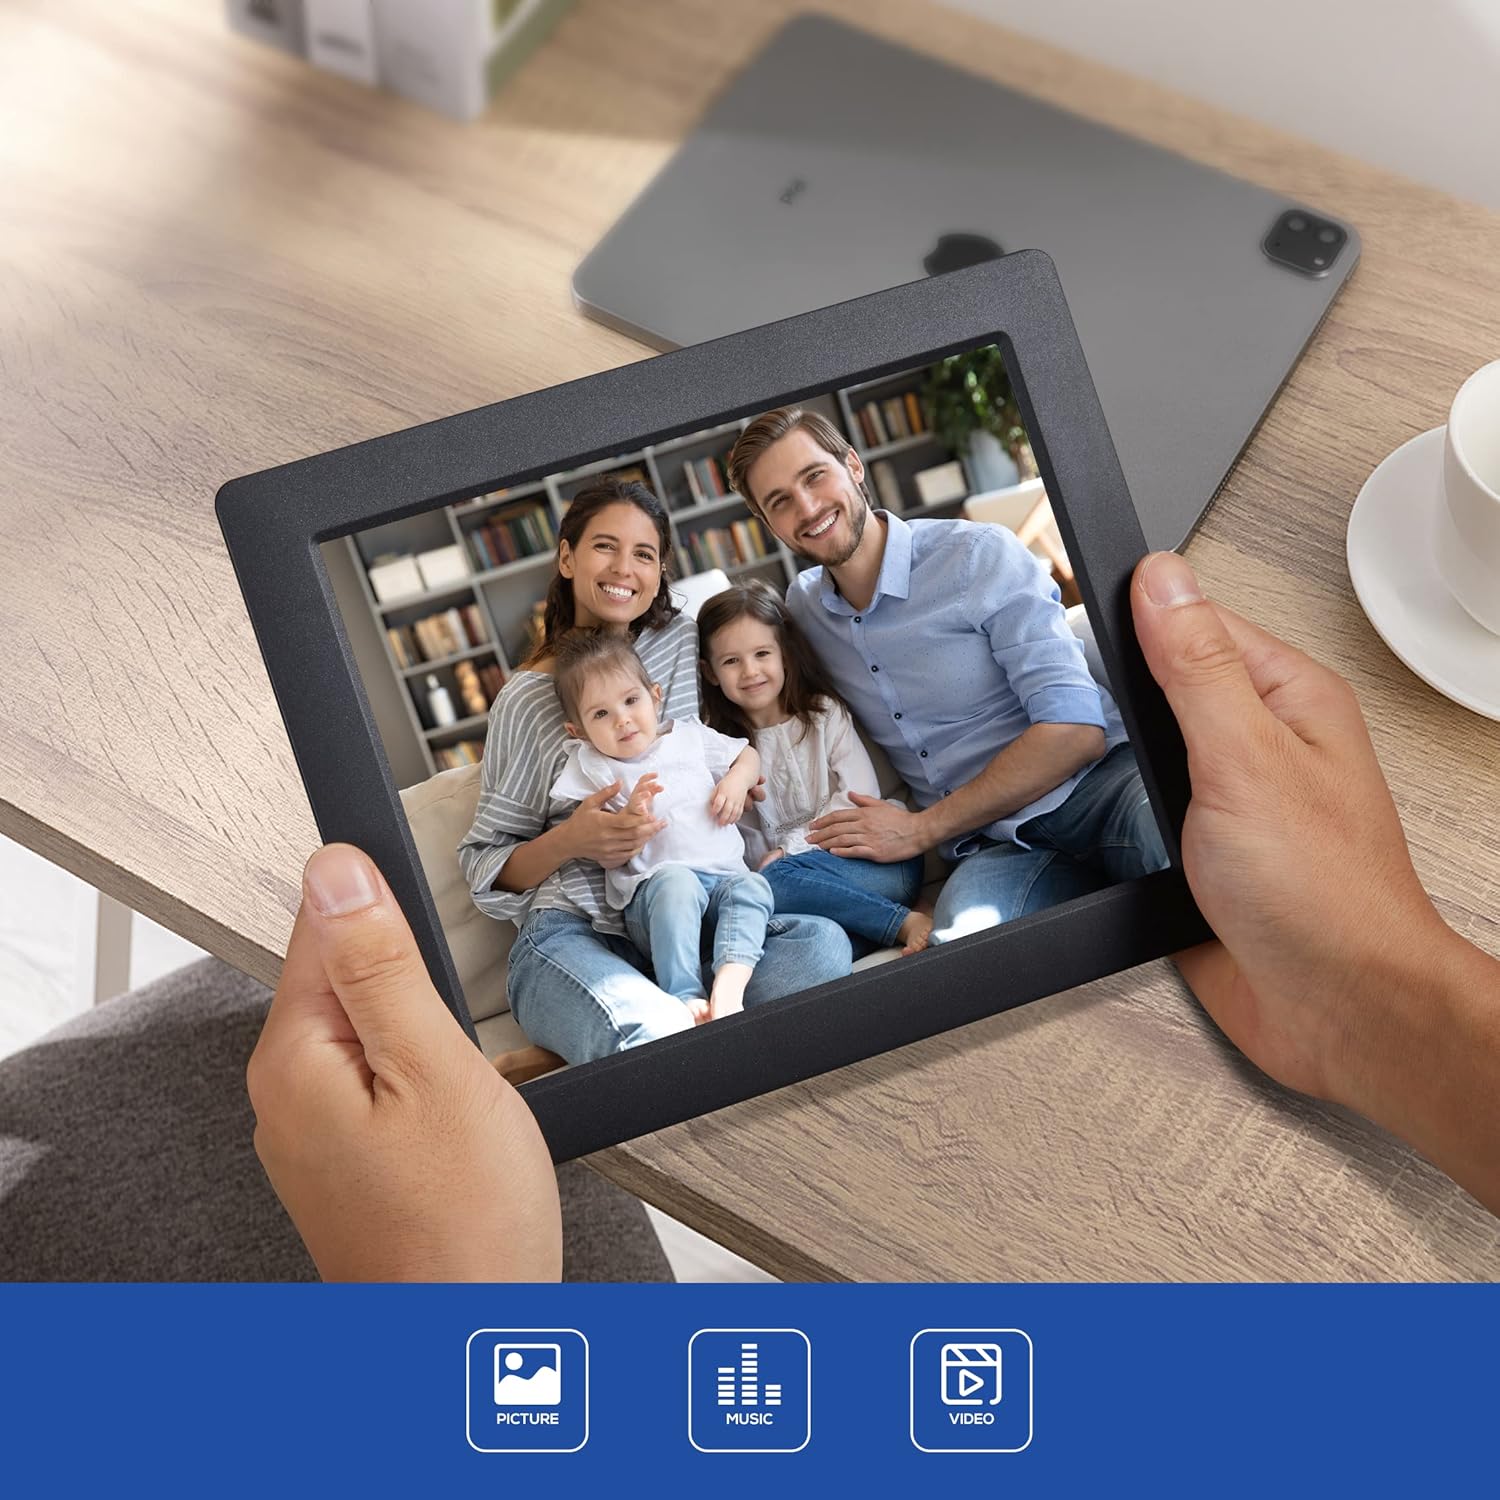
Image 2.2: Rear view of the digital photo frame, highlighting the SD/SDHC Card Slot, Headphone/Speaker Port, and USB Port. These ports allow for external media connection and audio output.
- SD/SDHC Card Slot: Insert compatible SD or SDHC memory cards for photo, video, and music playback.
- Headphone/Speaker Port: Connect headphones or external speakers for private listening or enhanced audio.
- USB Port: Connect USB flash drives for media playback.
- Power Input: Connect the provided power adapter.
- Control Buttons: Navigate menus and control playback directly on the frame.
3. Setup
Follow these steps to set up your LOVCUBE Digital Photo Frame.
3.1 Power Connection
- Connect the power adapter to the DC IN port on the back of the photo frame.
- Plug the other end of the power adapter into a standard electrical outlet.
- The frame will automatically power on or enter standby mode.
3.2 Inserting Media (SD Card / USB Drive)
The frame supports SD/SDHC cards and USB flash drives. Ensure your media contains compatible photo (JPEG), video (MP4, MKV, H.264, MPEG4 up to 1080P), or music (MP3) files.
- Carefully insert your SD/SDHC card into the SD card slot until it clicks into place.
- Alternatively, insert your USB flash drive into the USB port.
- The frame should automatically detect the inserted media and prompt you to select a function (e.g., Photo, Music, Video).
4. Operating Instructions
This section details how to use the various functions of your digital photo frame.
4.1 Basic Navigation
Use the remote control or the control buttons on the back of the frame to navigate through menus and select options.
- Arrow Buttons: Navigate up, down, left, or right.
- OK/Enter Button: Confirm a selection.
- Exit/Return Button: Go back to the previous menu or exit current function.
4.2 Photo Slideshow
- From the main menu, select "Photo".
- Choose the desired storage device (SD card or USB drive).
- The frame will begin displaying photos in a slideshow format.
- Adjust slideshow settings (speed, transition effects) in the "Settings" menu.
4.3 Video Playback
- From the main menu, select "Video".
- Choose the desired storage device.
- Select a video file to begin playback.
- Use the remote control for playback functions (play, pause, fast forward, rewind).
4.4 Music Playback
- From the main menu, select "Music".
- Choose the desired storage device.
- Select an audio file to begin playback.
- Audio will play through the built-in speaker or connected headphones/external speakers.
4.5 Clock and Calendar Functions
The frame includes built-in clock and calendar displays.

Image 4.1: The digital photo frame displaying the current time and calendar, a useful feature for daily reference.
- Access these functions from the main menu.
- Set the date and time in the "Settings" menu.
4.6 Motion Sensor
The integrated motion sensor can automatically turn the frame on or off to save energy.
- Enable or disable the motion sensor in the "Settings" menu.
- Adjust sensitivity or detection range if available in settings.
5. Maintenance
Proper care ensures the longevity and optimal performance of your digital photo frame.
5.1 Cleaning
- Always unplug the device before cleaning.
- Use a soft, dry, lint-free cloth to gently wipe the screen and frame.
- For stubborn marks on the screen, lightly dampen the cloth with water or a screen-cleaning solution (avoid harsh chemicals).
- Do not spray liquids directly onto the frame.
5.2 Storage
- Store the frame in a cool, dry place away from direct sunlight and extreme temperatures.
- If storing for an extended period, remove any inserted memory cards or USB drives.
6. Troubleshooting
Refer to this section for solutions to common issues you might encounter.
| Problem | Possible Cause | Solution |
|---|---|---|
| Frame does not power on. | Power adapter not connected or faulty. | Ensure the power adapter is securely connected to the frame and a working electrical outlet. Try a different outlet. |
| No images/videos displayed. | No media inserted or incompatible file format. | Insert a compatible SD card or USB drive with supported media files (JPEG, MP4, MKV). Check file formats. |
| Remote control not working. | Battery depleted or obstructed signal. | Replace the CR2 battery in the remote control. Ensure there are no obstructions between the remote and the frame's sensor. |
| Images appear distorted or low quality. | Low resolution source images. | Use higher resolution images for best display quality. The frame's native resolution is 1024x768. |
7. Specifications
Technical specifications for the LOVCUBE 8-Inch Digital Photo Frame L08X.
| Feature | Detail |
|---|---|
| Model | L08X (WH00002D) |
| Screen Size | 8 Inches |
| Display Type | LCD |
| Resolution | 1024x768 (XGA) |
| Image Aspect Ratio | 4:3 |
| Supported Image Formats | JPEG |
| Supported Video Formats | MP4, MKV (H.264, MPEG4 up to 1080P) |
| Supported Audio Formats | MP3 |
| Memory Card Support | SD, SDHC |
| USB Support | USB Flash Drives |
| Audio Output | Built-in speaker, 3.5mm Headphone Jack |
| Special Features | Motion Sensor, Clock, Calendar, Remote Control |
| Power Source | Corded Electric |
| Remote Control Battery | 1 x CR2 (required) |
| Product Dimensions | 22.5 x 18.3 x 72 cm |
| Item Weight | 549 g |
8. Warranty and Support
LOVCUBE products are manufactured to high-quality standards. For specific warranty details, please refer to the warranty card included with your purchase or contact LOVCUBE customer support.
For technical assistance or customer service inquiries, please visit the official LOVCUBE website or contact your retailer.