
ipega PG-9162
Contents
User Manual for ipega PG-9162 Mini Wireless Game Controller
Model: PG-9162
Introduction
This manual provides detailed instructions for the ipega PG-9162 Mini Wireless Game Controller. This controller is designed for use with the Nintendo Switch host, offering both wireless and wired connection options. It provides a comfortable and immersive gaming experience with its advanced features.

Figure 1: Front view of the ipega PG-9162 Mini Wireless Game Controller in yellow.
Key Features
- Nintendo Switch Compatibility: Specifically designed for the N-Switch host, ensuring perfect compatibility and an enhanced gaming experience.
- Dual Connection Modes: Supports both wireless (Bluetooth 4.0) connection to N-Switch mainframes and wired connection when docked to an N-Switch base.
- Pro Controller Button Layout: Function buttons correspond to the N-Switch Pro controller for familiar operation.
- Advanced Gaming Functions: Includes TURBO continuous fire function, six-axis gyroscope for precise motion control, and dual motor vibration for immersive feedback.
- Ergonomic Design: Small, exquisite, and ergonomically designed for comfortable extended play sessions.
- Long Battery Life: Built-in 380mAh battery provides over 8 hours of continuous gameplay.
Setup
Wireless Connection (Bluetooth)
- Ensure your Nintendo Switch console is powered on and updated to the latest system software.
- From the HOME Menu, select "Controllers" > "Change Grip/Order".
- On the ipega PG-9162 controller, press and hold the SYNC button (usually a small button near the charging port or on the back) for a few seconds until the indicator lights begin to flash rapidly.
- The controller will appear on the Switch screen. Once connected, the player indicator light(s) on the controller will remain solid.
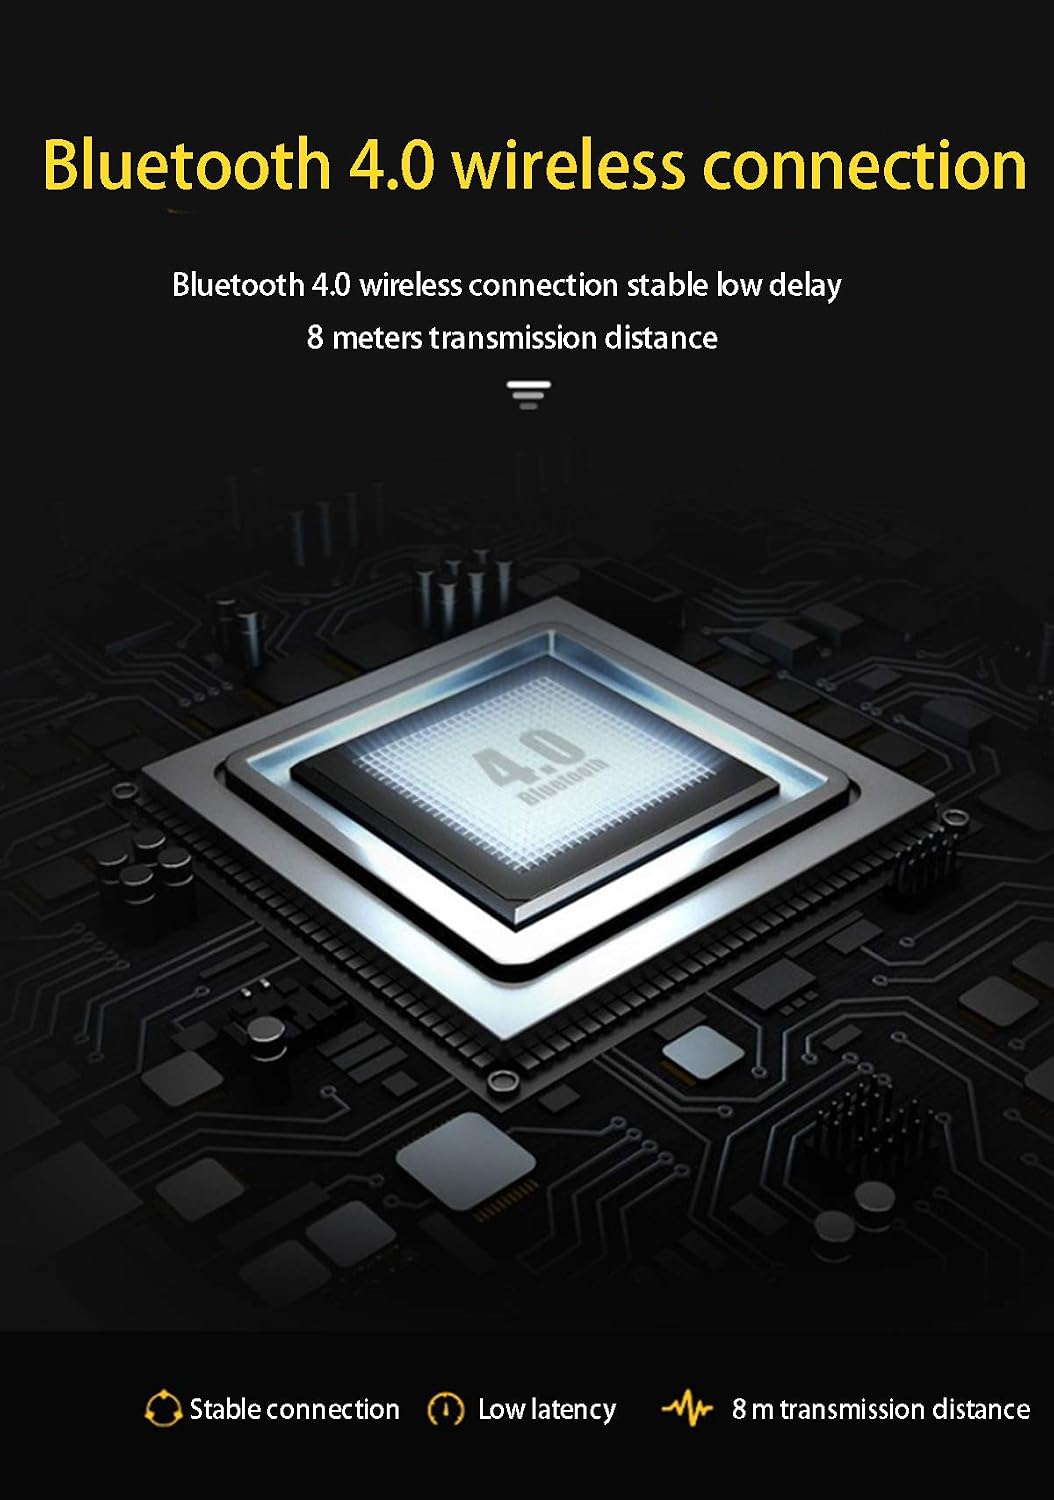
Figure 2: Diagram illustrating the Bluetooth 4.0 wireless connection capability of the controller, highlighting stable, low latency, and 8-meter transmission distance.
Wired Connection
- Connect the supplied Type-C data cable to the controller's charging port.
- Connect the other end of the Type-C data cable to a USB port on the Nintendo Switch Dock.
- Ensure the "Pro Controller Wired Communication" setting is enabled in your Switch System Settings (System Settings > Controllers and Sensors > Pro Controller Wired Communication).
- The controller will automatically be recognized and ready for use.

Figure 3: Image showing the Type-C data cable connected to the controller, indicating its use for both charging and wired connection to the Switch console via its original adapter.
Operating Instructions
Basic Controls
The ipega PG-9162 controller features a standard button layout similar to the Nintendo Switch Pro Controller. Familiarize yourself with the buttons:
- Left/Right Analog Sticks: For 360-degree movement and camera control.
- D-Pad: For directional input.
- A/B/X/Y Buttons: Action buttons.
- L/R/ZL/ZR Buttons: Shoulder and trigger buttons.
- Minus (-) / Plus (+) Buttons: Select/Start functions.
- Home Button: Returns to the HOME Menu.
- Screenshot Button: Captures screenshots.

Figure 4: Close-up view of the controller highlighting the high sensitivity 3D joysticks, designed for 360-degree movement without dead zones, aiding in fine-tuning and aiming in games.
TURBO Function
The TURBO function allows for automatic rapid firing of a button. This can be useful in games requiring quick, repeated button presses.
- To Set TURBO: Press and hold the button you wish to set to TURBO (e.g., A button), then press the TURBO button (refer to controller diagram for exact location, often a dedicated button or a combination). The button will now automatically repeat when held down.
- To Clear TURBO: Repeat the same process (hold the TURBO-enabled button, then press the TURBO button again).

Figure 5: Image demonstrating the automatic burst TURBO function, showing a finger pressing a button, indicating how to activate rapid fire for a competitive advantage.
Six-Axis Gyroscope and Vibration
The controller features a built-in six-axis gyroscope for motion control in compatible games and dual motors for realistic vibration feedback. These functions are automatically enabled when supported by the game.
Maintenance
- Cleaning: Use a soft, dry cloth to clean the controller. Do not use liquid cleaners or solvents.
- Storage: Store the controller in a cool, dry place away from direct sunlight and extreme temperatures.
- Charging: Charge the controller using the provided Type-C cable and a standard USB power source (e.g., Switch Dock, USB wall adapter). Avoid overcharging.
- Battery Care: To prolong battery life, avoid fully discharging the battery frequently. Charge it regularly, even if not in use for extended periods.
Troubleshooting
- Controller not connecting wirelessly:
- Ensure the controller is charged.
- Verify the Switch is in "Change Grip/Order" mode.
- Try resetting the controller by pressing the small reset button (if available) or holding the SYNC button for a longer duration.
- Move the controller closer to the Switch console.
- Controller not responding in wired mode:
- Check if the Type-C cable is securely connected to both the controller and the Switch Dock.
- Ensure "Pro Controller Wired Communication" is enabled in Switch System Settings.
- Try a different USB port on the dock or a different Type-C cable.
- Buttons or joysticks not responding correctly:
- Calibrate the joysticks and motion controls through the Switch System Settings (System Settings > Controllers and Sensors > Calibrate Control Sticks / Calibrate Gyroscope).
- Ensure the controller's firmware is up to date (check ipega's official website for updates).
- Vibration not working:
- Check if vibration is enabled in the game settings or Switch System Settings (System Settings > Controllers and Sensors > Vibration).
- Some games may not support vibration.
Specifications
| Feature | Detail |
|---|---|
| Model Number | PG-9162 |
| Brand | ipega |
| Connectivity | Wireless (Bluetooth 4.0), Wired (Type-C) |
| Battery Capacity | 380mAh |
| Battery Life | >8 hours (approx.) |
| Vibration | Dual Motor Vibration |
| Motion Control | Six-axis Gyroscope |
| Dimensions (Package) | 17.78 x 14.22 x 6.86 cm |
| Weight (Package) | 318 g |
Warranty and Support
For warranty information and technical support, please refer to the official ipega website or contact your retailer. Keep your purchase receipt as proof of purchase for warranty claims.
Official ipega Website: www.ipega.hk (Note: This is a placeholder URL, please verify the actual official website for ipega products.)
Documents and downloads
Ask a question about this manual
Ask about setup, troubleshooting, compatibility, parts, safety, or missing instructions. Manuals+ will review the question and use this page’s manual context to help answer it.