
1. Introduction
This manual provides detailed instructions for the safe and proper installation, operation, and maintenance of your Visdia AN-LX30LP replacement projector lamp. This lamp is designed to restore optimal brightness and performance to your compatible Sharp projector. Please read this manual thoroughly before proceeding with installation or use.
2. Safety Information
- Always unplug the projector from the power outlet and allow it to cool down completely (at least 30 minutes) before attempting any lamp replacement.
- Do not touch the bare lamp bulb with your fingers. Oils from your skin can cause hot spots and reduce lamp life. Use gloves or a clean cloth if handling the bare bulb.
- Never force the lamp into place. If it does not fit easily, recheck the alignment.
- Dispose of old lamps according to local environmental regulations. Projector lamps contain mercury.
- Ensure all screws are securely fastened after installation to prevent accidental dislodgement.
3. Compatibility
The Visdia AN-LX30LP replacement projector lamp with housing is compatible with the following Sharp projector models:
- Sharp PG-LW3000
- Sharp PG-LW3500
- Sharp PG-LX3000
- Sharp PG-LX3500
4. Installation Guide
Follow these steps to replace the projector lamp. Note: Specific steps for opening the lamp compartment may vary slightly depending on your projector model. Refer to your projector's user manual for precise instructions on accessing the lamp cover.
4.1. Preparation
- Unplug the Projector: Disconnect the projector from the power outlet.
- Allow Cooling: Let the projector cool down for at least 30 minutes to prevent burns from a hot lamp.
4.2. Accessing the Lamp Compartment
- Locate Lamp Cover: Identify the lamp cover on your projector. It is usually secured by one or more screws.
- Remove Cover Screws: Use a suitable screwdriver to loosen and remove the screw(s) securing the lamp cover.
- Open Lamp Cover: Carefully remove the lamp cover.
4.3. Removing the Old Lamp
- Loosen Lamp Screws: The old lamp unit is typically secured by one or two screws. Loosen these screws.
- Remove Old Lamp: Carefully pull the old lamp unit straight out of the projector by its handle. Avoid tilting or forcing it.
4.4. Inspecting the New Lamp
Before installation, visually inspect the new Visdia AN-LX30LP lamp to ensure all components are intact and undamaged.
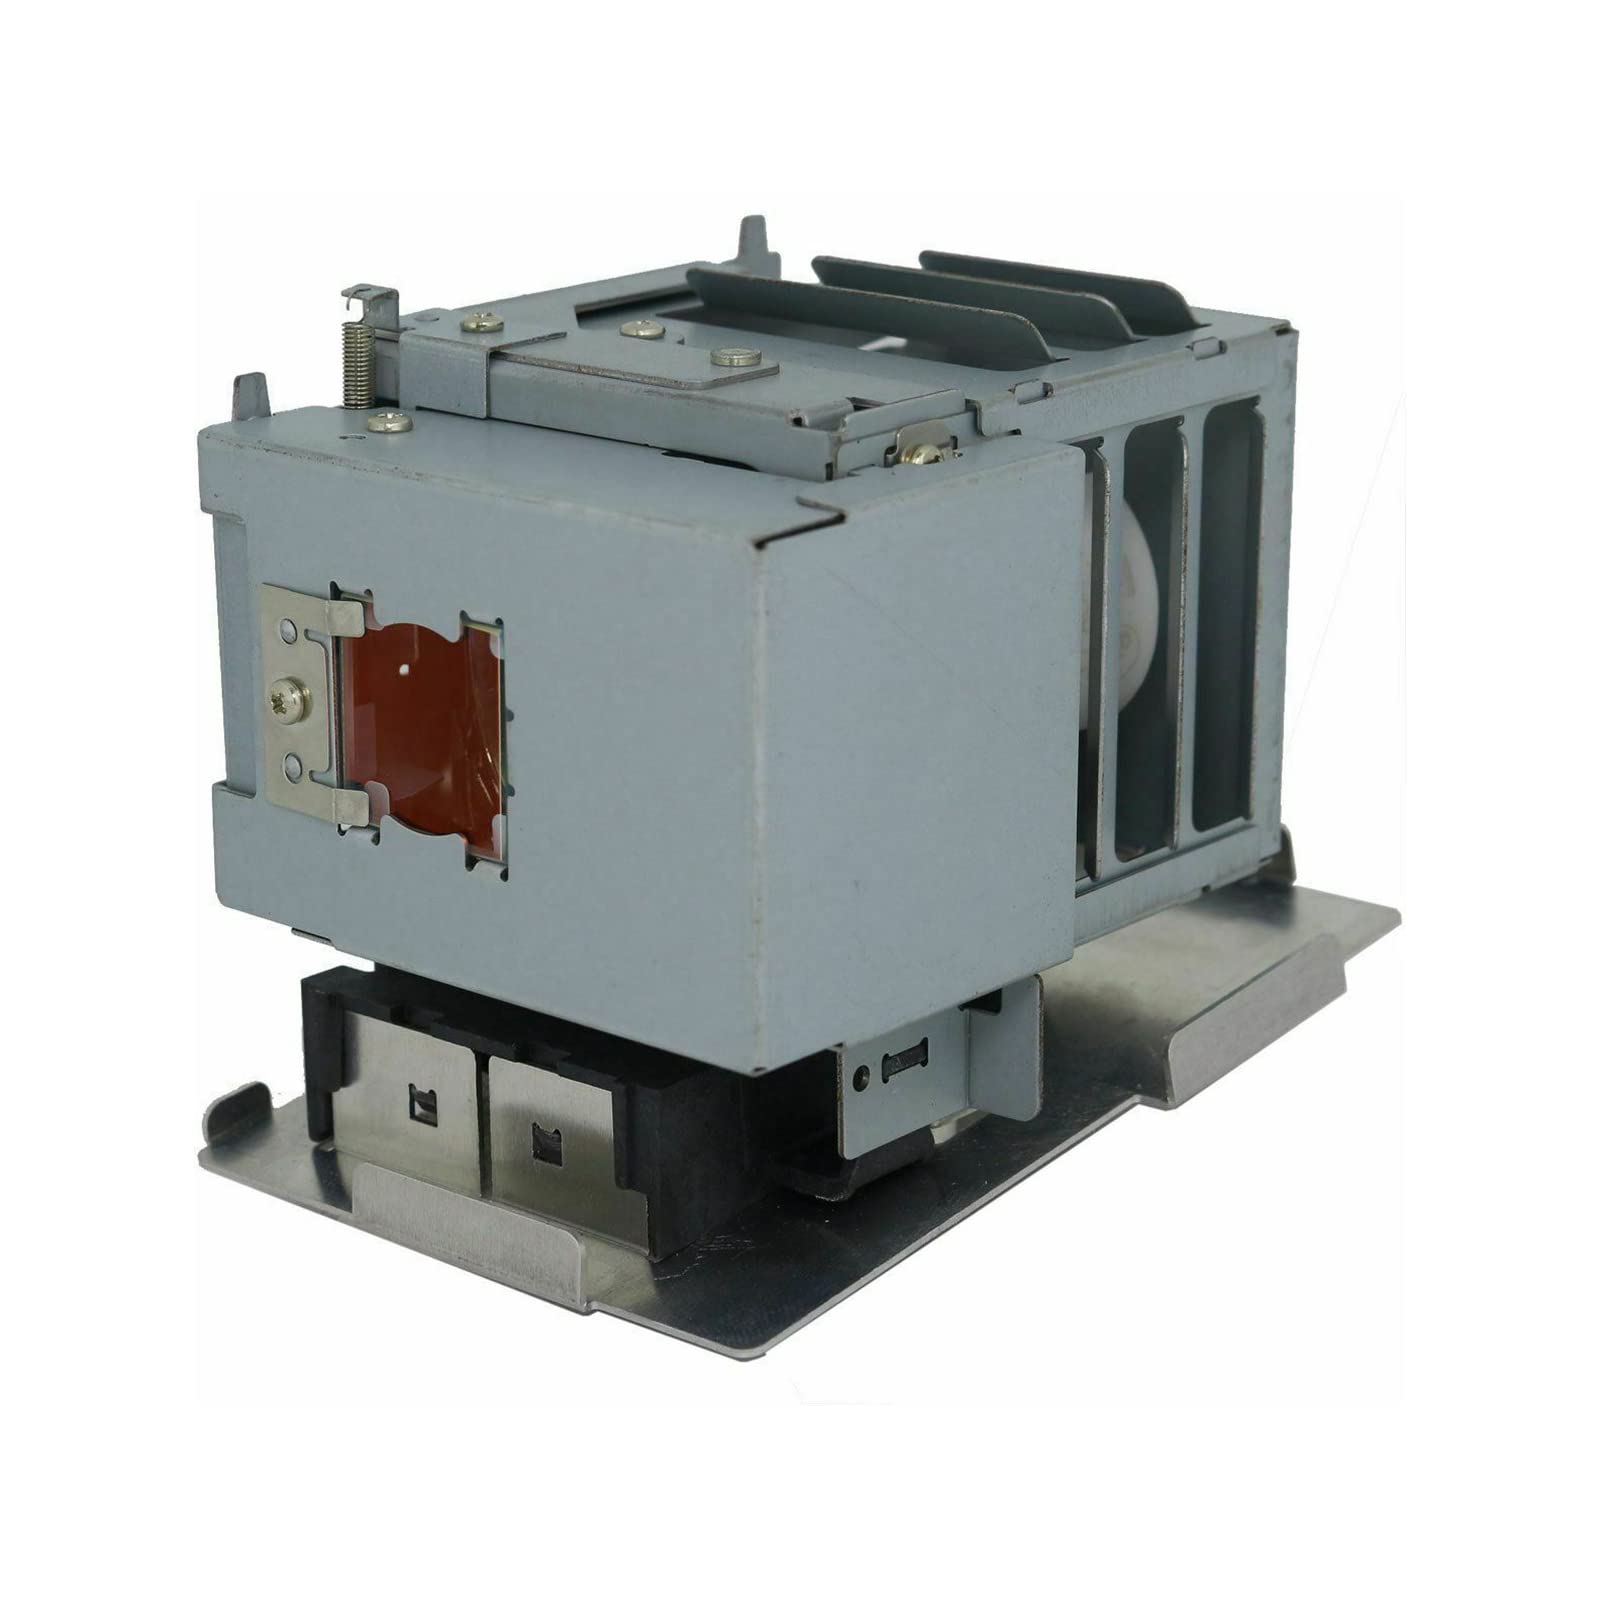
Image 1: Front view of the Visdia AN-LX30LP replacement projector lamp with housing.

Image 2: Side view of the Visdia AN-LX30LP replacement projector lamp, highlighting the connectors.

Image 3: Another side view of the Visdia AN-LX30LP replacement projector lamp.
4.5. Installing the New Lamp
- Insert New Lamp: Carefully slide the new Visdia AN-LX30LP lamp unit into the projector, ensuring it is properly aligned and seated. Do not force it.
- Secure New Lamp: Tighten the screw(s) that secure the new lamp unit.
4.6. Securing the Lamp Compartment
- Replace Lamp Cover: Place the lamp cover back onto the projector.
- Secure Cover Screws: Tighten the screw(s) that hold the lamp cover in place. Ensure it is flush with the projector casing.
4.7. Power On and Reset Lamp Life Counter
- Plug In Projector: Reconnect the projector to the power outlet.
- Power On: Turn on the projector and verify that the new lamp illuminates correctly.
- Reset Lamp Life Counter: After replacing the bulb, it is crucial to manually reset the bulb life counter to zero through your projector's menu. Refer to your projector's user manual for specific instructions on how to reset the lamp timer. This ensures accurate tracking of the new lamp's usage.
4.8. Installation Video
Video 1: General guide for projector lamp replacement. While the projector model shown may differ, the fundamental steps for unplugging, accessing the lamp, replacing it, and securing the cover are similar. Always refer to your specific projector's manual for detailed instructions.
5. Operating Instructions
Once the new lamp is installed and the lamp life counter is reset, your projector is ready for normal operation. Power on the projector and ensure the image is displayed clearly and brightly. If you encounter any issues, refer to the Troubleshooting section or your projector's manual.
6. Maintenance
- Air Filter Cleaning: Regularly clean or replace the projector's air filter to ensure proper ventilation and prevent overheating, which can shorten lamp life.
- Cool-down Period: Always allow the projector to complete its cool-down cycle after use before unplugging it or moving it.
- Avoid Frequent On/Off: Minimize turning the projector on and off frequently, as this can stress the lamp and reduce its lifespan.
- Environmental Conditions: Operate the projector in a clean, dust-free environment with adequate ventilation.
7. Troubleshooting
- Lamp Not Lighting: Ensure the lamp is correctly seated and secured, and the lamp cover is properly closed. Check power connections.
- Dim Image: Verify that the lamp life counter has been reset. If the image remains dim, check projector settings for brightness and contrast.
- Lamp Warning Light: If a lamp warning light appears after replacement, ensure the lamp life counter was reset. If the issue persists, consult your projector's manual or contact support.
- Overheating: Ensure projector vents are clear and air filters are clean. Operate in a well-ventilated area.
8. Specifications
| Feature | Specification |
|---|---|
| Lamp Part Number | AN-LX30LP |
| Lamp Wattage | SHP184 |
| Estimated Life Time | 3000 hours |
| Light Type | LED (Note: The lamp is a traditional projector lamp, not an LED type.) |
| Special Feature | Long Lasting |
| Item Weight | 1 pounds |
| Package Dimensions | 5 x 5 x 4 inches |
9. Warranty and Support
Visdia offers a 180-day warranty on all lamps to ensure satisfaction with your purchase. Additionally, a 30-day free return policy is provided. For technical support, warranty claims, or any other inquiries, please contact Visdia customer service.