
Dorman 748-508
Dorman 748-508 Power Window Regulator and Motor Assembly Instruction Manual
For Front Driver Side on Select Chrysler, Dodge, and Ram Models
1. Product Overview
The Dorman 748-508 Power Window Regulator and Motor Assembly is a direct replacement component designed for the front driver side of specific Chrysler, Dodge, and Ram vehicles. This assembly addresses common failures in original equipment window regulators, such as cable stress and binding, by incorporating enhanced cable guides and sheathing. It is engineered to provide a durable and reliable solution for restoring proper window function.
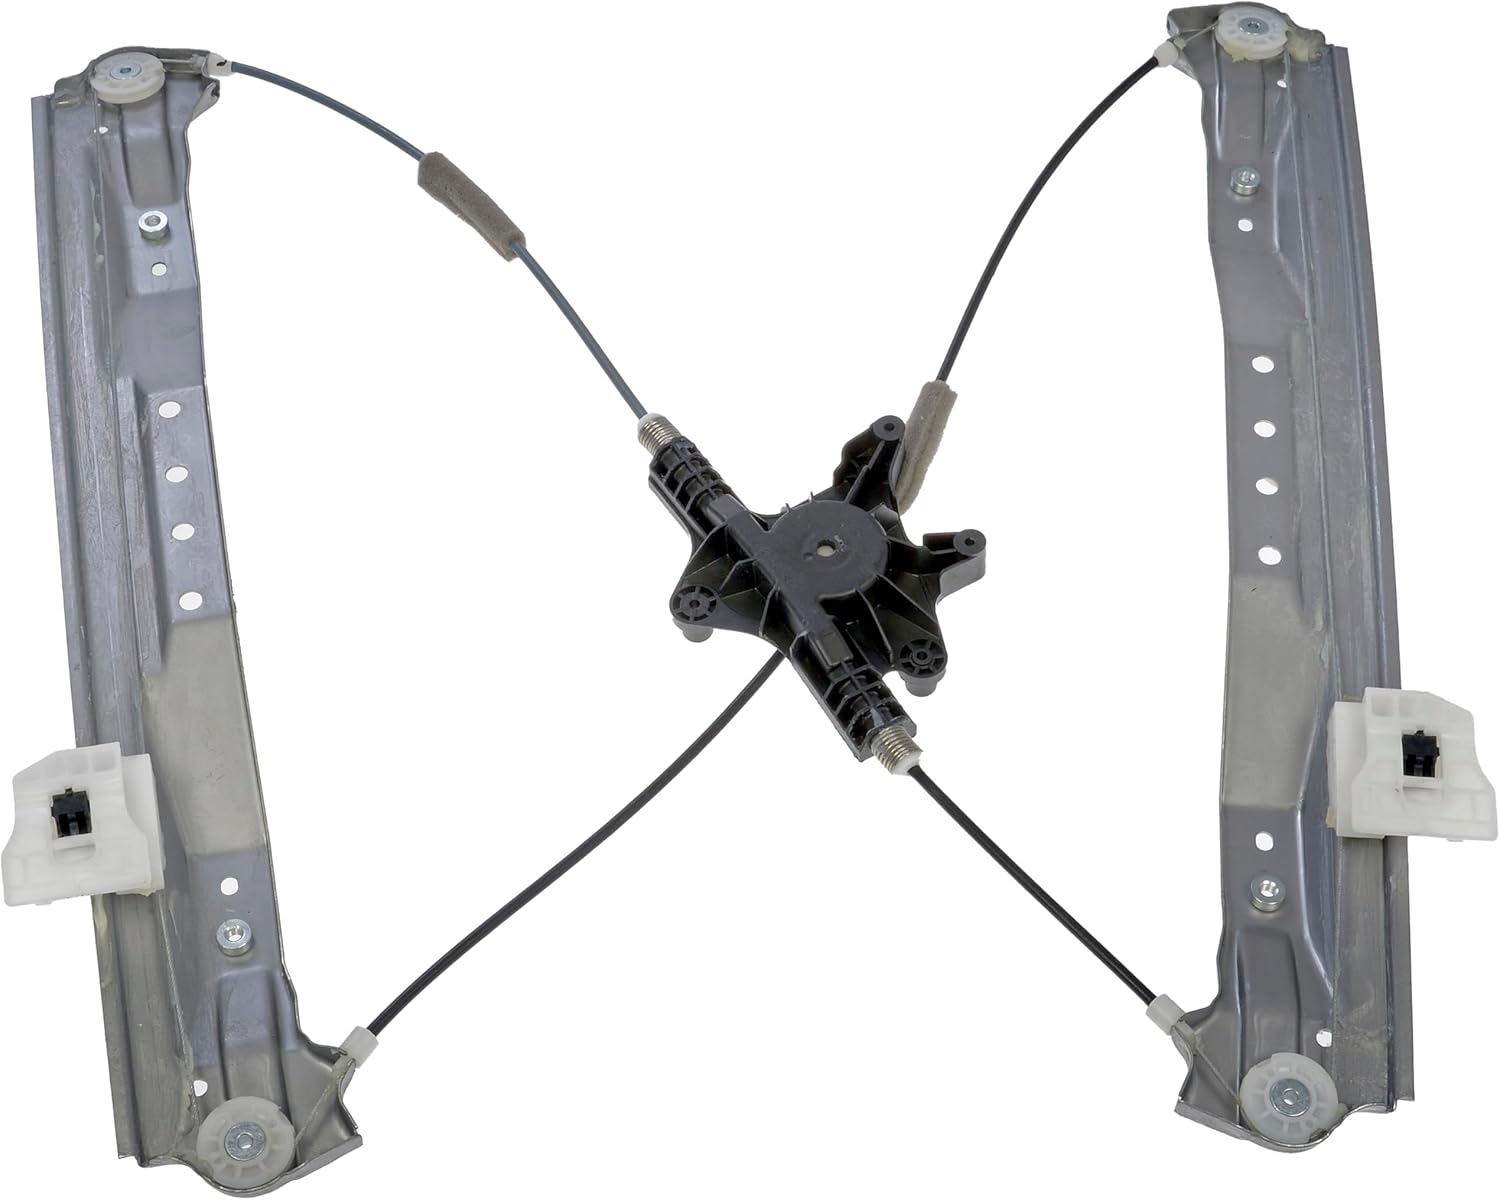
Figure 1.1: Dorman 748-508 Power Window Regulator and Motor Assembly. This image displays the complete assembly, including the motor, cables, and guide rails.
2. Key Features and Benefits
- Improved Design: Features added cable guides and sheathing to reduce cable elongation and prevent reel binding, enhancing durability and longevity compared to original equipment.
- Complete Assembly: Supplied as a complete unit with both the regulator and motor, simplifying installation and eliminating the need to diagnose individual component failures.
- Direct Replacement: Engineered for a precise fit and function, ensuring a plug-and-play installation that matches the factory design.
- Rigorous Testing: Designed to meet Federal Motor Vehicle Safety Standards and extensively cycle-tested in actual vehicle doors for proven reliability.

Figure 2.1: Visual representation of key features, including cable guides, performance testing, and ease of replacement.

Figure 2.2: Illustration highlighting the improved design with added cable guides and sheathing to prevent stretching and reel binding.
3. Vehicle Compatibility
This Dorman 748-508 Power Window Regulator and Motor Assembly is compatible with the front driver side of the following vehicle models and years:
- Chrysler Town & Country: 2008, 2009, 2010, 2011, 2012, 2013, 2014, 2015, 2016
- Dodge Grand Caravan: 2008, 2009, 2010, 2011, 2012, 2013, 2014, 2015, 2016, 2017, 2018, 2019, 2020
- Ram C/V: 2012, 2013, 2014, 2015
Always verify fitment for your specific vehicle's make, model, and trim level before installation.
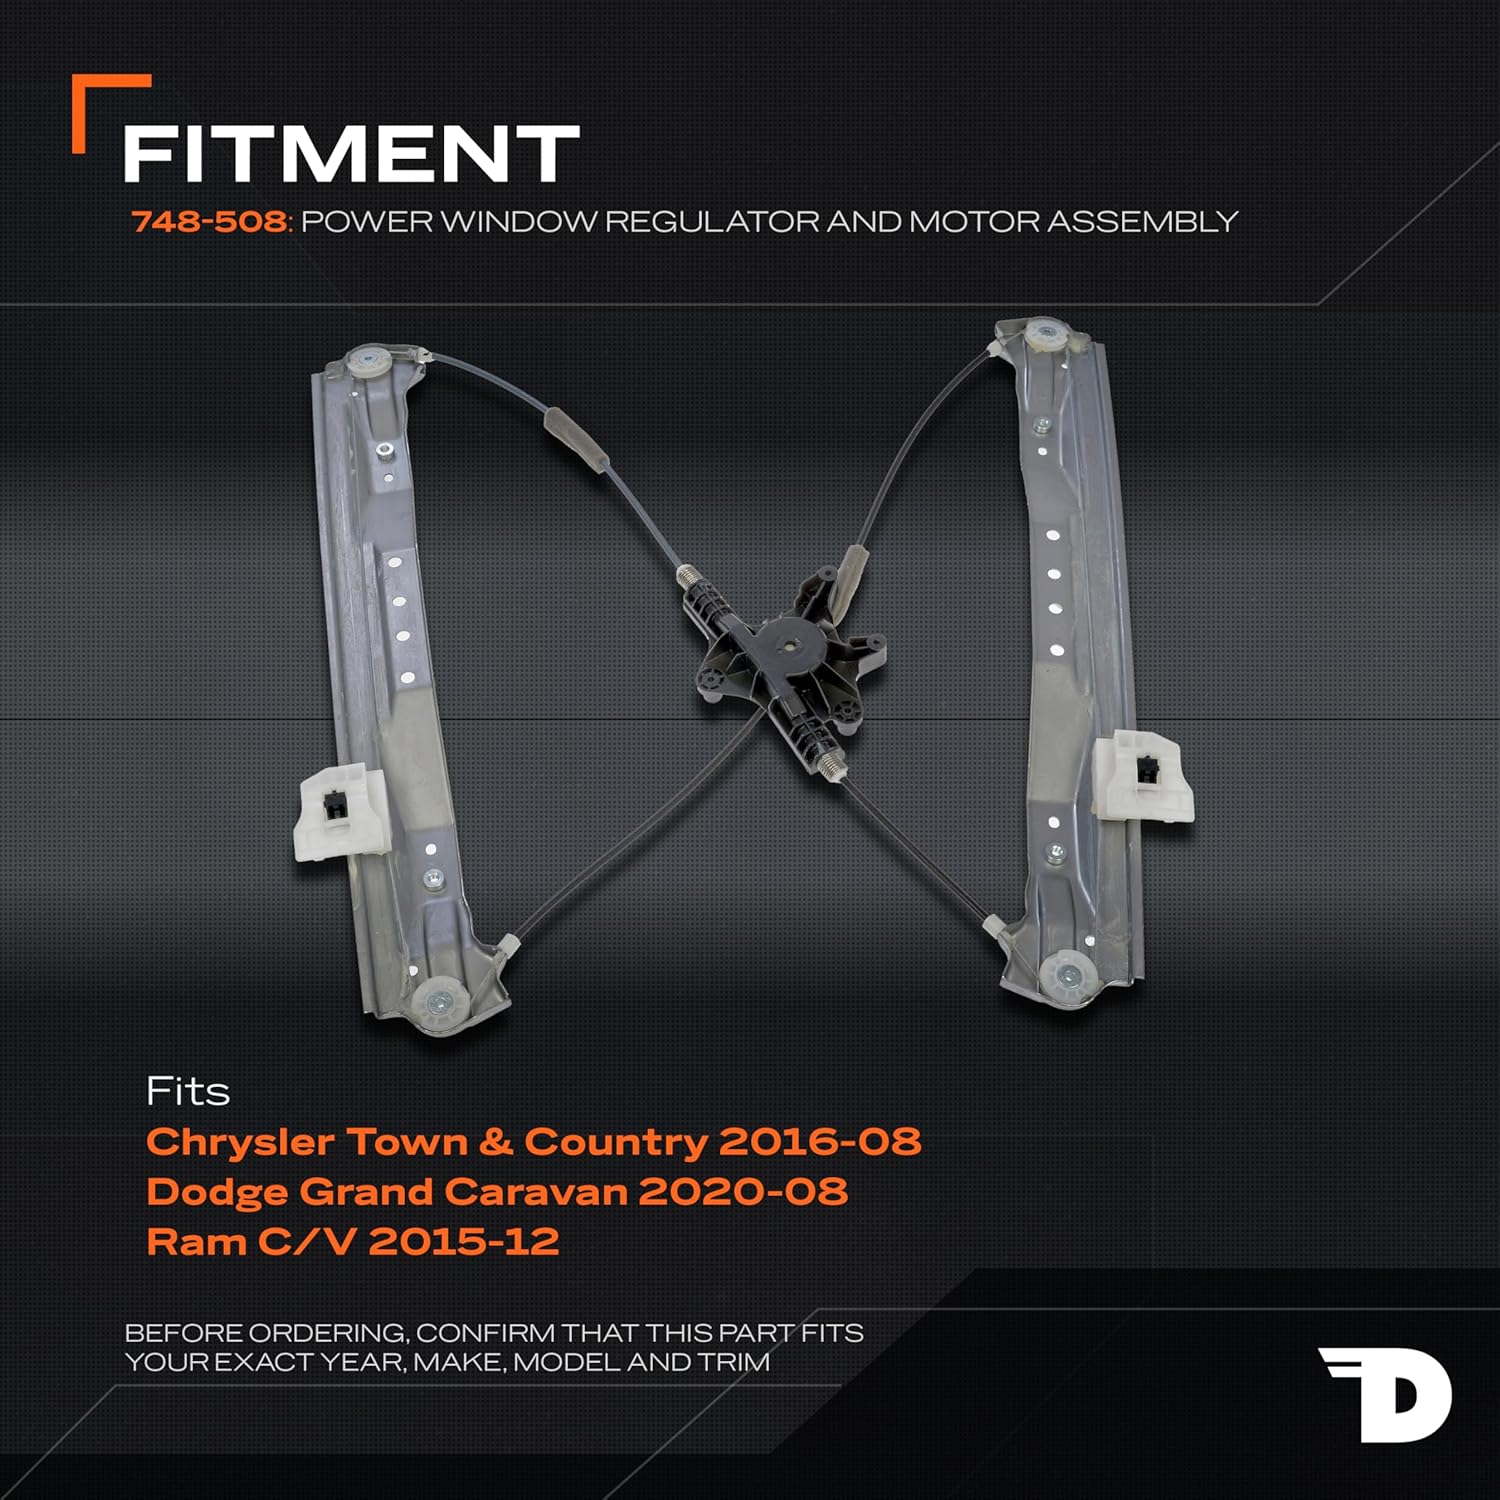
Figure 3.1: Graphic illustrating the vehicle models and years compatible with the 748-508 Power Window Regulator and Motor Assembly.
4. Installation (Setup)
Installation of a power window regulator and motor assembly requires mechanical aptitude and specific tools. If you are not comfortable performing this procedure, it is recommended to seek assistance from a qualified automotive technician.
4.1. Safety Precautions
- Disconnect the vehicle's battery before beginning any electrical work to prevent accidental power surges or injury.
- Wear appropriate personal protective equipment, including safety glasses and gloves.
- Ensure the window glass is properly supported or removed to prevent it from falling during the regulator replacement.
4.2. Required Tools (Typical)
- Socket set and ratchet
- Screwdriver set (Phillips and flathead)
- Trim panel removal tools
- Torx bits (if applicable)
- Wire cutters/strippers (if wiring repair is needed)
- Electrical tape or heat shrink tubing
4.3. General Installation Steps
- Access the Door Panel: Carefully remove the interior door panel. This typically involves removing screws, clips, and disconnecting electrical connectors for switches and lights.
- Remove Old Regulator:
- Locate and disconnect the electrical connector from the window motor.
- Carefully detach the window glass from the old regulator. Secure the glass in the up position using tape or a wedge.
- Unbolt the old regulator assembly from the door frame.
- Carefully remove the old regulator assembly from the door cavity.
- Install New Regulator:
- Insert the new Dorman 748-508 assembly into the door cavity.
- Align and bolt the new regulator assembly to the door frame.
- Attach the window glass to the new regulator's glass clips. Ensure it is securely seated.
- Connect the electrical connector to the new window motor.
- Test Functionality: Reconnect the vehicle battery. Test the window's up and down movement to ensure smooth operation and proper alignment before reassembling the door panel.
- Reassemble Door Panel: Reattach all electrical connectors, clips, and screws for the interior door panel.

Figure 4.1: The Dorman 748-508 assembly shown with the motor detached, illustrating the components that need to be handled during installation.

Figure 4.2: A close-up view of the window motor component, showing its gear mechanism.

Figure 4.3: Detailed view of the electrical connector on the window motor, which must be securely connected during installation.
5. Operation
Once installed, the Dorman 748-508 Power Window Regulator and Motor Assembly operates identically to the original equipment. The window is controlled via the vehicle's existing power window switch located on the driver's door panel.
- To lower the window, press and hold the appropriate switch button down.
- To raise the window, pull and hold the appropriate switch button up.
- Some vehicles may feature an "auto up/down" function, allowing a single press to fully open or close the window.
Ensure that no obstructions are present in the window path during operation to prevent damage to the window, regulator, or potential injury.
6. Maintenance
The Dorman 748-508 Power Window Regulator and Motor Assembly is designed for long-term, maintenance-free operation. However, general vehicle maintenance practices can contribute to its longevity:
- Keep Window Tracks Clean: Periodically clean the window tracks to remove dirt, dust, and debris that can impede window movement and put strain on the motor.
- Lubricate Window Seals: Apply a silicone-based lubricant to the window rubber seals and channels annually to ensure smooth operation and prevent sticking.
- Avoid Overloading: Do not attempt to operate the window if it is frozen or obstructed, as this can damage the motor or regulator mechanism.
7. Troubleshooting
If you experience issues with your power window after installation, consider the following troubleshooting steps:
| Symptom | Possible Cause | Solution |
|---|---|---|
| Window does not move or moves slowly. |
|
|
| Window makes grinding or clicking noises. |
|
|
| Window falls down or does not stay up. |
|
|
If troubleshooting steps do not resolve the issue, it is recommended to consult a professional automotive technician.
8. Specifications
| Attribute | Detail |
|---|---|
| Brand | Dorman |
| Model Number | 748-508 |
| Part Type | Power Window Regulator and Motor Assembly |
| Position | Front Driver Side |
| Item Weight | 5.09 pounds |
| OEM Part Numbers | 386936; WLA2002; 68030655AA; 68030657AA; 68102229AA |
| Special Features | Easy to Install (as per manufacturer claim) |
| Included Components | 1 Power Window Motor and Regulator |
9. Warranty and Support
Dorman products are manufactured to high-quality standards. For specific warranty information regarding the 748-508 Power Window Regulator and Motor Assembly, please refer to the documentation included with your purchase or visit the official Dorman website.
For technical assistance or customer support, please contact Dorman customer service directly.

Figure 9.1: The Dorman OE FIX logo, representing improved repair solutions.
Related documents748-508


Ask a question about this manual
Ask about setup, troubleshooting, compatibility, parts, safety, or missing instructions. Manuals+ will review the question and use this page’s manual context to help answer it.