
Wuloo WUL-19056-1T1-Brown-S
Wuloo Solar Driveway Alarm System User Manual
Model: WUL-19056-1T1-Brown-S
1. Product Overview
The Wuloo Solar Driveway Alarm System provides reliable outdoor motion detection with a long wireless range, designed to alert you to activity on your property. This system includes a weatherproof motion sensor with a solar panel for extended battery life and a multi-functional receiver.
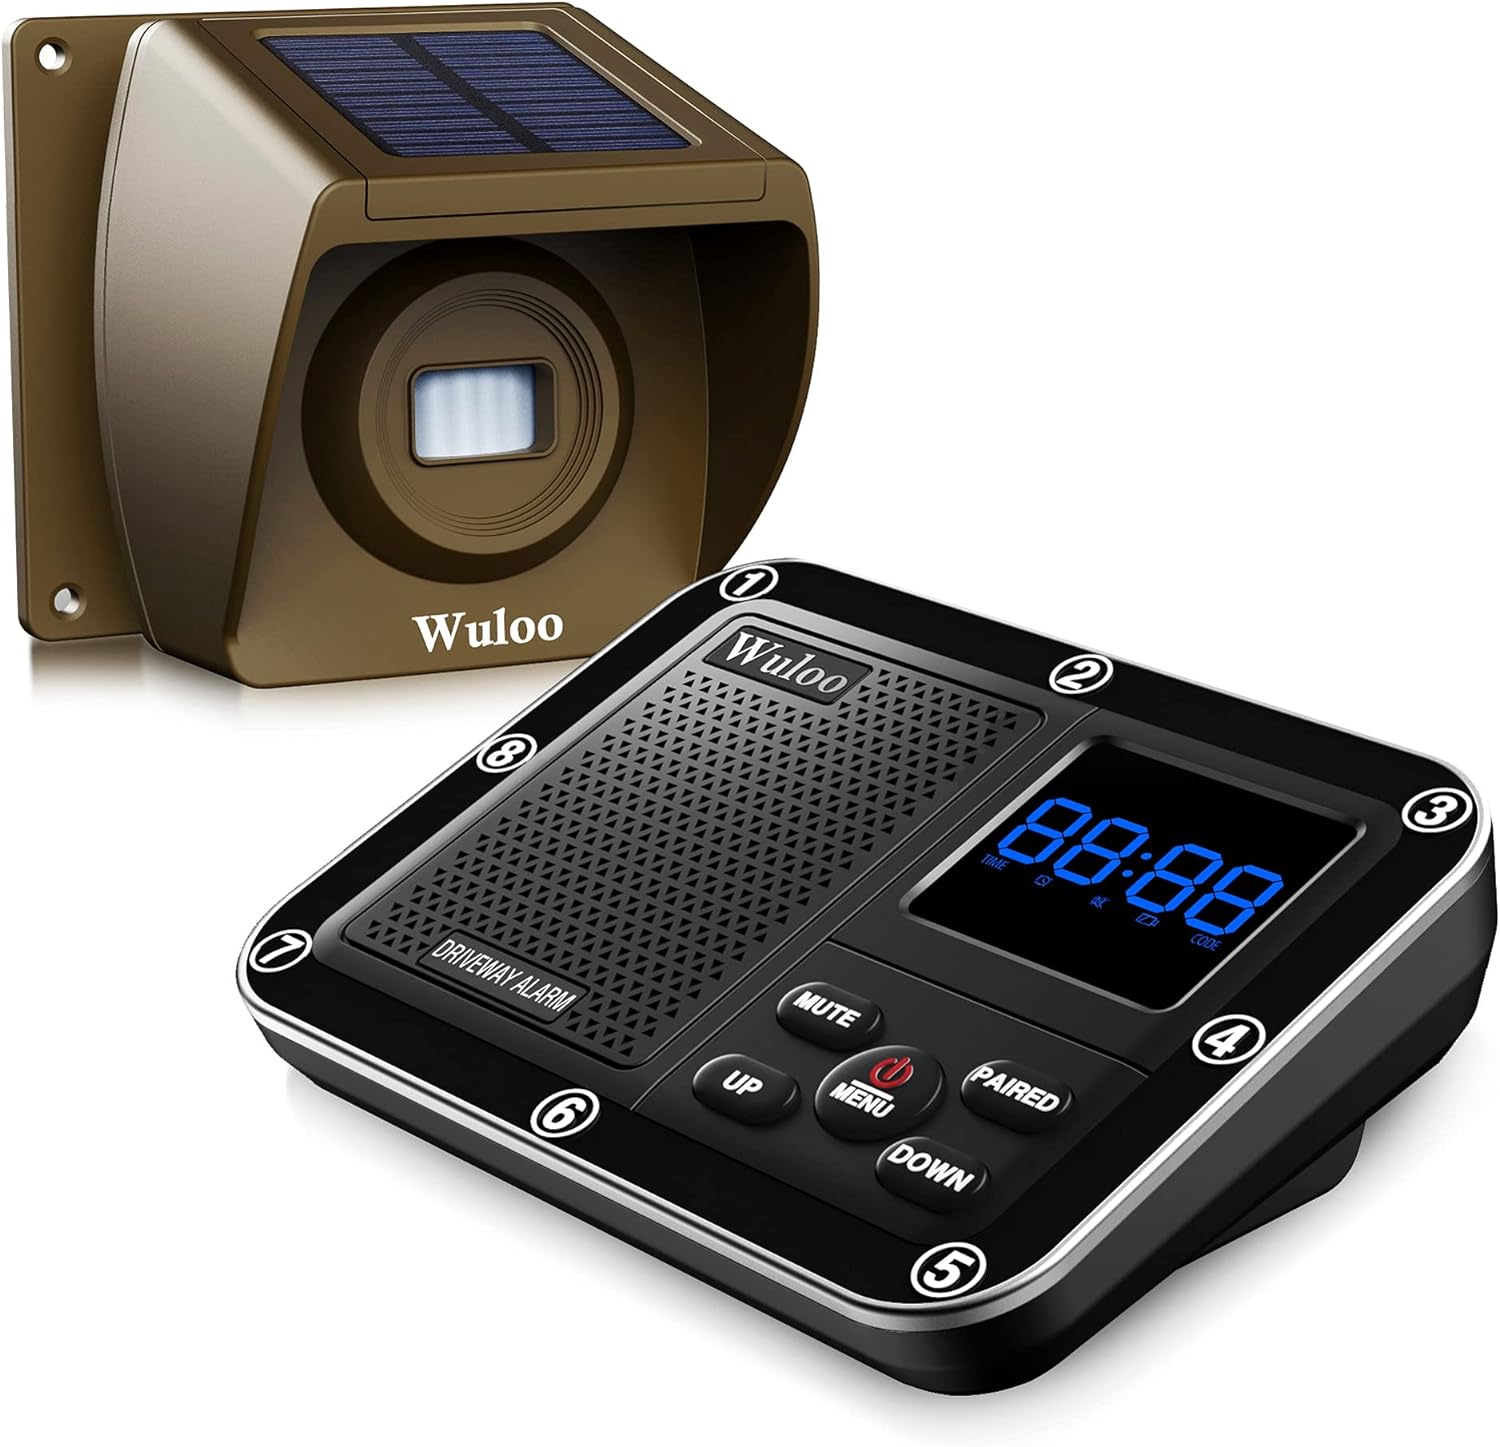
Image: The Wuloo Solar Driveway Alarm System, showing the solar-powered motion sensor and the indoor receiver unit.
Key features include a 1/3-mile wireless transmission range, adjustable sensor sensitivity, and a receiver that functions as a clock and alarm with customizable chimes and volume levels. The system is expandable, allowing connection of up to 8 additional sensors.

Image: Illustration demonstrating the 1/3 mile wireless transmission range of the Wuloo driveway alarm system, with the sensor placed outdoors near a driveway and the receiver inside a house. It highlights the waterproof design and operating temperature range of -4°F to 140°F.
2. Product Components
- Motion Sensor: Weatherproof unit with integrated solar panel and rechargeable battery. Detects motion within its adjustable range.
- Receiver: Indoor unit with digital display, adjustable chimes, volume control, clock, and alarm functions.
- Power Adapter: For the receiver unit.
- Mounting Hardware: Screws for sensor installation.
- User Manual & Quick Start Guide: Detailed instructions for setup and operation.

Image: An internal view of the Wuloo motion sensor, showing the 1800mA rechargeable battery, sensitivity adjustment switches, and channel setting switches (0-8).
3. Setup Instructions
Follow these steps to set up your Wuloo Solar Driveway Alarm System:
3.1. Confirm Sensor Power
- Wave your hand slowly in front of the sensor eye.
- Check for a red light. If a red light flashes, the sensor is powered on.
- If no red light appears, press and hold the POEWR button (located inside the sensor, may require opening the casing) for 3+ seconds to turn on the sensor. The sensor eye will flash red light 3 times while turning on, and 1 time while turning off.
- Note: For accurate testing, place the sensor eye down for 5 seconds before testing to ensure it enters sleeping mode.
3.2. Pairing Test
- Connect the receiver to a power outlet using the provided power adapter.
- Once the sensor is confirmed to be powered on, wave your hand slowly in front of the sensor eye again.
- Observe the receiver. If the receiver is receiving the signal, the corresponding LED indicator will flash, and a ring tone will sound. The screen will also display the corresponding channel number. This confirms normal operation.
3.3. Charge the Sensor
Sensors are typically charged to about 20% power when they leave the factory. For optimal performance and extended battery life, fully charge the sensor before installation.
- Connect the sensor to a power source using the appropriate charging cable.
- A full charge can take approximately 5 hours and allows the sensor to operate for up to 24 months.

Image: The solar motion sensor being charged by sunlight and also showing its ability to charge via a power adapter. The sensor can work up to 24 months after a full charge.
3.4. Install the Sensor
Install the sensor in a location that avoids direct sunlight from entering the sensor eye, as this can affect performance. Use the provided mounting hardware to secure the sensor.
- Choose a suitable outdoor location, such as a tree or post, where the sensor can effectively monitor the desired area (e.g., driveway, pathway).
- Securely mount the sensor using screws.
- After installation, you can adjust the angle of the sensor eye by moving the ball joint to optimize detection and minimize false alarms.

Image: A five-step visual guide for installing the Wuloo driveway alarm sensor, including checking battery settings, pairing, charging, and mounting the sensor.
3.5. Video Guide: How to Use Wuloo Driveway Alarm
Video: An official guide from Wuloo demonstrating the setup and usage of the driveway alarm system, covering power confirmation, pairing, charging, and installation.
4. Operating Instructions
4.1. Receiver Functions
The receiver is the central unit for managing your alarm system. It features a digital display and several control buttons.

Image: The Wuloo receiver unit displaying its various functions including 36 chimes and tones, 8 volume levels, mute mode, clock, and alarm features.
- Display: Shows time in standby mode and the corresponding channel/chime when triggered.
- MUTE Button: Press to stop ringing. Press and hold to enter/exit mute mode.
- PAIRED Button: Press to change the chime for different channels. Press and hold to enter pairing mode.
- UP/DOWN Buttons: Adjust volume in standby mode. Navigate menus in menu mode.
- MENU Button: Press and hold for 3 seconds to open/close the receiver. Press to set time and alarm clock.
The receiver can be powered by the AC adapter or by 3 AA batteries (not included). For safety, remove batteries when using AC power to prevent damage.
4.2. Adjusting Sensor Sensitivity
The sensor offers 4 sensitivity levels to prevent false alarms from small animals or environmental factors.

Image: Diagram illustrating the four sensitivity levels of the Wuloo motion sensor, ranging from 0-15 feet (lowest) to 0-33 feet (highest), showing how different levels detect various sizes of objects like small animals, people, and vehicles.
- Lowest Sensitivity (Low): 0-15 feet detection range, ideal for larger objects like vehicles.
- Middle 2 (Mid 2): 0-20 feet detection range.
- Middle 1 (Mid 1): 0-26 feet detection range.
- Highest Sensitivity (HI): 0-33 feet detection range, detects even small animals.
Adjust the sensitivity switch inside the sensor unit according to your environment and desired detection range.
4.3. Expanding the System
The Wuloo system is expandable, allowing you to connect up to 8 additional sensors to a single receiver to monitor multiple areas of your property.

Image: An aerial view illustration of a property with a central receiver and multiple motion sensors strategically placed around the house and driveway, demonstrating the system's expandability to monitor various areas.
Refer to the pairing instructions in Section 3.2 for adding new sensors. Each sensor can be assigned a unique channel for distinct alerts.
5. Maintenance
- Sensor Charging: The solar panel on the sensor helps maintain its charge. Ensure the solar panel is clean and free from obstructions (e.g., leaves, dirt) to maximize charging efficiency.
- Battery Life: The sensor's rechargeable battery can last up to 24 months on a full charge. If the sensor's performance degrades, ensure it is fully charged.
- Weather Protection: The sensors are weatherproof and designed to work in various conditions, including rain and snow. However, extreme weather conditions may temporarily affect performance.
- Cleaning: Periodically wipe down the sensor and receiver with a soft, damp cloth to remove dust and debris. Do not use harsh chemicals or abrasive cleaners.
6. Troubleshooting
- No Alert from Sensor:
- Ensure the sensor is powered on (check for red light when waving hand).
- Verify the sensor battery is charged.
- Check if the sensor and receiver are properly paired.
- Ensure the sensor is installed within the wireless range of the receiver (up to 1/3 mile).
- Adjust sensor sensitivity if it's too low for the detected object.
- Check for obstructions between the sensor and receiver (e.g., thick walls, large metal objects).
- False Alarms:
- Adjust the sensor sensitivity to a lower setting to avoid detection of small animals or blowing debris.
- Ensure the sensor is not pointed directly at moving objects like tree branches or reflective surfaces.
- Relocate the sensor to an area with less environmental interference.
- Receiver Not Responding:
- Ensure the receiver is properly plugged into a power outlet or has fresh AA batteries installed.
- Check if the receiver is in mute mode.
- Short Wireless Range:
- Ensure there are no significant obstructions (e.g., multiple thick walls, large metal structures) between the sensor and receiver.
- Relocate the receiver or sensor to improve line of sight.
- Avoid placing the receiver near large electronic devices that may cause interference.
7. Specifications
| Feature | Detail |
|---|---|
| Brand | Wuloo |
| Model Number | WUL-19056-1T1-Brown-S |
| Power Source (Sensor) | Solar, Battery Powered (Rechargeable Lithium Polymer) |
| Power Source (Receiver) | AC Adapter, 3 AA Batteries (not included) |
| Wireless Range | Up to 1/3 mile (1760 ft; 536m) |
| Motion Detection Range | Up to 30 feet (adjustable sensitivity) |
| Operating Temperature | -4°F to 140°F |
| Battery Life (Sensor) | Up to 24 months on full charge |
| Expandability | Supports up to 8 additional sensors |
| Receiver Chimes | 36 customizable chimes/tones |
| Receiver Volume Levels | 8 levels |
| Dimensions (Product) | 7.09 x 5.51 x 3.94 inches |
| Item Weight | 1.4 Pounds |
8. Warranty and Support
Wuloo is committed to providing high-quality products and excellent customer service. We specialize in FM/ASK/FSK wireless technology with over 20 years of experience.
- Customer Satisfaction: "Love it or refund" is our promise.
- Contact Support: For any questions, troubleshooting assistance, or warranty claims, please refer to the contact information provided in your product packaging or visit the official Wuloo store on Amazon.
- Additional Resources: A User Guide (PDF) and User Manual (PDF) are available for download.
Related documentsWUL-19056-1T1-Brown-S


Ask a question about this manual
Ask about setup, troubleshooting, compatibility, parts, safety, or missing instructions. Manuals+ will review the question and use this page’s manual context to help answer it.