
VIPEK V2
VIPEK V2 Heavy Duty Clothes Rack Instruction Manual
Model: V2
1. Introduction
This manual provides detailed instructions for the assembly, operation, maintenance, and troubleshooting of your VIPEK V2 Heavy Duty Clothes Rack. Designed as a portable metal closet system, the V2 rack offers robust storage solutions for various garments and accessories. Please read this manual thoroughly before assembly and use to ensure proper function and longevity of your product.

Image 1: Fully assembled VIPEK V2 Heavy Duty Clothes Rack.
2. Safety Information
- Ensure all parts are securely fastened before loading the rack.
- Do not exceed the maximum load capacity of 700 lbs for the entire unit, 90 lbs per hanging rod, and 88 lbs per wire shelf.
- Distribute weight evenly to prevent tipping.
- Do not climb on the rack or allow children to play on or around it.
- Keep small parts away from children to prevent choking hazards.
- Use on a flat, stable surface.
3. Package Contents
Verify that all components are present before beginning assembly. If any parts are missing or damaged, please contact customer support.
- Metal Poles (various lengths)
- Wire Shelves
- Hanging Rods
- Plastic Slip-Sleeves (clips)
- Leveling Feet
- Assembly Instructions
4. Setup and Assembly
The VIPEK V2 Clothes Rack features a slip-sleeve locking system for easy assembly without tools. A rubber mallet (not included) is recommended for securing shelves firmly.
4.1. Assembly Steps
- Unpack and Identify Parts: Lay out all components and compare them with the parts list in your included instruction manual.
- Attach Leveling Feet: Screw the leveling feet into the bottom of the vertical poles.
- Install Bottom Shelf: Snap the plastic slip-sleeves onto the vertical poles at the desired height for the bottom shelf. Ensure the arrows on the slip-sleeves point upwards and they are placed in the grooves on the poles. Slide the bottom wire shelf over the poles, ensuring it rests securely on the slip-sleeves. A rubber mallet can be used to gently tap the shelf into place for a snug fit.
- Install Additional Shelves and Hanging Rods: Continue installing shelves and hanging rods using the slip-sleeve system. The height of each shelf can be adjusted in 1-inch increments. Pay attention to the specific order of shelves as indicated in the detailed assembly diagram provided with your product.
- Secure All Connections: Once all shelves and rods are in place, ensure all slip-sleeves are fully engaged and all components are stable.

Image 2: Detailed view of the slip-sleeve locking system for easy assembly and adjustment.
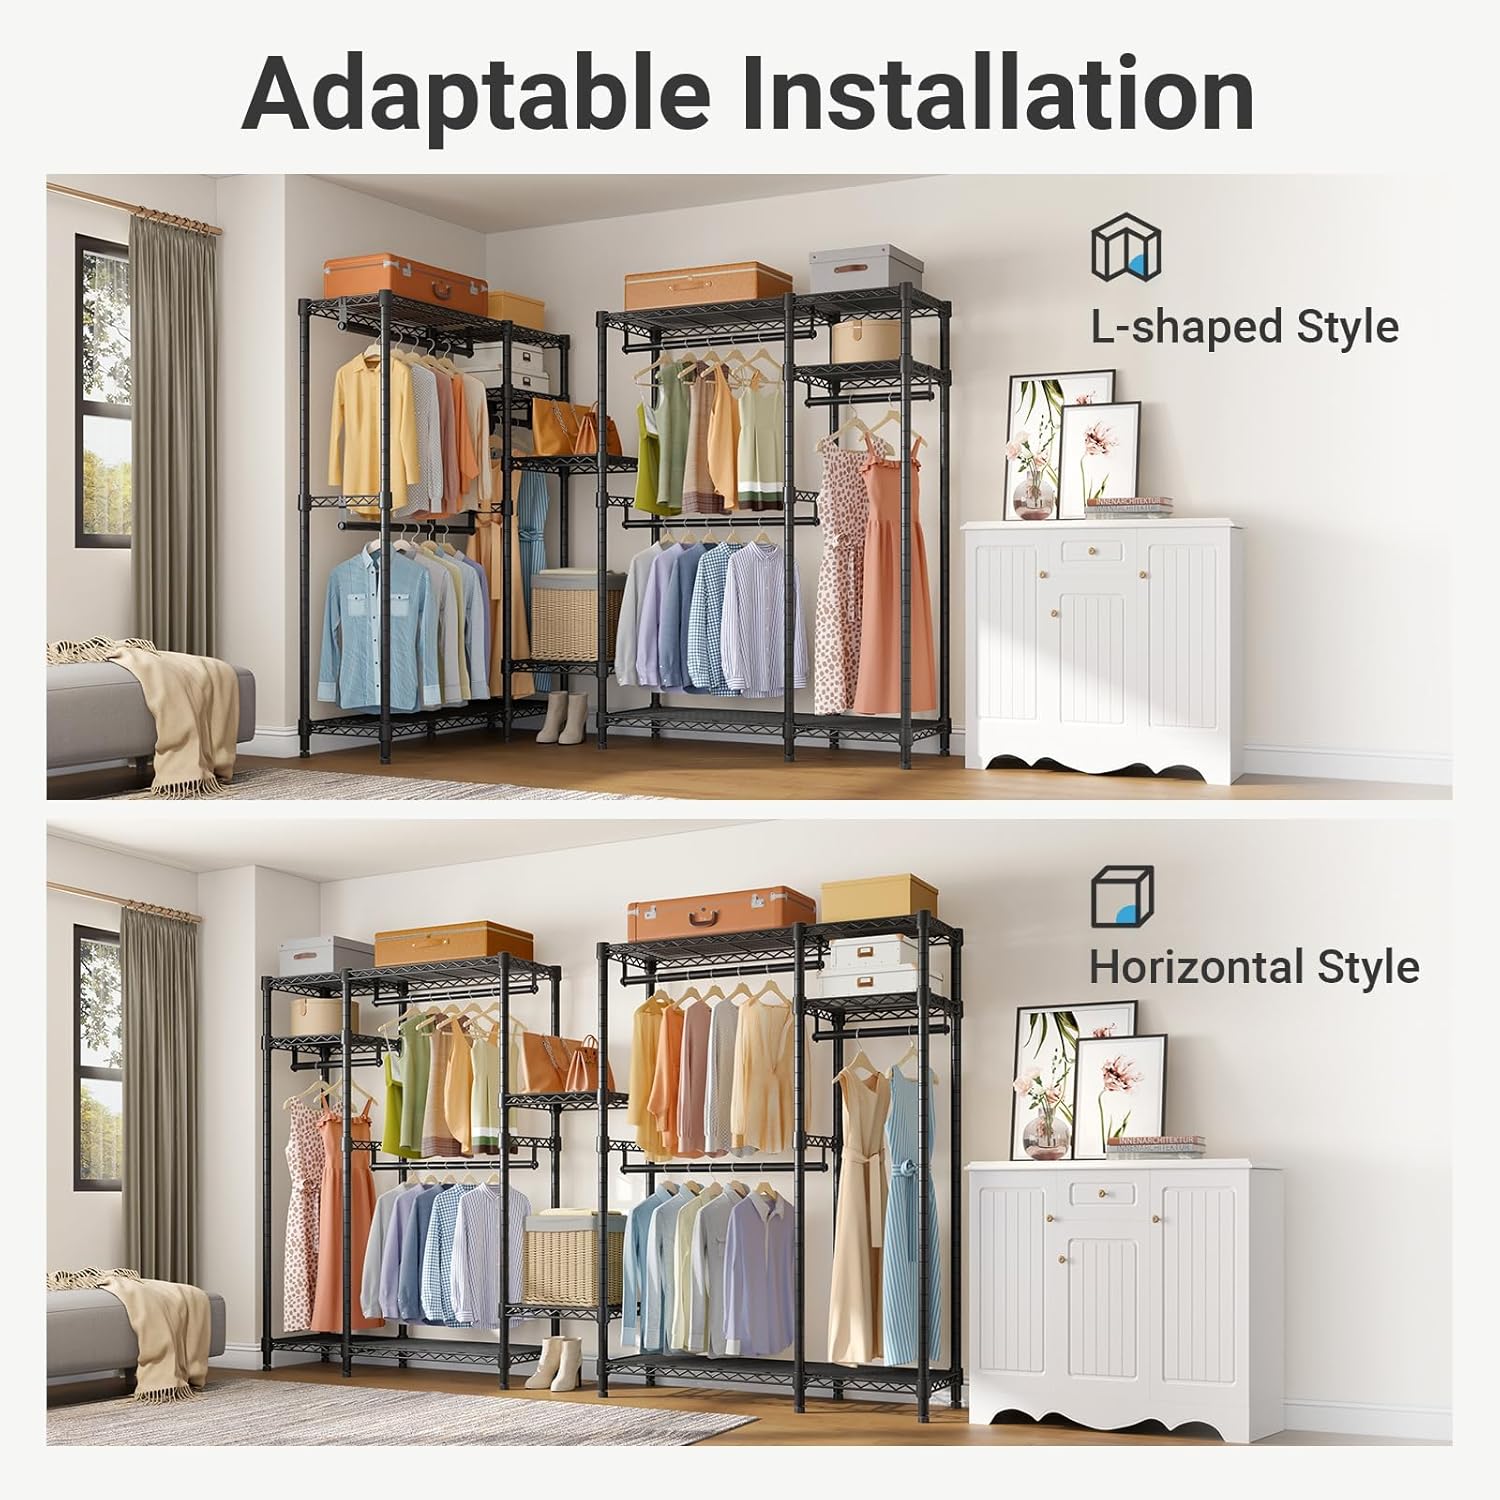
Image 3: Product dimensions and weight capacity for the VIPEK V2 clothes rack.
4.2. Assembly Video
For a visual guide on assembly and product features, please refer to the official VIPEK video below:
Video 1: Official VIPEK V2 Series Clothes Rack demonstration, showing assembly and usage.
5. Operating Instructions
The VIPEK V2 Clothes Rack is designed for versatile storage in various environments such as bedrooms, cloakrooms, balconies, or hallways. Its design allows for efficient organization of your wardrobe.
- Hanging Rods: Utilize the double hanging rods for wrinkle-free storage of dresses, suits, shirts, and pants.
- Storage Shelves: The four-tier wire shelves provide ample space for handbags, hats, folded clothes, storage boxes, and bedding.
- Adjustable Height: The height of the shelves and rods can be adjusted to accommodate items of different lengths, maximizing your storage space.

Image 4: Example of the VIPEK V2 clothes rack in use, showcasing its storage capacity.

Image 5: Diagram illustrating flexible storage options for various garment types and accessories.
6. Maintenance
To maintain the condition and appearance of your VIPEK V2 Clothes Rack:
- Wipe down the metal surfaces with a soft, damp cloth. Avoid abrasive cleaners or harsh chemicals, as these can damage the powder-coated finish.
- Periodically check all connections to ensure they remain tight and secure. Re-tighten if necessary.
- The powder-coated finish protects against water and rust, but it is recommended to keep the rack in a dry environment to prolong its lifespan.

Image 6: Close-up of the sturdy wire shelf design, highlighting its durability.
7. Troubleshooting
7.1. Rack is Unstable or Wobbly
- Check Assembly: Ensure all plastic slip-sleeves are correctly positioned in the pole grooves and that shelves are firmly seated. Gently tap shelves with a rubber mallet if needed.
- Leveling Feet: Adjust the leveling feet at the bottom of the poles to compensate for uneven floor surfaces.
- Weight Distribution: Ensure weight is evenly distributed across the shelves and hanging rods. Avoid placing excessively heavy items on one side.
7.2. Difficulty Adjusting Shelf Height
- Release Slip-Sleeves: Ensure the plastic slip-sleeves are fully disengaged from the shelf before attempting to move them. They should snap into place in the pole grooves.
- Clear Obstructions: Make sure no items are obstructing the movement of the shelf or slip-sleeves along the poles.
8. Specifications
| Feature | Detail |
|---|---|
| Brand | VIPEK |
| Model | V2 |
| Color | Black |
| Material | Carbon Steel |
| Product Dimensions (D x W x H) | 45"D x 15.7"W x 76.4"H |
| Maximum Load Capacity | 700 lbs (overall) |
| Single Hanging Rod Capacity | 90 lbs |
| Single Wire Shelf Capacity | 88 lbs |
| Number of Shelves | 4 |
| Installation Type | Free Standing |
| Finish Type | Powder Coated |
9. Warranty Information
The VIPEK V2 Heavy Duty Clothes Rack comes with a 1-Year Manufacturer Warranty. This warranty covers defects in materials and workmanship under normal use. Please retain your proof of purchase for warranty claims. For specific terms and conditions, refer to the warranty documentation included with your product or contact VIPEK customer support.
10. Customer Support
If you have any questions, require assistance with assembly, or need to report missing/damaged parts, please contact VIPEK customer support. Refer to the contact information provided on the product packaging or the official VIPEK website.
Related documentsV2


Ask a question about this manual
Ask about setup, troubleshooting, compatibility, parts, safety, or missing instructions. Manuals+ will review the question and use this page’s manual context to help answer it.