
Introduction
Thank you for choosing the Simple Trending Stackable Can Rack Organizer. This manual provides essential information for the proper assembly, operation, and maintenance of your new can storage solution. Please read these instructions carefully before use and retain them for future reference.
Safety Information
- Ensure all components are securely fastened during assembly to prevent instability.
- Do not overload the rack beyond its intended capacity to avoid collapse or damage.
- Place the organizer on a flat, stable surface to prevent tipping.
- Keep small parts away from children during assembly.
Package Contents
Verify that all items listed below are present in your package:
- 1 x Can Rack Unit
- 1 x Assembly Manual (this document)
- 1 x Allen Key
- 4 x Metal Connectors (for stacking multiple units)
Setup and Assembly
Follow these steps to assemble your Simple Trending Can Rack Organizer. An Allen key is included for your convenience.
- Unpack Components: Carefully remove all parts from the packaging and lay them out on a clean, flat surface.
- Assemble Side Frames: Attach the horizontal wire shelves to the vertical side frames using the provided screws and Allen key. Ensure all connections are snug but do not overtighten.
- Insert Dividers: Place the plastic dividers into the designated slots on each shelf. These dividers can be adjusted to accommodate different can sizes.
- Stacking Multiple Units (Optional): If you have multiple units, align the top unit's legs with the bottom unit's top frame. Secure them using the four metal connectors provided. This creates a taller, integrated storage system.

Detailed text description for Figure 1: This image displays a step-by-step visual guide for assembling the can rack. It shows the individual components, including the side frames, wire shelves, and plastic dividers, along with arrows indicating how they fit together. The diagram highlights the screw points for securing the structure and the adjustable nature of the dividers.
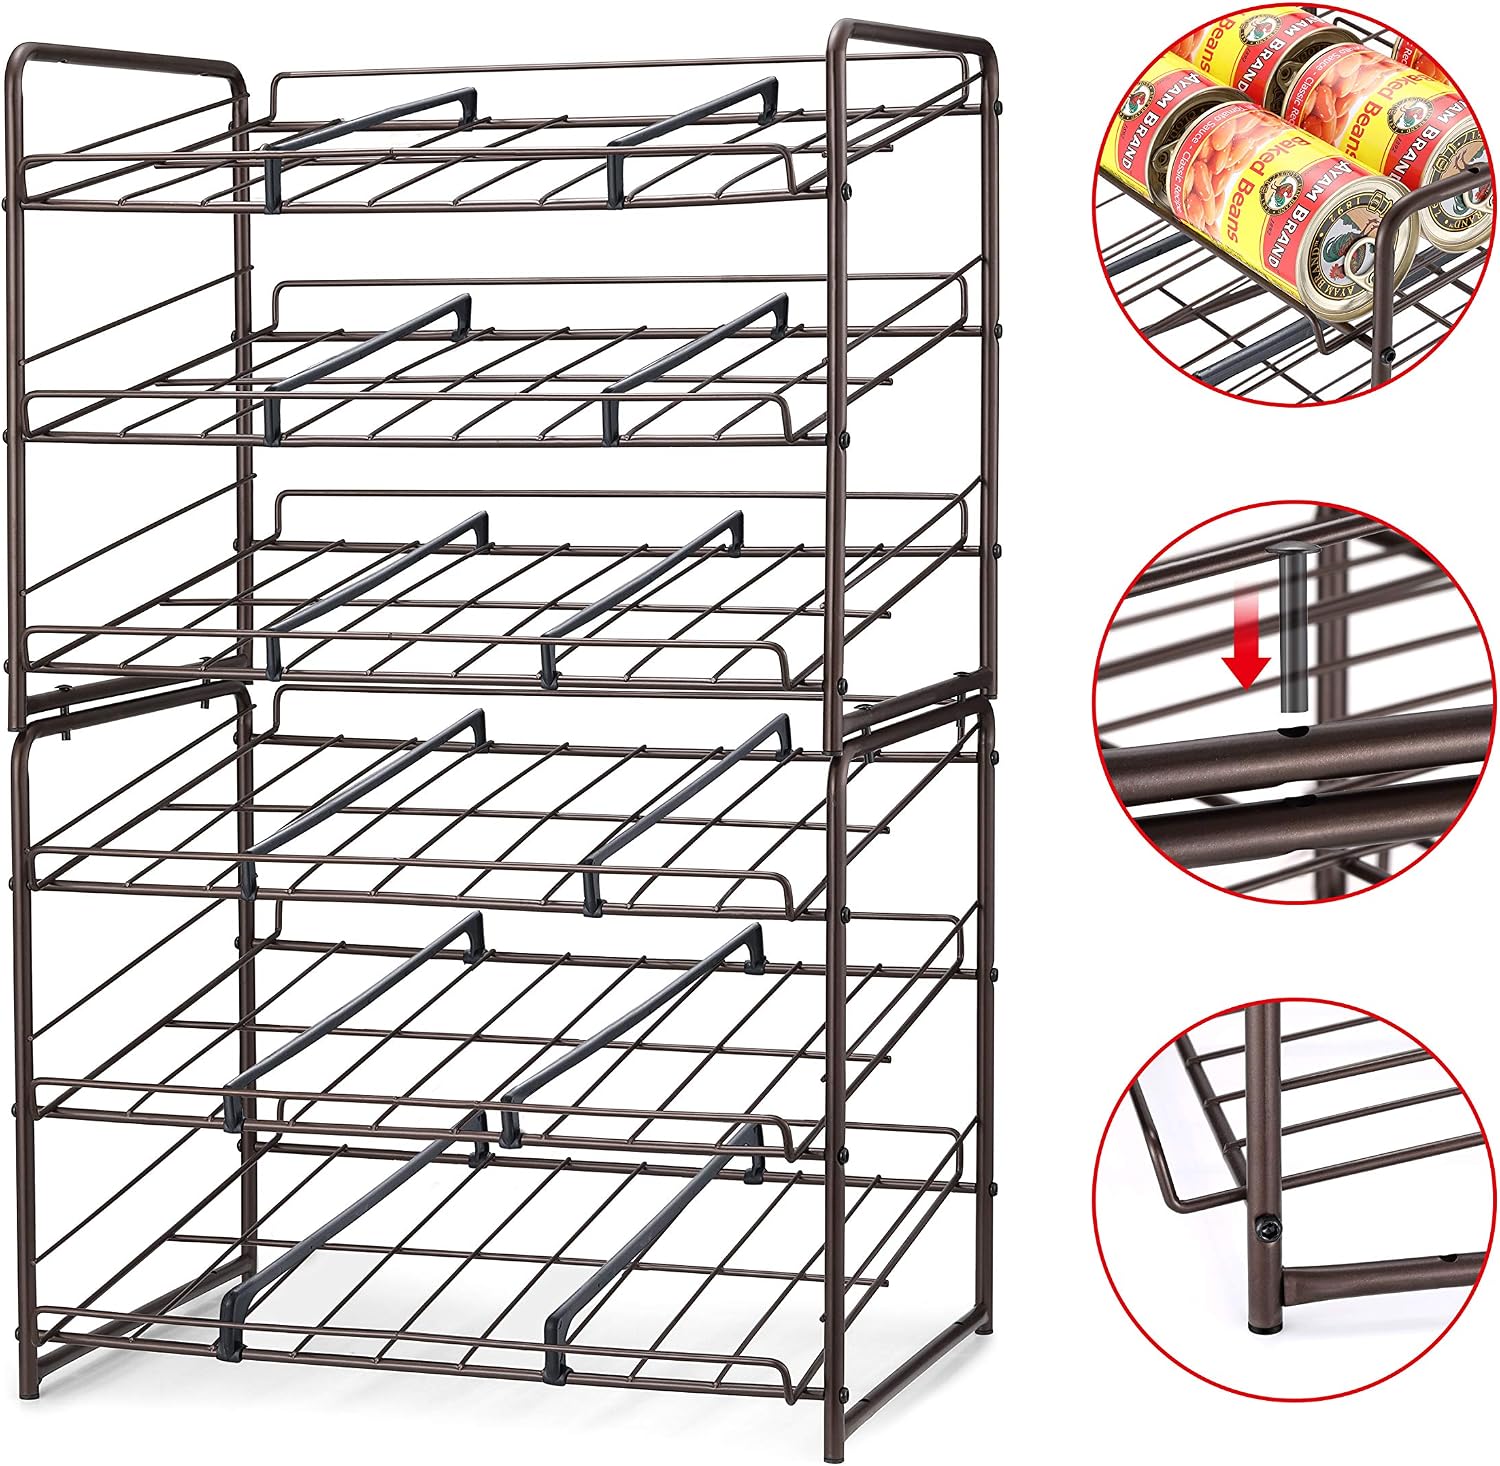
Detailed text description for Figure 2: This image shows two can rack organizers stacked one on top of the other, demonstrating the stackable feature. Close-up insets illustrate the metal connectors used to secure the units together, ensuring stability when stacked. This configuration maximizes vertical storage space.
Assembly Video Guide
Video 1: A demonstration of the Simple Trending can rack assembly and functionality. This video shows the ease of putting the rack together and how cans roll forward for easy access.
Operating Instructions
The Simple Trending Can Rack Organizer is designed for easy access and rotation of canned goods.
- Loading Cans: Place cans onto the top of each sloped shelf. The cans will roll down to the front. For optimal rotation, place newer cans at the back of the top shelf.
- Dispensing Cans: To retrieve a can, simply take the can from the front of the bottom row. The remaining cans will automatically roll forward.
- Adjusting Dividers: If you are storing cans of varying widths, adjust the plastic dividers by sliding them along the wire shelves to create appropriately sized lanes.

Detailed text description for Figure 3: This image shows the can rack organizer in use, filled with a variety of canned foods. Cans are neatly arranged on the sloped shelves, illustrating how they are stored and ready for dispensing. The bronze finish of the rack is visible, complementing the pantry setting.
Maintenance
- Cleaning: Wipe the metal frame and plastic dividers with a soft, damp cloth. Avoid abrasive cleaners or harsh chemicals that could damage the finish.
- Inspection: Periodically check all screws and connectors to ensure they remain tight. Retighten if necessary.
- Storage: If disassembling for storage, keep all parts, especially screws and connectors, in a safe place for future reassembly.
Troubleshooting
| Problem | Possible Cause | Solution |
|---|---|---|
| Cans do not roll smoothly. | Rack is not level or surface is uneven. | Ensure the rack is placed on a completely flat and level surface. |
| Small cans fall through the wires. | The spacing between the wires is too wide for very small cans (e.g., tuna cans). | Place a thin, rigid liner (e.g., plastic sheet or cardboard) on the shelf to support smaller cans. |
| Rack feels unstable. | Screws are loose or unit is overloaded. | Check and tighten all assembly screws. Reduce the number of cans if overloaded. |
Specifications
- Model: Whew
- Brand: Simple Trending
- Material: Metal, Plastic
- Color: Bronze
- Special Feature: Stackable
- Product Dimensions: 13"D x 17.25"W x 13.5"H
- Shelf Type: Tiered Shelf
- Number of Shelves: 3
- Assembly Required: Yes
- Item Weight: 0.634 ounces
- UPC: 671072258042
Warranty and Support
For warranty information or product support, please refer to the contact details provided on the product packaging or visit the official Simple Trending website. Keep your purchase receipt for any warranty claims.