Introduction
This manual provides essential information for the proper use, maintenance, and troubleshooting of your Estink Tire Changer Clamp. Designed for efficiency and durability, this tool assists in mounting and demounting tires, particularly those with low sidewalls and run-flat designs. Its construction from high-quality nylon polymer ensures it will not mar or damage wheels during operation.

Figure 1: The Estink Tire Changer Clamp, a robust tool for tire bead management.
Product Features
- Efficient Tire Mounting: Specifically designed to hold the tire bead below the rim flange, facilitating quick and easy tire mounting.
- Wheel Protection: Constructed from durable nylon polymer, preventing scratches or damage to wheel surfaces during use.
- Bead Depressor Function: Effectively pushes the tire bead down into the center of the wheel, crucial for mounting and demounting low sidewall and run-flat tires.
- High Performance: Features a steel screw and nut design for maximum pressure application and secure operation.
- High Effective: This tire changer is a huge time saver and can prevent tire bead and wheel damage from over stress.

Figure 2: Key components of the clamp, including the anti-pressure pad and the cracking fixed anti-fall off mechanism.
Setup and Assembly
The Estink Tire Changer Clamp is designed for immediate use with minimal setup. It does not require complex assembly.
- Unpacking: Carefully remove the tire changer clamp from its packaging. Inspect the tool for any signs of damage during transit.
- Familiarization: Before first use, familiarize yourself with the clamp's components, including the main body, the anti-pressure pad, and the adjustment knob.

Figure 3: Various angles of the clamp, demonstrating its compact and functional design.
Operating Instructions
Follow these steps for effective and safe operation of the tire changer clamp:
- Positioning the Clamp: Place the clamp on the tire bead, ensuring the anti-pressure pad is positioned to push the bead down into the center drop of the wheel.
- Applying Pressure: Use the adjustment knob to apply gentle, consistent pressure. The clamp's design allows it to hold the tire bead securely below the rim flange.
- Mounting/Demounting: As you rotate the wheel on the tire changer, the clamp will maintain the bead's position, significantly easing the mounting or demounting process. The sliding bottom of the clamp helps decrease stress on both the tool and the tire.
- Special Considerations: This tool is particularly beneficial for tires with low sidewalls and run-flat tires, where bead manipulation can be challenging.

Figure 4: The clamp in action, demonstrating its function in holding the tire bead below the rim flange for easier mounting.

Figure 5: The clamp is an essential tool for professionals and enthusiasts alike, simplifying tire service tasks.
Maintenance
Proper maintenance will extend the life and effectiveness of your Estink Tire Changer Clamp.
- Cleaning: After each use, wipe down the clamp with a clean, dry cloth to remove any tire residue or dirt.
- Inspection: Regularly inspect the nylon polymer components for any signs of wear, cracks, or damage. Check the steel screw and nut for smooth operation.
- Storage: Store the clamp in a clean, dry place away from direct sunlight and extreme temperatures to prevent material degradation.
- Lubrication: Periodically apply a small amount of light lubricant to the screw mechanism to ensure smooth adjustment.
Troubleshooting
This section addresses common issues you might encounter with your tire changer clamp.
| Problem | Possible Cause | Solution |
|---|---|---|
| Clamp not holding bead securely. | Insufficient pressure applied; incorrect positioning. | Ensure the clamp is firmly tightened and positioned correctly in the wheel's drop center. |
| Difficulty adjusting the screw. | Dirt or debris in threads; lack of lubrication. | Clean the screw mechanism and apply a light lubricant. |
| Scratches on wheel rim. | Improper use; damaged anti-pressure pad. | Ensure the nylon polymer pad is always in contact with the rim. Inspect the pad for damage and replace if necessary. |
Specifications
| Attribute | Value |
|---|---|
| Material | Nylon Polymer |
| Color | Black |
| Dimensions (L x W x H) | 8.2 x 5.9 x 17 cm (3.23" x 2.32" x 6.69") |
| Item Weight | 14.4 ounces (approx. 389g) |
| Manufacturer | Estink |
| Model Number | Yosoou2iwgm3p6o |
| Applicable Tire Types | Most wheel and tire applications, including low sidewall and run-flat tires. |

Figure 6: Detailed dimensions of the tire changer clamp.
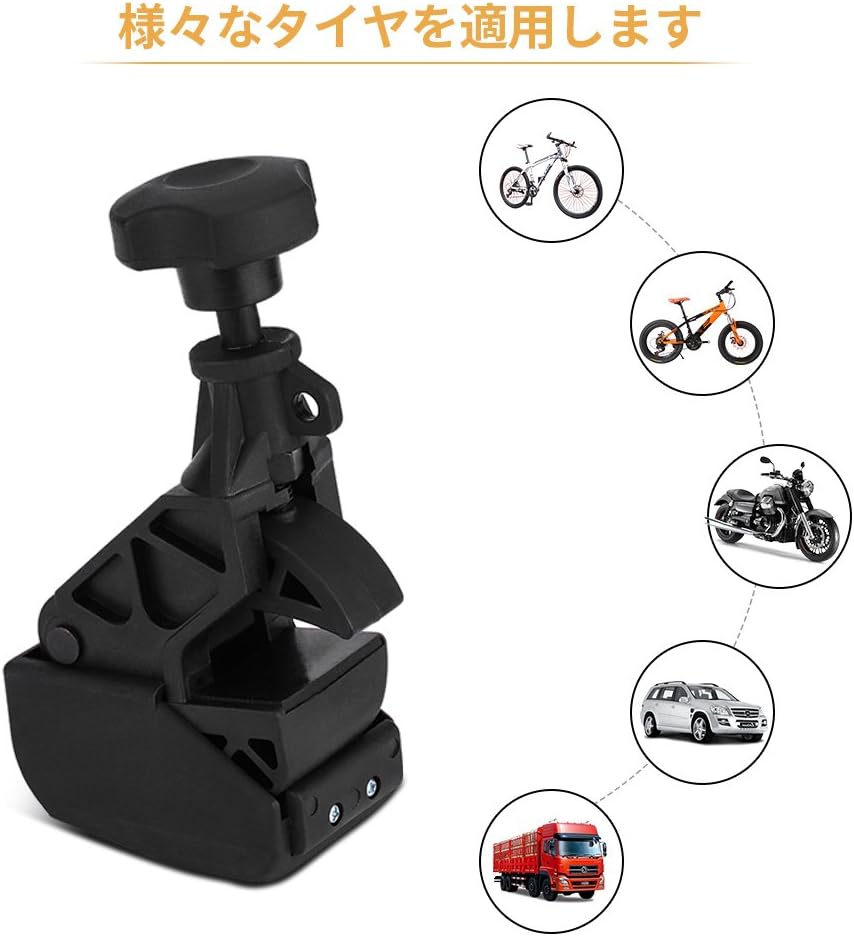
Figure 7: The clamp is versatile and applicable to a wide range of tire types, from bicycles to trucks.
Warranty and Support
For information regarding product warranty, returns, or technical support, please refer to the purchase documentation or contact the seller directly. As a general guideline, ensure you retain your proof of purchase for any warranty claims.
For further assistance, you may visit the official Estink store on Amazon: Estink Store.