1. Introduction
This manual provides detailed instructions for the safe and effective operation of your KAIWEETS KT360A Self-Leveling 3D Laser Level. Please read this manual thoroughly before using the device and retain it for future reference.
The KAIWEETS KT360A is a versatile 3D laser level designed for various construction and alignment tasks, featuring three 360-degree laser planes (one horizontal, two vertical) for comprehensive coverage.
2. Safety Information
WARNING: This device emits laser radiation. Avoid direct eye exposure to the laser beam. Staring directly into the laser beam can cause eye injury.
- Do not disassemble the laser level. Repairs should only be performed by authorized service personnel.
- Do not operate the device in explosive atmospheres, such as in the presence of flammable liquids, gases, or dust.
- Keep the device out of reach of children.
- Use only specified batteries and charging accessories.
- Ensure the device is stable before operation to prevent accidental movement.
3. Package Contents
Verify that all items are present in your package:
- KAIWEETS KT360A Laser Level
- Lithium-ion Rechargeable Battery (installed)
- Laser Target Plate
- Fabric Bag
- User Manual
- Magnetic Stand
- USB Type-C Charging Cable
- Power Adapter

Image: KAIWEETS KT360A Laser Level and its included accessories: laser unit, rechargeable battery, power adapter, USB-C charging cable, laser target plate, and a fabric carrying bag.
4. Product Features
- 3 x 360° Laser Lines: One horizontal and two vertical 360-degree laser planes for comprehensive leveling and alignment.
- Green Laser Technology: Offers 4 times better visibility and increased accuracy compared to red lasers.
- Self-Leveling Function: Automatically levels within ±4 degrees. Ensures fast and error-free work.
- Manual Mode: Allows locking the pendulum for projecting lines at any angle.
- Pulse Mode: Extends the working range up to 196ft/60m with a laser detector (not included) under 20000lux illuminance.
- Long Battery Life: Equipped with a 3.7V x 7.5Ah (27.75Whr) lithium-ion rechargeable battery, providing over 20 hours of continuous operation.
- Robust Design: IP54 waterproof and dustproof housing for durability in various working conditions.
- Magnetic Stand: Includes a 360° rotating magnetic bracket for versatile mounting options.

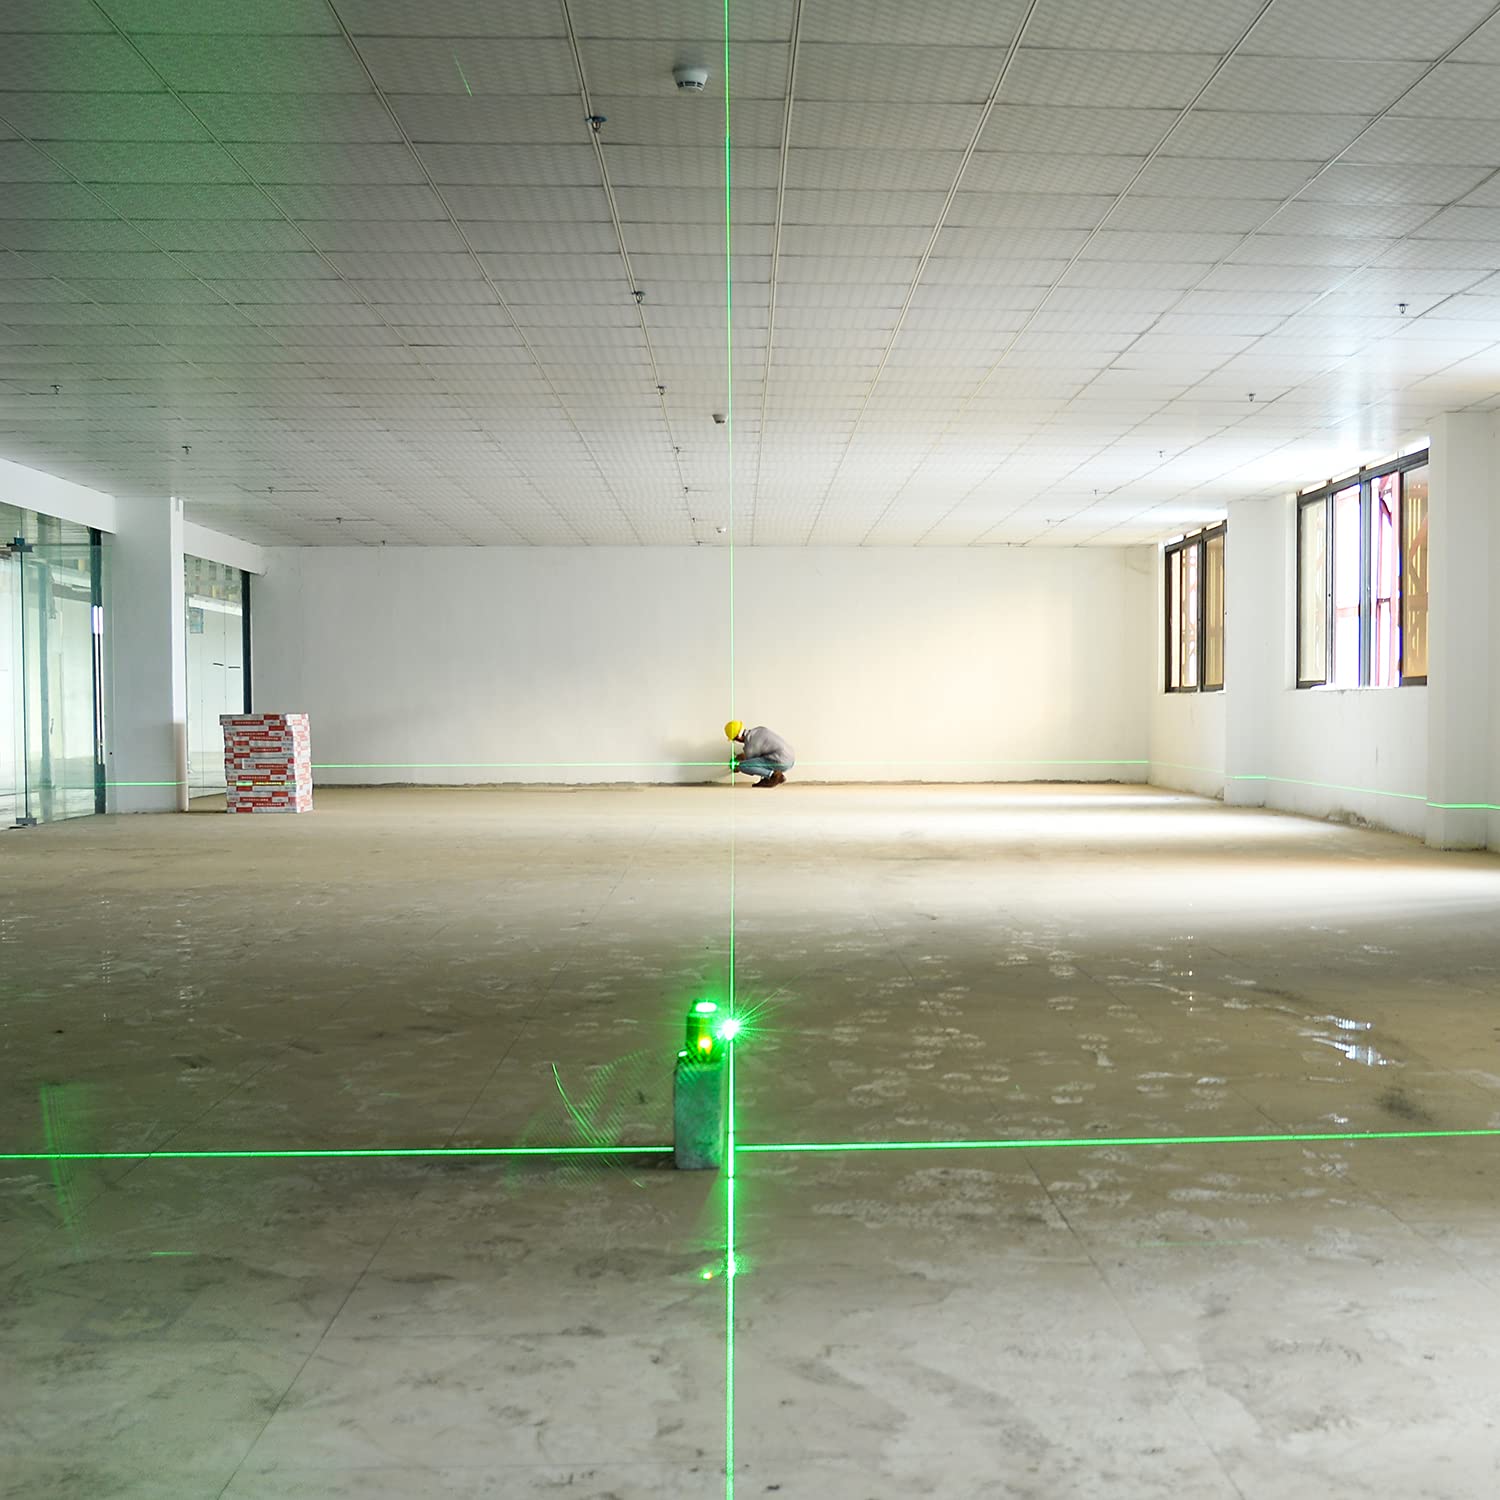
Image: The KAIWEETS KT360A laser level projecting bright green 360-degree laser lines, highlighting its visibility and comprehensive coverage.

Image: An overview of the KAIWEETS KT360A's key features, including its 3D green rotary laser, 4X visibility compared to red lasers, three 360-degree laser planes, 20-hour battery life, and IP54 rating for dust and water resistance.
5. Setup
5.1 Battery Installation and Charging
- The lithium-ion battery is typically pre-installed. If not, open the battery compartment and insert the battery, ensuring correct polarity.
- To charge the battery, connect the USB Type-C charging cable to the laser level and a compatible power adapter.
- The smart LED indicator on the battery will show the charging status. All four lights indicate a full charge.

Image: Close-up view of the KAIWEETS KT360A's battery, highlighting its waterproof design, smart LED charge indicator, and Type-C charging port with 5V/2A input specifications.
5.2 Mounting Options
- Magnetic Stand: Attach the laser level to the included magnetic stand. The stand allows 360° rotation and can be securely fastened to metal surfaces.
- Tripod Mounting: The device features a standard tripod thread at its base, allowing it to be mounted onto a compatible tripod (tripod not included).

Image: Demonstrates multiple ways of placing the KAIWEETS KT360A laser level, including mounting on its 360° rotating magnetic bracket and attaching it to a tripod.
6. Operating Instructions
6.1 Powering On/Off and Mode Selection
- Power On: Slide the pendulum lock switch to the unlocked position (OPEN icon). The device will power on and enter self-leveling mode, projecting horizontal and vertical lines.
- Self-Leveling Mode: When the pendulum is unlocked, the device automatically self-levels within ±4°. If the tilt exceeds this range, the laser lines will flash rapidly to indicate an out-of-level condition. Adjust the device's position until the lines stabilize.
- Manual Mode (Locked Mode): To use the device for projecting lines at an angle, slide the pendulum lock switch to the locked position (LOCK icon) while the device is off. Then press the power button. The laser lines will be projected, and the self-leveling function will be disabled, allowing for angled lines. The laser lines may flash slowly in this mode to indicate it is not self-leveling.
- Switching Laser Planes: Use the dedicated button(s) on the device to cycle through different laser line combinations (e.g., horizontal only, vertical only, all lines).
- Pulse Mode: Press the pulse mode button (often indicated by a 'P' or receiver icon) to activate pulse mode. This mode is used with a laser detector (receiver) for outdoor use or in bright conditions to extend the working range.
- Power Off: Slide the pendulum lock switch to the locked position (LOCK icon). This secures the pendulum for transport and storage.

Image: A close-up of the control panel indicators, showing symbols for battery status, self-leveling mode, and manual mode (locked pendulum).

Image: A close-up of the control panel, specifically highlighting the pulse mode indicator, which is used when pairing with a laser receiver.

Image: Illustrates the two main operating modes: Manual Mode for fixed, angled lines, and Self-Leveling Mode for automatic leveling within ±4 degrees.
6.2 Application Examples

7. Maintenance
- Cleaning: Use a soft, damp cloth to clean the device. Do not use abrasive cleaners or solvents.
- Storage: When not in use, store the laser level in its fabric bag with the pendulum locked. Store in a dry, cool place, away from direct sunlight.
- Battery Care: Charge the battery regularly, even if the device is not in frequent use, to maintain battery health. Avoid fully discharging the battery for extended periods.
- Calibration Check: Periodically check the accuracy of the laser level. Refer to professional calibration services if accuracy deviates significantly.
8. Troubleshooting
| Problem | Possible Cause | Solution |
|---|---|---|
| Laser lines are flashing rapidly. | Device is out of its self-leveling range (±4°). | Place the device on a more level surface or adjust its position until the lines stabilize. |
| Laser lines are dim or not visible outdoors. | Bright ambient light or device is not in pulse mode. | Activate pulse mode and use a laser detector (receiver) for improved visibility and range. |
| Device does not power on. | Low battery or pendulum is locked. | Charge the battery. Ensure the pendulum lock switch is in the unlocked position. |
| Laser lines are not straight or accurate. | Device is in manual mode or requires calibration. | Ensure the device is in self-leveling mode (pendulum unlocked). If issues persist, contact customer support for calibration. |
9. Specifications
| Feature | Detail |
|---|---|
| Brand | KAIWEETS |
| Model Number | KT360A |
| Laser Color | Green |
| Laser Configuration | 3 x 360° (1 Horizontal, 2 Vertical) |
| Self-Leveling Range | ±4° |
| Leveling Accuracy | ±3mm / 10m |
| Working Range (with detector) | Up to 196ft / 60m (under 20000lux illuminance) |
| Battery Type | 3.7V x 7.5Ah (27.75Whr) Lithium-ion |
| Operating Time | More than 20 Hours |
| IP Rating | IP54 (Waterproof and Dustproof) |
| Material | Acrylonitrile Butadiene Styrene |
| Product Dimensions (Approx.) | 13.9L x 9.9W x 11.8H cm (5.47L x 3.89W x 4.64H inches) |
| Item Weight | 1.05 Kilograms (1050 grams) |
| UPC | 780007466879 |

Image: Dimensions of the KAIWEETS KT360A laser level, showing its length as 5.47 inches, width as 3.89 inches, and height as 4.64 inches.
10. Warranty and Support
The KAIWEETS KT360A Laser Level comes with a 3-year service warranty as stated in the product features. For technical support, warranty claims, or service inquiries, please contact KAIWEETS customer service through their official channels or the retailer where the product was purchased.
Please retain your proof of purchase for warranty validation.


