1. Introduction
Thank you for choosing the Wood's MDK 21 Dehumidifier. This manual provides important information regarding the safe operation, installation, maintenance, and troubleshooting of your new dehumidifier. Please read this manual thoroughly before using the appliance and keep it for future reference.
The Wood's MDK 21 is designed to efficiently remove excess moisture from the air, helping to prevent mold, mildew, and dampness in your home or office environment. Its compact design and user-friendly features make it an ideal solution for various spaces.
2. Safety Information
Always observe the following safety precautions to reduce the risk of fire, electric shock, or injury.
- Electrical Safety: Ensure the power supply matches the voltage specified on the rating label. Do not operate the unit with a damaged power cord or plug. Do not share the power outlet with other high-power appliances.
- Placement: Place the dehumidifier on a stable, level surface. Maintain a minimum distance of 20 cm (8 inches) from walls or other objects to ensure proper airflow. Do not block the air inlet or outlet.
- Operation: Do not insert fingers or foreign objects into the air inlet or outlet. Do not use the appliance in areas where flammable gases or liquids are stored. Always unplug the unit before cleaning or performing any maintenance.
- Children and Pets: Keep the appliance out of reach of children and pets. Supervise children to ensure they do not play with the appliance.
- Maintenance: Only qualified personnel should perform repairs. Do not attempt to repair the unit yourself.
3. Product Overview and Components
Familiarize yourself with the main parts of your Wood's MDK 21 Dehumidifier.
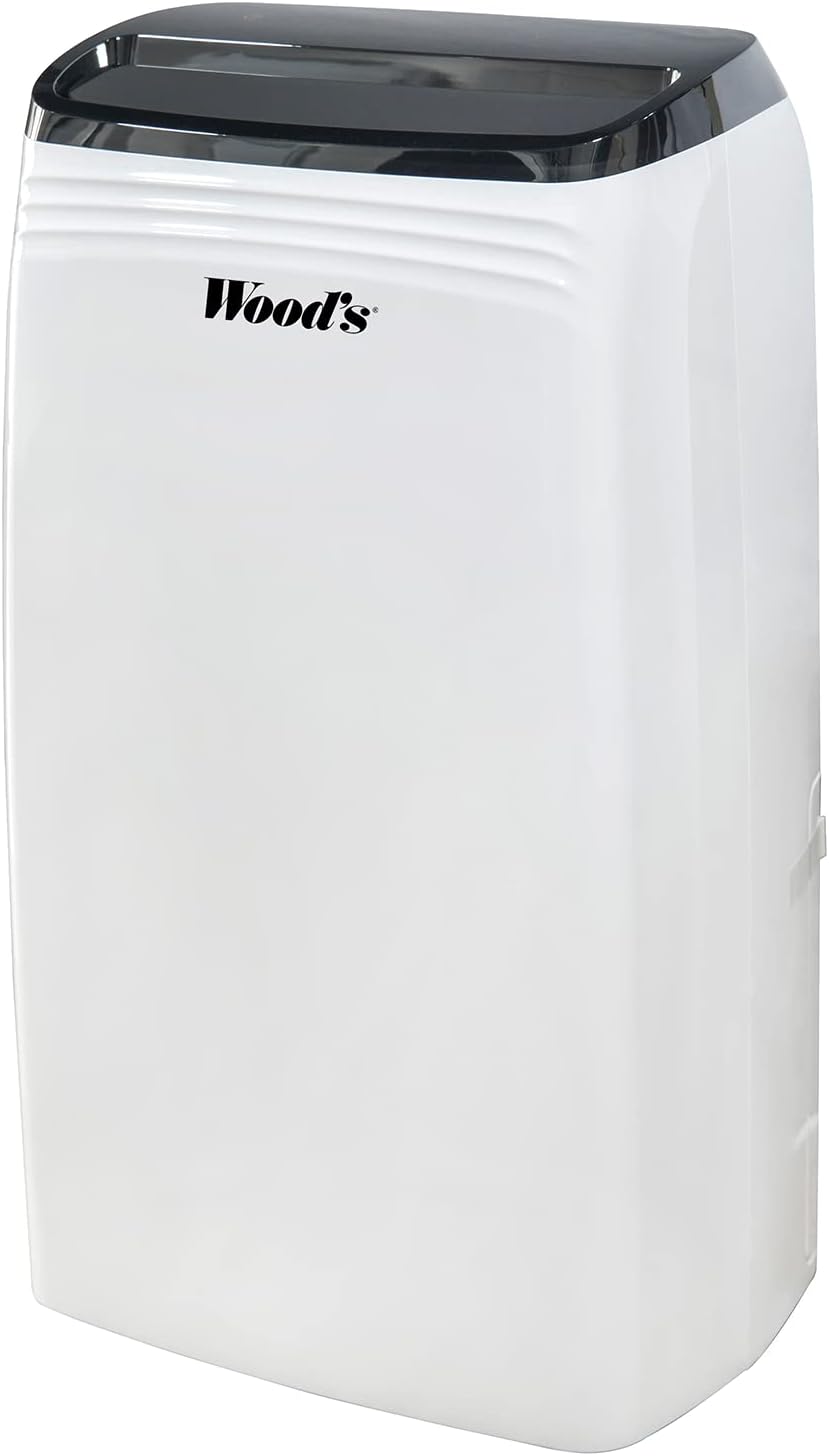
Figure 3.1: Front view of the Wood's MDK 21 Dehumidifier. This image shows the sleek, white design of the unit with its black control panel on top and the Wood's brand logo prominently displayed on the front.

Figure 3.2: Top view of the dehumidifier's control panel. The image highlights the digital display showing "35%" humidity, along with touch controls for power, fan speed, humidity settings, timer, and sleep mode. The air outlet grille is visible below the control panel.
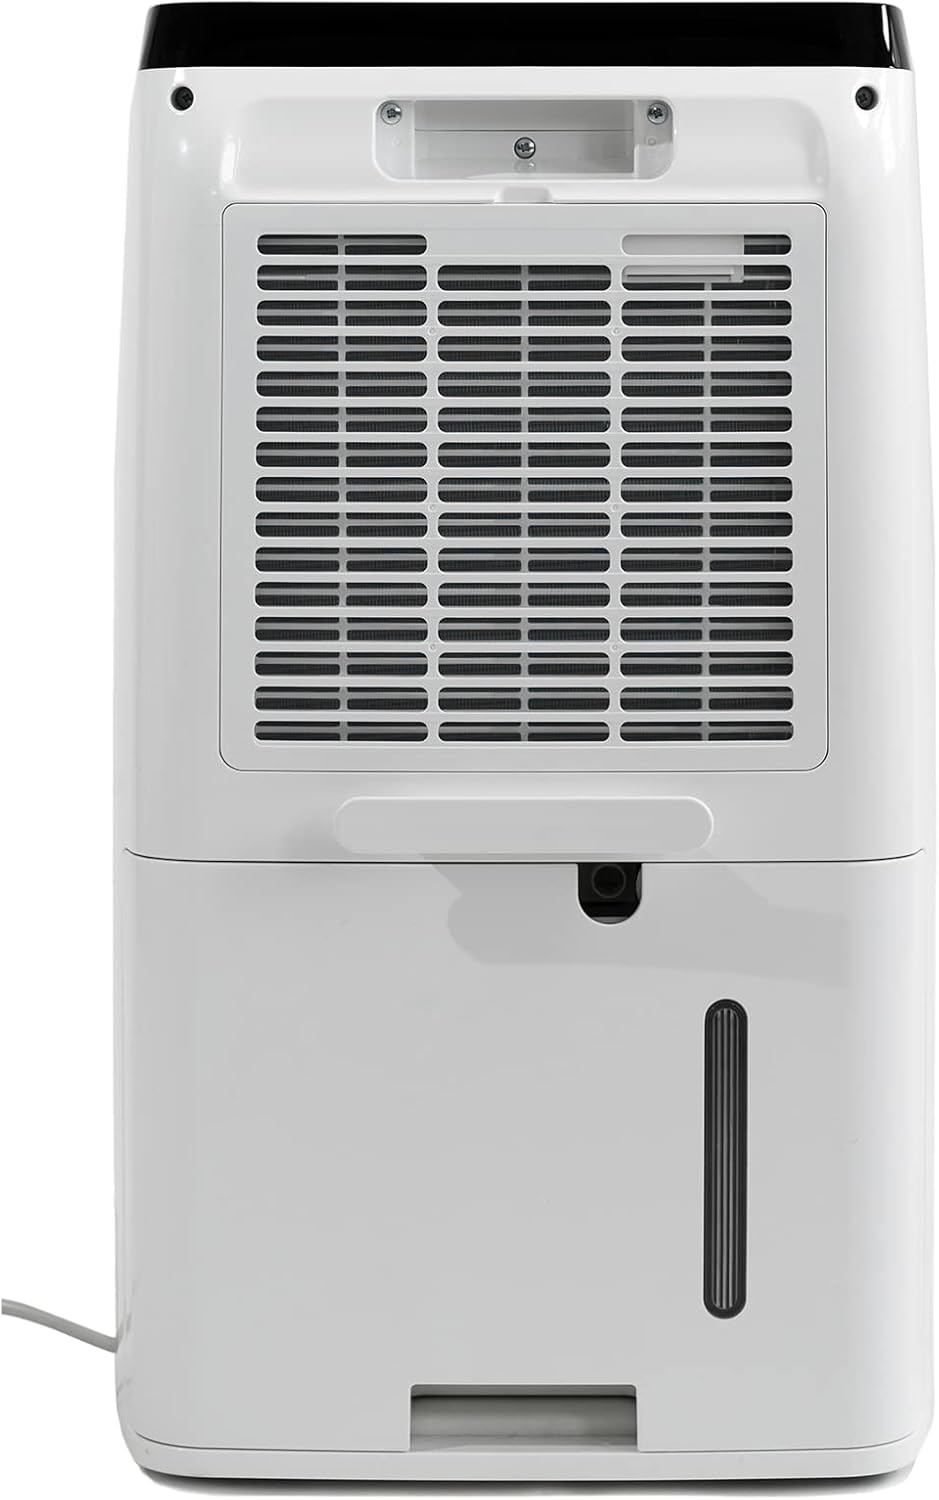
Figure 3.3: Rear view of the dehumidifier. This image displays the large air intake grille, which houses the air filter, and the removable water collection tank located at the bottom. A continuous drainage outlet is also visible above the tank.
Key Components:
- Control Panel: Digital display and touch buttons for operation.
- Air Outlet: Where dry air is expelled.
- Air Inlet/Filter: Where humid air is drawn in and filtered.
- Water Tank: Collects condensed water.
- Continuous Drainage Outlet: For connecting a hose for continuous drainage.
- Power Cord: For connecting to an electrical outlet.
4. Setup
Follow these steps to set up your dehumidifier for the first time.
- Unpacking: Carefully remove the dehumidifier from its packaging. Retain the packaging for future storage or transport.
- Placement: Place the unit upright on a firm, level surface in the area where dehumidification is desired. Ensure there is at least 20 cm (8 inches) of clear space around all sides of the unit for proper air circulation. Avoid placing it near heat sources or in direct sunlight.
- Initial Standby: After transport, allow the unit to stand upright for at least 4 hours before plugging it in. This allows the refrigerant to settle.
- Power Connection: Insert the power plug firmly into a grounded electrical outlet.
- Water Tank: Ensure the water tank is correctly inserted into the unit. The unit will not operate if the tank is full or incorrectly positioned.
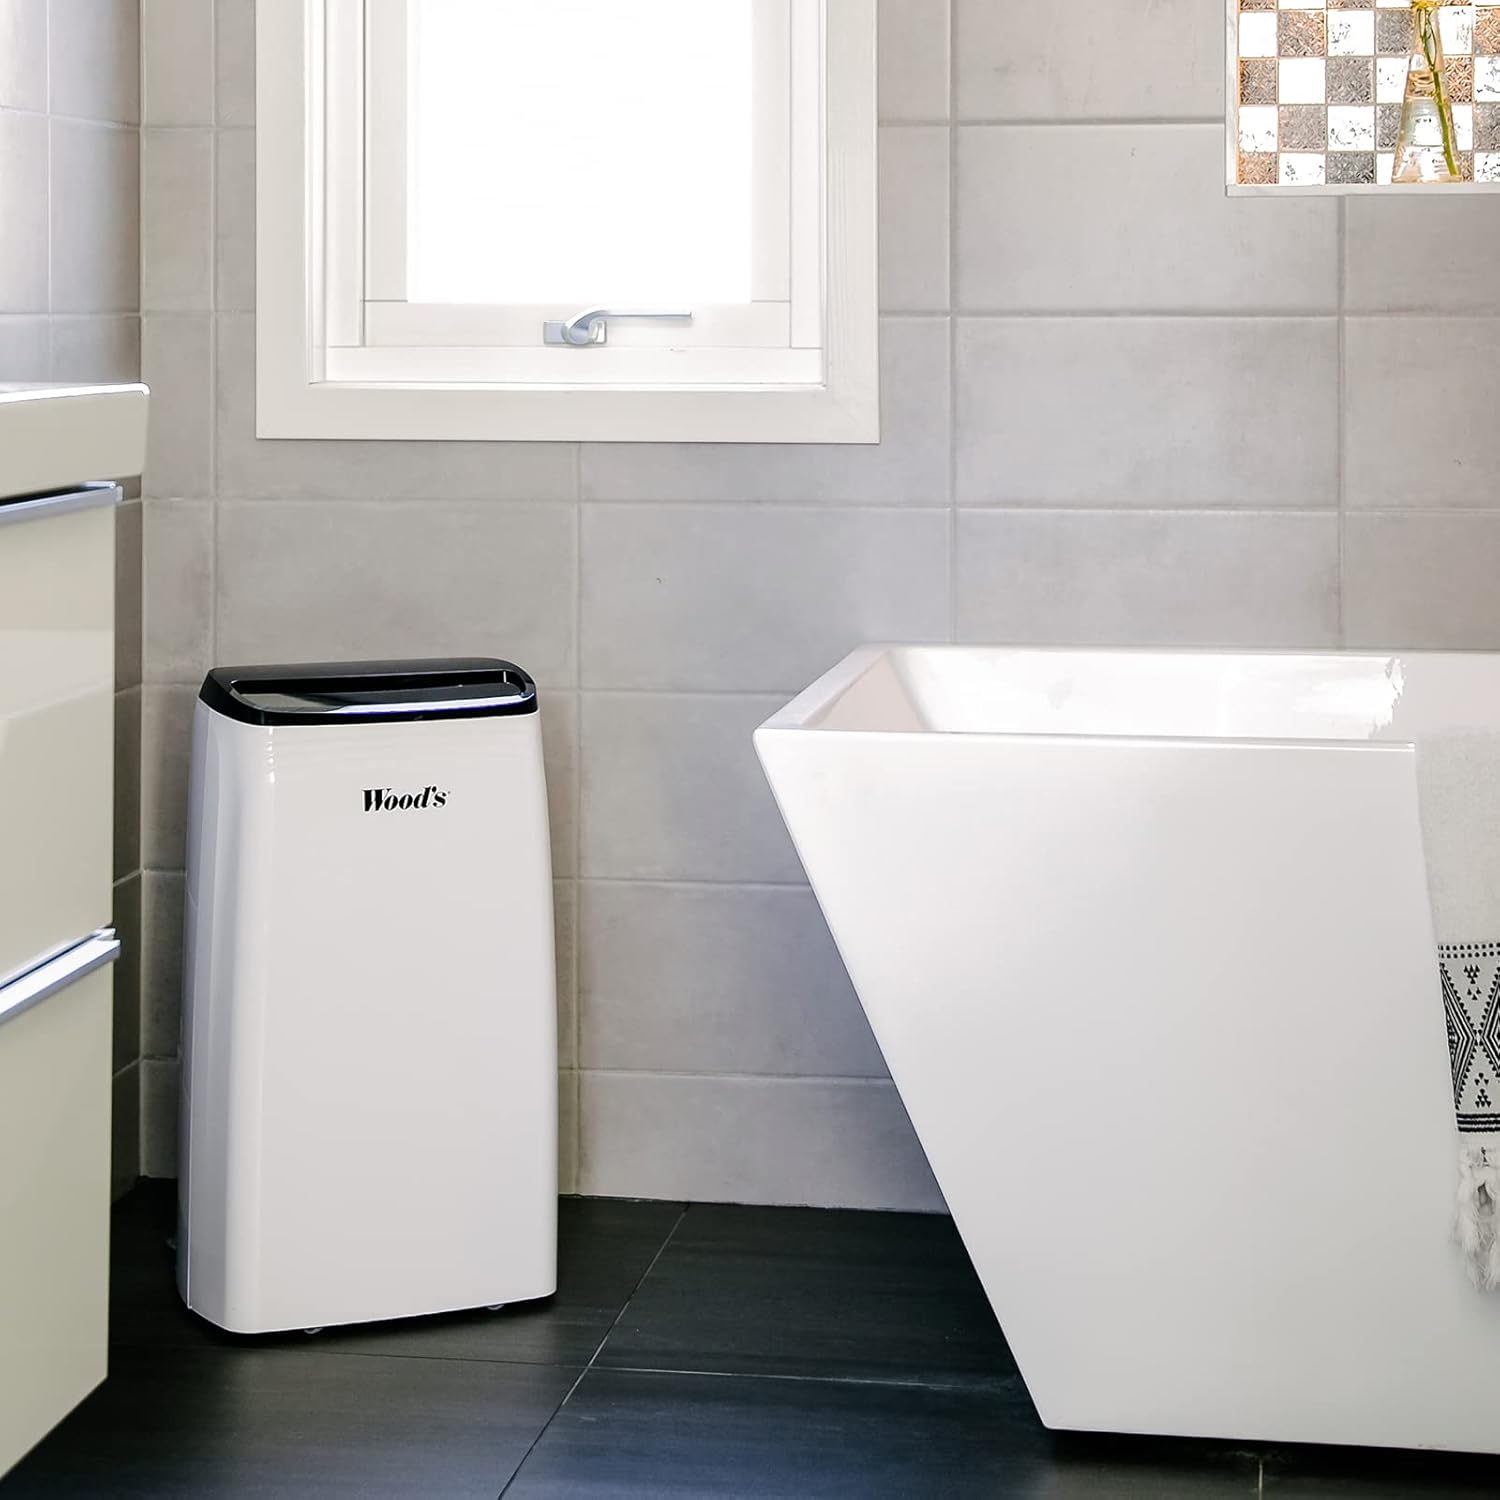
Figure 4.1: Example placement of the dehumidifier in a bathroom. The image shows the dehumidifier positioned on the floor in a tiled bathroom, demonstrating a typical indoor environment where the unit can be used to control humidity.
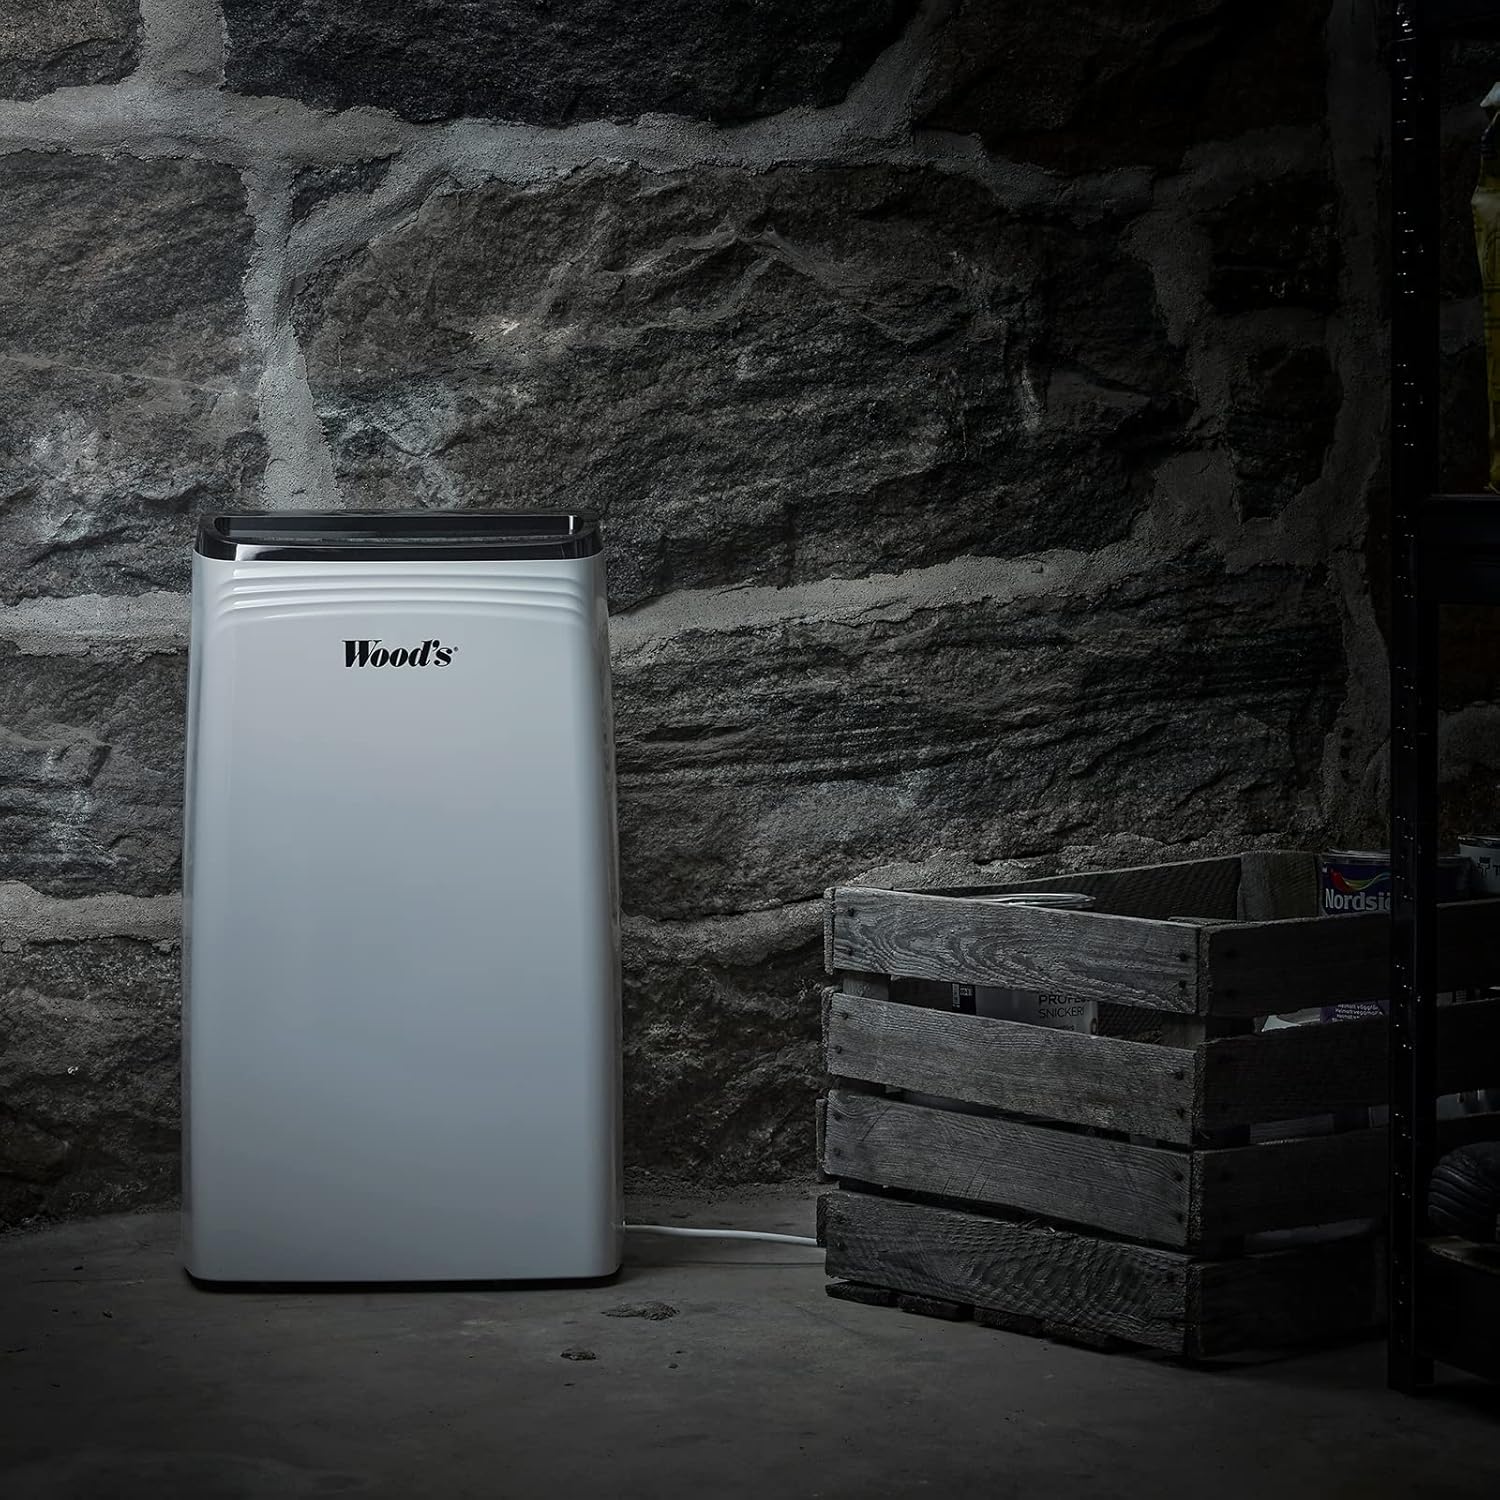
Figure 4.2: Example placement of the dehumidifier in a basement. This image illustrates the dehumidifier operating in a more challenging environment, such as a basement with stone walls, highlighting its suitability for damp areas.
Continuous Drainage (Optional):
For continuous operation without emptying the water tank, you can connect a drainage hose (not included) to the continuous drainage outlet. Ensure the hose is sloped downwards to allow water to drain by gravity into a suitable drain or container.
5. Operating Instructions
Learn how to operate your Wood's MDK 21 Dehumidifier.
Control Panel Functions:
- Power Button (⏻): Press to turn the unit ON or OFF.
- Humidity Setting (💧): Press to set the desired humidity level (e.g., 30% - 80% RH). The unit will operate until the set humidity is reached.
- Fan Speed (💨): Adjusts the fan speed (Low/High). Higher fan speed results in faster dehumidification.
- Timer (⏲): Set a timer for automatic ON/OFF operation (e.g., 1-24 hours).
- Sleep Mode (🌙): Activates a quiet operation mode, dimming the display.
- Display: Shows current humidity, set humidity, or timer settings.
Basic Operation:
- Plug in the unit.
- Press the Power button to turn the unit ON.
- Use the Humidity Setting button to select your desired humidity level. A common comfortable range is 40-60% Relative Humidity (RH).
- Adjust the Fan Speed as needed.
- The unit will start operating and automatically stop when the desired humidity level is reached. It will restart if the humidity rises above the set level.
Emptying the Water Tank:
When the water tank is full, the unit will automatically stop operating, and an indicator light (if available) will illuminate. Carefully remove the water tank, empty it, and reinsert it firmly into the unit. The dehumidifier will resume operation.
6. Maintenance
Regular maintenance ensures optimal performance and extends the lifespan of your dehumidifier.
Cleaning the Air Filter:
The air filter should be cleaned every two weeks or more frequently depending on usage and air quality.
- Turn off the unit and unplug it from the power outlet.
- Remove the air filter from the back of the unit (refer to Figure 3.3).
- Clean the filter with a vacuum cleaner or wash it gently with warm water and mild detergent.
- Rinse thoroughly and allow the filter to air dry completely before reinserting it. Do not use a dryer or direct heat.
- Reinsert the dry filter into the unit.
Cleaning the Unit Exterior:
Wipe the exterior of the unit with a soft, damp cloth. Do not use abrasive cleaners, solvents, or harsh chemicals, as these can damage the surface.
Water Tank Cleaning:
Clean the water tank periodically to prevent mold and mildew growth. Use warm water and a mild detergent, rinse thoroughly, and dry before reinserting.
Storage:
If storing the unit for an extended period, ensure the water tank is empty and clean, and the filter is clean and dry. Coil the power cord neatly. Store the unit upright in a cool, dry place, preferably in its original packaging.
7. Troubleshooting
Before contacting customer support, please refer to the following common issues and solutions.
| Problem | Possible Cause | Solution |
|---|---|---|
| Unit does not turn ON. | No power supply; Power cord loose; Water tank full or incorrectly placed. | Check power outlet and plug; Ensure water tank is empty and correctly inserted. |
| No dehumidification. | Air filter clogged; Room temperature too low; Humidity setting too high. | Clean the air filter; Ensure room temperature is above 5°C (41°F); Lower the humidity setting. |
| Unit is noisy. | Unit not on a level surface; Air filter clogged. | Place unit on a flat, stable surface; Clean the air filter. |
| Water leaks from unit. | Water tank not properly inserted; Continuous drainage hose blocked or loose. | Reinsert water tank correctly; Check continuous drainage hose for blockages or loose connections. |
If the problem persists after trying these solutions, please contact Wood's customer support.
8. Specifications
Technical specifications for the Wood's MDK 21 Dehumidifier.
| Feature | Detail |
|---|---|
| Model Name | MDK 21 |
| Model Number | 1125138 |
| Brand | Wood's |
| Material | Wood (referring to casing material, as per product data) |
| Color | white-417 |
| Dimensions (L x W x H) | 24 x 69 x 2.5 cm (Note: These dimensions seem unusual for a dehumidifier, possibly referring to packaging or a specific component. User should verify actual product dimensions.) |
| ASIN | B07TV7W1SS |
| Manufacturer | Woods |
Note: Specifications are subject to change without notice for product improvement.
9. Warranty and Support
Information regarding product warranty and customer support.
Specific warranty details for the Wood's MDK 21 Dehumidifier are not available in the provided product data. Please refer to the warranty card included with your product or visit the official Wood's website for the most up-to-date warranty information.
For technical support, troubleshooting assistance beyond this manual, or to inquire about spare parts, please contact Wood's customer service through their official channels. Contact information can typically be found on the manufacturer's website or on the product packaging.
When contacting support, please have your model number (1125138) and ASIN (B07TV7W1SS) ready.