Introduction
Thank you for choosing the OPT7 Aura Pro Halo DRL Light System. This kit is designed to enhance the appearance of your Dodge Challenger (2008-2023 models) with vibrant, customizable RGB lighting. Featuring Bluetooth control via a dedicated mobile application, this system offers a full spectrum of colors and dynamic lighting effects. This manual provides detailed instructions for installation, operation, and maintenance to ensure optimal performance and longevity of your product.

Image: The complete OPT7 Aura Pro Halo DRL Light System, showcasing the product packaging, the smartphone app interface for color control, a physical remote control, the main control box, and four flexible LED light strips.
Key Features
- Proprietary App Control: Manage your lighting with the OPT7 Connect smartphone application, available for iOS and Android, offering extensive customization.
- Full Color Spectrum: Access a wide range of vibrant RGB colors and dynamic lighting effects.
- Durable Construction: Features 4 LED strips with 3-in-1 RGB chips, protected within a silicone casing for enhanced durability and an IP67 waterproof rating.
- Flexible and Adaptable: The LED strips are designed to bend, twist, and curve around various surfaces, secured with an adhesive backing.
- SoundSync Technology: Synchronize your lights to the rhythm of your music for an immersive experience.
- Easy Installation: Designed for straightforward installation with a "Stick, Mount, Connect, Power" process.
- Overdrawn Protection: Includes an inline fuse power wire for universal setup and electrical safety.
- Ultra-Bright Output: Unique silicone sealant ensures 100% brightness output for superior illumination.

Image: Screenshots of the OPT7 Connect mobile application, illustrating its capabilities including high-performance lighting modes, customizable color spectrum, music-powered modes, and electrifying light animations.

Image: The OPT7 remote control for on-the-go adjustments, featuring buttons for power, auto mode, brightness, speed, and color selection. Below, a Dodge Challenger with vibrant red halo lights demonstrates the product's visual impact.
Package Contents
Please verify that all components listed below are present in your package before beginning installation:
- 1 x Aura Pro Control Box
- 1 x Inline Fuse Power Harness
- 1 x Mounting Kit (includes screws, zip ties, adhesive booster)
- 4 x 30.5 cm (12 inch) LED Strips
- 4 x 3 meter (9.8 ft) Extension Cables
- 2 x Y-Splitters

Image: A comprehensive view of all items included in the OPT7 Aura Pro Halo Kit, such as the control box, remote, LED strips, wiring, mounting hardware, and adhesive booster.
Safety Information
Please read and understand all safety instructions before installing or operating the OPT7 Aura Pro Halo DRL Light System. Failure to follow these instructions may result in electrical shock, fire, and/or serious injury.
- Always disconnect the vehicle's battery before performing any electrical work.
- Ensure all wiring connections are secure and properly insulated to prevent short circuits.
- Do not modify or alter the product in any way. Unauthorized modifications may void the warranty and pose safety risks.
- Keep the control box and wiring away from moving parts, extreme heat, and sharp edges.
- The product is designed for 12-volt DC systems only. Do not connect to other voltage sources.
- If you are unsure about any part of the installation process, consult a qualified automotive technician.
Installation Guide
Follow these steps for a successful installation of your OPT7 Aura Pro Halo DRL Light System. It is recommended to test the system before final mounting.
Step 1: Planning and Preparation
- Identify Mounting Locations: Determine where you will place the LED strips around your Dodge Challenger's headlights. Ensure the surface is clean, dry, and smooth for optimal adhesion.
- Route Wiring: Plan the routing of all cables to the control box, ensuring they are hidden and protected from heat, moving parts, and sharp edges.
- Disconnect Battery: For safety, disconnect the negative terminal of your vehicle's battery before starting any electrical work.
Step 2: Mounting the LED Strips (Stick & Mount)
- Clean Surface: Thoroughly clean the headlight surface where the LED strips will be applied using rubbing alcohol. Allow it to dry completely.
- Apply Adhesive: Peel the backing from the adhesive tape on the back of each LED strip. For enhanced adhesion, use the included adhesive booster wipe on the mounting surface before applying the strip.
- Secure Strips: Carefully press each LED strip firmly onto the desired location around the headlight. Apply pressure for at least 30 seconds to ensure a strong bond.

Image: A visual guide to the easy installation process, showing the steps: "Stick" (applying the LED strip), "Mount" (securing it around the headlight), "Connect" (plugging in the wiring), and "Power" (connecting to the vehicle's battery).
Step 3: Wiring Connections (Connect & Power)
- Connect LED Strips to Control Box: Use the provided extension cables and Y-splitters to connect the LED strips to the Aura Pro Control Box. Ensure all connections are snug.
- Connect Power Harness: Connect the inline fuse power harness to the Aura Pro Control Box.
- Connect to Vehicle Power:
- Connect the red wire of the power harness to a 12V constant power source (e.g., battery positive terminal or a fused accessory wire).
- Connect the black wire of the power harness to a vehicle ground point (e.g., chassis or battery negative terminal).
- The inline fuse provides overdrawn protection.
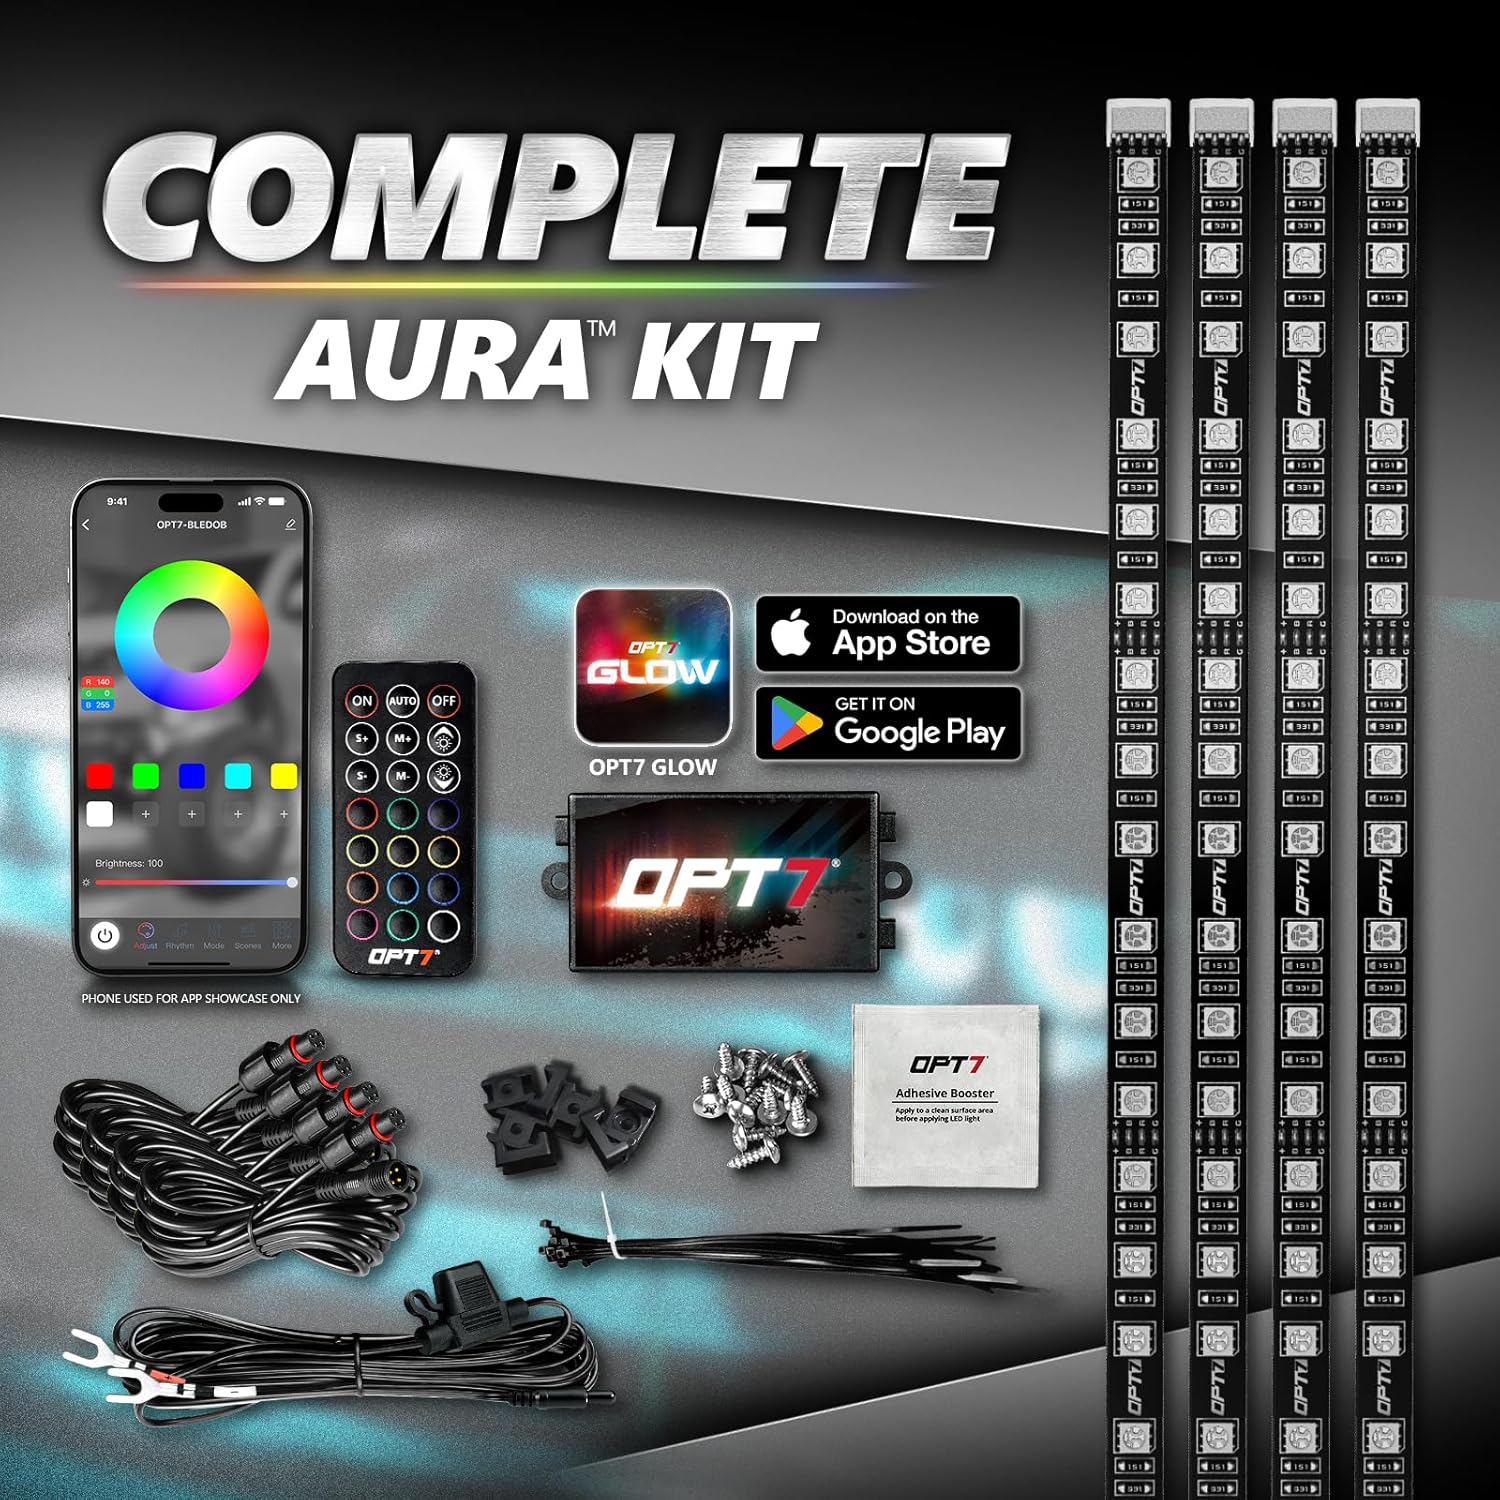
Image: The inline fuse power wire, designed to provide overdrawn protection and ensure universal compatibility for various vehicle setups. It shows the wiring with positive and negative terminals.
Step 4: Finalizing Installation
- Secure Wiring: Use zip ties (included in mounting kit) to secure all loose wiring, keeping it tidy and away from potential hazards.
- Mount Control Box: Secure the Aura Pro Control Box in a dry, accessible location using the provided mounting hardware.
- Reconnect Battery: Reconnect the negative terminal of your vehicle's battery.
Initial Setup: Connecting to the OPT7 Connect App
The OPT7 Aura Pro system is controlled via Bluetooth using the OPT7 Connect mobile application. Follow these steps to pair your device:
- Download the App: Search for "OPT7 Connect" in the Apple App Store (for iOS devices) or Google Play Store (for Android devices) and download the application.
- Enable Bluetooth: Ensure Bluetooth is enabled on your smartphone.
- Power On System: Turn on your vehicle's ignition or ensure the Aura Pro system is receiving power.
- Open OPT7 Connect App: Launch the OPT7 Connect application. The app will automatically scan for nearby OPT7 devices.
- Select Your Device: Once your Aura Pro Control Box is detected (it may appear as "OPT7-BLExxxx"), tap on it to connect.
- Confirmation: The app will indicate a successful connection, and you can now control your lights.
Image: Screenshots of the OPT7 Connect mobile application, illustrating its capabilities including high-performance lighting modes, customizable color spectrum, music-powered modes, and electrifying light animations. This app is essential for controlling the Aura Pro system.
Operating Your OPT7 Aura Pro System
The OPT7 Aura Pro system can be controlled using either the OPT7 Connect mobile app or the included wireless remote control.
Using the OPT7 Connect App
The app provides the most comprehensive control over your lighting system:
- Color Wheel: Select any color from the full RGB spectrum by dragging your finger across the color wheel.
- Brightness Control: Adjust the intensity of the lights using the brightness slider.
- Customizable Modes: Choose from various pre-set lighting modes, including flashing, fading, and strobing effects.
- SoundSync Mode: Activate SoundSync to make your lights pulse and change with the beat of your music (requires microphone access on your phone).
- Custom Presets: Save your favorite color combinations and lighting effects for quick access.
Using the Wireless Remote Control
The compact remote control offers convenient access to essential functions:
- Power On/Off: Turn the lights on or off.
- Color Selection: Cycle through pre-set colors.
- Brightness Adjustment: Increase or decrease light brightness (10 levels).
- Mode Selection: Switch between various lighting modes (24 modes).
- Speed Control: Adjust the speed of dynamic lighting effects.
- Auto Mode: Cycles through various colors and effects automatically.

Image: A side-by-side comparison demonstrating the visual impact of the OPT7 Aura Pro Halo lights. The left image shows a headlight with the system off, while the right image shows the same headlight illuminated with a bright, bold yellow halo, highlighting the "Brighter. Bolder. Better." effect.
Maintenance
The OPT7 Aura Pro Halo DRL Light System is designed for durability and minimal maintenance. Follow these guidelines to ensure its longevity:
- Cleaning: Periodically clean the LED strips and control box with a soft, damp cloth. Avoid using harsh chemicals or abrasive cleaners.
- Inspect Wiring: Regularly check all wiring connections for any signs of wear, fraying, or loose connections. Secure or replace as necessary.
- Adhesion Check: Ensure the LED strips remain firmly adhered to the mounting surface. If any part begins to lift, re-secure it with appropriate automotive-grade adhesive.
- Water Exposure: While the LED strips are IP67 rated for water resistance, avoid prolonged submersion or high-pressure water jets directly on the control box.

Image: Visuals highlighting the robust design of the OPT7 Aura Pro LED strips, showing their resistance to water splashes, impact, and their flexible nature, emphasizing that they are "Born to Perform, Designed to Endure."
Troubleshooting
If you encounter issues with your OPT7 Aura Pro system, refer to the following common problems and solutions:
| Problem | Possible Cause | Solution |
|---|---|---|
| Lights do not turn on. | No power to the control box; loose wiring; blown fuse. | Check all power connections. Ensure the inline fuse is intact; replace if blown. Verify the vehicle's battery is connected. |
| App cannot connect to the control box. | Bluetooth is off; app not updated; control box not powered; interference. | Ensure Bluetooth is enabled on your phone. Restart the app and the control box (by cycling vehicle ignition). Update the app to the latest version. Try connecting closer to the control box. |
| Lights are flickering or inconsistent. | Loose connections; insufficient power; damaged LED strip. | Check all wiring connections, especially where LED strips connect to extension cables and the control box. Ensure stable 12V power supply. If a single strip is faulty, it may need replacement. |
| Remote control not working. | Dead battery in remote; remote out of range; interference. | Replace the remote battery. Ensure you are within close proximity to the control box. Remove any obstructions between the remote and the control box. |
Specifications
| Attribute | Detail |
|---|---|
| Brand | OPT7 |
| Model | AuraPro-INSTP-Kit-DodgeC |
| Compatibility | Dodge Challenger (2008-2023) |
| Light Type | RGB LED (3-in-1 chips) |
| Control Method | Bluetooth (OPT7 Connect App) & Wireless Remote |
| Voltage | 12 Volts (DC) |
| Waterproof Rating | IP67 (LED strips) |
| LED Strip Length | 30.5 cm (12 inches) per strip |
| Extension Cable Length | 3 meters (9.8 feet) |
| Weight | 753 grams (approx. 1.66 lbs) |
| Dimensions (L x W x H) | 25.4 x 12.7 x 5.08 cm (approx. 10 x 5 x 2 inches) |
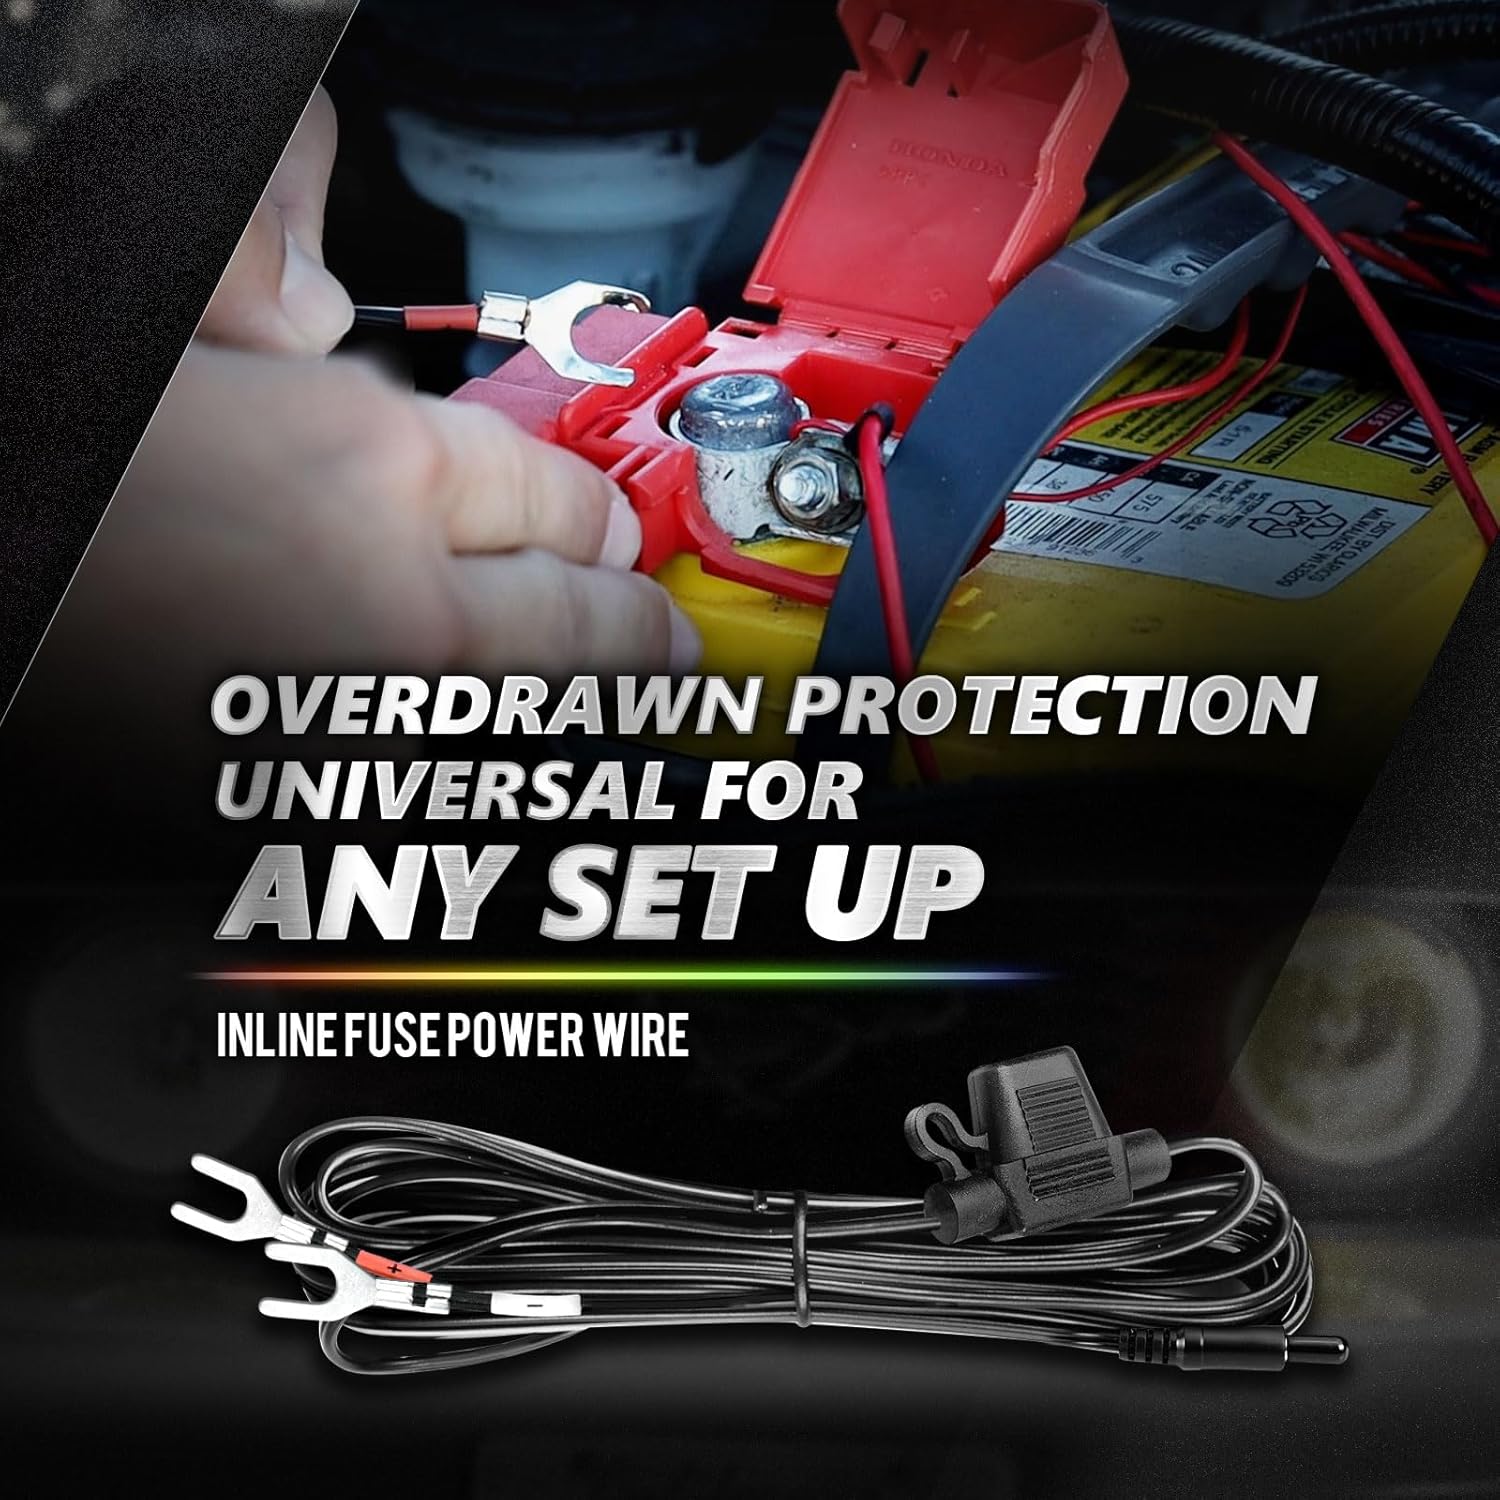
Image: A detailed view of the OPT7 LED strip, highlighting its "Ultra Wide Super Bright" design and the unique silicone sealant that allows for 100% brightness output, contrasting it with other brands.
Warranty and Support
OPT7 stands behind its products with dedicated customer support. For warranty information, technical assistance, or any questions regarding your Aura Pro Halo DRL Light System, please contact OPT7 customer service.
Customer Support: Refer to the OPT7 official website or product packaging for the most current contact information (phone, email, or support portal).
Warranty: Specific warranty terms and conditions may vary. Please retain your proof of purchase for warranty claims.


