1. Introduction
This manual provides detailed instructions for the installation, operation, maintenance, and troubleshooting of the Nohken OLV-2P Liquid Level Sensor. Please read this manual thoroughly before using the product to ensure safe and efficient operation. Keep this manual for future reference.
2. Product Overview
The Nohken OLV-2P is a reliable liquid level sensor designed for various applications. It operates using a Reed contact installed within its axis and a permanent magnet located in the float. The sensor activates its contact when the liquid level rises or falls, and its switching state (normally open or normally closed) is determined by the direction of installation.
Key features of the OLV-2P sensor include:
- Good resistance to oils and acids, making it suitable for a wide range of media including acids, oils, gasoline, and water.
- High switching power, capable of handling up to 0.5 A and up to 10 million switching cycles.
- Can be switched without an intermediate relay.
- Maximum temperature load specified at 90 °C.
Typical areas of application include small containers of all types, coffee machines, aquariums, control of small filters, pumps, and photocopiers.
3. Safety Information
Always observe the following safety precautions to prevent injury or damage to the product:
- Ensure power is disconnected before installation, maintenance, or troubleshooting.
- Do not exceed the specified maximum voltage (300 Volts) or current (0.5 A).
- Do not expose the sensor to temperatures exceeding 90 °C.
- Verify compatibility with the liquid media before installation.
- Installation should be performed by qualified personnel if electrical wiring is involved.
4. Setup and Installation
The Nohken OLV-2P sensor is designed for straightforward installation. The key aspect of installation is determining the desired switching state (normally open or normally closed) by the sensor's orientation.
4.1 Unboxing and Inspection
Upon receiving your OLV-2P sensor, carefully open the packaging and inspect the unit for any signs of damage. Ensure all components are present.
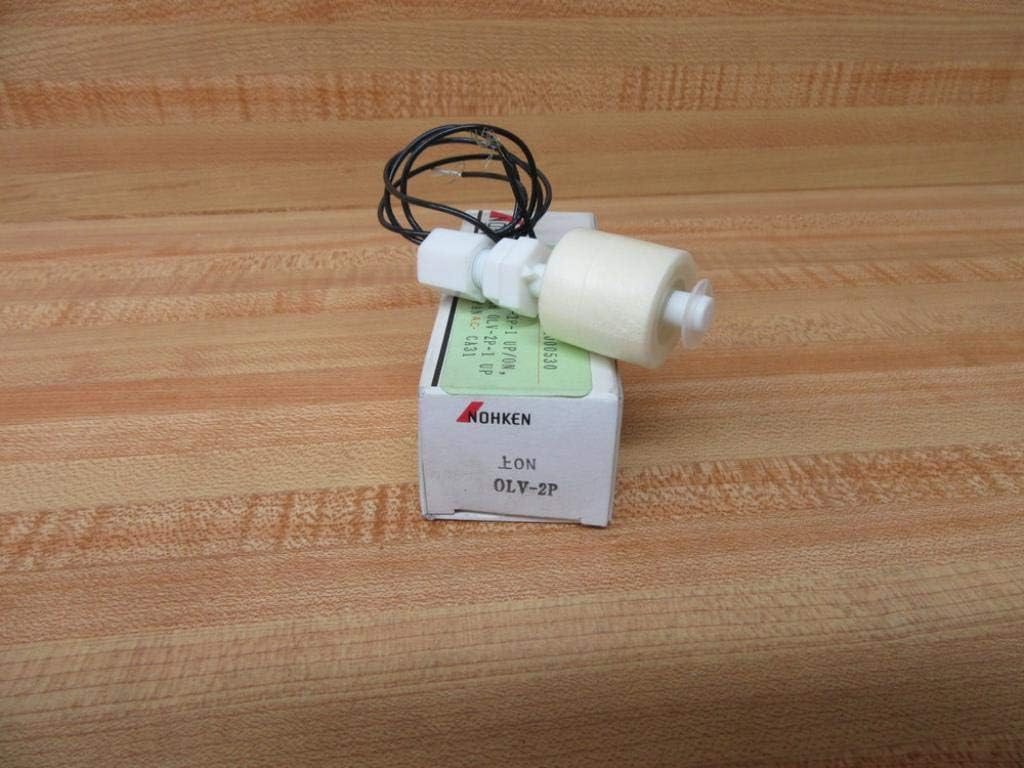
Figure 1: The Nohken OLV-2P liquid level sensor, shown resting on its small product box.
4.2 Mounting the Sensor
The sensor is typically mounted through a threaded opening in the wall or top of a container. The float should be positioned to move freely with the liquid level.

Figure 2: A detailed view of the sensor's threaded connection, indicating how it can be secured.

Figure 3: The sensor viewed from the side, illustrating the float's position relative to the main body.
4.3 Determining Switching State
The OLV-2P sensor's switching behavior (whether it acts as a normally open or normally closed contact) is determined by its installation orientation. Experiment with the sensor's position (e.g., float up or float down when liquid is present/absent) to achieve the desired switching logic for your application.
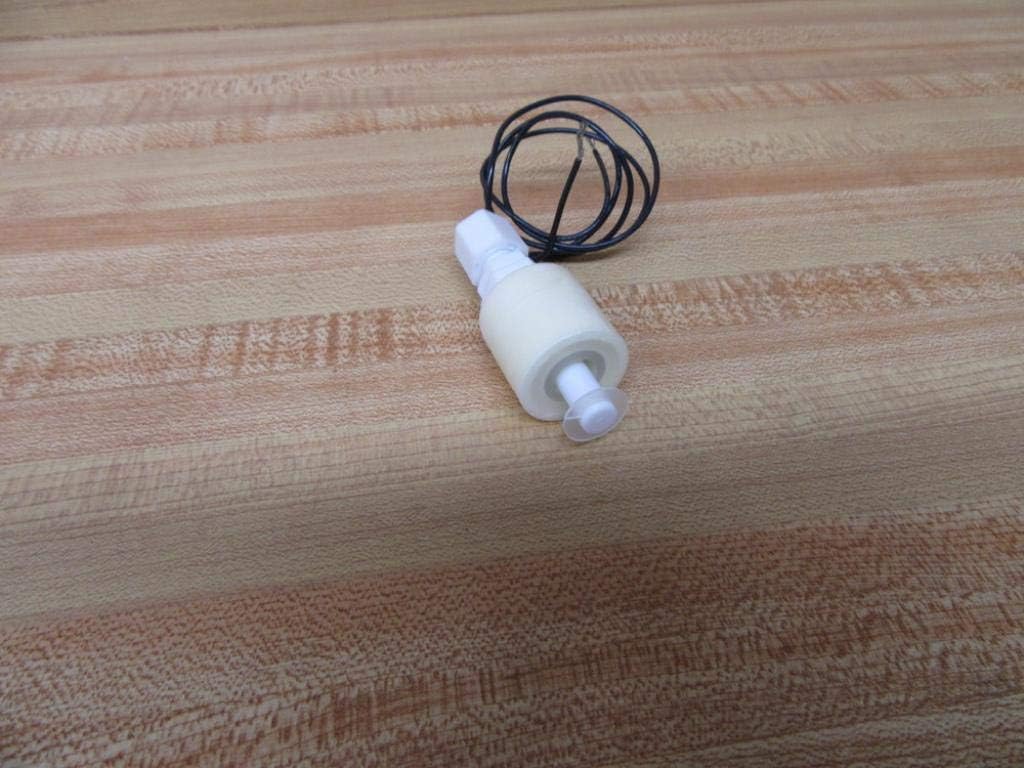
Figure 4: An overhead perspective of the sensor, highlighting the float and the electrical wiring.
4.4 Electrical Connection
Connect the sensor's wires to your control circuit. Ensure the voltage and current ratings of your circuit are within the sensor's specifications (max 300V, 0.5A). The sensor can be directly integrated without an intermediate relay if the load is within its switching capacity.
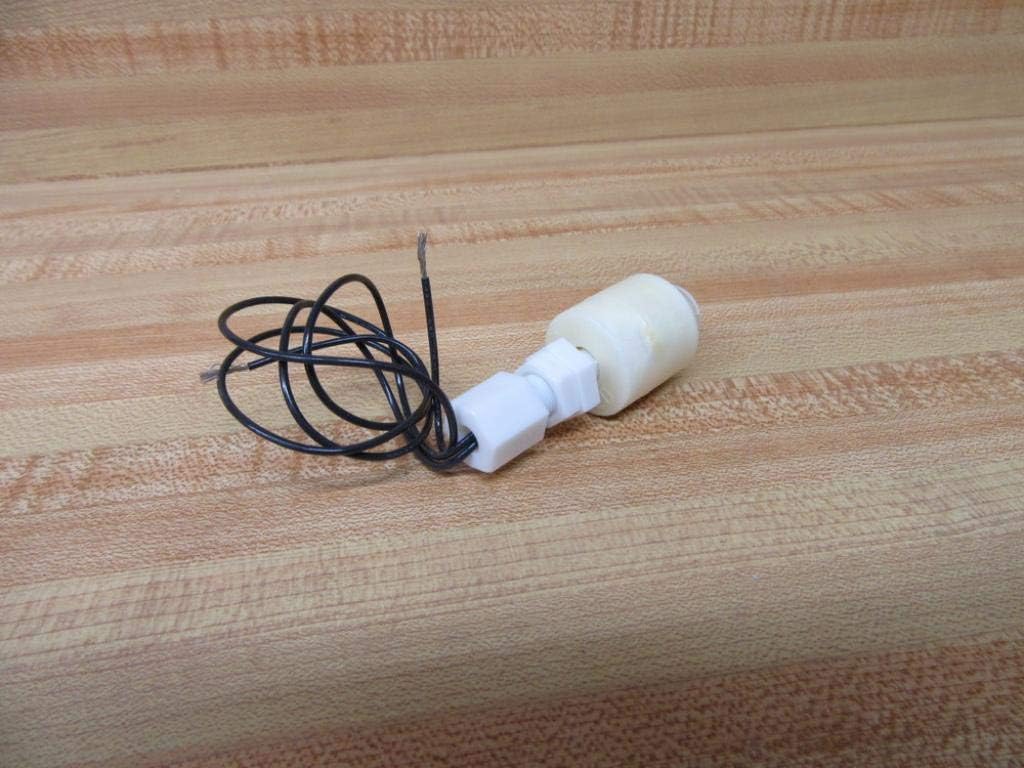
Figure 5: The sensor with its wires laid out, ready for electrical connection.
5. Operating Instructions
Once installed and connected, the Nohken OLV-2P sensor operates automatically. The float will rise or fall with the liquid level. As the float moves, the permanent magnet inside it will interact with the Reed contact within the sensor's axis, causing the contact to open or close. This change in contact state can then be used to trigger alarms, control pumps, or activate other devices in your system.
No user intervention is required during normal operation, provided the sensor is correctly installed and the liquid properties are within its specified limits.
6. Maintenance
The Nohken OLV-2P sensor is designed for low maintenance. However, periodic inspection and cleaning are recommended to ensure optimal performance and longevity.
6.1 Cleaning
If the sensor is used in media that can leave residue, periodically remove the sensor and gently clean the float and stem with a soft cloth. For stubborn deposits, use a cleaning agent compatible with the sensor's materials and the liquid being monitored. Ensure the sensor is completely dry before reinstallation.
6.2 Inspection
Regularly inspect the sensor for any signs of physical damage, corrosion, or wear on the float or wiring. Check that the float moves freely along the stem. If any damage is observed, replace the sensor.
7. Troubleshooting
If you experience issues with your Nohken OLV-2P sensor, consider the following common problems and solutions:
| Problem | Possible Cause | Solution |
|---|---|---|
| Sensor not switching | Incorrect installation orientation (switching state) Float stuck due to debris/residue Damaged wiring or internal component | Reverse sensor orientation to change NO/NC state Clean the float and stem Check wiring for continuity; replace sensor if damaged |
| Inconsistent readings | Turbulence in liquid Float partially obstructed Electrical interference | Reduce turbulence if possible Ensure float moves freely Shield wiring or move away from interference sources |
| Sensor leaks | Improper sealing during installation Cracked housing | Re-install with proper sealant/gasket Replace sensor |
If the problem persists after attempting these solutions, contact customer support.
8. Specifications
| Attribute | Value |
|---|---|
| Manufacturer | Nohken |
| Model Number | OLV-2P |
| Product Dimensions (L x W x H) | 12.7 x 5.08 x 5.08 cm |
| Weight | 27.22 grams |
| Voltage Rating | 300 Volts |
| Max Current | 0.5 A |
| Max Temperature Load | 90 °C |
| Quantity of Items | 1 |
| Batteries Included? | No |
| Batteries Required? | No |
9. Warranty and Support
Nohken provides a 1-year availability for spare parts for the OLV-2P sensor. For warranty claims, technical support, or inquiries regarding spare parts, please contact your retailer or the official Nohken support channels. Ensure you have your product model number (OLV-2P) and purchase details ready when contacting support.


