
EACHPAI T1
EACHPAI T1 GPS Dash Cam User Manual
Full HD 1080P Dash Camera with Built-in WiFi and GPS
Introduction
Thank you for choosing the EACHPAI T1 GPS Dash Cam. This compact and powerful device is designed to record your driving journey in Full HD 1080P, providing essential evidence in case of incidents and capturing memorable moments on the road. Featuring built-in WiFi for smartphone control, GPS for route tracking, G-Sensor for collision detection, and loop recording, the T1 ensures reliable and continuous operation. This manual provides detailed instructions for setup, operation, and maintenance of your dash cam.
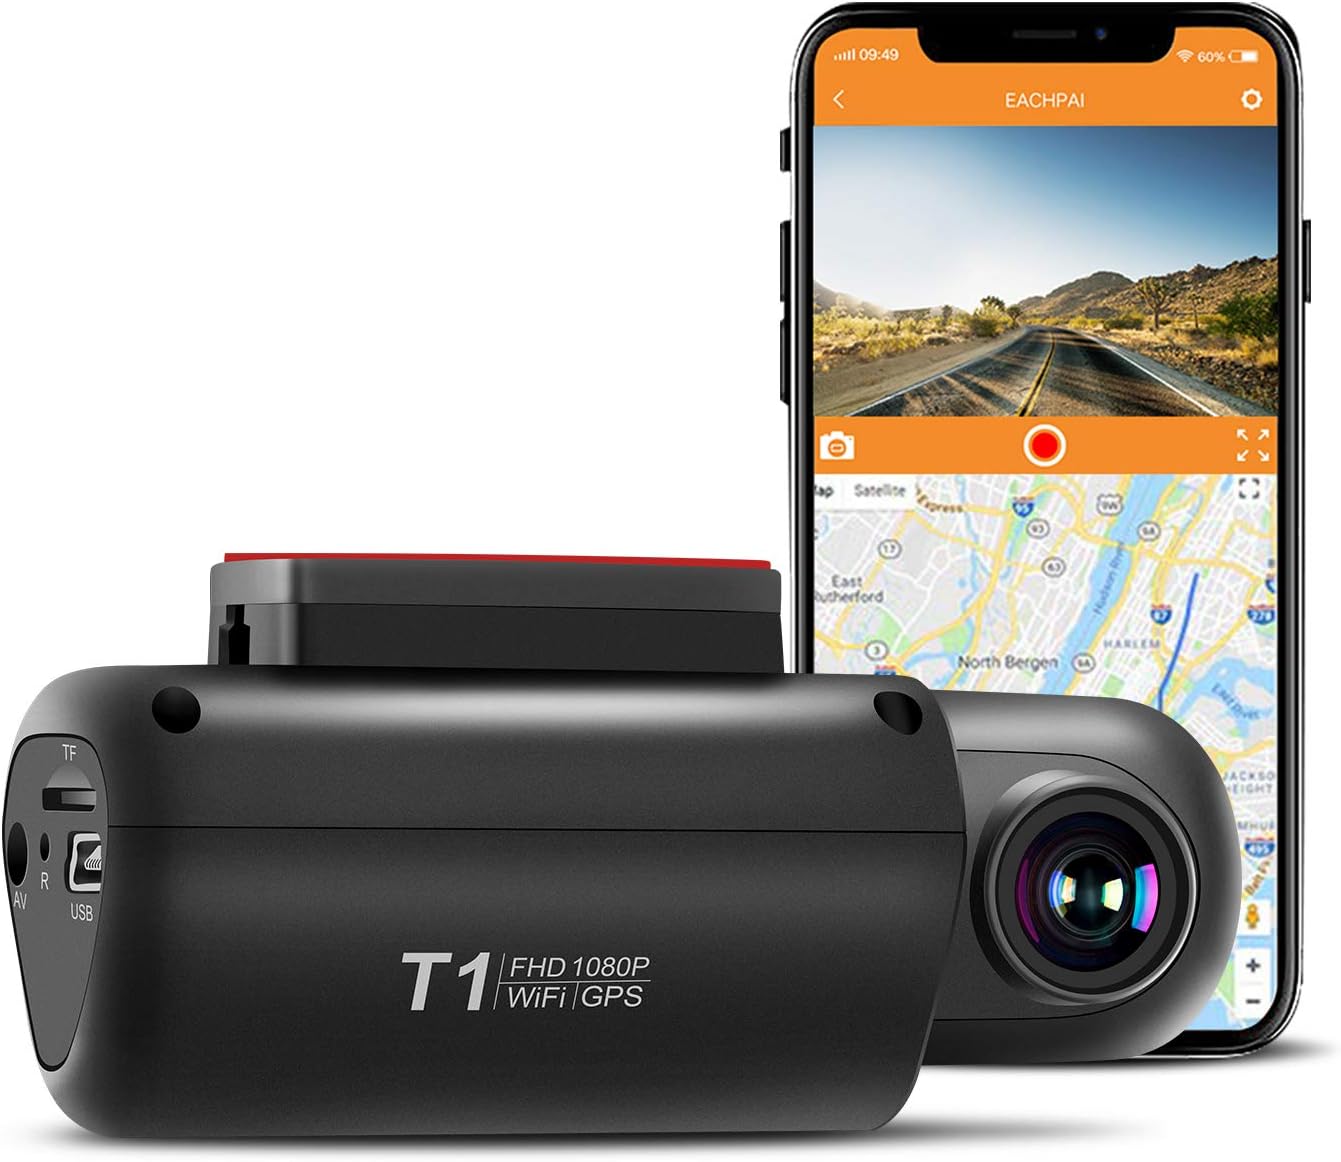
Image: The EACHPAI T1 Dash Cam shown alongside a smartphone displaying its live view and map interface.
Package Contents
Please check the package contents upon unboxing to ensure all items are present:
- 1 x EACHPAI T1 Dash Cam
- 1 x Mini USB Car Charger
- 1 x USB Cable
- 2 x Spare 3M Stickers
- 1 x User Manual (this document)
- 1 x Quick Start Guide
- 1 x Cleaning Cloth

Image: All components included in the EACHPAI T1 Dash Cam retail package.
Product Overview and Key Features
The EACHPAI T1 Dash Cam is engineered with advanced features to provide a reliable and comprehensive recording solution for your vehicle.
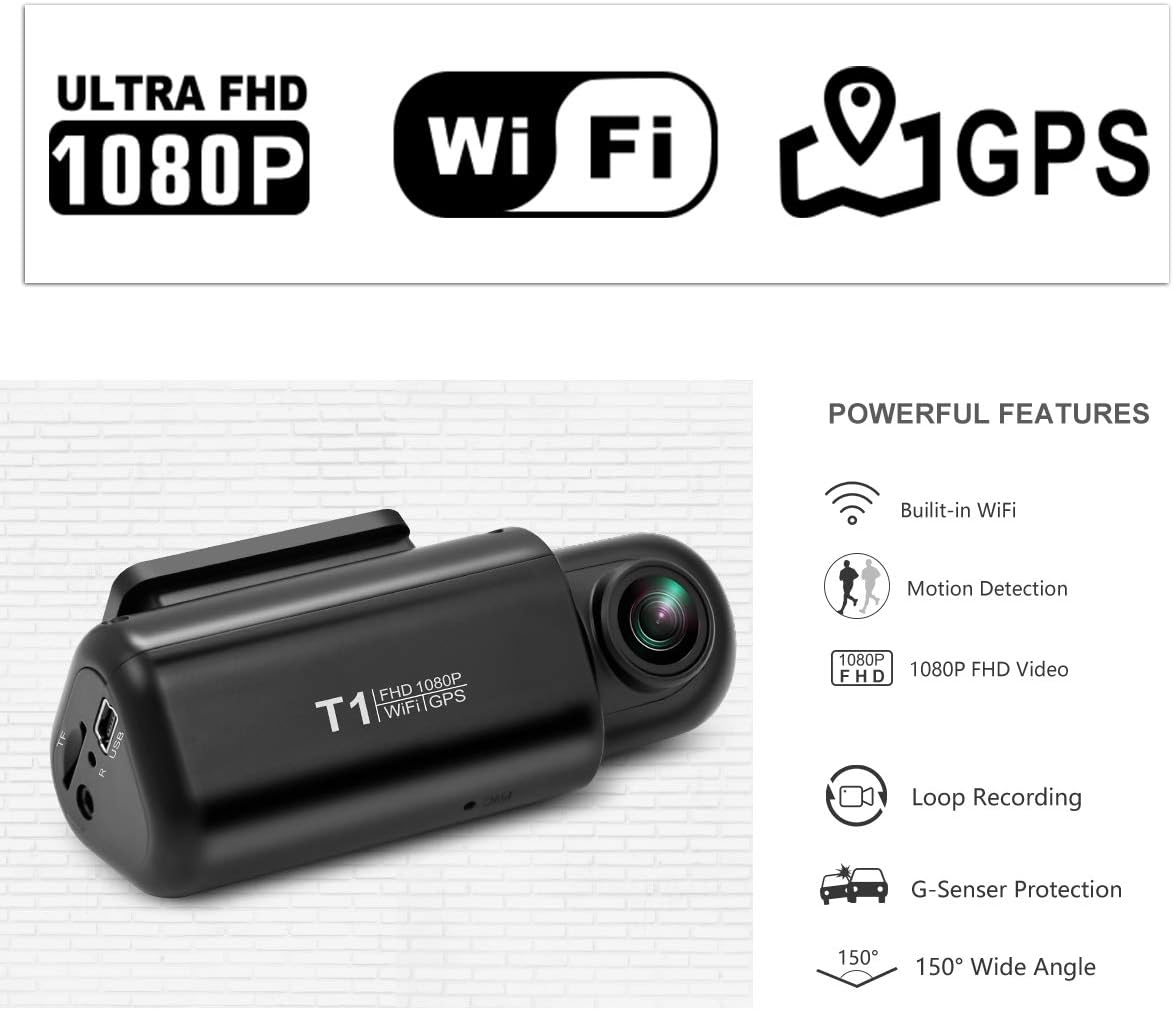
Image: Visual representation of the dash cam's powerful features.
- Ultra Mini Design: With dimensions of approximately 1.5 x 3.5 inches, the T1 is designed to be discreet and not obstruct the driver's view. It operates without a screen, controlled entirely via a smartphone app.
- Full HD 1080P Recording: Equipped with a 2.0MP Sony IMX323 Image Sensor, the dash cam records high-quality video in Full HD (1920x1080P) with excellent sharpness and clarity.
- 150° Wide Angle Lens: The 150-degree wide-angle lens captures a broad field of view, minimizing blind spots.
- 270° Rotatable Lens: The lens can be manually rotated 270 degrees, allowing flexible adjustment of the recording angle.
- Built-in WiFi: Connect the dash cam to your smartphone via the EACHPAI app (available for iOS and Android) to view live footage, change settings, playback videos, download files, and share content.
- Built-in GPS: Records driving route, location, speed, date, and time. GPS data can be viewed using the dedicated EACHPAI playback software on a computer.
- G-Sensor (Gravity Sensor): Automatically detects sudden shakes or collisions. In such events, the current video footage is locked and protected from being overwritten, ensuring critical evidence is preserved.
- Loop Recording: Continuously records by overwriting the oldest unlocked videos when the memory card is full. Supports up to 128GB microSD cards (Class 10 or higher recommended). Recording periods can be set to 2, 3, or 5 minutes.
- Motion Detection: When powered on and parked, the dash cam can automatically start recording for approximately 10 seconds if it detects movement around the vehicle.
- Super Capacitor: Utilizes a super capacitor instead of a traditional battery, offering enhanced resistance to extreme temperatures (from -70°F to 160°F) and a longer lifespan, reducing the risk of explosion.
- Audio Record: Features a built-in microphone and speaker for clear audio capture. The audio recording function can be turned off if desired.
- Automatic Start/Stop: The dash cam automatically powers on and begins recording when the vehicle's ignition is turned on, and powers off when the vehicle is shut down.

Image: Illustrations of Loop Recording, G-Sensor, and Motion Detection functionalities.

Image: Visuals highlighting the compact size, super capacitor's temperature resilience, and GPS route tracking feature.
Setup
- Prepare Memory Card: Insert a Class 10 or higher microSD card (up to 128GB) into the dash cam's TF card slot. Ensure the card is formatted before first use (this can usually be done via the EACHPAI app).
- Mount the Dash Cam:
- Clean the windshield area where you intend to mount the dash cam.
- Peel off the protective film from one of the 3M adhesive stickers and apply it to the dash cam's mounting bracket.
- Press the dash cam firmly onto the chosen spot on your windshield, ideally behind the rearview mirror to avoid obstructing your view.
- Connect Power:
- Connect the mini USB car charger to the dash cam's USB port.
- Plug the other end of the car charger into your vehicle's 12V power outlet (cigarette lighter socket).
- Route the power cable neatly along the windshield edge and dashboard to avoid interference with driving.
- Adjust Lens Angle: Manually rotate the dash cam's lens up to 270 degrees to achieve the desired recording angle, ensuring it captures the road ahead clearly.
Operating Instructions
- Automatic Operation: Once connected to power, the dash cam will automatically power on and begin recording when your vehicle starts. It will automatically power off when the vehicle is shut down.
- Recording Indicator: A flashing blue light on the unit indicates that it is actively recording.
- G-Sensor Activation: In the event of a sudden impact or collision, the G-Sensor will automatically detect the event and lock the current video file, preventing it from being overwritten by loop recording.
- Motion Detection (Parking Mode): If the dash cam remains powered on while parked, it will automatically initiate a 10-second recording when motion is detected around the vehicle.
- Audio Recording: The built-in microphone records audio by default. To disable audio recording, this setting can be adjusted via the EACHPAI smartphone app.
App Installation and Usage (Built-in WiFi)
The EACHPAI T1 Dash Cam is controlled primarily through the EACHPAI smartphone application. Follow these steps to install and use the app:
- Download the EACHPAI App:
- Search for "EACHPAI" in the Apple App Store (for iOS devices) or Google Play Store (for Android devices).
- Alternatively, you can use the following links or scan the QR codes provided in the product images:
EACHPAI App for iOS
EACHPAI App for Android (Baidu App Store)
Note: For Android, searching directly in the Google Play Store is generally recommended for easier installation.
- Connect to Dash Cam WiFi:
- Ensure your dash cam is powered on.
- On your smartphone, go to your WiFi settings.
- Find and connect to the WiFi network named "EACHPAI_T1" (or similar, check your dash cam's specific SSID).
- The default password is 12345678.
- Using the EACHPAI App:
- Open the EACHPAI app on your smartphone.
- You should see a live view from the dash cam.
- Live View: Tap the orange button in the middle to get a live video feed.
- Recording Control: Tap the red button to stop or start recording.
- Settings: Access settings to configure loop recording duration (2/3/5 min), enable/disable audio, adjust video quality, and format the memory card.
- Playback & Download:
- Navigate to the video playback section within the app.
- You can view recorded videos directly from the dash cam.
- Select specific videos to download them to your smartphone's gallery.
- Photo Capture: The app allows you to capture still photos from the live view.
- Sharing: Downloaded videos and photos can be easily shared to social media platforms like Facebook, Twitter, Instagram, or Tumblr directly from the app.

Image: The EACHPAI app interface demonstrating live view and sharing capabilities.

Image: A step-by-step guide on installing the EACHPAI app and navigating its features for video management and sharing.
GPS Playback Software
To view the detailed GPS data (driving route, location, speed, date, and time) recorded by your dash cam, you will need to use the dedicated EACHPAI playback software on a computer. This software is not included in the package but can be downloaded.
- Download Link: The player software can be downloaded from the link provided in the product images or on the manufacturer's official support page. (http://www.sz-zxs.com/article.php?id=36)
- Usage: After installing the software, insert your microSD card into a computer's card reader or connect the dash cam to the computer via USB (if supported for data transfer) to access the video files and view the overlaid GPS information.
Maintenance
- Cleaning: Use a soft, dry cloth to clean the dash cam lens and body. Avoid using abrasive cleaners or solvents.
- Memory Card Management:
- Regularly format your microSD card (e.g., once a month) to maintain optimal performance and prevent data corruption. This can be done via the EACHPAI app.
- Ensure the memory card is Class 10 or higher for reliable recording.
- Firmware Updates: Check the EACHPAI official website periodically for any available firmware updates to ensure your dash cam has the latest features and bug fixes.
- Temperature: While the super capacitor offers excellent temperature resistance, avoid prolonged exposure to extreme heat or cold when the device is not in use.
Troubleshooting
| Problem | Possible Cause / Solution |
|---|---|
| Dash cam does not power on. |
|
| Recording stops or freezes. |
|
| Cannot connect to WiFi / App issues. |
|
| Video quality is poor or blurry. |
|
| GPS data is inaccurate or not recorded. |
|
Specifications
| Feature | Detail |
|---|---|
| Model | EACHPAI T1 |
| Video Resolution | Full HD 1080P (1920x1080) |
| Image Sensor | Sony IMX323 |
| Lens Angle | 150° Wide Angle |
| Rotatable Lens | 270° |
| Connectivity | Built-in WiFi, Built-in GPS, USB |
| Storage | MicroSD card, up to 128GB (Class 10 or higher) |
| Power Source | Super Capacitor (Car Charger) |
| Special Features | G-Sensor, Loop Recording, Motion Detection, Night Vision, Parking Monitor |
| Dimensions | Approx. 7.87 x 2.54 x 3.3 cm (3.1 x 1.0 x 1.3 inches) |
| Weight | Approx. 363 grams (0.8 lbs) |
Warranty and Support
For warranty information and technical support, please refer to the official EACHPAI website or contact their customer service directly. Details are typically provided on the product packaging or the manufacturer's website.
Keep your purchase receipt as proof of purchase for any warranty claims.
Ask a question about this manual
Ask about setup, troubleshooting, compatibility, parts, safety, or missing instructions. Manuals+ will review the question and use this page’s manual context to help answer it.