1. Product Overview
This document provides instructions for the installation, operation, and maintenance of the Carbman Throttle Choke Cable Control Assembly, replacement part number AM140333. This assembly is designed to replace the original throttle and choke control on compatible John Deere lawn mowers, ensuring proper engine speed and choke function.
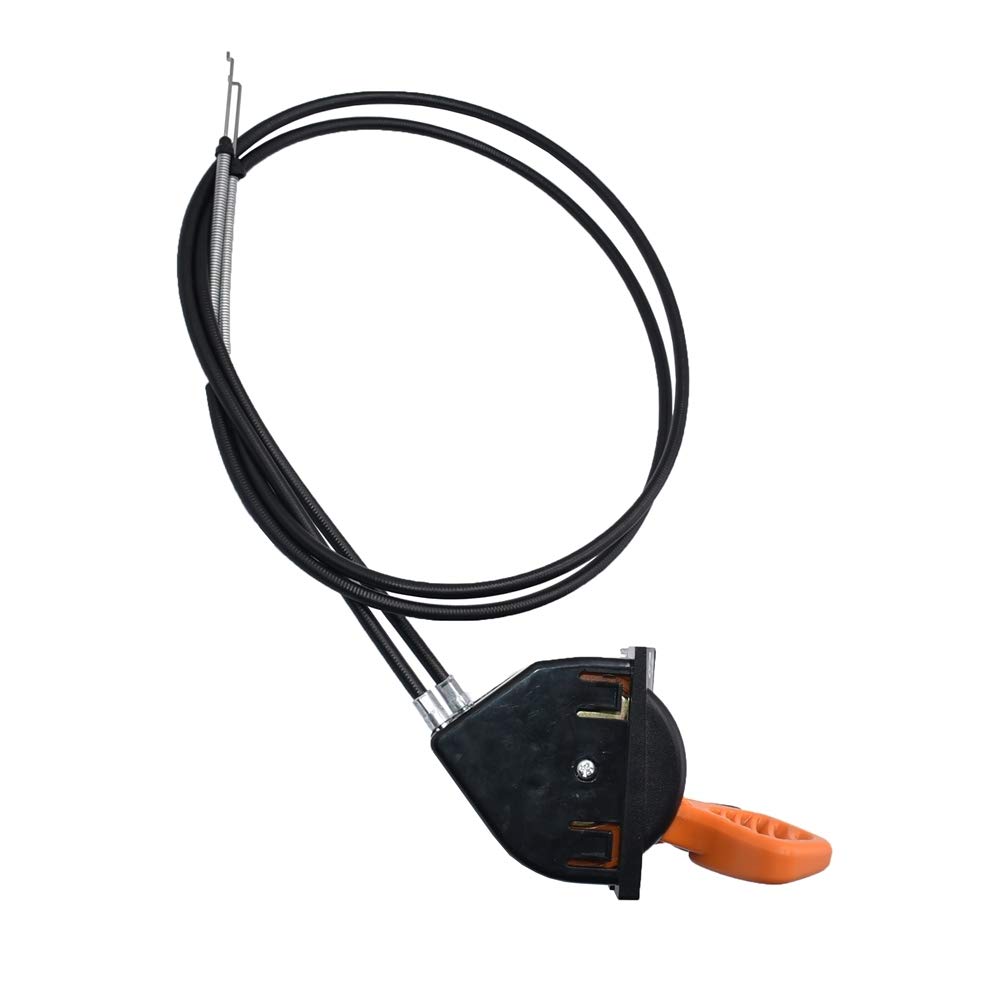
Figure 1: Carbman Throttle Choke Cable Control Assembly. This image shows the complete assembly, including the control unit with orange throttle lever and black choke lever, and the attached cables.
2. Compatibility
The Carbman Throttle Choke Cable Control Assembly (AM140333) is compatible with various John Deere lawn mower models. Please verify your specific model and serial number range for accurate fitment.
Compatible John Deere Models:
- X300 Series: X300 (Serial Numbers Above 040001+), X300R, X304 (Serial Numbers Above 040001+), X305R, X310, X320 (Serial Numbers Above 040001+), X324 (Serial Numbers Above 040001+), X340 (Serial Numbers Above 045001+), X350, X350R, X354, X360, X370, X380, X384, X390, X394
- X500 Series: X500 (Serial Numbers Above 020001+ and 030001+), X530, X534 (Serial Numbers Above 020001+), X570, X580, X584
3. Components
The assembly consists of the control unit and two cables:
- Control Unit: Houses the throttle and choke levers. The throttle lever is typically orange, and the choke lever is black.
- Throttle Cable: Connects the throttle lever to the carburetor, controlling engine speed.
- Choke Cable: Connects the choke lever to the carburetor, assisting with cold starts.

Figure 2: Rear view of the control unit. This image displays the back of the control assembly, showing the cable attachment points and mounting clips.

Figure 3: Cable ends. This image shows the metal ends of the throttle and choke cables, designed for connection to the carburetor and engine components.
4. Installation
Safety First: Before beginning installation, ensure the engine is off, cool, and the spark plug wire is disconnected to prevent accidental starting.
- Remove Old Assembly: Carefully disconnect the existing throttle and choke cables from the carburetor and engine. Unmount the old control unit from the dashboard or console. Note the routing of the cables for reinstallation.
- Prepare New Assembly: Ensure the new Carbman assembly matches the dimensions and cable lengths of the original part. Refer to Figure 4 for approximate dimensions.
- Mount Control Unit: Insert the new control unit into the designated opening on your mower's dashboard or console. Ensure it seats securely. Some models may require minor adjustments to the opening for a proper fit.
- Route Cables: Route the new throttle and choke cables along the same path as the original cables, avoiding any moving parts or heat sources.
- Connect Cables: Attach the throttle cable to the carburetor's throttle linkage and the choke cable to the carburetor's choke linkage. Ensure connections are secure and allow for full range of motion for both levers.
- Test Functionality: With the spark plug wire still disconnected, manually move the throttle and choke levers to ensure smooth operation and proper engagement of the carburetor linkages.
- Reconnect and Start: Reconnect the spark plug wire. Start the engine and test the throttle and choke functions at various settings.

Figure 4: Approximate dimensions of the assembly. This diagram provides key measurements for the control unit and cable lengths, useful for verifying fitment before installation.
5. Operation
The throttle and choke control assembly allows you to manage your mower's engine performance.
- Throttle Lever (Orange): Moves between 'SLOW' and 'FAST' positions. Adjust this lever to control the engine's RPM (revolutions per minute) and, consequently, the speed of the mower blades.
- Choke Lever (Black): Used primarily for starting a cold engine. Move the choke lever to the 'CHOKE' position before starting. Once the engine starts and runs smoothly, gradually move the choke lever back to the 'RUN' position. Do not operate the engine for extended periods with the choke engaged, as this can lead to poor performance and engine damage.
6. Maintenance
Regular maintenance ensures optimal performance and longevity of the control assembly.
- Cable Inspection: Periodically inspect the cables for fraying, kinks, or damage. Replace damaged cables immediately.
- Lubrication: Apply a light lubricant to the cable ends and pivot points on the carburetor linkages annually or as needed to ensure smooth operation.
- Cleanliness: Keep the control unit and surrounding area free from dirt, debris, and grass clippings.
- Secure Mounting: Ensure the control unit remains securely mounted in the dashboard. Tighten any loose fasteners.
7. Troubleshooting
If you encounter issues with your throttle choke cable control assembly, consider the following:
- Levers are Stiff or Sticky: This often indicates a need for cable lubrication or that the cables are binding. Inspect the cable routing for sharp bends or obstructions.
- Engine Not Responding to Throttle: Check if the throttle cable is securely connected at both the control unit and the carburetor. Ensure the cable moves freely and is not broken or stretched.
- Engine Hard to Start (Cold): Verify the choke cable is properly engaging the carburetor's choke mechanism. Ensure the choke lever moves the choke plate fully.
- Control Unit Not Fitting Securely: Some replacement units may require minor modifications to the mower's console opening for a perfect fit. This might involve carefully filing corners or using additional fasteners (e.g., small screws or silicone sealant) to secure the unit if the original clips do not engage properly.
- Cables 180 Degrees Out: In some cases, the cable attachment points on the carburetor side might be oriented differently than the original. This may require careful adjustment or re-routing of the cables to ensure proper function without kinking.
8. Specifications
| Part Number | AM140333 |
| Brand | Carbman |
| Item Weight | 15.8 ounces |
| Package Dimensions | 8.39 x 5.47 x 4.72 inches |
9. Warranty and Support
For information regarding product warranty, returns, or technical support, please contact Carbman directly through their official website or the retailer from whom the product was purchased. Keep your purchase receipt and product details handy when contacting support.
