
PRUNUS J-725C
Contents
PRUNUS J-725 Rechargeable Radio Portable User Manual
Model: J-725C | Brand: PRUNUS
Introduction
Thank you for choosing the PRUNUS J-725 Rechargeable Portable Radio. This compact and versatile device offers FM radio reception, MP3 playback from SD cards and USB drives, an alarm clock function, and a built-in emergency flashlight. Designed for ease of use and portability, it features a long-lasting rechargeable battery, making it ideal for both indoor and outdoor use. Please read this manual carefully to understand the full capabilities of your new radio and ensure proper operation and maintenance.
Product Overview
Components
- PRUNUS J-725 Radio Unit
- Micro USB Charging Cable
- Rechargeable Lithium Battery (pre-installed or separate)
- Owner's Manual
- 3.5mm Audio Cable (for AUX input)
Controls and Ports
The PRUNUS J-725 radio is designed with intuitive controls for easy navigation and operation. Familiarize yourself with the layout below:

Figure 1: Front and Side View of the PRUNUS J-725 Radio. Note the digital display, numeric keypad, and side ports.
- Digital Display: Shows time, frequency, and playback information.
- Numeric Keypad (0-9): For direct frequency input or track selection.
- Power Switch (ON/OFF): Located on the side.
- Volume Dial: Located on the side, for adjusting audio output.
- Antenna: Extendable for improved FM reception.
- USB Port: For connecting USB flash drives for MP3 playback.
- Micro SD/TF Card Slot: For inserting Micro SD cards for MP3 playback.
- 3.5mm AUX Input: For connecting external audio devices.
- 3.5mm Headphone Jack: For private listening.
- Micro USB Charging Port (5V IN): For charging the internal battery.
- LED Button: Activates the emergency flashlight.
- MODE Button: Switches between FM radio, MP3 (USB/SD), and AUX modes.
- Scan Button: Initiates automatic scanning for FM stations.
- Previous/Next Track Buttons: For navigating tracks in MP3 mode or stations in FM mode.
- Play/Pause Button: For controlling MP3 playback.

Figure 2: The compact size of the PRUNUS J-725 radio, comparable to an iPhone 7, highlighting its portability.
Setup
Charging the Battery
The PRUNUS J-725 is equipped with a 3000mAh rechargeable lithium battery, providing extended playback time. Before first use, it is recommended to fully charge the battery.
- Connect the supplied Micro USB charging cable to the 5V IN port on the side of the radio.
- Connect the other end of the USB cable to a compatible USB power source (e.g., USB adapter, computer USB port, power bank).
- The charging indicator light will illuminate red during charging.
- Once fully charged, the indicator light will turn green. Disconnect the charging cable.
A full charge can provide up to 30 hours of playback at 1/3 volume.
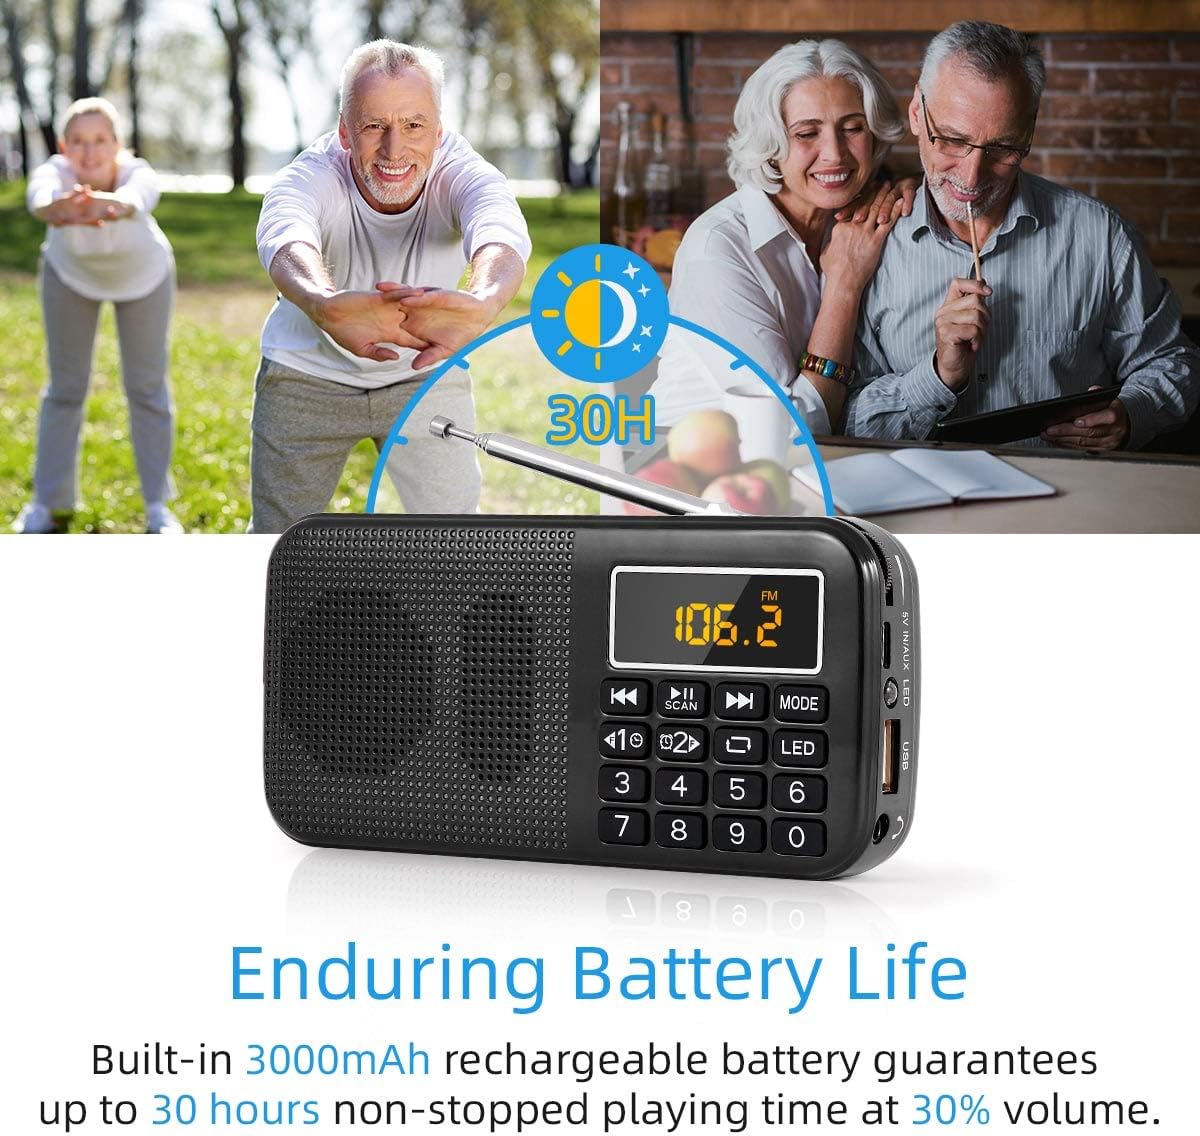
Figure 3: The PRUNUS J-725 features a 3000mAh rechargeable battery, offering up to 30 hours of continuous playback.
Inserting Storage Media (Micro SD/USB)
To play MP3 files, insert a Micro SD card or USB flash drive into the corresponding slot on the side of the radio.
- Ensure the radio is powered off before inserting or removing storage media.
- Insert the Micro SD card with the metal contacts facing down until it clicks into place.
- Insert the USB flash drive into the USB port.
Operation
Power On/Off
Slide the ON/OFF switch located on the side of the radio to the 'ON' position to power on the device. Slide it to 'OFF' to power off.
FM Radio Operation
The radio supports FM frequencies from 87.5-108MHz.
- Extend the telescopic antenna for optimal reception.
- Press the MODE button until 'FM' is displayed.
- Auto-Scan and Save: Press the SCAN button once. The radio will automatically scan for available FM stations and save them to memory (up to 99 stations).
- Manual Tuning: Use the numeric keypad to directly input the desired frequency (e.g., 106.2 for 106.2 MHz).
- Navigate Saved Stations: Use the Previous/Next Track buttons (K| and |K) to cycle through saved stations.

Figure 4: One-key scan and save function for FM radio stations.
MP3 Playback
The radio supports MP3 playback from Micro SD cards and USB drives.
- Ensure a Micro SD card or USB drive with MP3 files is inserted.
- Press the MODE button until 'MP3' or the track number is displayed. The radio will automatically start playing the first track.
- Use the Previous/Next Track buttons (K| and |K) to skip tracks.
- Press the Play/Pause button to pause or resume playback.
- The radio remembers the last played position when powered off and on again.
Using the AUX Input
Connect external audio devices (e.g., smartphone, laptop) using the supplied 3.5mm audio cable.
- Connect one end of the 3.5mm audio cable to the AUX IN port on the radio.
- Connect the other end to the headphone jack or audio output of your external device.
- Press the MODE button until 'AUX' is displayed.
- Control playback and volume from your external device.

Figure 5: Universal compatibility of the PRUNUS J-725 with various audio sources.
Clock and Alarm Functions
The PRUNUS J-725 includes a digital clock and alarm function.
- Setting Time: In standby mode, press and hold the MODE button to enter time setting. Use the numeric keypad to set the hour and minute, then press MODE to confirm.
- Setting Alarm: In standby mode, press the MODE button briefly to cycle to alarm setting. Press and hold MODE to enter alarm time setting. Use the numeric keypad to set the alarm hour and minute, then press MODE to confirm.
- Activating/Deactivating Alarm: After setting the alarm, a small alarm icon will appear on the display. Press the MODE button briefly to toggle the alarm on/off.
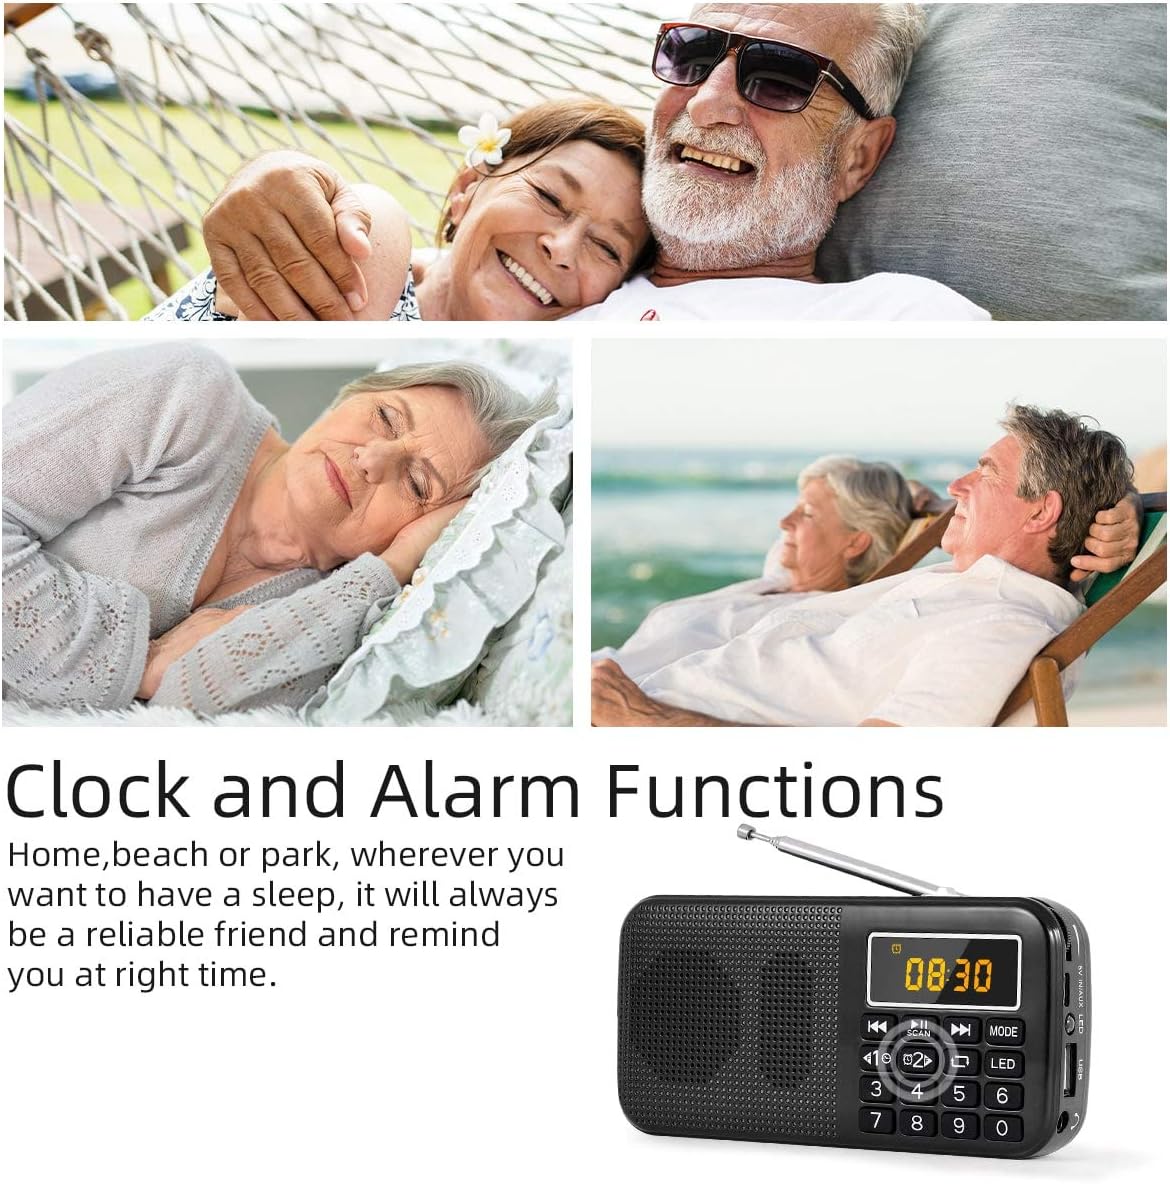
Figure 6: The PRUNUS J-725 features integrated clock and alarm functions.
Emergency Flashlight
The radio is equipped with a built-in LED flashlight for convenience in low-light conditions.
- Press the LED button on the keypad to turn the flashlight on.
- Press the LED button again to turn the flashlight off.

Figure 7: The PRUNUS J-725's emergency flashlight is useful for various activities and power outages.
Volume Control
Rotate the volume dial on the side of the radio to increase or decrease the audio output.
Headphone Use
For private listening, plug any standard 3.5mm headphones into the headphone jack on the side of the radio. The internal speaker will automatically mute.
Maintenance
- Cleaning: Wipe the radio with a soft, dry cloth. Do not use abrasive cleaners or solvents.
- Storage: Store the radio in a cool, dry place away from direct sunlight and extreme temperatures.
- Battery Care: To prolong battery life, avoid fully discharging the battery frequently. If storing for a long period, charge the battery every 3-6 months.
- Water Resistance: This product has no IPX rating and is not waterproof. Avoid exposure to water or high humidity.
Troubleshooting
| Problem | Possible Cause | Solution |
|---|---|---|
| Radio does not power on. | Battery is depleted. Power switch is off. | Charge the battery. Ensure the power switch is in the 'ON' position. |
| Poor FM reception. | Antenna not extended. Weak signal area. Interference. | Fully extend the antenna. Relocate the radio to an area with better signal. Avoid placing near electronic devices that may cause interference. |
| No sound from speaker/headphones. | Volume is too low. Headphones not fully inserted. Corrupted audio file (MP3). | Increase the volume. Ensure headphones are fully plugged in. Try a different audio file or source. |
| MP3 playback not working. | No Micro SD/USB inserted. Incorrect file format. Corrupted media. | Ensure Micro SD/USB is properly inserted. Verify files are in MP3 format. Try a different Micro SD/USB. |
| Clock/Alarm not setting. | Incorrect button sequence. | Refer to the 'Clock and Alarm Functions' section for detailed instructions. Ensure you are pressing and holding the MODE button at the correct times. |
Specifications
| Feature | Detail |
|---|---|
| Brand | PRUNUS |
| Model | J-725C |
| Dimensions (L x W x H) | 13.5 x 2.8 x 6.6 cm (5.31 x 1.10 x 2.60 inches) |
| Weight | 192 g (0.42 lbs) |
| Tuner Technology | FM (87.5-108 MHz) |
| Speaker Output Power | 3 Watts |
| Display Type | LCD |
| Power Source | Battery Powered |
| Battery Type | Lithium Ion (Rechargeable) |
| Battery Capacity | 3000 mAh |
| Charging Port | Micro USB (5V) |
| Connectivity | USB, 3.5mm Audio (AUX) |
| Supported Media | Micro SD/TF Card, USB Flash Drive (MP3 format) |
| Special Features | Rechargeable, Built-In Flashlight, Alarm Clock Function |
| Material Type | Plastic |
Warranty and Support
PRUNUS offers a 1-year warranty for the J-725 Rechargeable Portable Radio, covering manufacturing defects from the date of purchase. Additionally, lifetime technical service is provided to assist with any operational questions or issues you may encounter.
For warranty claims, technical support, or any inquiries, please contact PRUNUS customer service through the retailer where the product was purchased or refer to the contact information provided on the product packaging or official PRUNUS website.
Please retain your proof of purchase for warranty validation.
Important Notes
- The screen only shows station details in megahertz and does not have a continuous clock display when listening to the radio.
- No official product videos were found in the provided data.
Ask a question about this manual
Ask about setup, troubleshooting, compatibility, parts, safety, or missing instructions. Manuals+ will review the question and use this page’s manual context to help answer it.