
Klimaire KSIV012-H119-S(W)
Klimaire 12,000 BTU Mini-Split Inverter Air Conditioner Heat Pump System User Manual
Model: KSIV012-H119-S(W)
1. Introduction
Thank you for choosing the Klimaire 12,000 BTU Mini-Split Inverter Air Conditioner Heat Pump System. This advanced system is designed to provide efficient and comfortable heating and cooling for your space. With its high SEER2 rating and quiet operation, it offers an optimal climate control solution. This manual provides essential information for the safe installation, operation, and maintenance of your unit. Please read it thoroughly before use and keep it for future reference.
2. Safety Information
Your safety and the safety of others are very important. Please read and follow all safety messages outlined in this manual. Failure to do so may result in serious injury or property damage.
- Professional Installation Required: Installation, maintenance, and repair of this unit must be performed by a qualified and certified HVAC technician. Improper installation can lead to electric shock, fire, water leakage, or other hazards.
- Electrical Safety: Ensure the power supply matches the unit's specifications. Always disconnect power before performing any maintenance or service. Do not operate the unit with wet hands.
- Refrigerant Handling: This unit contains R410A refrigerant. Only qualified personnel should handle refrigerant. Do not discharge refrigerant into the atmosphere.
- Clearances: Maintain adequate clearances around the indoor and outdoor units for proper airflow and service access.
- Children and Pets: Keep children and pets away from the unit, especially during operation and maintenance.
3. Product Overview
3.1 What's Included
Your Klimaire Mini-Split system comes with the following main components and an all-inclusive installation kit:
- Indoor Fan Coil Unit (KSIV012-H119-IW-2)
- Outdoor Condenser Unit (KSIV012-H119-O-2), pre-charged with R410A refrigerant
- Remote Control
- 16-foot Maxwell Refrigerant Line Installation Kit (1/4 x 1/2) with interconnecting wire cables
- Maxwell Wall Mounting Bracket
- Electrical Disconnect Box & Liquid-Tight Whip (115V)


3.2 Key Features
The Klimaire Mini-Split system is engineered with features to enhance comfort, efficiency, and durability:
- Exceptional Efficiency: Up to 20.8 SEER2, 8.7 HSPF2, and 10.3 EER2 for significant energy savings.
- Wide Operating Range: Capable of heating and cooling down to 5°F, ensuring year-round comfort in various climates.
- Whisper-Quiet Operation: Indoor unit operates as low as 28 dB(A), ideal for bedrooms and living areas.
- Self-Cleaning Function: Helps maintain coil cleanliness and improve air quality.
- Advanced Air Filtration: Features high-density and washable air filters, including Silver Ion + Carbon for improved air quality.
- Anti-Corrosive Golden Fin: Enhances durability and longevity, especially in coastal or humid environments.
- Smart DC Inverter Technology: Provides precise temperature control and energy efficiency.
- Built-in Base Pan & Compressor Heater: Ensures reliable operation in cold conditions.
- Multiple Operating Modes: Includes Cool, Heat, Dry (dehumidification), Fan, Turbo, Sleep, and Auto Restart.
- Follow-Me Function: Remote control acts as a thermostat, sensing the temperature at its location for optimized comfort.


4. Setup
The installation of this mini-split system requires specialized knowledge and tools. It is strongly recommended that installation be performed by a certified HVAC professional to ensure proper function, safety, and warranty validity.
4.1 Pre-Installation Checklist
- Verify the power supply (115V) meets the unit's requirements.
- Ensure adequate space for both indoor and outdoor units, allowing for proper airflow and maintenance access.
- Confirm all components listed in Section 3.1 are present and undamaged.
- Gather necessary tools for installation (e.g., vacuum pump, manifold gauge, pipe cutter, flaring tool).
4.2 Installation Kit Components
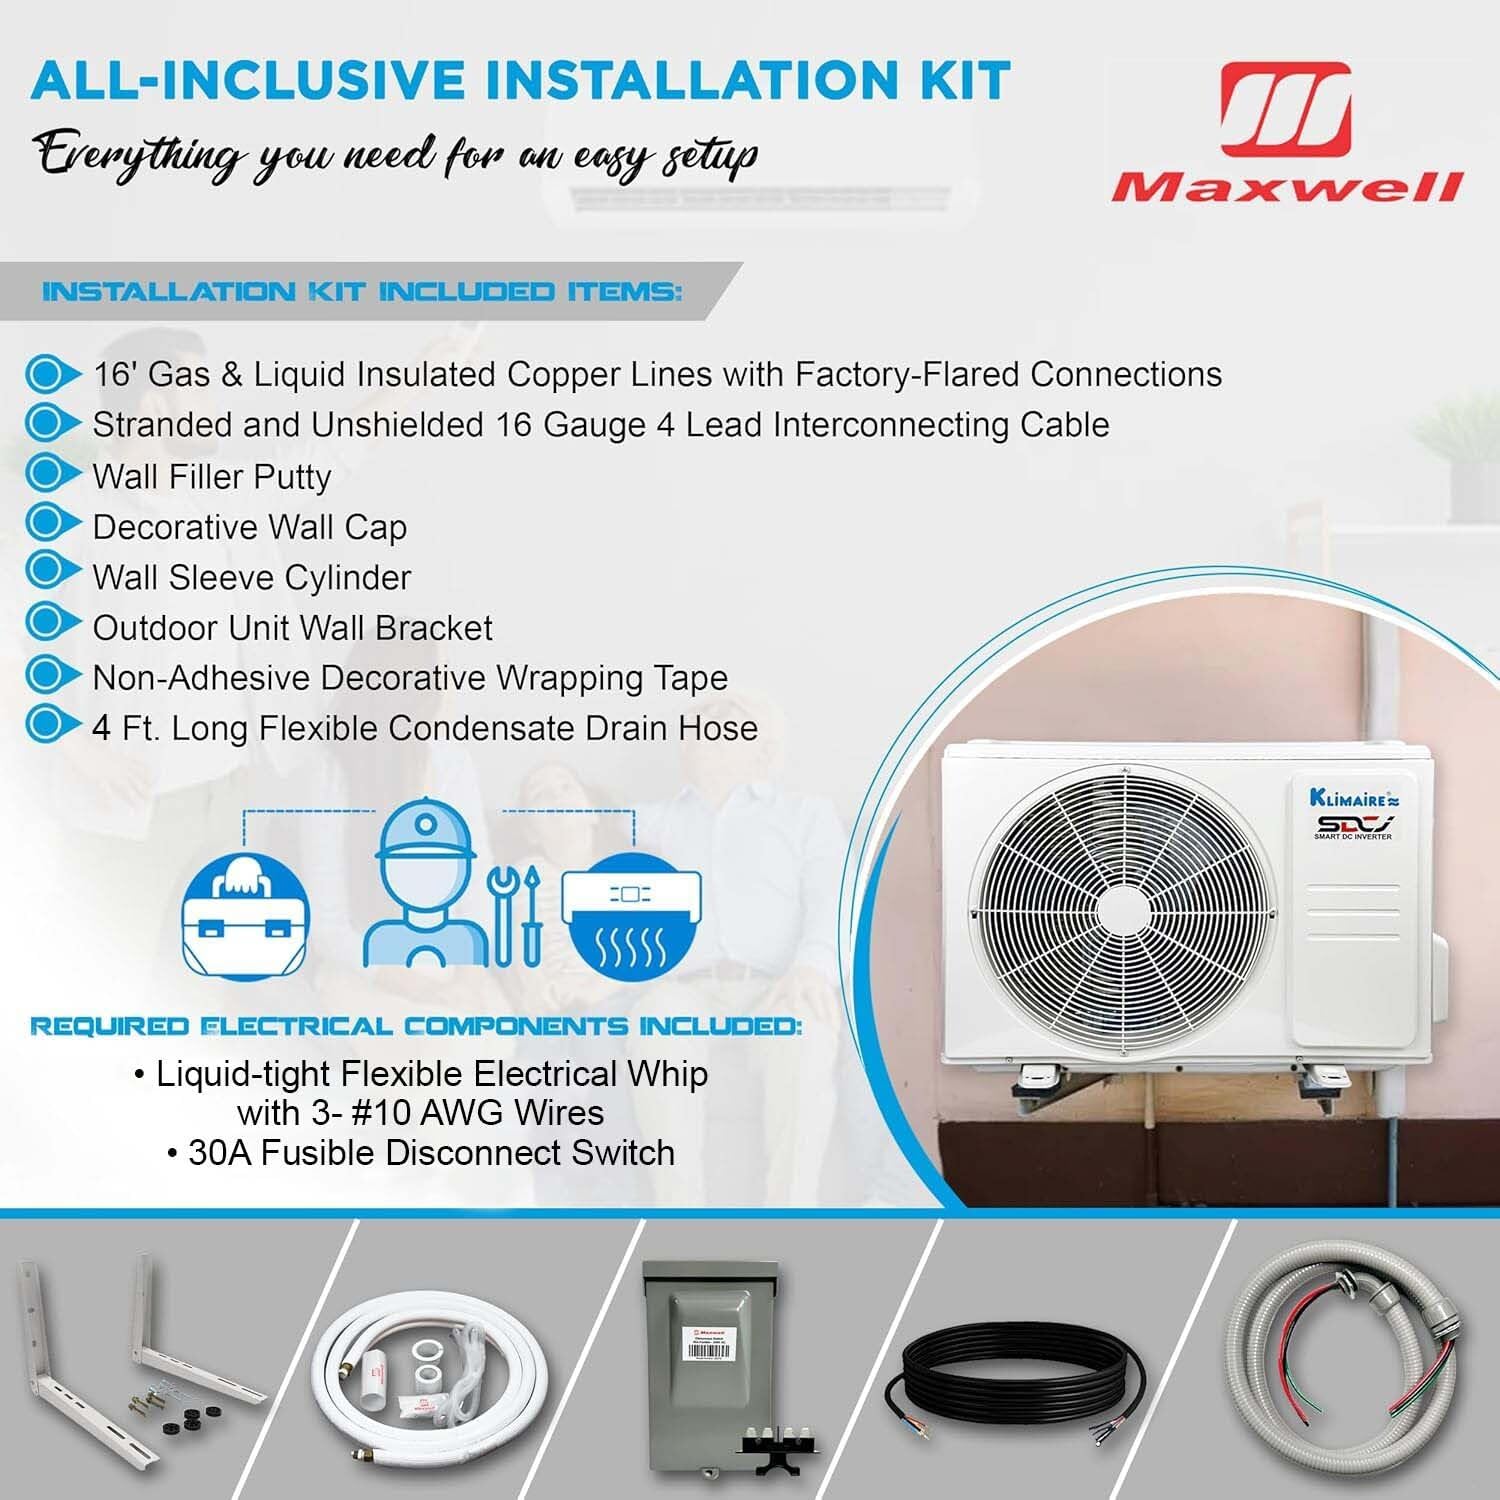
The Maxwell All-Inclusive Installation Kit provides essential items for a straightforward setup:
- 16' Gas & Liquid Insulated Copper Lines with Factory-Flared Connections
- Stranded and Unshielded 16 Gauge 4 Lead Interconnecting Cable
- Wall Filler Putty
- Decorative Wall Cap
- Wall Sleeve Cylinder
- Outdoor Unit Wall Bracket
- Non-Adhesive Decorative Wrapping Tape
- 4 Ft. Long Flexible Condensate Drain Hose
- Liquid-tight Flexible Electrical Whip with 3-#10 AWG Wires
- 30A Fusible Disconnect Switch

4.3 General Installation Steps (Professional Guidance Recommended)
- Indoor Unit Placement: Select a suitable location on an interior wall, ensuring proper drainage and air circulation. Mount the installation plate securely.
- Outdoor Unit Placement: Choose a stable, level location outdoors, away from obstructions and direct sunlight, with sufficient clearance for airflow. Mount the outdoor unit using the provided wall bracket or a suitable pad.
- Line Set Connection: Connect the pre-flared copper refrigerant lines between the indoor and outdoor units. Ensure connections are tight to prevent leaks.
- Electrical Wiring: Connect the interconnecting wire cables and power supply wiring according to the wiring diagram provided in the full installation manual. Install the electrical disconnect box.
- Vacuuming the System: Evacuate the refrigerant lines using a vacuum pump to remove air and moisture. This is a critical step for system efficiency and longevity.
- Refrigerant Release: Once the vacuum is confirmed, open the service valves on the outdoor unit to release the pre-charged R410A refrigerant into the system.
- Drainage Connection: Connect the condensate drain hose from the indoor unit to ensure proper water removal.
- Leak Check: Perform a thorough leak check on all refrigerant connections.
- Test Run: Power on the unit and perform a test run in both cooling and heating modes to verify proper operation.
5. Operating
Your Klimaire Mini-Split system is controlled primarily by the wireless remote control. It offers various modes and functions for optimal comfort.
5.1 Remote Control Functions
The remote control allows you to select operating modes, adjust temperature, fan speed, and access special features:
- ON/OFF Button: Powers the unit on or off.
- MODE Button: Cycles through operating modes: Auto, Cool, Dry, Heat, Fan.
- Temperature Adjustment: Use the Up/Down arrows to set the desired temperature.
- FAN Speed Button: Adjusts fan speed (Auto, Low, Medium, High).
- SWING Button: Controls the vertical louver movement for air direction.
- SLEEP Mode: Adjusts temperature automatically during sleep for energy saving and comfort.
- TURBO Mode: Provides rapid cooling or heating to reach the set temperature quickly.
- DRY Mode: Dehumidifies the air without significant temperature change.
- FOLLOW ME Function: Activates a sensor in the remote control to measure the ambient temperature at its location, optimizing comfort in your immediate vicinity.
- SELF CLEAN Button: Initiates the self-cleaning cycle for the indoor coil.
- TIMER Function: Set the unit to turn on or off automatically after a specified time.
5.2 Smart Features (Wi-Fi Connectivity)
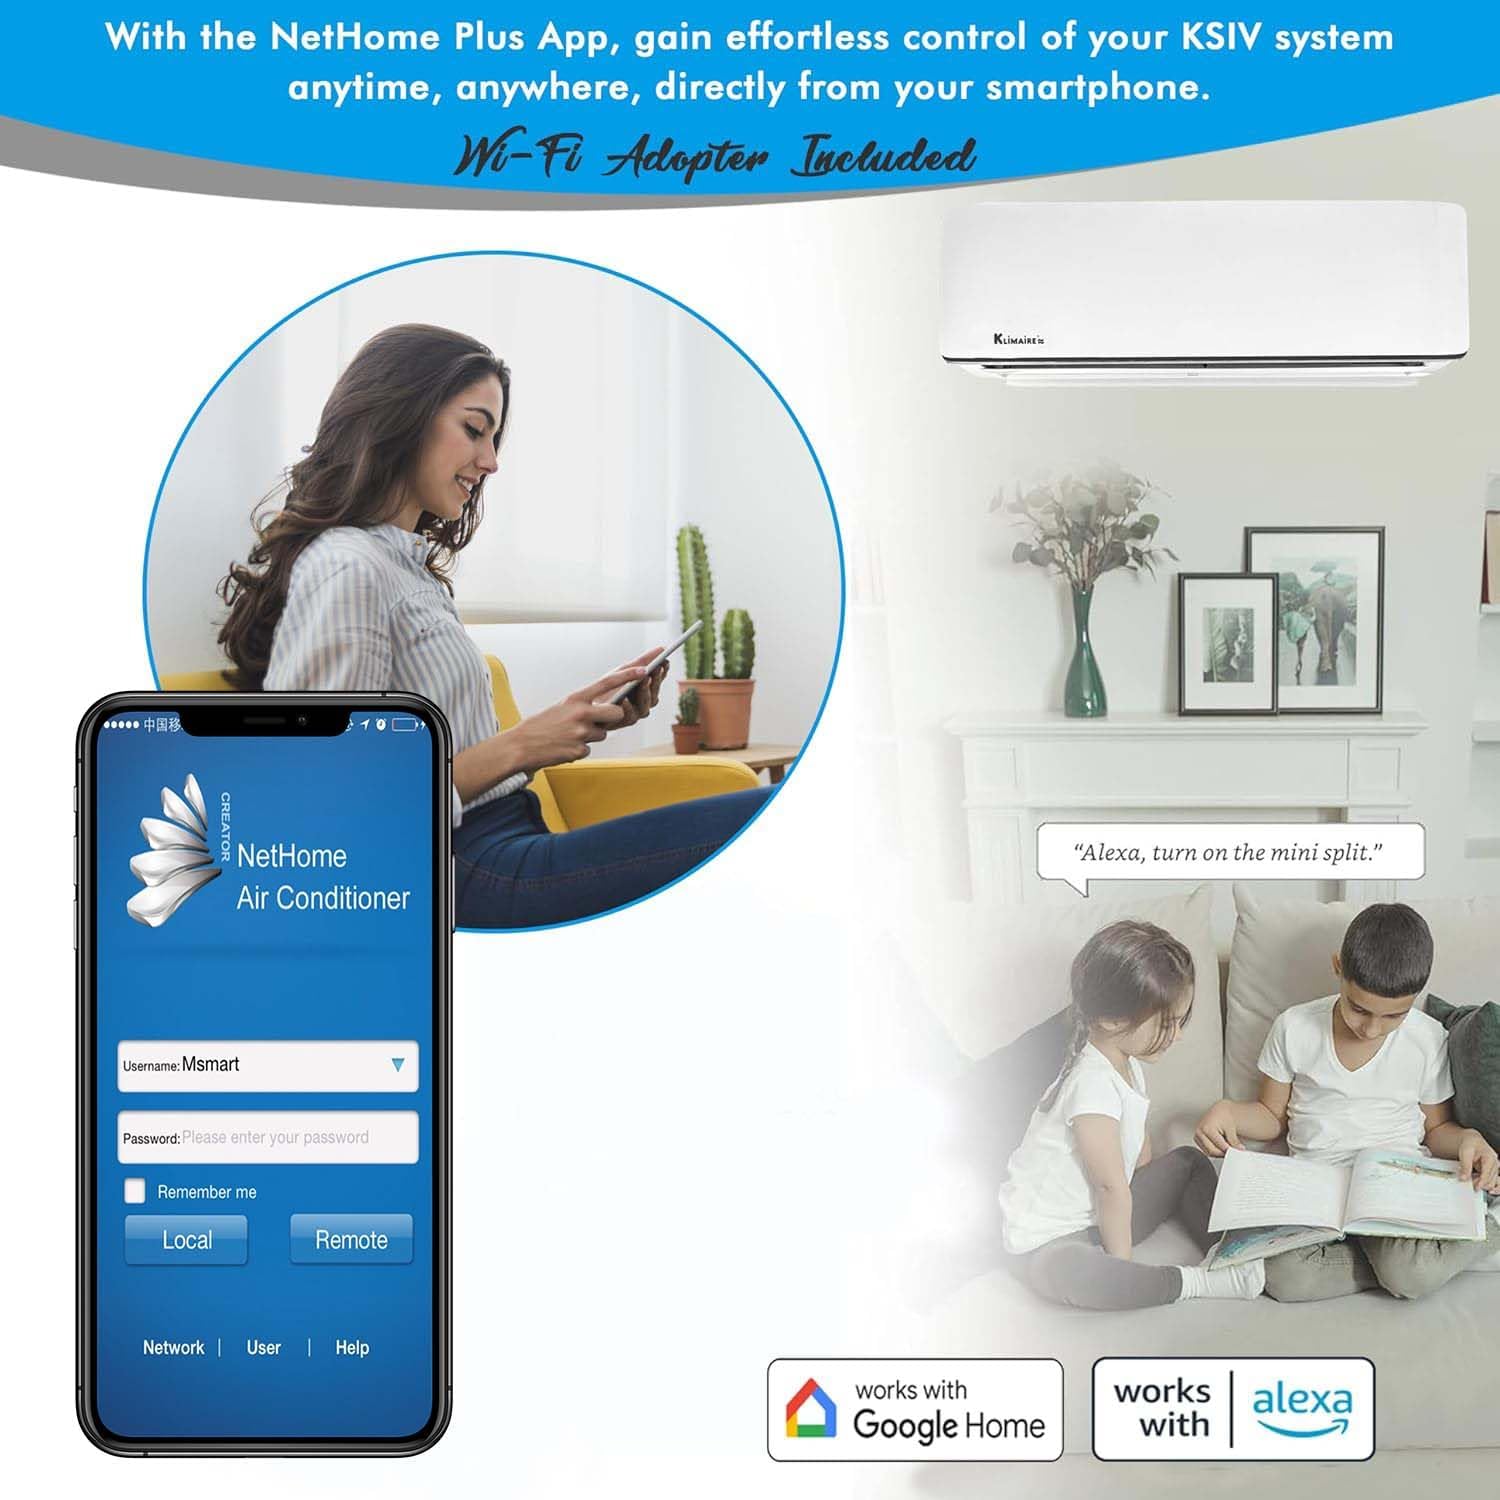
With the included Wi-Fi adapter, you can control your Klimaire Mini-Split system remotely using the NetHome Plus App on your smartphone. The system is also compatible with Google Home and Alexa for voice control.
- Remote Control: Adjust settings, change modes, and monitor your unit from anywhere.
- Scheduling: Set custom schedules for operation to save energy and ensure comfort.
- Voice Control: Integrate with Google Home or Alexa for convenient hands-free operation.

5.3 Operating Modes
The Klimaire Mini-Split offers four primary operating modes:
- Cool: Provides cooling by removing heat from the room.
- Heat: Provides heating by transferring heat into the room.
- Fan: Circulates air without heating or cooling.
- Dry: Reduces humidity in the air.

6. Maintenance
Regular maintenance ensures optimal performance, efficiency, and longevity of your Klimaire Mini-Split system. Always disconnect power to the unit before performing any maintenance.
6.1 Air Filter Cleaning
The indoor unit's air filters should be cleaned regularly (every 2-4 weeks, depending on usage and air quality) to maintain airflow and efficiency.
- Open the front panel of the indoor unit.
- Carefully remove the air filters.
- Clean the filters using a vacuum cleaner or wash them with lukewarm water and a mild detergent.
- Rinse thoroughly and allow them to dry completely in a shaded area before re-installing.
- Re-install the filters and close the front panel.
6.2 Self-Cleaning Function
The self-cleaning function helps to remove dust and moisture from the indoor coil, preventing mold and odors. Refer to your remote control section for how to activate this feature.

6.3 General Care
- Outdoor Unit: Keep the area around the outdoor unit clear of debris, leaves, and snow to ensure proper airflow. Periodically clean the outdoor coil with a soft brush or water hose.
- Indoor Unit: Wipe the surface of the indoor unit with a soft, damp cloth. Do not use harsh chemicals or abrasive cleaners.
- Seasonal Checks: Before the heating or cooling season, inspect the refrigerant lines for any visible damage and ensure all electrical connections are secure.
7. Troubleshooting
Before contacting customer support, please refer to the following common issues and solutions. For complex problems or error codes not listed, contact a qualified technician.
| Problem | Possible Cause | Solution |
|---|---|---|
| Unit does not turn on. | No power supply; Remote control batteries dead; Circuit breaker tripped. | Check power connection; Replace remote batteries; Reset circuit breaker. |
| Poor cooling/heating performance. | Dirty air filters; Obstruction near outdoor unit; Incorrect mode selected; Low refrigerant. | Clean air filters; Remove obstructions; Select correct mode; Contact technician for refrigerant check. |
| Unusual noise. | Loose parts; Fan obstruction; Refrigerant flow noise (normal). | Check for loose parts; Remove fan obstruction; Consult manual for normal operating sounds. |
| Water leakage from indoor unit. | Clogged drain hose; Improper installation. | Clear drain hose; Contact technician for inspection. |
| Remote control not working. | Dead batteries; Obstruction between remote and unit; Remote out of range. | Replace batteries; Remove obstruction; Move closer to unit. |
8. Specifications
Detailed technical specifications for the Klimaire 12,000 BTU Mini-Split Inverter Air Conditioner Heat Pump System:
| Specification | Value |
|---|---|
| Brand Name | Klimaire |
| Model Info | KSIV012-H119-S(W) |
| Cooling Capacity | 12,000 BTU |
| Heating Capacity | 12,000 BTU |
| Voltage | 115 Volts |
| Seasonal Energy Efficiency Ratio (SEER2) | 20.8 |
| Heating Seasonal Performance Factor (HSPF2) | 8.7 |
| Energy Efficiency Ratio (EER2) | 10.3 |
| Indoor Unit Noise Level (Low) | 28 dB(A) |
| Outdoor Unit Noise Level | 55 dB(A) |
| Refrigerant Type | R410A |
| Max Fuse Size | 20A |
| Indoor Unit Dimensions (W x D x H) | 31.57 x 7.44 x 11.69 inches |
| Outdoor Unit Dimensions (W x D x H) | 31.50 x 13.11 x 21.81 inches |
| Applicable Area | Up to 550 sq. ft. |

9. Warranty and Support
Klimaire stands behind the quality and durability of its products.
9.1 Warranty Information
Your Klimaire Mini-Split system comes with a comprehensive warranty:
- Parts Warranty: 5 Years
- Compressor Warranty: 7 Years
Please retain your proof of purchase for warranty claims. The warranty covers defects in materials and workmanship under normal use and service. Improper installation or unauthorized repairs will void the warranty.
9.2 Customer Support
For technical assistance, warranty claims, or any questions regarding your Klimaire Mini-Split system, please contact Klimaire customer support. You can typically find contact information on the manufacturer's website or your purchase documentation.
When contacting support, please have your model number (KSIV012-H119-S(W)) and purchase date readily available.
Related documentsKSIV012-H119-S(W)


Ask a question about this manual
Ask about setup, troubleshooting, compatibility, parts, safety, or missing instructions. Manuals+ will review the question and use this page’s manual context to help answer it.