1. Introduction
This manual provides detailed instructions for the setup, installation, operation, and maintenance of your NZXT H510 Compact ATX Mid-Tower PC Gaming Case. Please read this manual thoroughly before beginning assembly to ensure proper installation and safe operation. The NZXT H510 is designed for PC enthusiasts and builders seeking a streamlined, high-performance chassis with excellent cable management and cooling capabilities.

Figure 1.1: Angled view of the NZXT H510 PC Case, showcasing its sleek black exterior and tempered glass side panel.
2. Safety Information
Always exercise caution when working with computer components. Disconnect the power supply from the wall outlet before opening the case or performing any installation. Avoid touching electronic components directly to prevent electrostatic discharge (ESD). Use a grounded wrist strap if available. Keep small parts away from children. Ensure proper ventilation around the case during operation.
3. Package Contents
Verify that all items are present in the package:
- NZXT H510 PC Case
- Accessory Box (screws, zip ties, manual)
- 2 x Aer F120mm Fans (pre-installed)
4. Setup and Component Installation
4.1 Initial Preparation
Place the case on a stable, flat surface. Remove the tempered glass side panel by unscrewing the single thumbscrew located at the rear top of the panel and gently pulling the panel away. Remove the rear metal side panel by unscrewing the two thumbscrews and sliding the panel backward.

Figure 4.1: The NZXT H510 PC Case with its tempered glass side panel detached, providing access to the interior for component installation.
4.2 Motherboard Installation
The NZXT H510 supports Mini-ITX, MicroATX, and ATX motherboards. Install the I/O shield into the rear opening of the case. Align your motherboard with the pre-installed standoffs and secure it using the provided screws from the accessory box. The case features a central standoff to help align the motherboard.
4.3 Graphics Card (GPU) Installation
Locate the PCIe slots on your motherboard. Remove the necessary expansion slot covers from the rear of the case. Insert your graphics card into the primary PCIe slot on the motherboard and secure it with screws.
4.4 Storage Device Installation
The case includes drive trays for 2.5-inch SSDs and a removable cage for 3.5-inch HDDs. Mount your SSDs to the dedicated trays behind the motherboard tray. For 3.5-inch HDDs, remove the drive cage located in the PSU shroud, install your drives, and re-secure the cage.
4.5 Power Supply Unit (PSU) Installation
The NZXT H510 features a bottom-mount power supply design. Slide your PSU into the dedicated compartment at the bottom rear of the case and secure it with screws from the rear.
4.6 Cooling System (Fans & Radiators)
The case comes with two pre-installed Aer F120mm fans for optimal internal airflow. The front panel and PSU intakes include removable filters for easy cleaning. A removable bracket is designed for radiators up to 240mm, simplifying the installation of either closed-loop or custom-loop water cooling solutions.

Figure 4.2: An internal view of the NZXT H510, highlighting the pre-installed fans and the versatile mounting options for additional cooling components, including radiators.
5. Cable Management System
The NZXT H510 features a patented cable routing kit with pre-installed channels and straps, making cable management easy and intuitive. Utilize these channels and Velcro straps located behind the motherboard tray to neatly route and secure all power and data cables, ensuring optimal airflow and a clean interior aesthetic.

Figure 5.1: The rear side of the NZXT H510, illustrating the integrated cable management channels and straps designed for a tidy build.
6. Front I/O Ports
The top panel of the NZXT H510 provides convenient access to essential input/output ports:
- 1 x USB 3.1 Gen 2 Type-C Port
- 1 x USB 3.0 Type-A Port
- 1 x Headset Audio Jack
- Power Button
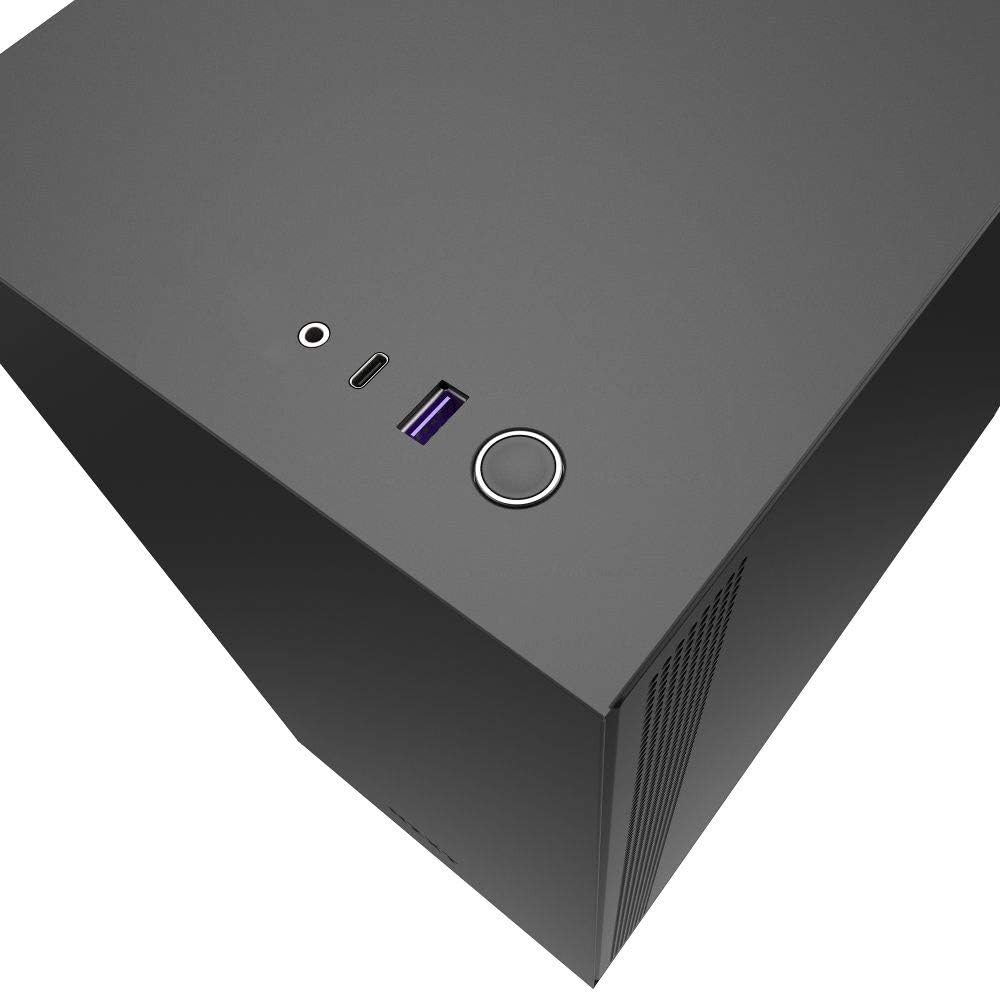
Figure 6.1: A close-up view of the top panel of the NZXT H510, highlighting the accessible USB Type-C, USB Type-A, and audio ports, along with the power button.
7. Operating Your PC Case
Once all components are securely installed and cables are managed, re-attach both side panels. Connect your monitor, keyboard, mouse, and power cable to your PC. Press the power button located on the top panel to start your system.
8. Maintenance
Regular maintenance ensures optimal performance and longevity of your PC components. Periodically clean the dust filters located on the front panel and PSU intake. These filters are removable for easy cleaning. Use compressed air to clear dust from internal components and fans. Ensure all cables remain securely connected.
9. Troubleshooting
If you encounter issues, consider the following basic troubleshooting steps:
- No Power: Ensure the power supply is switched on and all power cables (24-pin, 8-pin CPU, PCIe) are securely connected to the motherboard and components. Check the wall outlet.
- No Display: Verify that your monitor is connected to the graphics card (not the motherboard's integrated graphics, unless intended) and that the graphics card is properly seated and powered.
- Fan Noise: Excessive fan noise can indicate dust buildup. Clean the fans and dust filters. Ensure fans are securely mounted.
- Component Fit: If a component does not fit, double-check its dimensions against the case specifications and ensure proper alignment during installation. Do not force components.
10. Specifications
| Feature | Detail |
|---|---|
| Brand | NZXT |
| Series | NZXT H510 |
| Model Number | CA-H510B-B1 |
| Case Type | Mid Tower |
| Motherboard Compatibility | Mini-ITX, MicroATX, ATX |
| Material | SGCC Steel, Tempered Glass |
| Dimensions (LxWxH) | 16.85 x 8.27 x 18.11 inches |
| Item Weight | 18 pounds |
| Front I/O Ports | 1x USB 3.1 Gen 2 Type-C, 1x USB 3.0 Type-A, 1x Headset Audio Jack |
| Pre-installed Fans | 2 x Aer F120mm |
| Radiator Support | Up to 240mm (front) |
11. Warranty and Support
For warranty information and technical support, please refer to the official NZXT website or contact their customer service. Keep your proof of purchase for warranty claims. NZXT provides resources and assistance for product setup and troubleshooting.


