Introduction
This manual provides detailed instructions for the installation, configuration, and operation of your Anpviz AI 8-Channel 12MP PoE Network Video Recorder (NVR) model NVR7608Q1-8P-A. Please read this manual thoroughly before using the product to ensure proper functionality and safety.
The Anpviz NVR is designed to manage up to 8 PoE cameras, supporting resolutions up to 12MP. It features H.265+ video compression for efficient storage and bandwidth usage, and integrates with Anpviz AI cameras for smart human/vehicle detection.
Product Overview
The Anpviz AI 8-Channel PoE NVR is a central component for your surveillance system, offering advanced recording and management capabilities.

Figure 1: Front view of the Anpviz AI 8-Channel PoE NVR.

Figure 2: Rear panel of the NVR showing PoE ports, HDMI, VGA, Audio In/Out, and LAN port.
Key Features:
- Supports up to 8 x 12MP PoE Cameras.
- H.265+/H.265 video compression for efficient storage.
- 160 Mbps incoming bandwidth for 4K recording.
- Integrated human/vehicle detection with compatible Anpviz IP cameras.
- Local and remote access via "Anpviz Viewer" app or web browser.
- PoE (Power over Ethernet) for simplified camera installation.
Package Contents
Verify that all items are included in your package:
- Anpviz AI 8-Channel PoE NVR (NVR7608Q1-8P-A)
- Power Adapter
- USB Mouse
- Ethernet Cable
- Quick Start Guide
- Screws for HDD Installation (if applicable)
Setup
1. Hard Drive Installation (Optional)
If your NVR did not come with a pre-installed HDD, you will need to install one for recording. The NVR supports up to 8TB storage capacity.
- Unscrew and remove the top cover of the NVR.
- Connect the SATA data cable and power cable from the NVR to the HDD.
- Secure the HDD to the NVR chassis using the provided screws.
- Replace the top cover and secure it with screws.
2. Initial Connection
- Connect the NVR to a monitor (HDMI or VGA) and a USB mouse.
- Connect your Anpviz PoE IP cameras to the PoE ports on the NVR using Ethernet cables.
- Connect the NVR's LAN port to your router using an Ethernet cable for network access.
- Connect the power adapter to the NVR and plug it into a power outlet. The NVR will power on automatically.

Figure 3: Basic connection diagram for the NVR, cameras, monitor, and network.
3. First-Time Configuration
Upon first boot, the NVR will guide you through a setup wizard. Follow the on-screen prompts to:
- Set a strong password for the admin account.
- Configure network settings (DHCP is recommended for most users).
- Initialize the hard drive (if newly installed).
- Scan and add connected Anpviz PoE IP cameras.
Note: Full Plug & Play functionality is only available when paired with Anpviz H IP PoE Cameras. Non-Anpviz cameras are not supported for this feature and may require manual configuration.
Operating Instructions
1. Local Interface Navigation
Use the connected USB mouse to navigate the NVR's graphical user interface (GUI) on the monitor.
- Live View: Displays real-time footage from all connected cameras.
- Playback: Access recorded footage.
- Configuration: Adjust system settings, camera parameters, recording schedules, and network settings.
- Backup: Export recorded video clips to a USB drive.
2. Remote Access (Anpviz Viewer App)
To access your NVR remotely from a smartphone or tablet:
- Download the "Anpviz Viewer" app from your device's app store (iOS or Android).
- Open the app and create an account if you don't have one.
- Scan the QR Code displayed on your NVR's monitor (usually found in the network settings or P2P/Cloud section).
- Follow the app's instructions to add your NVR. You can now view live feeds and playback recordings remotely.

Figure 4: Anpviz Viewer app interface for remote monitoring.
3. Recording and Playback
The NVR supports 24/7 continuous recording and event-triggered recording (e.g., motion detection, human/vehicle detection).
- Continuous Recording: Configured in the NVR's recording schedule settings.
- Smart AI Detection: When paired with compatible Anpviz AI cameras, the NVR can record based on human or vehicle detection events. Configure these settings in the camera's event detection menu via the NVR.

Figure 5: NVR interface displaying smart human and vehicle detection events.
To playback recorded footage:
- Navigate to the "Playback" section on the NVR or within the Anpviz Viewer app.
- Select the desired camera and date.
- Use the timeline to select the specific time for playback. Event markers (e.g., motion, AI detection) will be visible on the timeline.
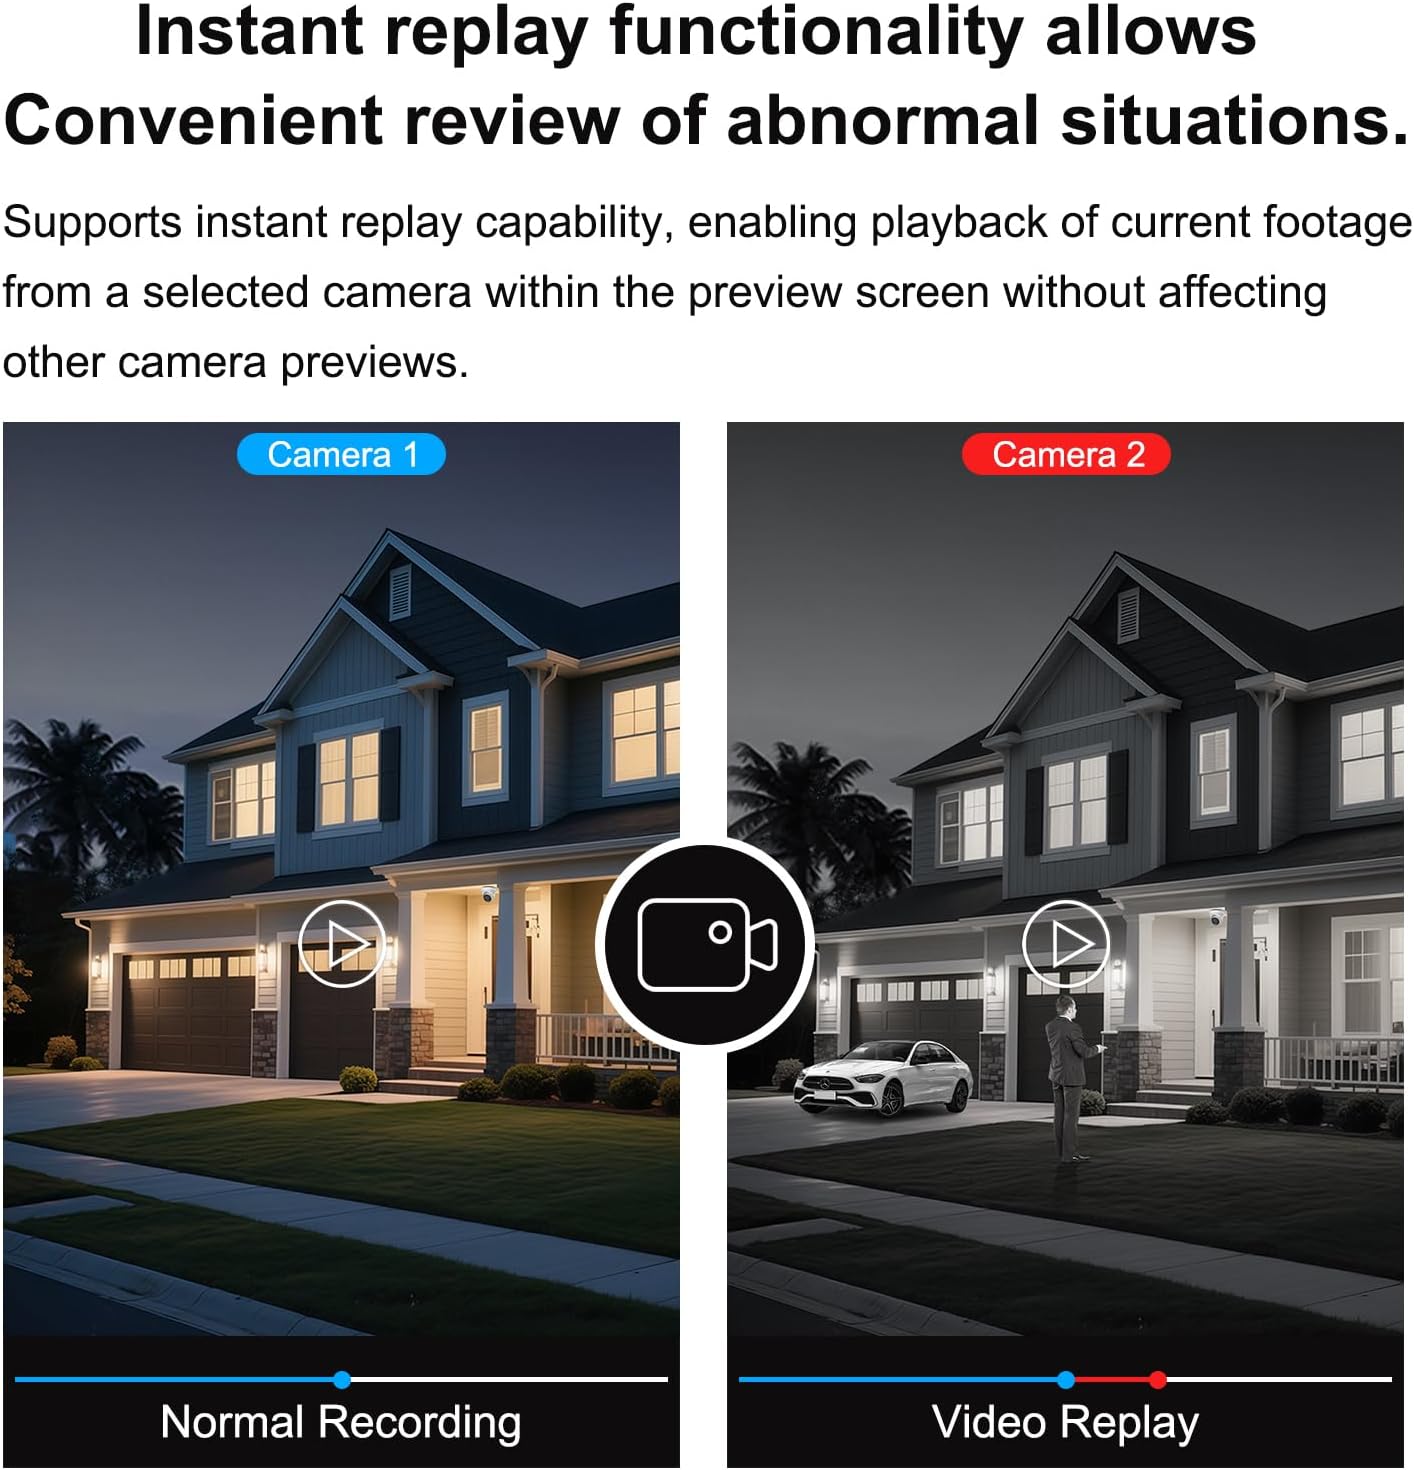
Figure 6: Playback interface for reviewing recorded video.
Maintenance
1. Firmware Updates
Periodically check the Anpviz official website for firmware updates. Keeping your NVR's firmware up-to-date ensures optimal performance, security, and access to new features.
- Download the latest firmware file to a USB drive.
- Connect the USB drive to the NVR.
- Navigate to the "System" or "Maintenance" section in the NVR's configuration menu and select "Firmware Upgrade."
- Follow the on-screen instructions to complete the update. Do not power off the NVR during the update process.
2. Hard Drive Management
The NVR will automatically overwrite the oldest recordings when the hard drive is full. You can configure recording retention policies in the NVR settings.
- Regularly check the HDD status in the NVR's storage settings to ensure it is functioning correctly.
- If you experience a noisy NVR, ensure proper ventilation or consider disabling the buzzer reminder function if no HDD is installed.
3. Cleaning
Clean the exterior of the NVR with a soft, dry cloth. Do not use liquid cleaners or aerosols.
Troubleshooting
| Problem | Possible Cause | Solution |
|---|---|---|
| No video output on monitor. | Loose HDMI/VGA cable, incorrect monitor input, NVR not powered on. | Check cable connections. Ensure monitor is set to correct input. Verify NVR power. |
| Cameras not displaying video. | Loose Ethernet cable, camera not powered, incompatible camera, incorrect camera settings. | Check PoE cable connections. Ensure cameras are powered. Verify camera compatibility (Anpviz H IP PoE Cameras recommended). Check NVR camera management settings. |
| Cannot access NVR remotely. | NVR not connected to network, incorrect network settings, firewall issues, app configuration error. | Ensure NVR LAN port is connected to router. Verify network settings (DHCP). Check router firewall. Re-add NVR to Anpviz Viewer app. |
| No recording or playback issues. | No HDD installed, HDD not initialized, HDD full, recording schedule not set. | Install and initialize HDD. Check HDD status. Configure recording schedule. |
| NVR fan is loud. | Normal operation, or HDD noise. | Ensure proper ventilation. If HDD related, consider disabling buzzer reminder if no HDD is installed, or replace HDD if faulty. |
For further assistance, refer to the Anpviz Store or contact customer support.
Specifications
| Feature | Detail |
|---|---|
| Model Number | NVR7608Q1-8P-A |
| Channels | 8-Channel PoE |
| Max Resolution | 12MP (4K) |
| Video Compression | H.265+/H.265 |
| Incoming Bandwidth | 160 Mbps |
| HDD Support | Up to 8 TB (HDD not included) |
| Connectivity | Ethernet, HDMI, VGA |
| Product Dimensions | 12.2 x 9.2 x 1.7 inches |
| Item Weight | 4.58 pounds |
| Compatible Devices | Anpviz H IP PoE Cameras, Smartphones |
Warranty and Support
Anpviz provides a 2-Year Warranty for this product.
For technical assistance or warranty claims, please contact Anpviz customer support:
- Email: support@anpviz.com
- Operating Hours: Monday - Friday, 9:00 AM - 6:00 PM (Time Zone not specified, assume PST/EST based on Amazon US)
- You can also reach out via the Amazon Seller platform.

Figure 7: Anpviz customer support contact details.


