
Durablow TR1004
Durablow TR1004 Gas Fire Fireplace Remote Control Kit User Manual
Model: TR1004 | Brand: Durablow
1. Introduction
This manual provides comprehensive instructions for the installation, operation, and maintenance of your Durablow TR1004 Gas Fire Fireplace Remote Control Kit. This kit offers wireless remote control functionality for gas heating appliances, such as gas fireplaces, equipped with a millivolt valve or IPI module. It features a backlit transmitter with thermostat and timer functions, designed to replace a traditional wall switch or thermostat for enhanced convenience and control.
The Durablow TR1004 system includes a battery-powered RF transmitter and a receiver unit, enabling remote operation of your fireplace. Key features include a controllable temperature range from 45℉ (7℃) to 99℉ (37℃), a timer function adjustable from 15 minutes to 9 hours, and a childproof safety lock. The backlit LCD screen on the transmitter ensures easy readability in low-light conditions. This product is FCC approved, ensuring reliable and safe operation.
2. Package Contents
Please verify that all components are present in your package:
- Remote Transmitter (with backlit LCD screen)
- Receiver Box
- Wall Mount Cover Plate
- Screws for installation
- Slide Switch
- Wires with Connectors
- User Manuals/Instructions

Figure 2.1: Overview of the Durablow TR1004 remote control kit components, including the remote transmitter, receiver box, and wall mount cover plate.
3. Setup and Installation
3.1. Battery Installation
The remote transmitter requires two (2) 1.5V AAA batteries, and the receiver operates on four (4) AA batteries. Batteries are not included. For optimal performance and to prevent corrosion from leaks, Energizer Lithium Batteries are strongly recommended.
- Open the battery compartment on the back of the remote transmitter.
- Insert two (2) AAA batteries, ensuring correct polarity (+/-).
- Close the battery compartment.
- Open the battery compartment on the receiver box.
- Insert four (4) AA batteries, ensuring correct polarity (+/-).
- Close the battery compartment.
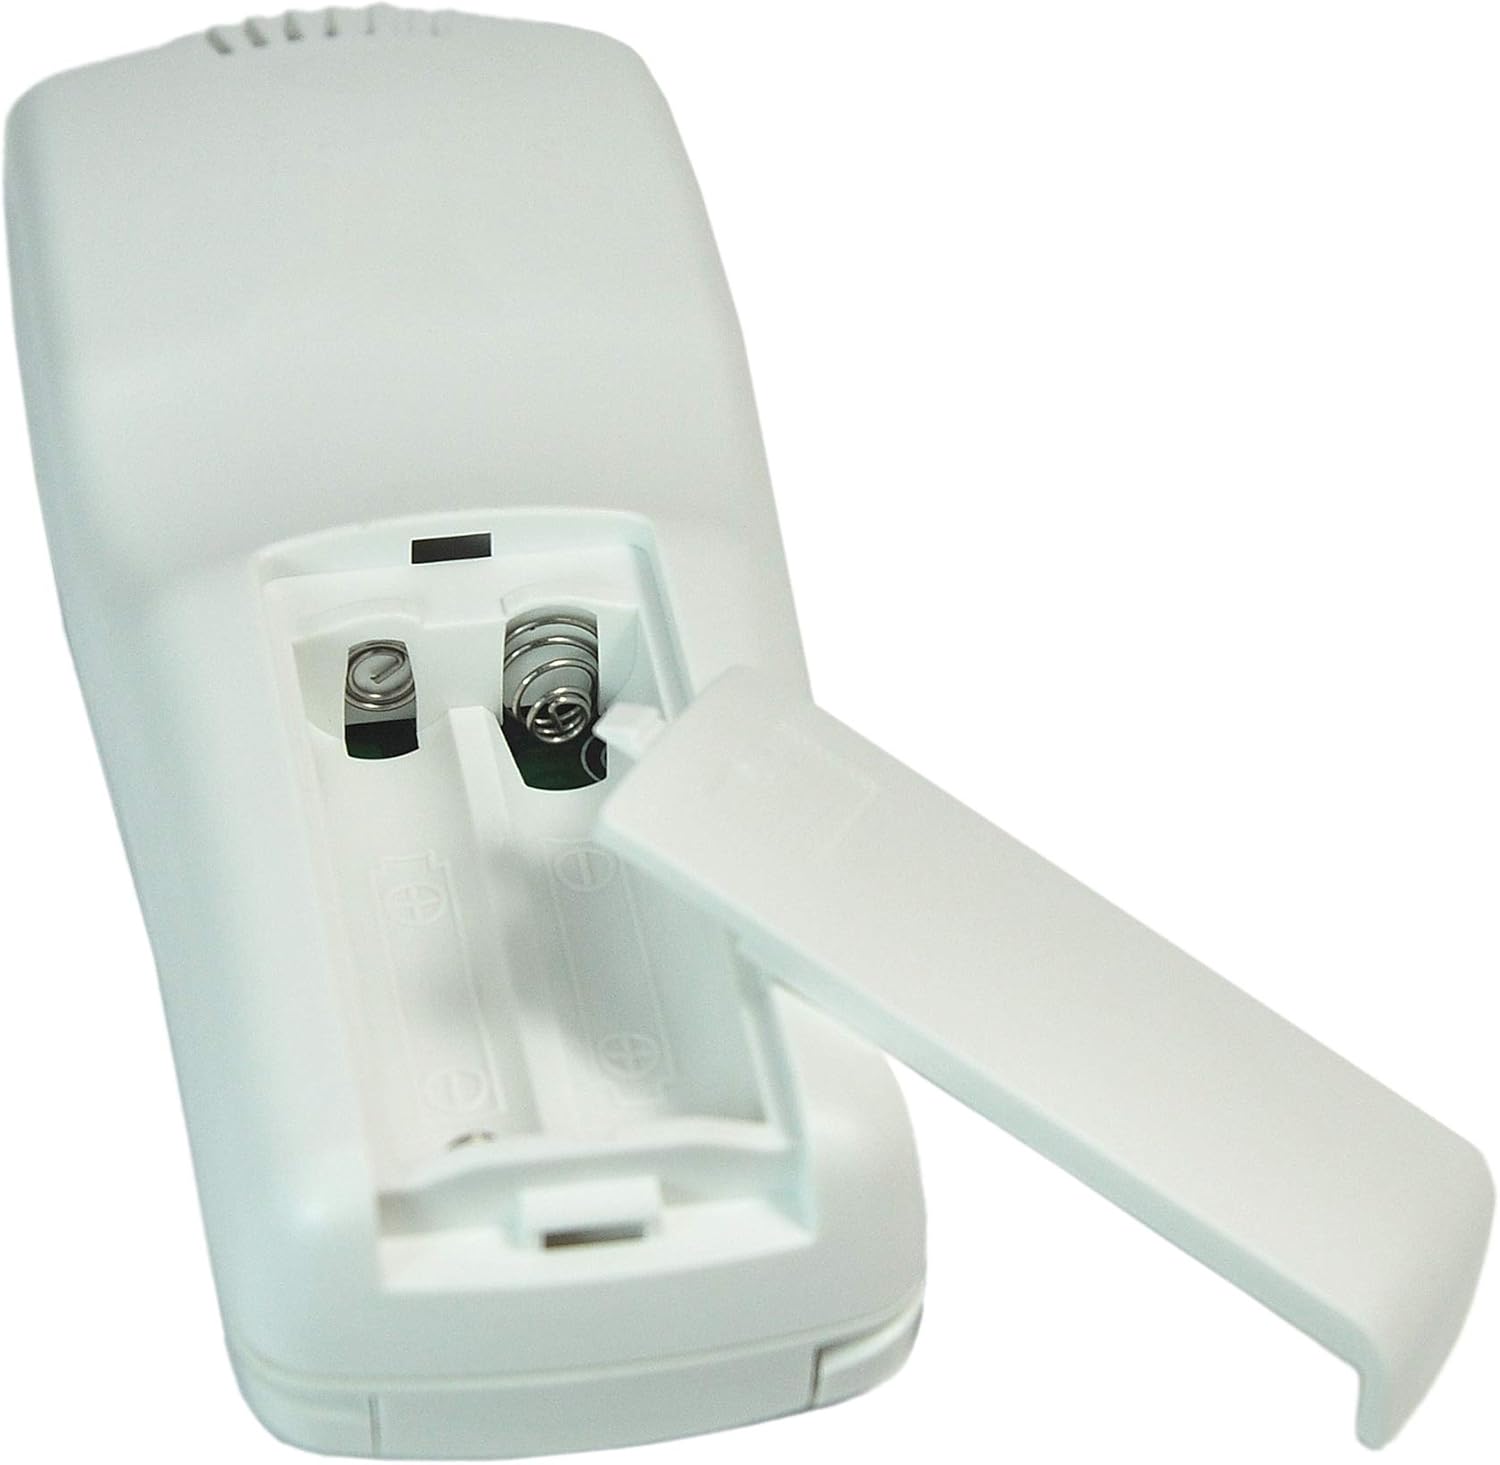
Figure 3.1: Image showing the open battery compartment of the remote transmitter, indicating where to insert AAA batteries.

Figure 3.2: Image displaying the receiver box with its battery compartment open, showing the slots for AA batteries. Dimensions are also visible.
3.2. Receiver Placement and Wiring
The receiver unit should be placed in a location where temperatures do not exceed 130°F (54°C). It is designed to connect to your gas fireplace's millivolt valve or electric spark ignition module.
Important Note: This device is not a power supply/ignitor unit. It does not provide voltage output itself but passes voltage from your fireplace thermopile for safety reasons. If using it as a switch, connect it with a power source or circuit in series.
- Locate the existing wall switch or thermostat wires connected to your fireplace's gas valve or ignition module.
- Disconnect the existing wires from the fireplace's control terminals (typically labeled TH/TP or similar).
- Connect the two 18-inch wires from the Durablow receiver to these same terminals. The connection is non-polar, so either wire can connect to either terminal.
- Ensure all connections are secure.
- Mount the receiver box using the provided wall mount cover plate and screws, if desired. The receiver box dimensions are approximately 2.6" x 2.4" x 1.54".

Figure 3.3: Image showing the receiver box with its wires connected, ready for installation into the fireplace system.

Figure 3.4: Detailed wiring diagrams illustrating connections for both Millivolt gas valves and Electronic Ignition Modules. Please refer to your fireplace's manual for specific terminal locations.
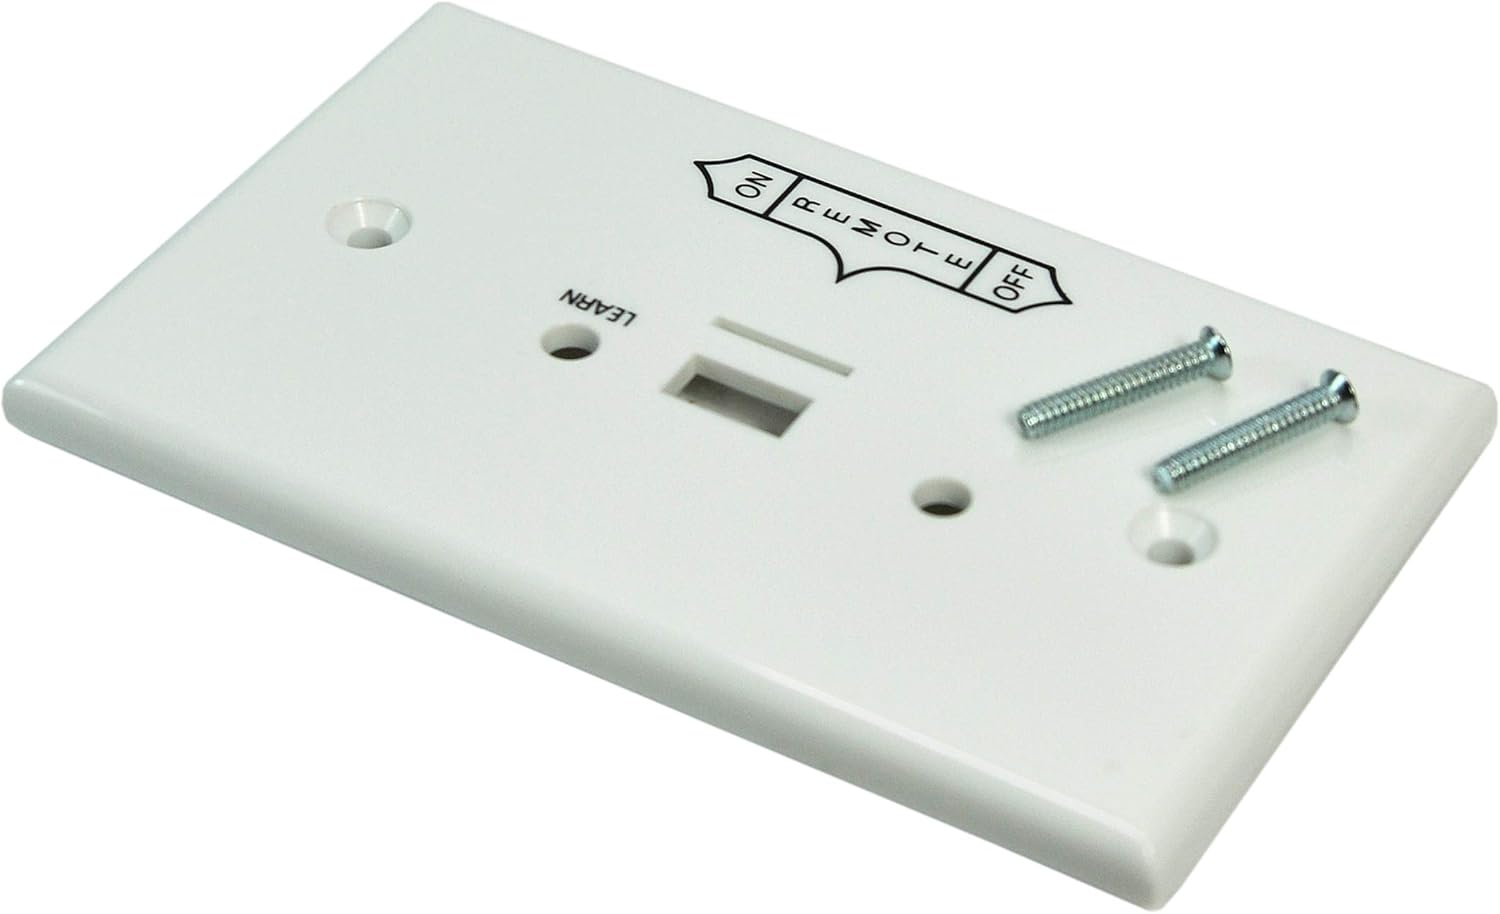
Figure 3.5: The white wall mount cover plate provided for a neat installation of the receiver box.
3.3. Pairing the Transmitter and Receiver
The transmitter and receiver are typically pre-paired from the factory. If re-pairing is necessary or if you are setting up for the first time, follow these steps:
- Ensure batteries are correctly installed in both the transmitter and receiver.
- On the receiver unit, locate the "LEARN" button (often a small black button near the slide switch).
- Press and hold the "LEARN" button on the receiver until you hear a beep or see an indicator light flash (refer to receiver for specific indicator).
- Within 10 seconds, press any button on the remote transmitter.
- The receiver will emit a series of beeps or the indicator light will change, confirming successful pairing.
4. Operating Instructions
The Durablow TR1004 remote control offers multiple operating modes for your convenience.

Figure 4.1: Detailed view of the remote control's backlit LCD screen and control buttons, including MODE, ON/OFF, OK, and temperature adjustment buttons.
4.1. Basic On/Off Operation
- Press the MODE ON/OFF button once to turn the fireplace ON.
- Press the MODE ON/OFF button again to turn the fireplace OFF.
4.2. Thermostat Mode
In Thermostat mode, the fireplace will automatically turn ON or OFF to maintain a set room temperature. The controllable temperature range is from 45℉ (7℃) to 99℉ (37℃).
- Press the MODE ON/OFF button repeatedly until "THERMO" appears on the LCD screen.
- Use the + or - buttons to adjust the desired set temperature.
- The fireplace will activate when the room temperature falls below the set temperature (with a swing of 1°F, 2°F, or 3°F, depending on settings) and deactivate when it reaches or exceeds the set temperature.
4.3. Timer Mode
The timer function allows you to set a duration for the fireplace to operate, ranging from 15 minutes to 9 hours.
- Press the MODE ON/OFF button repeatedly until "TIMER" appears on the LCD screen.
- Use the + or - buttons to set the desired operating time.
- Press OK to confirm the timer setting. The fireplace will turn off automatically after the set time expires.
4.4. Childproof Safety Lock
To prevent unintended operation, the remote transmitter features a childproof safety lock.
- To activate the lock: Press and hold the + and - buttons simultaneously for a few seconds until a lock icon appears on the screen.
- To deactivate the lock: Press and hold the + and - buttons simultaneously again until the lock icon disappears.
5. Maintenance
- Battery Replacement: Replace batteries in both the transmitter and receiver when the low battery indicator appears on the transmitter's LCD screen or when the remote control range decreases significantly.
- Cleaning: Clean the remote transmitter and receiver with a soft, dry cloth. Do not use abrasive cleaners or solvents.
- Receiver Placement: Periodically check that the receiver unit remains in a location where it is not exposed to excessive heat (above 130°F / 54°C) to ensure longevity.
- Wire Connections: Ensure all wire connections to the fireplace valve remain secure and free from corrosion.
6. Troubleshooting
If you experience issues with your Durablow TR1004 remote control kit, please refer to the following common problems and solutions:
| Problem | Possible Cause | Solution |
|---|---|---|
| Fireplace does not turn ON/OFF via remote. |
|
|
| Remote LCD screen is blank or dim. | Low or dead AAA batteries in transmitter. | Replace AAA batteries in the transmitter. |
| Thermostat mode not maintaining temperature. | Incorrect temperature swing setting or placement. | Adjust temperature swing settings on the transmitter. Ensure transmitter is not in a drafty area or near a heat source. |
| Timer function not working. | Timer not set correctly or not activated. | Ensure "TIMER" mode is selected and a duration is set and confirmed. |
For more detailed troubleshooting, please refer to the official Troubleshooting Guide (PDF).
7. Specifications
| Feature | Detail |
|---|---|
| Brand | Durablow |
| Model Name | TR1004 |
| Product Dimensions | 1.54"D x 2.4"W x 2.6"H |
| Controller Type | RF Transmitter Handset |
| Special Feature | Thermostat, Backlit LCD Screen |
| Color | White |
| Specific Uses For Product | Gas Fireplace Remote Control |
| Temperature Control Type | Heating |
| Connectivity Technology | RF |
| Included Components | Remote transmitter, receiver box, wall mount cover plate, screws, slide switch, wires with connectors, and manuals |
| Power Source | Battery Powered |
| Voltage | 1.5V (for transmitter) |
| Material | RF Wireless |
| Shape | Rectangular |
| Display Type | LCD |
| Finish Type | Powder Coated |
| Control Type | Slide Switch |
| Control Method | Remote |
| Connectivity Protocol | RF |
| Mounting Type | Wall Mount |
| Style | Modern |
| Backlight | Yes |
| Item Weight | 8.8 ounces |
8. Warranty Information
Durablow products are manufactured with high-quality standards. For specific warranty details regarding your TR1004 remote control kit, please refer to the documentation included in your product packaging or contact Durablow customer support.
9. Customer Support
For further assistance, technical support, or inquiries about your Durablow TR1004 remote control kit, please visit the official Durablow store or contact their customer service team:
- Online Store: Durablow Amazon Store
- Troubleshooting Guide: Download PDF
Legal Disclaimer: The brand name and model number (if provided) are included solely for cross-reference purposes. All brands, trademarks, and model numbers remain the property of their respective owners.
Related documentsTR1004


Ask a question about this manual
Ask about setup, troubleshooting, compatibility, parts, safety, or missing instructions. Manuals+ will review the question and use this page’s manual context to help answer it.