
1. Introduction
This manual provides detailed instructions for the installation, operation, and maintenance of your Estink Universal Car Alarm Security System, Model Yosoougern6zpm5. This system is designed to enhance your vehicle's security with multi-level protection and convenient features like keyless entry. Please read this manual thoroughly before installation and use to ensure proper functionality and safety.
2. Package Contents
Carefully unpack the box and verify that all the following components are included:
- Main Control Unit
- 2 Remote Controls
- Siren
- Wiring Harness
- Shock Sensor
- LED Connection Wire
- Relay

Image: All components included in the Estink Car Alarm Security System package, laid out on a white surface. This includes the main control unit, two remote controls, a siren, various wiring harnesses, a shock sensor, and a relay.
3. Safety Information
- This system is designed for DC 12V vehicles only. Do not attempt to install it in vehicles with different electrical systems.
- Professional installation is highly recommended to ensure correct wiring and optimal performance, preventing potential damage to the vehicle's electrical system or the alarm unit.
- Disconnect the vehicle's battery before beginning any installation work to prevent electrical shorts or injury.
- Ensure all wiring connections are secure and properly insulated to avoid short circuits and fire hazards.
- Mount the siren in a location where it is protected from water and excessive heat.
- Keep remote controls away from children.
4. Installation Guide
While this system is designed for straightforward installation, professional assistance is strongly advised due to the complexity of vehicle electrical systems. The following steps provide a general overview.
4.1 Main Control Unit Placement
Mount the main control unit securely inside the vehicle's cabin, preferably under the dashboard or in a hidden location, away from direct moisture and extreme temperatures. Ensure it is accessible for wiring connections.

Image: A close-up view of the main control unit, highlighting its various wiring ports and compact design, suitable for discreet installation.
4.2 Siren Installation
Install the siren in the engine bay, facing downwards to prevent water accumulation. Choose a location that is difficult to access from outside the vehicle but allows the sound to propagate effectively.

Image: A collection of key components including the siren, main control unit, a relay, and two remote controls, illustrating the primary parts of the alarm system.
4.3 Wiring Connections
Connect the wiring harness to the main control unit. Refer to the wiring diagram provided with your product for specific connections to your vehicle's electrical system (e.g., power, ground, ignition, door triggers, trunk trigger, turn signals, central locking). The shock sensor and LED indicator should also be connected as per the diagram.

Image: The various colored wires of the wiring harness, along with the shock sensor and other small connectors, essential for integrating the alarm system into the vehicle's electrical network.
4.4 Shock Sensor Adjustment
Mount the shock sensor securely and adjust its sensitivity. Start with a lower sensitivity setting and gradually increase it until it responds appropriately to impacts without false alarms.
5. Operating Instructions
Your Estink Car Alarm Security System offers multiple functions controlled by the remote controls.
5.1 Arming the System
Press the Lock button on the remote control once. The vehicle's lights will flash, and the siren will chirp once, indicating the system is armed. The doors will lock, and the LED indicator will begin to flash.
5.2 Disarming the System
Press the Unlock button on the remote control once. The vehicle's lights will flash twice, and the siren will chirp twice, indicating the system is disarmed. The doors will unlock, and the LED indicator will turn off.
5.3 Keyless Entry
The system supports keyless entry. When you approach your vehicle with the remote control, the system can automatically unlock the doors (if configured for passive keyless entry) or you can use the Unlock button.

Image: A hand holding one of the remote controls, with a car in the background, illustrating the keyless entry function of the alarm system.

Image: A diagram illustrating the concept of passive keyless entry, showing a person approaching and walking away from a car, with blue circles indicating the maximum remote distance for automatic locking and unlocking.
5.4 Remote Trunk Release
If your vehicle is equipped with a remote trunk release motor, press and hold the Trunk Release button (often indicated by an open trunk icon) on the remote control for a few seconds to open the trunk.
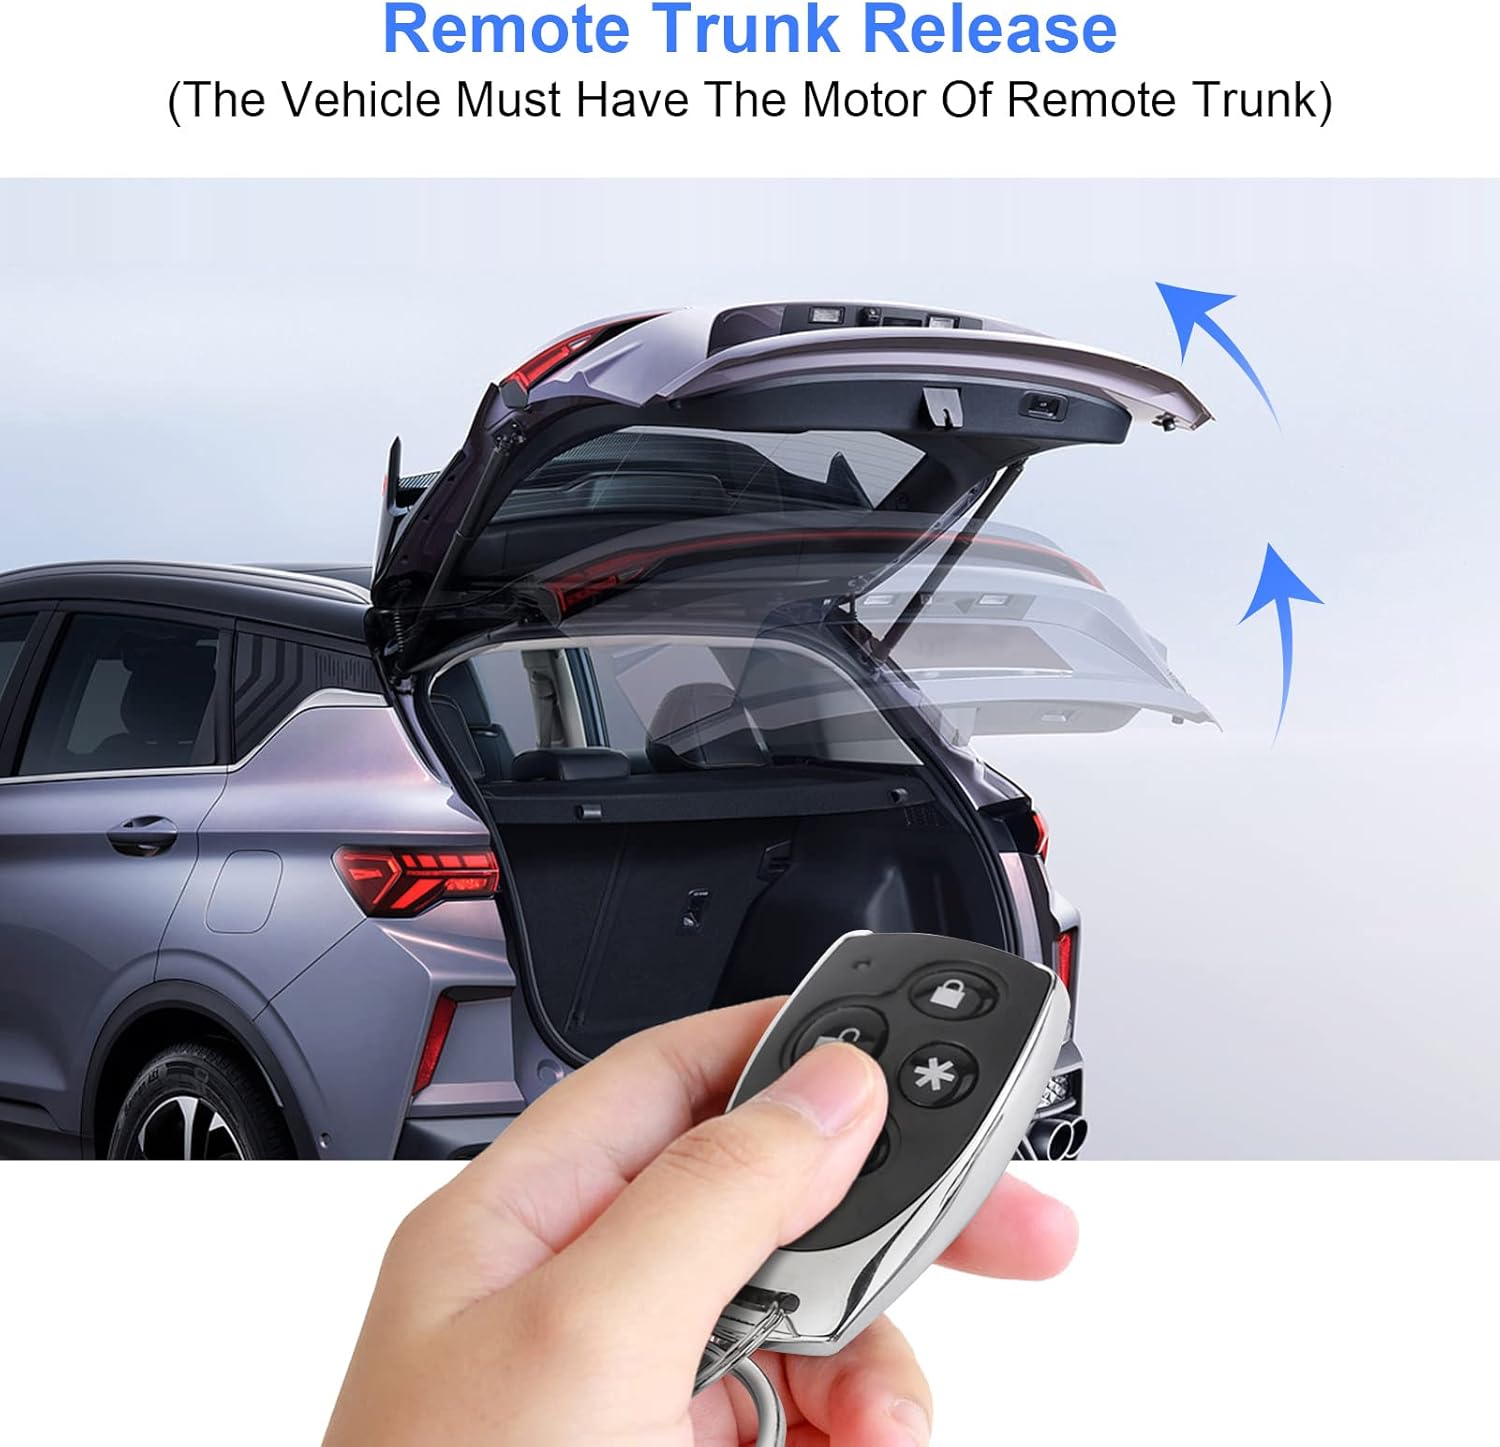
Image: A hand holding a remote control with a trunk release button, demonstrating the remote opening of a car's rear hatch.
5.5 Panic/Car Locator Function
Press the Panic button (often indicated by a bell or siren icon) on the remote control to activate the siren and flash the lights, helping you locate your vehicle or deter potential threats.

Image: An illustration depicting a person attempting to break into a car with a tool, accompanied by a siren alarm icon, symbolizing the anti-theft device in action.
5.6 LED Indication
The LED indicator provides visual feedback on the system's status. It flashes when the system is armed and turns off when disarmed.
6. Maintenance
- Remote Control Batteries: Replace remote control batteries when the range decreases or the LED indicator on the remote dims. Refer to the remote control's specific instructions for battery type and replacement.
- System Check: Periodically test the alarm system's functions (arming, disarming, shock sensor) to ensure it is operating correctly.
- Cleaning: Keep the main control unit and sensors free from dust and debris. Do not use harsh chemicals for cleaning.
7. Troubleshooting
If you encounter issues with your Estink Car Alarm Security System, refer to the following table for common problems and solutions.
| Problem | Possible Cause | Solution |
|---|---|---|
| System does not arm/disarm with remote. | Dead remote battery, remote out of range, interference, system not receiving signal. | Replace remote battery. Ensure you are within range. Check for obstructions. Re-program remote if necessary (refer to specific programming instructions). |
| Alarm triggers frequently without apparent cause (false alarms). | Shock sensor sensitivity too high, faulty sensor, loose wiring. | Adjust shock sensor sensitivity to a lower setting. Check all wiring connections for security. Inspect sensor for damage. |
| Siren does not sound. | Siren disconnected, faulty siren, wiring issue. | Check siren connection to the main unit. Verify siren is not damaged. Inspect wiring for breaks or shorts. |
| Doors do not lock/unlock. | Central locking wiring issue, faulty relay, vehicle's central locking system problem. | Verify central locking connections. Check the relay. Consult a professional if the vehicle's central locking system is suspected. |
| LED indicator not working. | LED disconnected, faulty LED, wiring issue. | Check LED connection. Inspect LED for damage. Verify wiring. |
If the problem persists after attempting these solutions, please contact customer support or a qualified automotive technician.
8. Specifications
| Feature | Detail |
|---|---|
| Model Number | Yosoougern6zpm5 |
| Brand | Estink |
| Compatible Devices | DC 12V Cars |
| Wireless Remote | Yes |
| Item Weight | 1.19 pounds |
| UPC | 765613631590 |
9. Warranty Information
This Estink Car Alarm Security System is covered by a 2-Year Manufacturer Warranty from the date of purchase. This warranty covers defects in materials and workmanship under normal use. It does not cover damage caused by improper installation, misuse, accidents, unauthorized modifications, or normal wear and tear. Please retain your proof of purchase for warranty claims.
10. Customer Support
For further assistance, technical support, or warranty inquiries, please contact Estink customer service through the retailer where the product was purchased or visit the official Estink website for contact information.
