
1. Introduction
Welcome to the world of aerial fun with your new HASAKEE Q9s Drone! This user manual provides essential information for operating and maintaining your drone safely and effectively. Designed with beginners and kids in mind, the Q9s drone features vibrant LED lights, easy-to-use controls, and durable construction for countless hours of enjoyment. Please read this manual thoroughly before your first flight.
2. Package Contents
Before you begin, please verify that all items listed below are included in your package:
- HASAKEE Q9s Drone
- Remote Control
- 500mAh UL-certified Batteries (x2)
- USB Charging Cable
- Spare Propellers (set)
- User Manual
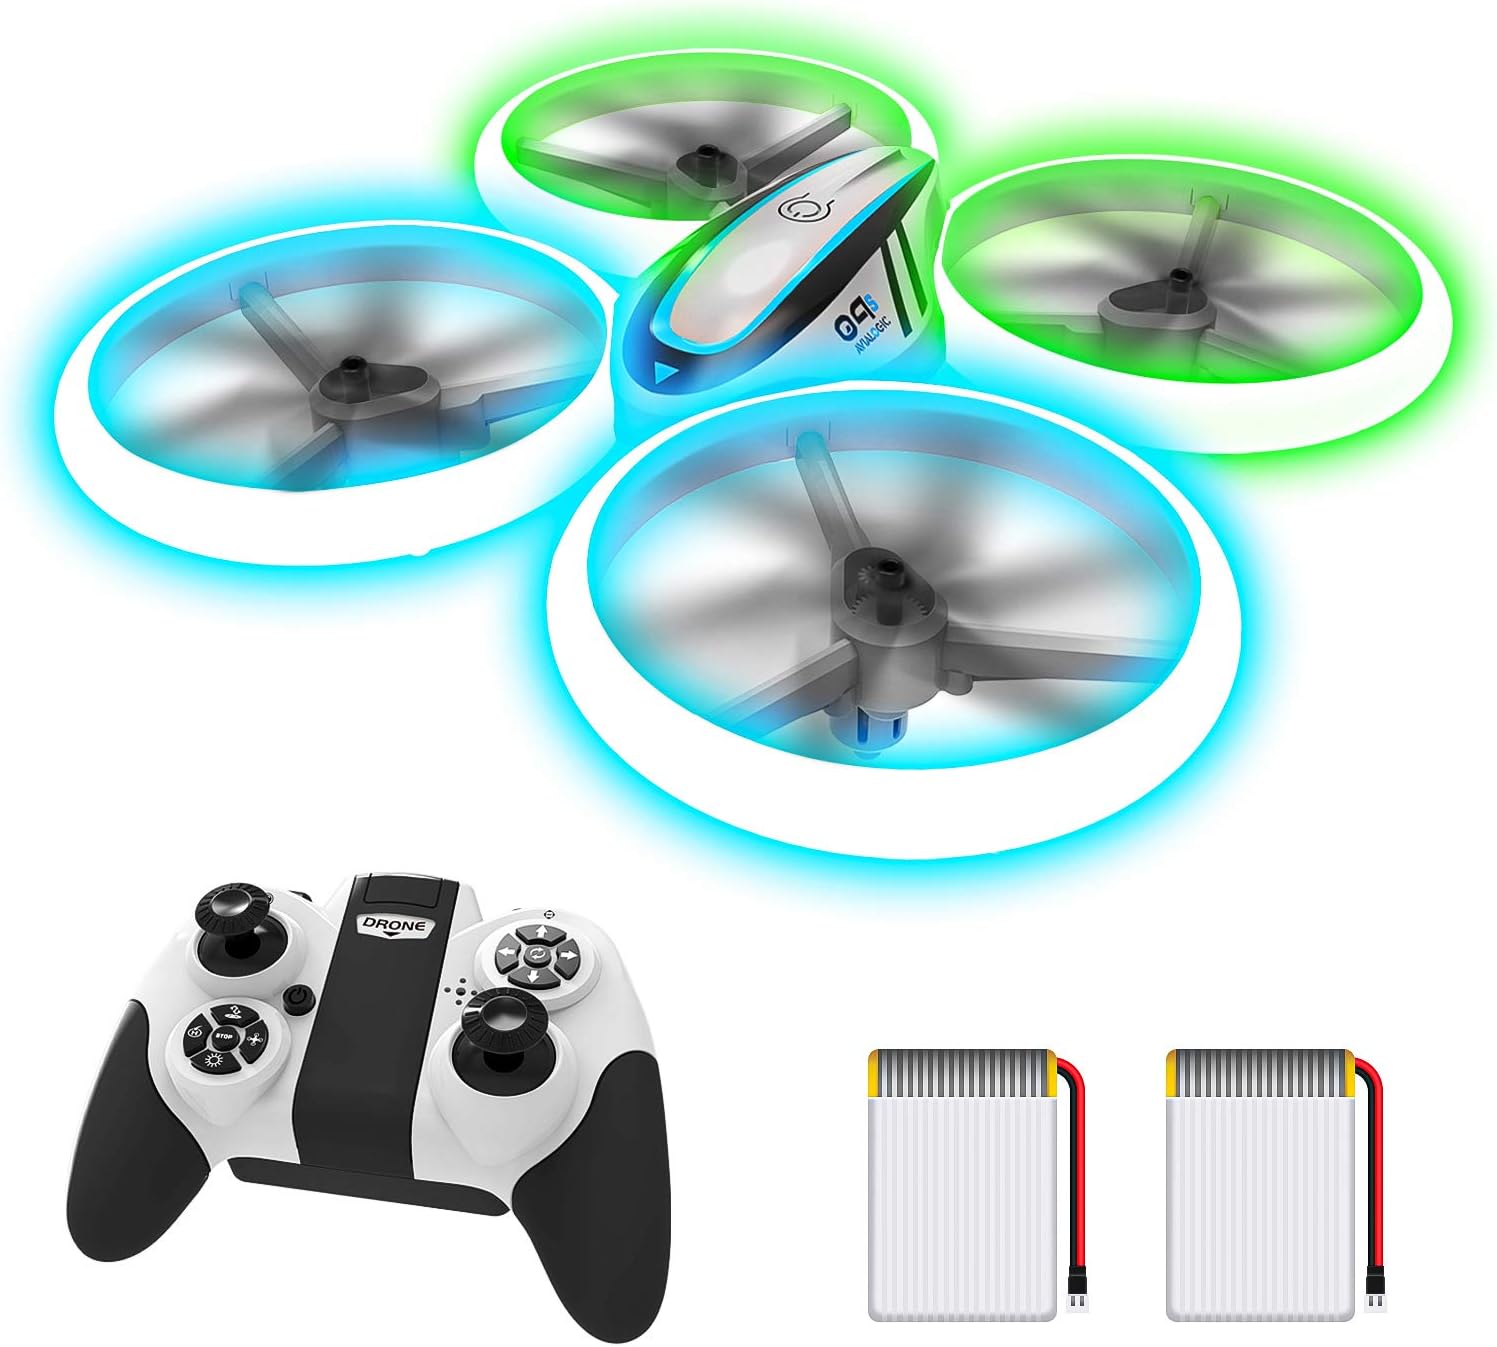
Image: The HASAKEE Q9s drone, its remote control, and two included batteries.
3. Product Overview
The HASAKEE Q9s drone is designed for ease of use and durability, making it an excellent choice for young pilots and beginners. Key features include:
- Vibrant LED Lights: Bright neon green and blue LEDs illuminate the drone's frame, offering a spectacular visual experience, especially in low light.
- Durable Design: Equipped with four sturdy propeller guards and made from high-quality ABS material, the drone is built to withstand impacts and drops.
- Altitude Hold: This feature allows the drone to automatically maintain a stable altitude, simplifying flight control.
- Headless Mode: Eliminates the need to adjust the drone's position before flight, as the forward direction is always the direction the pilot is facing.
- 360-Degree Flips & Auto-Rotation: Perform exciting aerial stunts with ease.
- Multiple Speed Modes: Three adjustable speed settings cater to different skill levels, from beginner to advanced.

Image: The drone's three distinct LED lighting modes: single circle, two circles, and all four circles illuminated simultaneously.

Image: Illustrations demonstrating the drone's ability to perform 3D flips and auto-rotation maneuvers.
4. Setup
4.1 Charging the Drone Batteries
- Connect the USB charging cable to the drone battery.
- Plug the USB end into a USB power adapter (not included) or a computer USB port.
- The indicator light on the USB cable will show charging status (refer to cable instructions for specific light behavior).
- Charging typically takes approximately 60-80 minutes. Disconnect once fully charged.
Each battery provides approximately 7-10 minutes of flight time, depending on usage. Two batteries are included for extended play.

Image: The HASAKEE Q9s drone shown alongside its two rechargeable batteries, highlighting the benefit of extended flight time.
4.2 Installing Remote Control Batteries
The remote control requires 3 x AAA batteries (not included).
- Open the battery compartment on the back of the remote control.
- Insert 3 AAA batteries, ensuring correct polarity (+/-).
- Close the battery compartment securely.
4.3 Pairing the Drone and Remote
Follow these steps to pair your drone with the remote control:
- Place the drone on a flat, level surface.
- Turn on the drone by pressing the power button. The drone's lights will flash.
- Turn on the remote control.
- Push the left joystick (throttle) all the way up, then all the way down. You will hear a beep, and the drone's lights will become solid, indicating successful pairing.
- The drone is now ready for flight.
5. Operating Instructions
5.1 Basic Flight Controls
- Left Joystick (Throttle): Push up to ascend, pull down to descend.
- Left Joystick (Yaw): Push left to rotate counter-clockwise, push right to rotate clockwise.
- Right Joystick (Direction): Push up to fly forward, pull down to fly backward. Push left to fly left, push right to fly right.
5.2 One-Key Take-off / Landing
Press the One-Key Take-off/Landing button (usually marked with an arrow pointing up and down) to automatically launch the drone to a stable hovering height or to land it gently.
5.3 Speed Modes
The drone offers three speed settings (low, medium, high) to accommodate different flying environments and skill levels. Press the speed button on the remote to cycle through the modes. A beep will indicate the current speed setting (e.g., one beep for low, two for medium, three for high).
5.4 Headless Mode
Activate Headless Mode by pressing the dedicated button. In this mode, the drone's orientation becomes irrelevant; it will always move relative to the pilot's position. This simplifies control, especially for beginners.
5.5 Altitude Hold
The drone automatically maintains its current altitude when the left joystick is released, allowing for stable hovering and easier control.
5.6 360-Degree Flips and Auto-Rotation
To perform a 360-degree flip, press the flip button and then push the right joystick in the desired direction (forward, backward, left, or right). The drone will execute a flip. For auto-rotation, press the auto-rotation button (if available) to make the drone spin in place.

Image: Two children enjoying the HASAKEE Q9s drone, demonstrating its ease of use for young pilots.
6. Maintenance
6.1 Cleaning
Gently wipe the drone and remote control with a clean, dry cloth. Do not use harsh chemicals or immerse in water.
6.2 Propeller Care
Regularly check propellers for damage or debris. Replace any bent or broken propellers using the spare set provided. Ensure propeller guards are securely attached.
6.3 Storage
When not in use, store the drone and remote control in a cool, dry place, away from direct sunlight. Remove batteries from the remote control if storing for extended periods.
7. Troubleshooting
| Problem | Possible Cause | Solution |
|---|---|---|
| Drone does not respond to remote. | Not paired; low battery (drone or remote); out of range. | Re-pair drone and remote (Section 4.3). Charge drone battery. Replace remote batteries. Fly within range (0.03 miles). |
| Drone flies erratically or drifts. | Not calibrated; damaged propeller; strong wind. | Perform gyroscope calibration (refer to remote instructions for specific button combination, usually holding both joysticks down and to the right/left). Check and replace damaged propellers. Fly in calm conditions. |
| Short flight time. | Battery not fully charged; old battery. | Ensure battery is fully charged before each flight. Consider replacing old batteries if performance degrades significantly. |
| One propeller constantly runs. | Motor issue; debris in motor; controller signal issue. | Turn off drone and remote, then re-pair. Check for any obstructions around the motor or propeller. If issue persists, contact customer support. |
8. Specifications
| Feature | Detail |
|---|---|
| Brand | HASAKEE |
| Model Name | Q9s |
| Color | Blue |
| Dimensions (L x W x H) | 6.9" x 6.9" x 2" |
| Battery Capacity | 500 Milliamp Hours (x2 included) |
| Flight Time | Approx. 7-10 minutes per battery |
| Maximum Range | Approx. 0.03 Miles (50 meters) |
| Skill Level | Beginner |
| Special Features | Bright LEDs (Green & Blue), Multiple Glow Modes, 360 Degree Flips, Auto Rotation, High/Medium/Low Speeds, Four Protective Guards, Altitude Hold, Headless Mode, One-Key Take-off/Landing |
9. Warranty and Support
The HASAKEE Q9s Drone comes with a manufacturer's warranty. For specific warranty details, claims, or technical support, please refer to the contact information provided on the product packaging or the retailer's website where the product was purchased. Please retain your proof of purchase for warranty purposes.
For further assistance, you may also visit the HASAKEE official website or contact their customer service department.

