Introduction
This manual provides comprehensive instructions for the safe and effective installation, operation, and maintenance of your EasyBaby Extra Wide Retractable Baby Gate. Please read all instructions carefully before installation and use. Retain this manual for future reference.
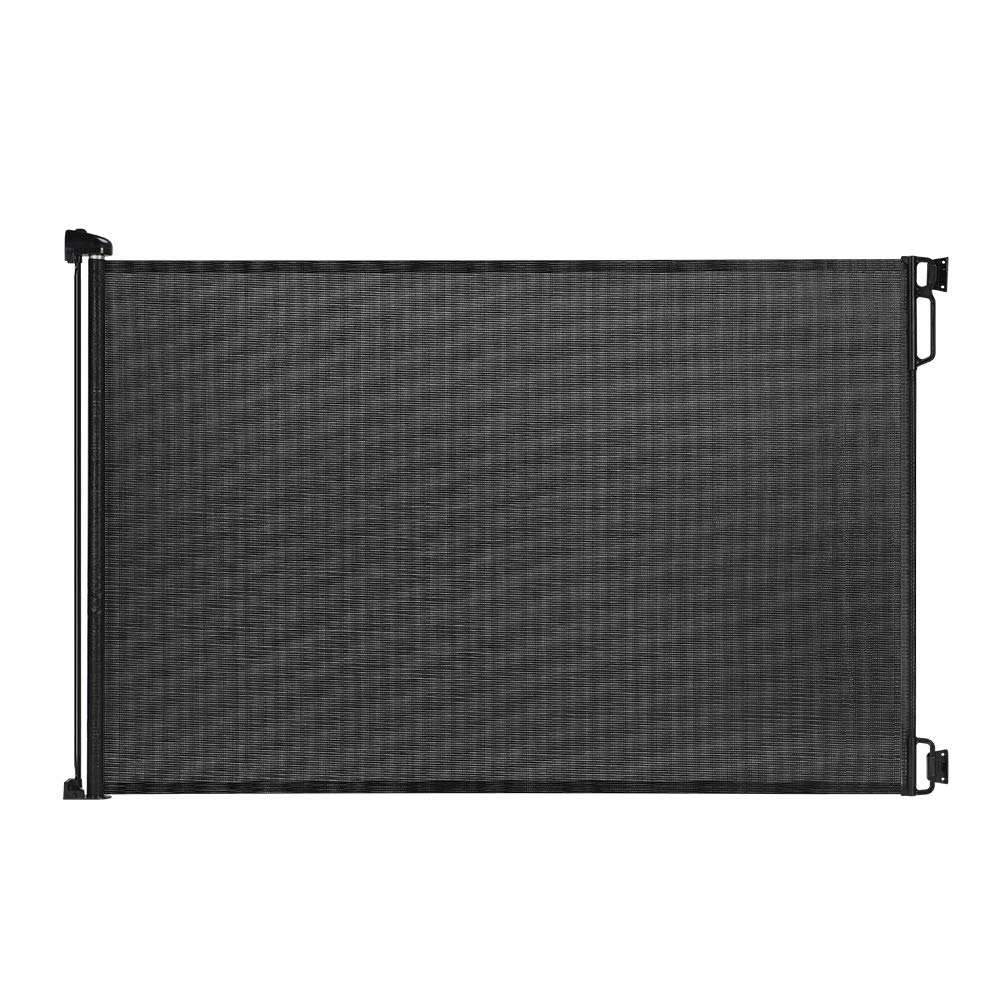
Figure 1: EasyBaby Extra Wide Retractable Baby Gate (Model E70113) in extended position.
Important Safety Information
- This gate is designed for use with children and pets.
- Always ensure the gate is securely latched and locked when in use.
- Regularly check all hardware and mounting points to ensure they are tight and secure.
- Do not use this gate if any components are missing or damaged.
- Never leave children unattended near the gate.
- This gate meets or exceeds both ASTM and EN safety standards.
- Install the gate between rigid surfaces such as plasterboard, timber, or hardwall.
Package Contents
Verify that all components are present before beginning installation:
- Retractable Gate Unit (1)
- Main Mounting Brackets (2 sets - 1 for gate unit, 1 spare)
- Catch Mounts (2 sets - 1 for latch, 1 spare)
- Wall Spacers
- Stainless Steel Screws
- Installation Guide Templates
- Instruction Manual (this document)
Specifications
| Brand | EasyBaby |
| Model Number | E70113 |
| Mounting Type | Hardware Mount |
| Dimensions | Extends up to 71" wide, 33" tall |
| Material | Alloy Steel |
| Color | Black |
| Item Weight | 3.95 pounds |
| Age Range | Baby |

Figure 2: Gate dimensions showing 33" height and 71" maximum width.
Setup and Installation
The EasyBaby Retractable Gate is a hardware-mounted gate. Proper installation is crucial for safety. Ensure you have a drill (2.5mm pilot hole for timber, 5mm for hardwall) and a screwdriver.
Installation Video Guide
Video 1: Detailed installation steps for the Pawtners Retractable Baby Gate, demonstrating bracket placement, drilling, and gate attachment.
Video 2: Installation guide for Retractable Baby Gates, showing the process of mounting the gate to a wall.
Step-by-Step Instructions:
- Prepare the Gate Unit: Install the two small brackets onto the gate unit. Peel off the adhesive paper from the back of these brackets.
- Select Installation Location: Choose a suitable location at the top or bottom of stairways, doorways, or hallways. Ensure the bottom of the main gate body is on the ground. If there is a baseboard, slide the lower bracket up to a suitable position to clear the baseboard.
- Mark Drill Holes (Gate Side): Place the gate unit against the wall in the desired position. Use the brackets as a template to mark the exact positions for drilling holes. Remove the gate unit.
- Drill Holes (Gate Side): Drill pilot holes according to the marks. Use a 2.5mm drill bit for timber surfaces and a 5mm drill bit for hardwall. Insert the expansion glues (anchors) into the drilled holes.
- Mount Gate Brackets: Securely screw the main mounting brackets to the wall using the provided screws.
- Install Gate Unit: Carefully slide the gate unit onto the mounted brackets. Ensure it clicks securely into place.
- Extend and Mark Latch Position: Press and turn the knob on the gate unit to the "Unlock" position. Pull the mesh fabric horizontally across the opening to the opposite door frame or wall. Hook the latch onto the wall.
- Mark Drill Holes (Latch Side): With the gate extended and vertical, use the latch as a template to mark the positions for drilling holes for the catch mounts. Remove the gate.
- Drill Holes (Latch Side): Drill pilot holes and insert expansion glues as done for the gate side.
- Mount Catch Mounts: Securely screw the catch mounts to the wall.
- Test Operation: Ensure the gate extends, latches, and retracts smoothly.

Figure 3: Close-up of the gate's locking mechanism.
Operating Instructions
To Open the Gate:
- Push and turn the knob on the gate unit clockwise to the "Unlock" position.
- Grasp the handle of the mesh fabric.
- Pull the mesh fabric horizontally across the opening.
- Hook the handle onto the catch mounts on the opposite side.
- Push and turn the knob counter-clockwise to the "Lock" position to secure the gate.

Figure 4: Baby safely contained by the extended gate.
To Retract the Gate:
- Push and turn the knob on the gate unit clockwise to the "Unlock" position.
- Unhook the handle from the catch mounts.
- Allow the mesh fabric to retract slowly and smoothly into the gate unit.
- Push and turn the knob counter-clockwise to the "Lock" position to prevent accidental extension.

Figure 5: Gate fully retracted, providing an open pathway.
Maintenance
- Cleaning: Wipe the mesh fabric and plastic components with a damp cloth and mild soap. Do not use abrasive cleaners.
- Inspection: Periodically inspect all parts for wear, damage, or loose connections. Tighten screws as needed.
- Relocation: The product includes an additional set of spare mounting brackets for convenient relocation of the gate to another area.
Troubleshooting
If you encounter any issues with your EasyBaby Retractable Baby Gate, please refer to the following:
- Gate not retracting/extending smoothly: Check for any obstructions in the mechanism or along the mesh path. Ensure the knob is fully in the "Unlock" position.
- Gate feels loose: Verify that all mounting screws are securely tightened. Re-check the installation of the brackets.
- Mesh sags: Ensure the gate is properly latched and the knob is in the "Lock" position.
For further assistance, please contact EasyBaby customer support.
Warranty and Support
For warranty information or customer support, please refer to the contact details provided on the product packaging or visit the official EasyBaby website. Keep your purchase receipt for warranty claims.
Manufacturer: EasyBaby

