
SCREENARAMA M6-P113DX
SCREENARAMA New Screen Replacement User Manual
Model: HP Envy M6-P113DX (HD 1366x768, Matte)
Product Overview
This manual provides essential information for the SCREENARAMA replacement LCD LED display designed for the HP Envy M6-P113DX laptop. This product is a high-definition (HD) 1366x768 resolution, matte finish screen, and includes necessary tools for installation.
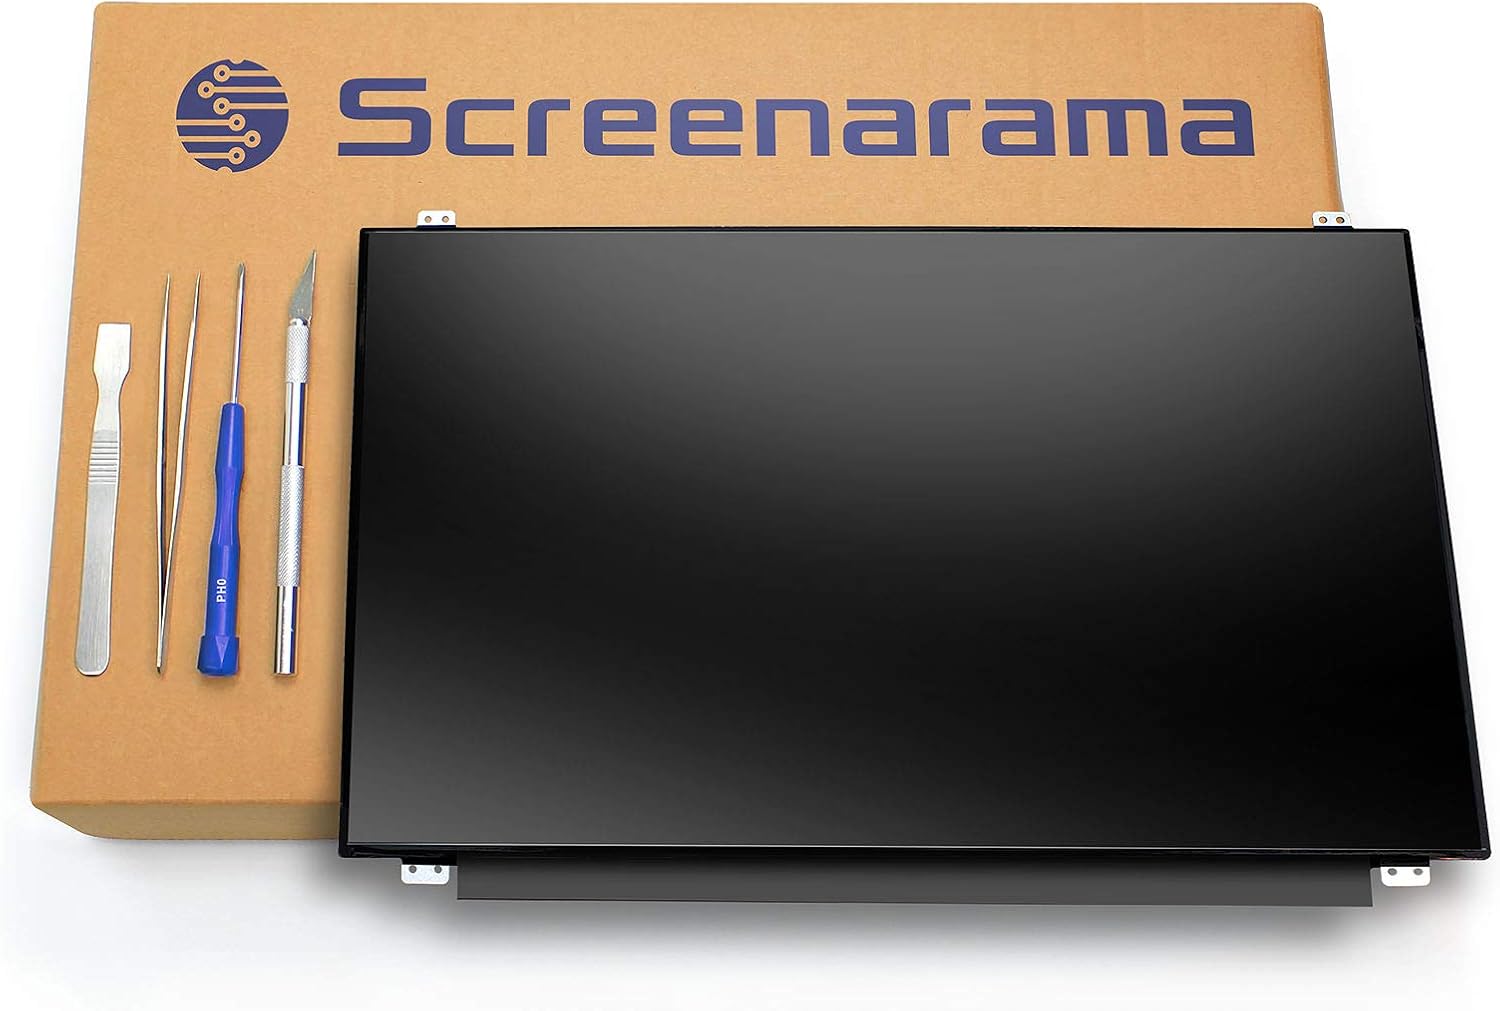
Image: The SCREENARAMA replacement screen shown with the included installation tools on a cardboard box.

Image: A visual representation indicating that this product is an LCD screen only and does not include touchscreen functionality. A crossed-out image of a touchscreen is shown below the LCD panel.
Compatibility and Important Notes
Before proceeding with installation, it is crucial to verify the compatibility of this replacement screen with your specific laptop model. Pay close attention to the screen resolution and the type of video connector.
- Resolution: This screen is designed for HD 1366x768 resolution. It is not compatible with higher resolutions such as 1600x900, 1920x1080, or 3840x2160. Ensure your original screen's resolution matches this specification.
- Connector: This screen features a 30-pin video connector. Verify that your original screen also uses a 30-pin connector. It is not compatible with 40-pin connectors.

Image: A diagram illustrating that the screen replacement is compatible only with 1366x768 resolution and not with higher resolutions like 1600x900, 1920x1080, or 3840x2160.

Image: The back view of a 15.6-inch HD screen, highlighting the location of the 30-pin video connector.

Image: A side-by-side comparison showing a 30-pin video connector (correct) and a 40-pin video connector (incorrect, marked with an 'X'), emphasizing the importance of matching the connector type.
Setup and Installation
Replacing a laptop screen requires careful handling and technical knowledge. If you are not comfortable performing this procedure, it is highly recommended to seek assistance from a qualified technician.
Tools Included
Your SCREENARAMA replacement screen comes with a set of tools to assist with the installation process.
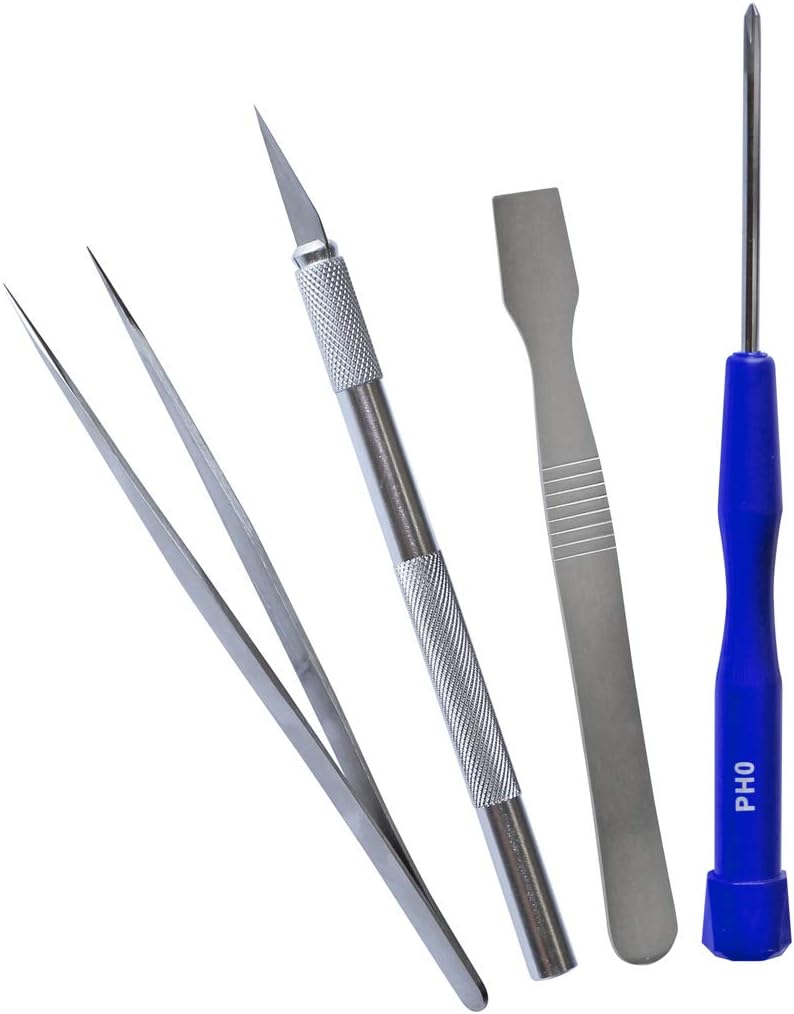
Image: The set of tools provided with the screen replacement, typically including a spudger, tweezers, a precision knife, and a screwdriver.
General Installation Guidance
While specific steps may vary by laptop model, the general process for replacing a laptop screen involves:
- Preparation: Power off your laptop completely and disconnect it from the power adapter. Remove the laptop battery.
- Disassembly: Carefully remove the screen bezel (plastic frame around the screen). This may involve removing rubber screw covers and screws.
- Old Screen Removal: Unscrew the old screen from its mounting brackets. Gently lay the screen face down on the keyboard to access the video cable connector on the back.
- Disconnect Cable: Carefully disconnect the video cable from the old screen. Be gentle to avoid damaging the connector or cable.
- New Screen Installation: Connect the video cable to the new SCREENARAMA replacement screen. Ensure the connection is secure.
- Reassembly: Mount the new screen into the brackets and secure it with screws. Reattach the screen bezel.
- Testing: Reinstall the battery and connect the power adapter. Power on the laptop to test the new screen before fully reassembling any remaining components.
Always refer to specific disassembly guides or videos for your exact laptop model for detailed instructions.
Maintenance
To ensure the longevity and optimal performance of your new screen, follow these maintenance guidelines:
- Cleaning: Use a soft, lint-free microfiber cloth specifically designed for electronics. Lightly dampen the cloth with water or a screen-cleaning solution (avoid harsh chemicals like ammonia or alcohol). Gently wipe the screen in one direction.
- Handling: Avoid touching the screen surface directly with your fingers. When closing the laptop, ensure no objects are left on the keyboard that could press against the screen.
- Protection: Consider using a screen protector if you frequently transport your laptop or work in environments where the screen might be exposed to scratches.
Troubleshooting
If you encounter issues after installing your new screen, consider the following troubleshooting steps:
- Laptop Operational Check: Connect an external monitor to your laptop to confirm that the laptop itself is still operational and outputting a display signal.
- Pin Count Verification: Double-check that the number of pins on the video connector of your original LCD and the new replacement screen are identical (e.g., both 30-pin).
- Blank Image: If the screen remains blank, carefully reconnect the video cable from both the screen side and the motherboard side. Ensure the connector is fully seated and not damaged. You may use tape to secure the connector if it feels loose.
- Persistent Issue: If the problem persists and is identical to the issue you had with the old LCD, the problem is likely not with the screen itself but in another part of the laptop (e.g., motherboard, video card).
- Dim Image: If the image on the new screen is dim, try connecting the old LCD (if it still displays anything). If both LCDs do not light up or are dim, check the backlight fuse, which is usually located near the video connector on the motherboard.
Specifications
| Feature | Specification |
|---|---|
| Brand | SCREENARAMA |
| Model Compatibility | HP Envy M6-P113DX |
| Screen Size | 15.6 inches |
| Resolution | HD 1366x768 |
| Surface Type | Matte |
| Connector Type | 30-pin |
| Display Technology | LCD LED |
| Touchscreen | No |
Warranty Information
This SCREENARAMA replacement screen comes with a 2-year warranty. This warranty covers manufacturing defects and ensures the screen is tested and guaranteed for compatibility. Please retain your proof of purchase for warranty claims.
Customer Support
For further assistance, technical support, or warranty inquiries, please contact SCREENARAMA customer service through the retailer's platform or the official SCREENARAMA website. When contacting support, please have your product model number (HP Envy M6-P113DX) and purchase details ready.
You can visit the SCREENARAMA store for more information: SCREENARAMA Store on Amazon
Ask a question about this manual
Ask about setup, troubleshooting, compatibility, parts, safety, or missing instructions. Manuals+ will review the question and use this page’s manual context to help answer it.