
1. Introduction
This manual provides detailed instructions for the proper installation, operation, maintenance, and troubleshooting of your Kimberly-Clark Professional Smoke Gray Soap Dispenser. Please read these instructions carefully before use to ensure optimal performance and longevity of the product.
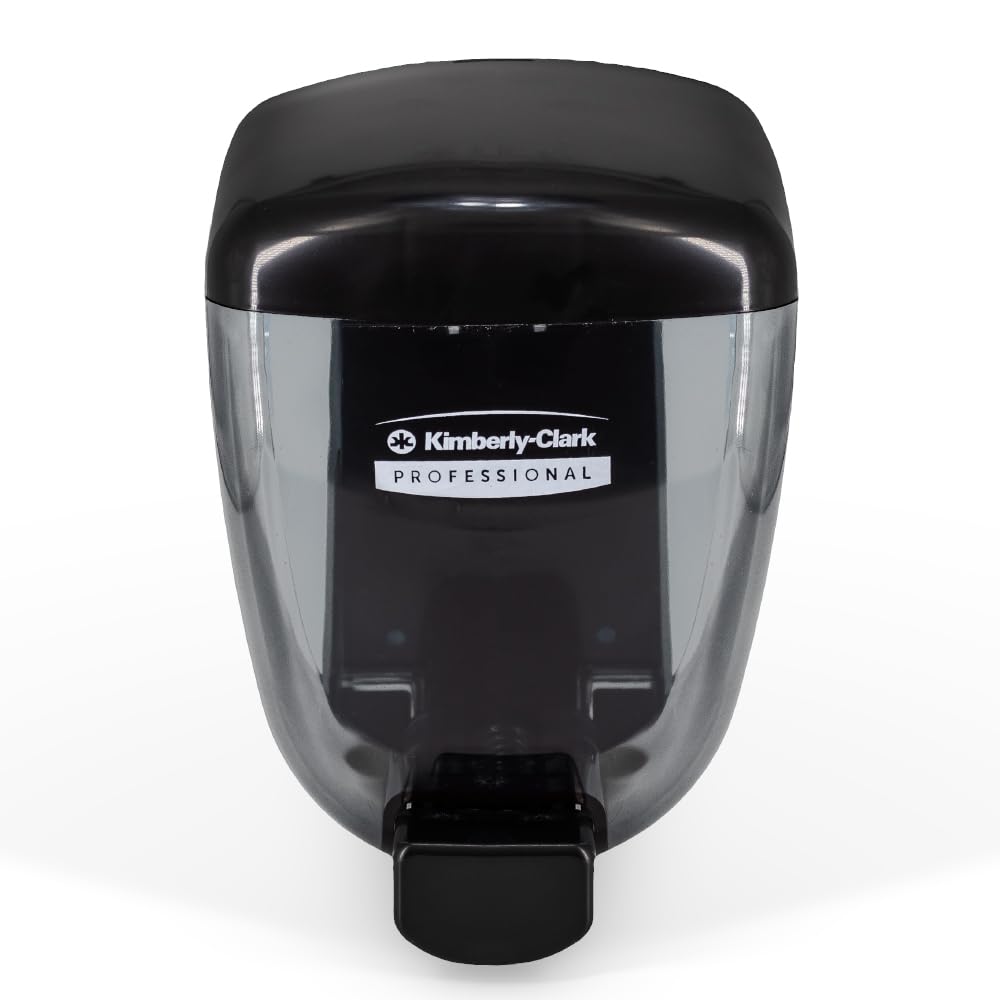
Figure 1.1: Front view of the Kimberly-Clark Professional Smoke Gray Soap Dispenser.
2. Setup and Installation
Proper installation is crucial for the dispenser's functionality and durability. It is recommended to mount the dispenser using screws for a secure attachment.
2.1 Unpacking and Components
Carefully remove the dispenser from its packaging. Verify that all components are present:
- Soap Dispenser Unit
- Mounting Hardware (screws, anchors)
- Key for opening the dispenser
Note: The key is often located inside the dispenser unit. To access it, you may need to gently pry open the top cover or locate a small release button/tab, typically on the side or bottom, to unlock the unit.

Figure 2.1: Close-up view of the dispenser's top and keyhole for opening.
2.2 Mounting Instructions
- Select Location: Choose a suitable wall location, ensuring it is at an appropriate height for users and away from direct water spray.
- Open Dispenser: Use the provided key to open the dispenser. Insert the key into the keyhole (refer to Figure 2.1) and turn it to release the front cover or top lid.
- Mark Drilling Points: Hold the back plate of the dispenser against the wall at the desired mounting height. Use a pencil to mark the positions for the mounting screws through the designated holes.
- Drill Holes: Using an appropriate drill bit for your wall type, drill pilot holes at the marked locations. Insert wall anchors if necessary.
- Mount Dispenser: Align the dispenser's back plate with the drilled holes. Insert the screws and tighten them securely. Ensure the dispenser is firmly attached to the wall and does not wobble.
- Close Dispenser: Close the front cover or top lid until it clicks into place, ensuring it is locked.

Figure 2.2: Side view, illustrating the dispenser's profile for mounting considerations.
3. Operating Instructions
3.1 Filling the Dispenser
- Unlock: Use the key to unlock and open the dispenser.
- Insert Soap Refill: Place the appropriate Kimberly-Clark Professional soap refill bag or cartridge into the dispenser. Ensure it is seated correctly.
- Prime (if necessary): For some soap types or new refills, you may need to press the dispensing lever a few times to prime the pump and allow the soap to flow.
- Close and Lock: Close the dispenser cover and ensure it is securely locked with the key.
3.2 Dispensing Soap
To dispense soap, simply place your hand under the nozzle and press the dispensing lever or button firmly. A measured amount of soap will be dispensed.

Figure 3.1: Front view of the dispenser, showing the dispensing lever.
4. Maintenance
Regular cleaning and maintenance will help keep your dispenser hygienic and functioning correctly.
4.1 Cleaning
- Exterior: Wipe the exterior of the dispenser with a soft, damp cloth and a mild, non-abrasive cleaner. Avoid harsh chemicals that may damage the finish.
- Nozzle: Periodically clean the dispensing nozzle to prevent soap buildup, which can lead to blockages or drips. Use a small brush or cloth to clear any residue.
- Interior: When changing soap refills, wipe down the interior of the dispenser to remove any spills or dust.
4.2 Refill Monitoring
Monitor the soap level through the translucent smoke gray casing. Refill the dispenser before it becomes completely empty to ensure continuous availability of soap.

Figure 4.1: The translucent casing allows for easy monitoring of soap levels.
5. Troubleshooting
Refer to the table below for common issues and their solutions.
| Problem | Possible Cause | Solution |
|---|---|---|
| Soap not dispensing | Empty soap refill, clogged nozzle, pump not primed, incorrect refill type. | Check soap level and replace if empty. Clean the nozzle. Press the lever several times to prime the pump. Ensure you are using the correct Kimberly-Clark Professional refill. |
| Dispenser is loose on wall | Mounting screws are loose or inadequate. | Tighten mounting screws. If using adhesive, consider re-mounting with screws and anchors for a more secure installation. |
| Dispenser cannot be opened | Key is missing or incorrect, mechanism jammed. | Ensure you are using the correct key. If the key is lost, contact Kimberly-Clark Professional support for assistance. Do not force open the dispenser. |
| Soap is leaking | Improperly seated soap refill, damaged refill, damaged pump mechanism. | Ensure the soap refill is correctly inserted and sealed. Replace the soap refill if it appears damaged. If leaking persists, the dispenser may require replacement. |
6. Specifications
- Brand: Kimberly-Clark
- Model: Professional Soap Dispenser
- ASIN: B07SVYMYCH
- Color: Smoke Gray (Humo)
- Shape: Rounded
- Quantity: 1 unit
- Mounting Type: Wall-mounted (screws recommended)
7. Warranty and Support
7.1 Return Policy
This product is eligible for a 30-day free return policy from the date of purchase. Please refer to your retailer's specific return guidelines for detailed instructions on initiating a return or exchange.
7.2 Customer Support
For further assistance, technical support, or inquiries regarding replacement parts, please contact Kimberly-Clark Professional customer service through their official website or the contact information provided by your retailer. When contacting support, please have your product model (B07SVYMYCH) and purchase details available.


