1. Safety Instructions
Please read these safety instructions carefully before installing or using your appliance. Keep this manual for future reference.
- Electrical Safety: Ensure the appliance is correctly earthed and connected to a suitable power supply. Installation must be performed by a qualified electrician. Do not use adapters or extension cords.
- Hot Surfaces: The oven and its accessible parts become very hot during use. Exercise caution to avoid burns. Keep children away from the appliance.
- Child Safety: This appliance is not intended for use by persons (including children) with reduced physical, sensory or mental capabilities, or lack of experience and knowledge, unless they have been given supervision or instruction. Children should be supervised to ensure they do not play with the appliance.
- Cleaning: Always disconnect the appliance from the power supply before cleaning. Do not use harsh abrasive cleaners or sharp metal scrapers to clean the oven door glass as they can scratch the surface, which may result in shattering of the glass.
- Ventilation: Ensure adequate ventilation around the appliance as specified in the installation instructions. Do not obstruct ventilation openings.
2. Product Overview
The Teka HLB 8400 P ST is a modern built-in electric oven designed for efficient and convenient cooking. It features a sleek dark grey finish, a large capacity oven cavity, and intuitive controls.
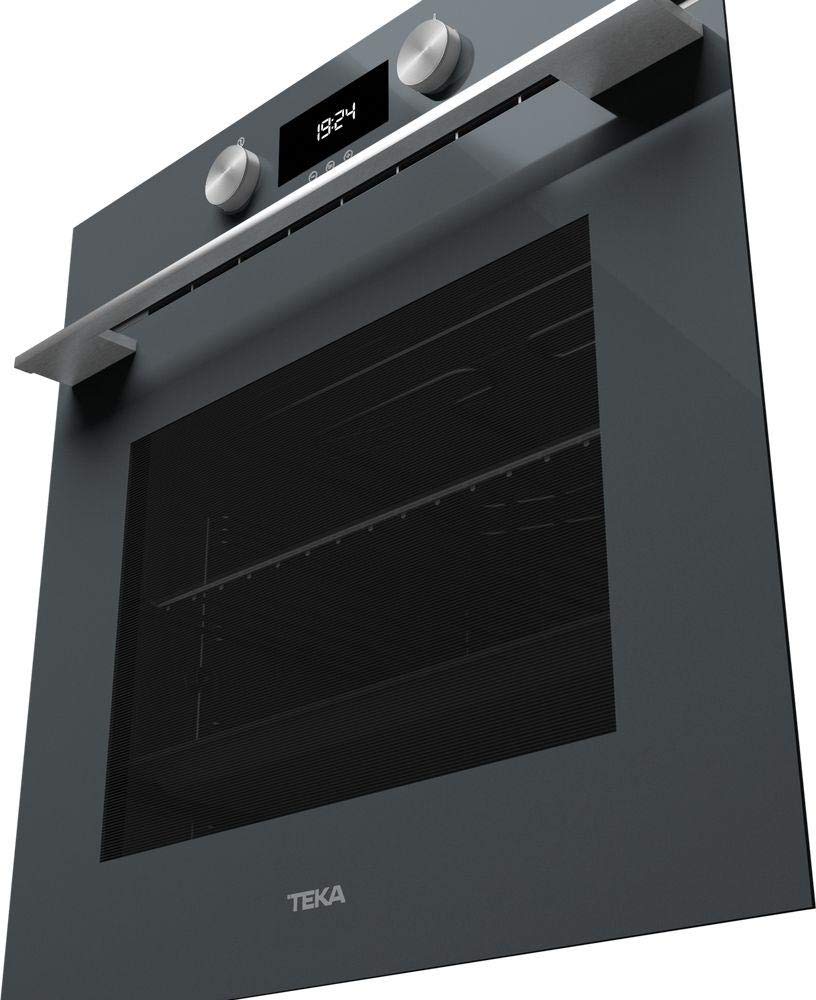
This image shows the Teka HLB 8400 P ST built-in electric oven from a slightly angled perspective. The oven features a dark grey finish, a large glass door, and a control panel with two rotary knobs and a digital display showing '19:24'. A metallic handle extends across the top of the oven door.
Control Panel
The control panel consists of two rotary knobs for function selection and temperature control, and a central digital display for time, temperature, and program indicators.
3. Installation
The oven comes with an assembly kit for installation. It is crucial that installation is carried out by a qualified professional in accordance with local regulations and the provided installation instructions.
- Unpacking: Carefully remove all packaging materials. Inspect the oven for any damage.
- Location: Install the oven in a suitable cabinet opening, ensuring adequate ventilation as per the installation diagram. Maintain specified clearances from walls and other appliances.
- Electrical Connection: Connect the oven to the mains power supply. Ensure the voltage and frequency match the appliance's rating plate. The electrical connection must be accessible after installation.
- Securing the Oven: Secure the oven to the cabinet using the screws provided in the assembly kit to prevent tipping.
4. Operating Instructions
4.1. First Use
- Before first use, clean the oven interior with a damp cloth.
- Heat the empty oven for approximately 30 minutes at maximum temperature (e.g., 250°C) using a conventional heating function to burn off any manufacturing residues. A slight odor may be present; ensure the room is well-ventilated.
4.2. Setting the Clock
Upon first connection to the power supply, the display will flash. Use the control knobs to set the current time. Refer to the detailed instructions in the full manual for specific button presses.
4.3. Basic Cooking Functions
To operate the oven:
- Turn the function selector knob to choose the desired cooking mode (e.g., Conventional Heat, Fan-Assisted, Grill).
- Turn the temperature control knob to set the desired temperature.
- The oven will begin to heat. The indicator light will turn off when the set temperature is reached.
4.4. Pyrolytic Cleaning Cycle
The oven features a pyrolytic self-cleaning function, which heats the oven to a very high temperature (approx. 450-500°C) to burn off food residues, turning them into ash. This ash can then be easily wiped away once the oven has cooled.
- Before starting a pyrolytic cycle, remove all accessories (racks, trays, side supports) from the oven cavity.
- Wipe away any large spills or loose debris.
- Close the oven door securely.
- Select the pyrolytic cleaning function on the control panel. The oven door will automatically lock during the cycle.
- Once the cycle is complete and the oven has cooled down, wipe away the ash with a damp cloth.
5. Maintenance and Cleaning
Regular cleaning and maintenance will ensure the longevity and optimal performance of your oven.
- General Cleaning: Clean the oven interior and exterior regularly with a soft cloth and mild detergent. Avoid abrasive cleaners.
- Oven Door: The oven door glass can be cleaned with a glass cleaner. For thorough cleaning, some oven doors can be disassembled; refer to the full manual for specific instructions.
- Light Bulb Replacement: If the oven light needs replacement, ensure the oven is disconnected from the power supply and has cooled down. Unscrew the protective cover, replace the bulb with a suitable high-temperature resistant bulb (e.g., 25W/300°C), and reattach the cover.
6. Troubleshooting
If you encounter issues with your oven, refer to the following common problems and solutions:
- Oven not heating: Check if the oven is properly plugged in and the circuit breaker has not tripped. Ensure a cooking function and temperature have been selected.
- Display not working: Check power supply. If the display is blank, there might be a power interruption. Reset the clock if necessary.
- Oven door not closing properly: Inspect the door hinges for any obstructions or damage. Ensure the door seal is clean and intact. If the door does not align, professional adjustment may be required.
- Excessive smoke during cooking: This can be caused by food spills or residues. Clean the oven thoroughly.
For persistent issues or complex repairs, contact an authorized service technician.
7. Specifications
| Feature | Specification |
|---|---|
| Brand | Teka |
| Model Number | 111000009 |
| Product Dimensions (W x D x H) | 59.5 x 53.7 x 59.5 cm |
| Weight | 34 Kilograms |
| Energy Efficiency Class | A+ |
| Heating Method | Convection |
| Fuel Type | Electric |
| Color | Dark Grey |
| Included Components | 1 x Built-in Electric Oven, Assembly Kit, User Manual |
8. Warranty and Support
Your Teka HLB 8400 P ST oven is covered by a manufacturer's warranty. Please refer to the warranty card included with your appliance for specific terms and conditions, including the warranty period and coverage details.
For technical assistance, spare parts, or to schedule a service appointment, please contact Teka customer support or an authorized service center in your region. Always provide the model number (111000009) and serial number of your appliance when seeking support.