1. Introduction
This manual provides detailed instructions for the safe and effective use of your RANZHIX Manual Hot Foil Stamping Machine. This versatile tool is designed for various applications including embossing, hot stamping, and marking on materials such as leather, wood, and certain food items. Please read this manual thoroughly before operation to ensure proper usage and to prevent damage to the machine or injury.

Image 1.1: The RANZHIX Manual Hot Foil Stamping Machine demonstrating various stamping applications on different materials.
2. Safety Information
Always observe the following safety precautions to reduce the risk of injury or damage:
- Ensure the machine is connected to a 220V power supply.
- Do not touch the heating element or stamp head during or immediately after operation, as it will be extremely hot. Use heat-resistant gloves if handling is necessary.
- Keep the machine away from flammable materials.
- Do not immerse the machine in water or any other liquid.
- Always unplug the machine when not in use or before cleaning.
- Keep out of reach of children.
- Use in a well-ventilated area.
3. Product Overview and Components
Familiarize yourself with the main components of your hot foil stamping machine.

Image 3.1: Side view of the hot foil stamping machine, showing the handle, heating element, and power cord.

Image 3.2: Top-down view of the machine, highlighting the ergonomic design.
Key Components:
- Heating Element: The part that heats up to transfer the design.
- Stamp Head Attachment: Where custom stamps are secured.
- Temperature Control Dial: For adjusting the heating temperature.
- Power Switch: To turn the machine on/off.
- Power Cord: Connects the machine to the electrical outlet.
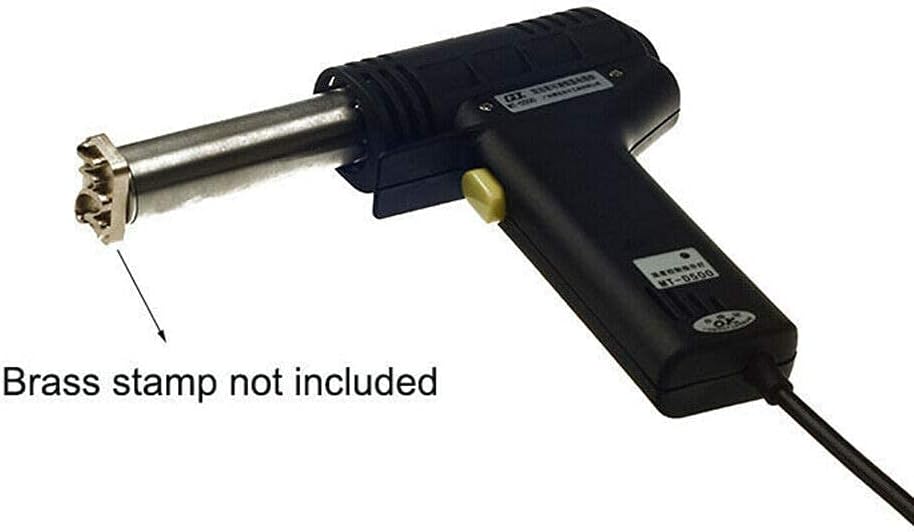
Image 3.3: The machine shown without a brass stamp attached. Please note that brass stamps are sold separately and are not included with this machine.
4. Setup
- Unpacking: Carefully remove the machine from its packaging. Inspect for any signs of damage.
- Stamp Attachment:
To attach a custom brass stamp (not included), align the screw on the stamp with the threaded hole on the heating element's attachment point. Securely fasten the stamp. The default screw size is M5, but the attachment point can accommodate M4, M6, and M8 screws for various stamp types.
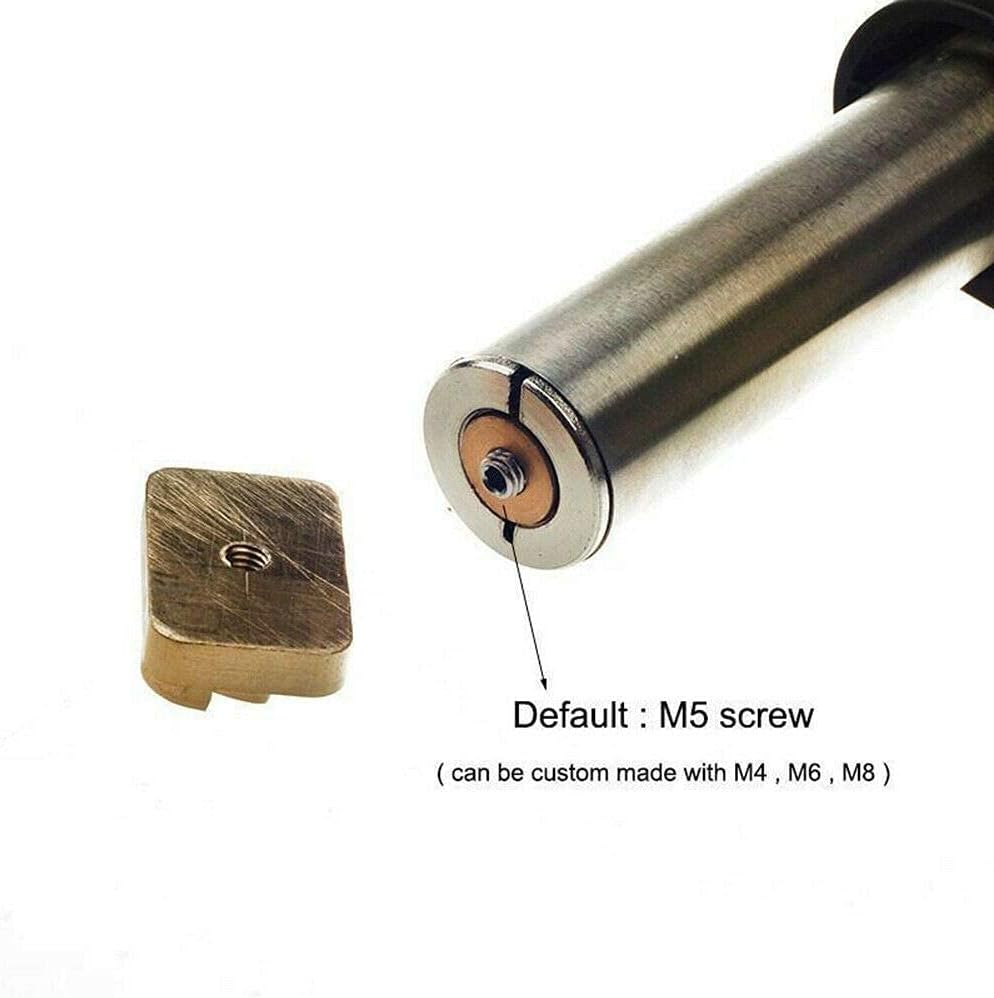
Image 4.1: Detail of the stamp attachment mechanism, indicating the default M5 screw and compatibility with M4, M6, M8 screws.
- Power Connection: Plug the power cord into a standard 220V electrical outlet.
5. Operating Instructions
This machine can be used for various applications, including hot stamping, embossing, and branding.
5.1. Temperature Adjustment
The machine features an adjustable temperature dial to suit different materials and applications.
- Locate the yellow temperature control dial on the side of the machine.
- Rotate the dial to select the desired temperature. The dial typically ranges from 200°C to 500°C.
- Allow the machine to heat up to the selected temperature before use. This may take a few minutes.

Image 5.1: The temperature adjustment dial, allowing precise control over the heating element.

Image 5.2: A closer look at the temperature markings on the dial.
5.2. General Stamping Procedure
- Prepare the Material: Ensure the surface of the material (leather, wood, etc.) is clean and flat.
- Set Temperature: Adjust the temperature dial according to the material and desired effect. Lower temperatures for delicate materials, higher for denser materials or deeper impressions.
- Heat Up: Turn on the machine and allow it to reach the set temperature.
- Position Stamp: Carefully position the heated stamp onto the desired area of the material.
- Apply Pressure: Apply firm, even pressure for a few seconds. The duration and pressure will vary based on the material and desired result.
- Remove Stamp: Lift the machine straight up from the material.
- Cool Down: Allow the material to cool before handling the stamped area.
Note: For hot foil stamping, a layer of hot foil is placed between the stamp and the material. For embossing, the heated stamp directly presses into the material. For branding, the heated stamp burns an impression into the material.
6. Maintenance
- Cleaning: Ensure the machine is unplugged and completely cool before cleaning. Use a soft, dry cloth to wipe down the exterior. Do not use abrasive cleaners or solvents.
- Stamp Care: Clean any residue from the brass stamp after use to maintain clear impressions. A soft brush can be used once the stamp is cool.
- Storage: Store the machine in a dry, cool place, away from direct sunlight and moisture.
7. Troubleshooting
| Problem | Possible Cause | Solution |
|---|---|---|
| Machine does not heat up. | Not plugged in; power switch off; faulty outlet. | Check power connection; ensure switch is on; try a different outlet. |
| Poor impression quality. | Incorrect temperature; insufficient pressure; stamp not clean; material unsuitable. | Adjust temperature; apply more pressure; clean the stamp; test on scrap material. |
| Material burns or melts. | Temperature too high; pressure applied for too long. | Reduce temperature; decrease stamping duration and pressure. |
| Stamp is loose. | Screw not tightened properly. | Ensure the stamp screw is securely fastened. |
8. Specifications
- Model: B07S3VQDZX
- Brand: RANZHIX
- Voltage: 220V
- Material: Metal (main body)
- Screw for Stamp: M5 (default), compatible with M4, M6, M8
- Temperature Range: Adjustable (typically 200°C - 500°C)
9. Customer Support
For further assistance or inquiries regarding your RANZHIX Manual Hot Foil Stamping Machine, please refer to your purchase documentation or contact the retailer. Please note that specific warranty information is not provided in this manual.