
1. Introduction
This manual provides essential instructions for the safe and effective use of your Vastar Soldering Iron Station, Model VLY2-JKUS01. Please read this manual thoroughly before operation and retain it for future reference. This soldering station is designed for various soldering tasks, offering adjustable temperature control and integrated features for convenience and safety.
2. Safety Instructions
Always observe the following safety precautions to prevent injury or damage to the equipment:
- Heat Hazard: The soldering iron tip reaches very high temperatures. Avoid direct contact with skin or flammable materials.
- Ventilation: Use the soldering station in a well-ventilated area to avoid inhaling solder fumes. Consider using a fume extractor.
- Power Off: Always turn off the power switch and unplug the unit when not in use or before performing maintenance.
- Stable Surface: Place the soldering station on a stable, heat-resistant surface.
- Children and Pets: Keep the soldering station out of reach of children and pets.
- Proper Grounding: Ensure the power outlet is properly grounded.
- Tip Care: Do not strike the soldering iron tip against hard objects.
- Original Parts: Use only original or approved replacement parts and accessories.
3. Product Features
- 60W High Power: Provides efficient heating for various soldering applications.
- Fast Heating: Reaches operating temperature in approximately 15 seconds.
- Adjustable Temperature: Temperature range up to 480°C (896°F) for precise control.
- Efficient Heat Dissipation: Designed for optimal cooling and prolonged tool life.
- Integrated Design: Includes an on/off switch, soldering iron holder, wire cleaning ball, and cleaning sponge for a complete workstation.
- Replaceable Iron Tips: Comes with 5 different soldering tips to suit various soldering jobs.

Image: The soldering iron heats up quickly with 60W power.

Image: The station allows temperature adjustment up to 480°C.

Image: The station features an efficient heat dissipation design.

Image: Integrated design showing key components.
4. Package Contents
Verify that all items are present in the package:
- Soldering Iron Station Unit
- Soldering Iron with Cord
- Soldering Iron Holder (integrated)
- Wire Cleaning Ball
- Cleaning Sponge
- Assorted Soldering Tips (5 pieces)
- Solder Wire Spool
- Tweezers
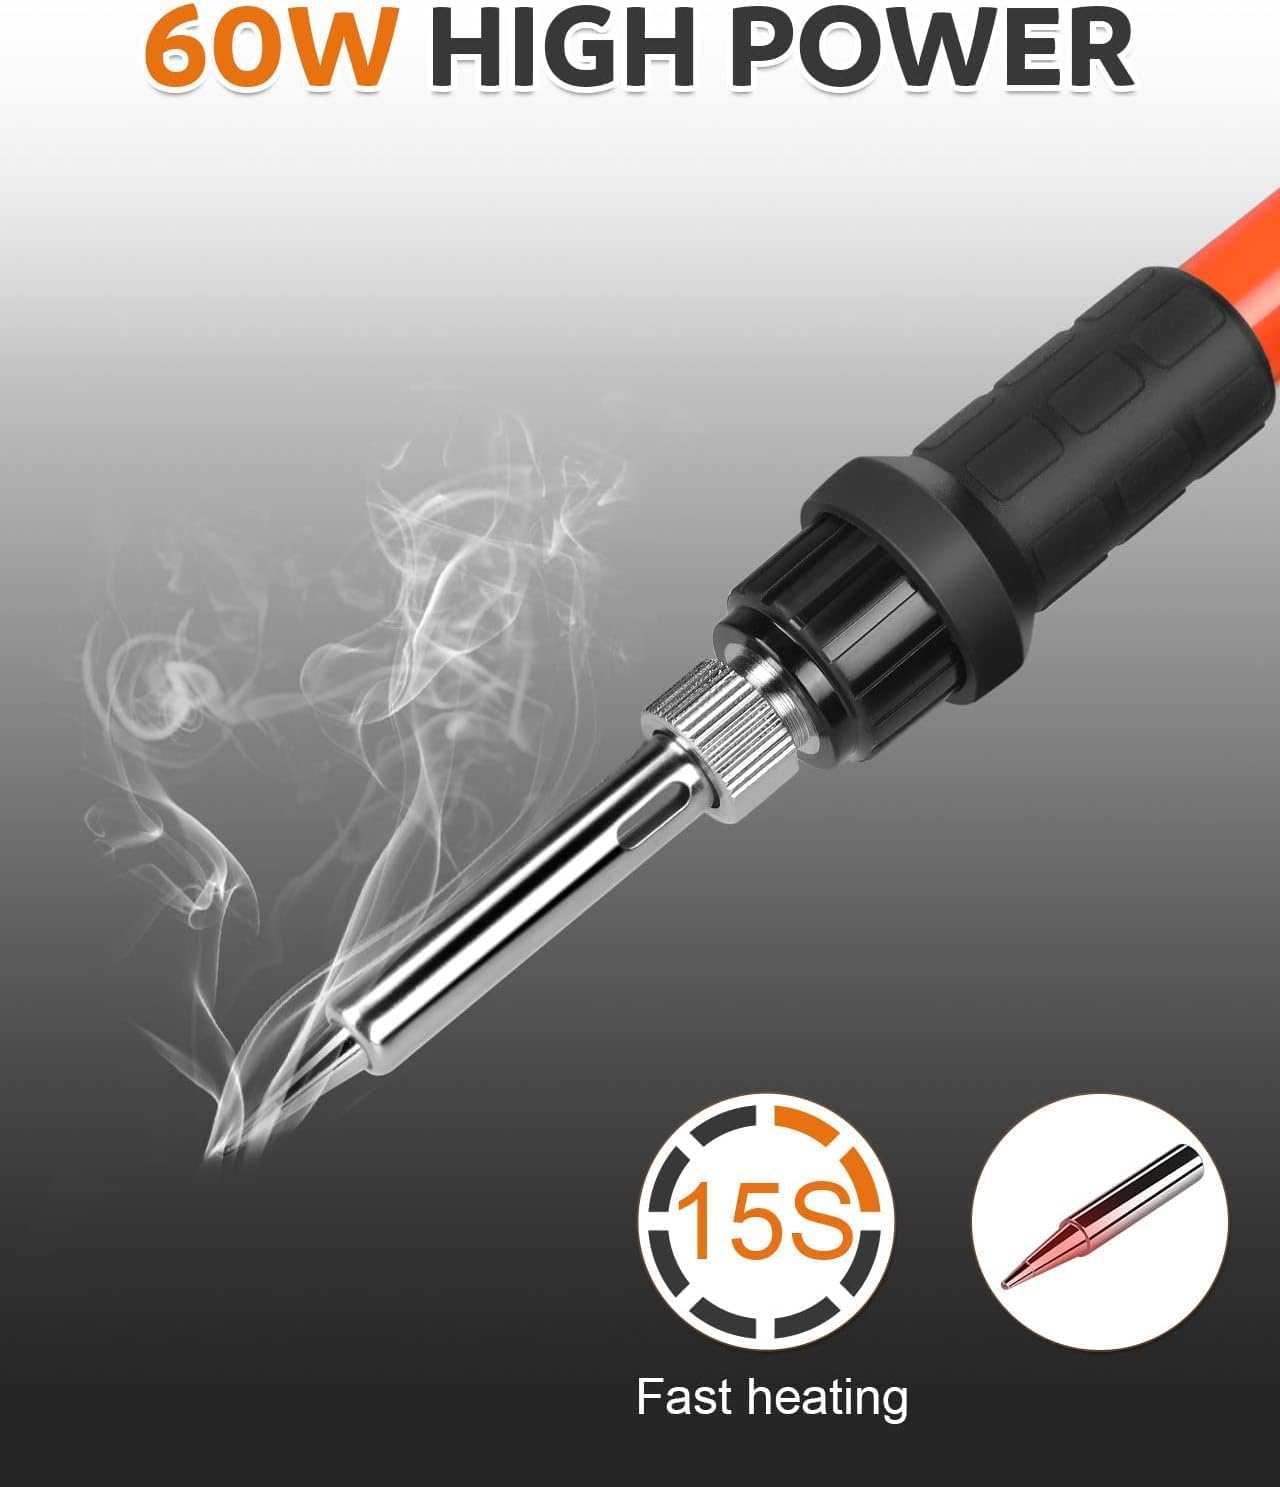
Image: Overview of the Vastar Soldering Iron Station kit components.
5. Setup
- Unpack: Carefully remove all components from the packaging.
- Placement: Place the soldering station on a stable, heat-resistant, and well-ventilated workbench.
- Connect Soldering Iron: Insert the soldering iron's plug into the designated port on the soldering station unit.
- Prepare Cleaning Tools: Ensure the cleaning sponge is slightly damp (not soaking wet) and placed in its tray. The wire cleaning ball should be in its designated holder.
- Power Connection: Plug the station's power cord into a grounded electrical outlet.
6. Operating Instructions
Follow these steps for proper operation:
- Power On: Flip the On/Off switch to the 'On' position. The indicator light (if present) will illuminate.
- Adjust Temperature: Rotate the power adjustment knob to set the desired temperature. Start with a lower setting and increase as needed for your specific solder and components. Allow approximately 15 seconds for the iron to reach the set temperature.
- Tin the Tip: Before first use and periodically during operation, apply a small amount of solder to the hot tip. This 'tins' the tip, improving heat transfer and preventing oxidation.
- Begin Soldering: Place the hot, tinned tip onto the joint to be soldered, ensuring it heats both the component lead and the pad simultaneously. Apply solder to the heated joint, not directly to the iron tip. Remove the solder once enough has flowed, then remove the iron.
- Clean the Tip: Regularly clean the soldering tip using the damp sponge or the wire cleaning ball to remove excess solder and oxidation. This maintains tip efficiency.
- Power Off: When finished, turn the power adjustment knob to the lowest setting, then flip the On/Off switch to 'Off'. Unplug the unit from the wall outlet once the iron has cooled.

Image: Step-by-step guide for operating the soldering station.

Image: Example of the soldering iron in use.
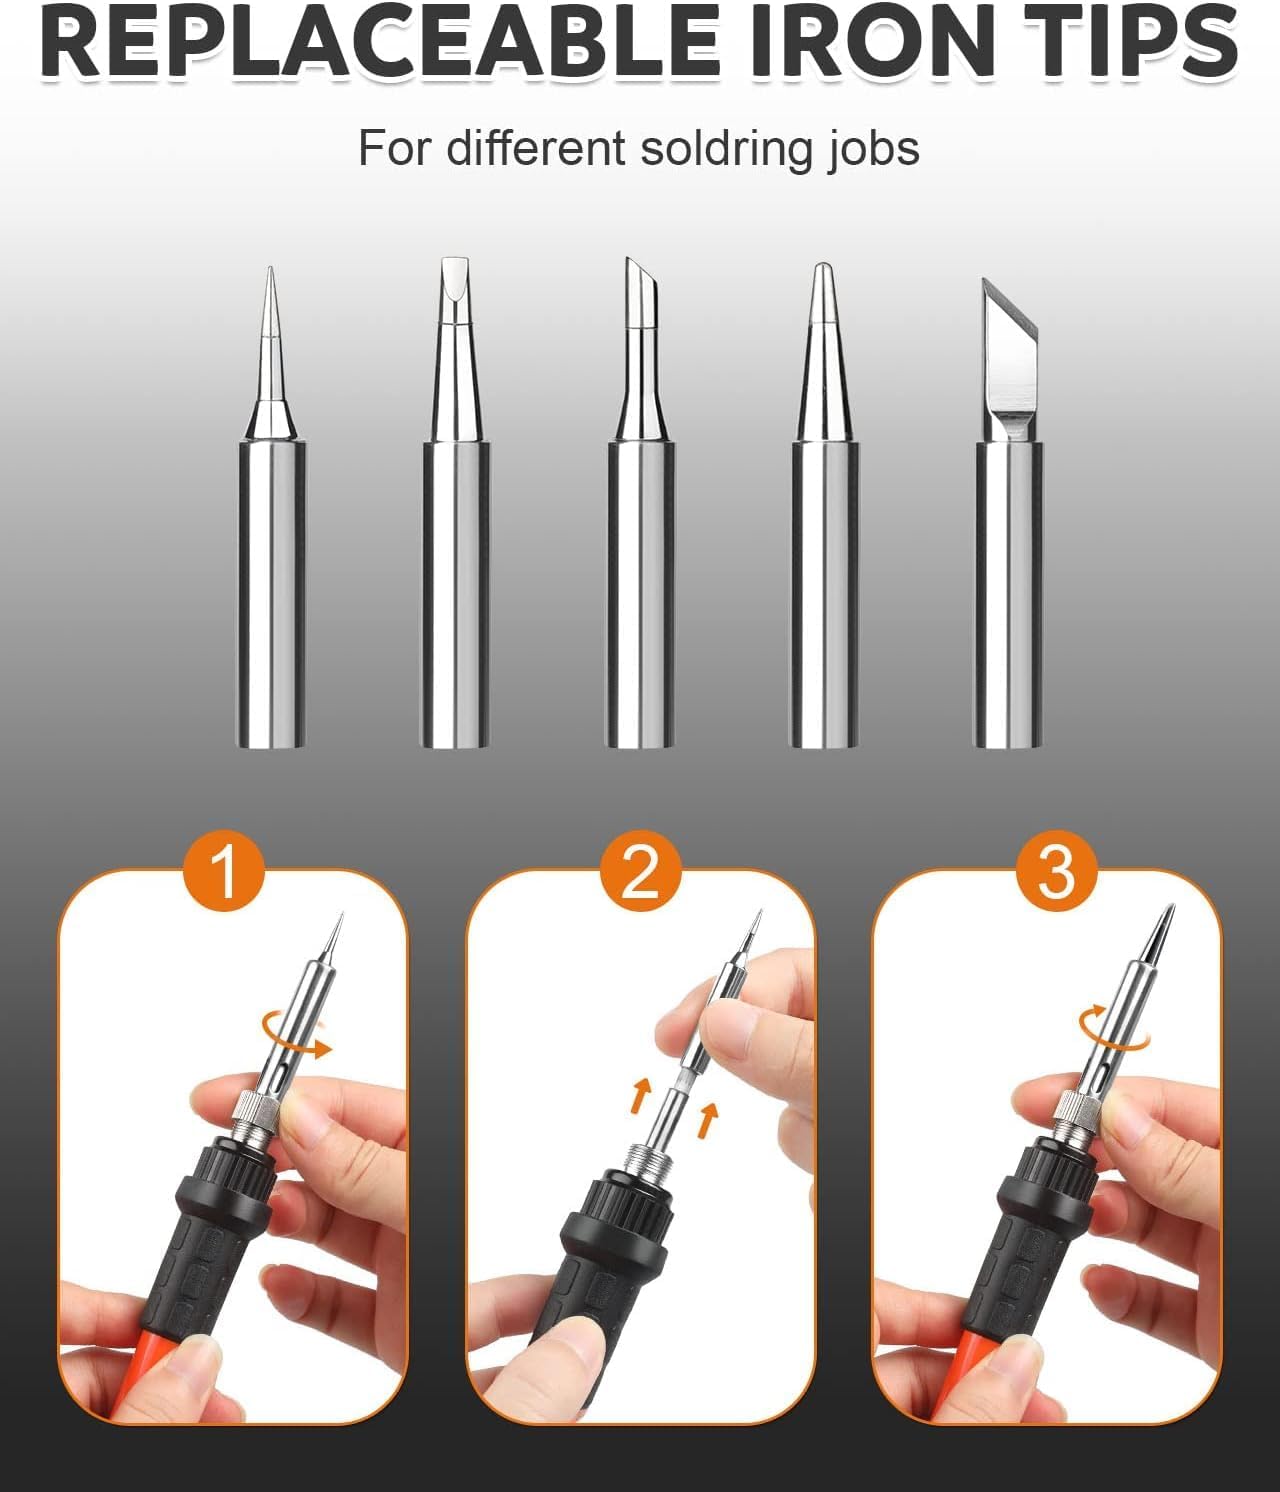
Image: Replaceable iron tips for different soldering jobs.
7. Maintenance
- Tip Cleaning: Regularly clean the soldering tip with the damp sponge or wire cleaning ball. A clean tip ensures efficient heat transfer and prolongs tip life.
- Tip Replacement: If a tip becomes excessively corroded or damaged, replace it with a new one. Ensure the iron is cool before changing tips.
- Sponge Care: Keep the sponge damp during use. Replace it if it becomes worn or hardened.
- General Cleaning: Wipe the station unit with a dry cloth to remove dust and debris. Do not use abrasive cleaners or solvents.
- Storage: Store the soldering station in a dry, safe place when not in use.
8. Troubleshooting
| Problem | Possible Cause | Solution |
|---|---|---|
| Soldering iron not heating | Power switch off Not plugged in Faulty heating element | Turn on power switch Check power connection Contact customer support |
| Poor solder joint quality | Tip not clean/tinned Incorrect temperature Old/poor quality solder | Clean and tin tip Adjust temperature setting Use fresh, good quality solder with flux |
| Excessive smoke/fumes | Poor ventilation Burning flux/insulation | Ensure adequate ventilation Use a fume extractor Check for accidental contact with plastic |
9. Specifications
- Brand: Vastar
- Model Number: VLY2-JKUS01
- Wattage: 60 watts
- Temperature Range: Up to 480°C (896°F)
- Temperature Stability: 480 degrees_celsius (This likely refers to the maximum stable temperature)
- Display Type: LCD or LED (as per product specifications, though no explicit display is visible in images for temperature)
- Item Weight: 1.6 pounds
- Included Components: Soldering Iron Station, Soldering Iron, 5 Soldering Tips, Solder Wire, Tweezers, Cleaning Sponge, Wire Cleaning Ball
10. Warranty and Support
For warranty information, technical support, or replacement parts, please contact Vastar customer service through their official website or the retailer where the product was purchased. Keep your purchase receipt as proof of purchase.