Introduction
Thank you for choosing the JenNiFer KG218 Wireless Indoor/Outdoor Weather Station. This device provides accurate temperature and humidity readings for both indoor and outdoor environments, along with weather trend icons based on barometric pressure changes. Please read this manual carefully to ensure proper setup and operation.
Package Contents
- 1 x JenNiFer KG218 Main Display Unit
- 1 x Wireless Outdoor Temperature Sensor
- User Manual (this document)
Note: 2 x AA 1.5V batteries for the main unit and 2 x AAA 1.5V batteries for the sensor are not included.
Product Overview
Familiarize yourself with the components of your weather station.
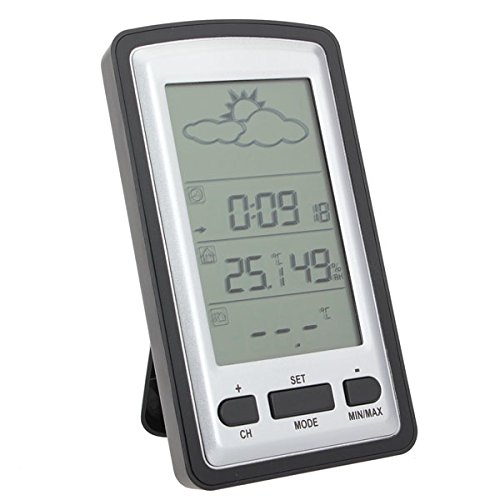
Figure 1: Main Display Unit (Front View)
This image shows the front of the JenNiFer KG218 weather station's main display unit, featuring a large LCD screen with weather icons, time, indoor/outdoor temperature, and humidity readings. Below the screen are control buttons labeled "CH", "SET", "MODE", and "MIN/MAX".
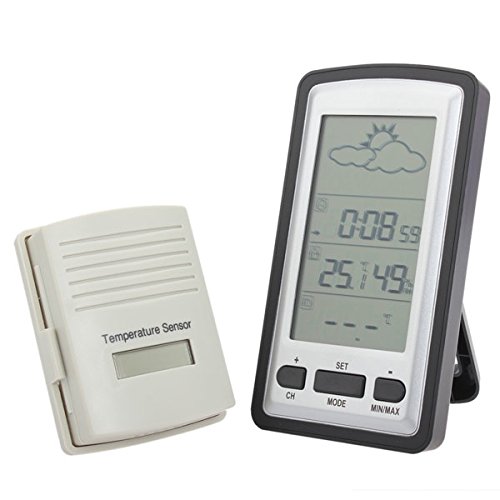
Figure 2: Main Unit and Wireless Sensor
This image displays both the main weather station unit and its accompanying wireless outdoor temperature sensor. The main unit is on the right, and the compact, light-colored outdoor sensor is on the left.
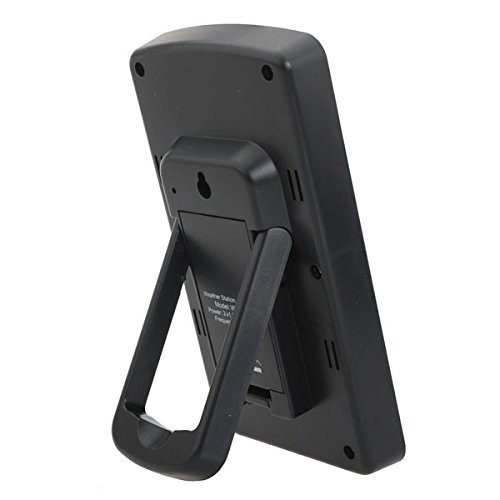
Figure 3: Main Unit (Rear View)
This image shows the back of the main display unit, highlighting the integrated kickstand for desktop placement and a wall-mounting hole. Ventilation slots are visible on the sides.
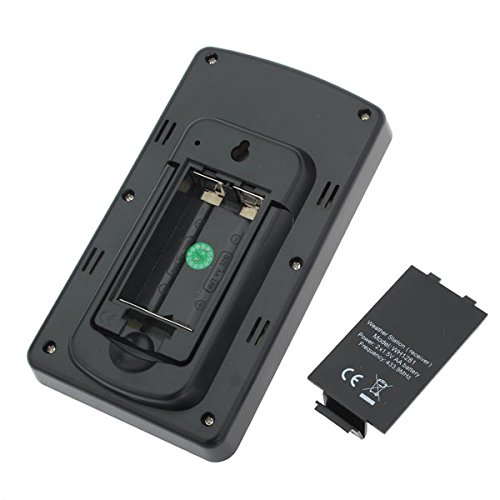
Figure 4: Main Unit Battery Compartment
This image illustrates the rear of the main unit with its battery compartment cover removed, revealing the slots for two AA 1.5V batteries. The battery cover is shown detached next to the unit.
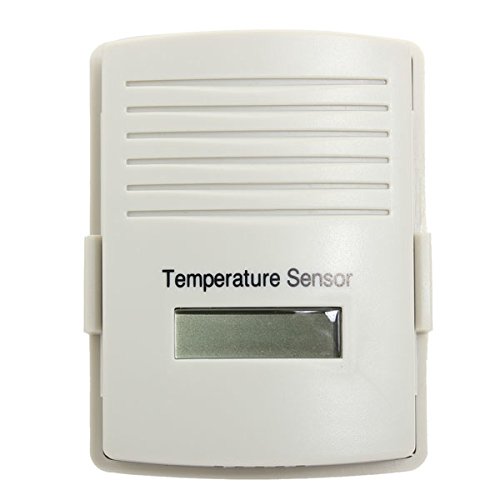
Figure 5: Wireless Outdoor Sensor
This image shows the front of the compact wireless outdoor temperature sensor, featuring a small display and ventilation grilles. It is designed to be weather-resistant.
Setup
1. Install Batteries
For the Main Display Unit:
- Remove the battery compartment cover on the back of the main unit (refer to Figure 4).
- Insert two (2) AA 1.5V batteries, observing the correct polarity (+/-).
- Replace the battery compartment cover.
For the Wireless Outdoor Sensor:
- Open the battery compartment on the back of the outdoor sensor.
- Insert two (2) AAA 1.5V batteries, observing the correct polarity (+/-).
- Replace the battery compartment cover.
Note: It is recommended to insert batteries into the outdoor sensor first, then the main unit, to ensure proper synchronization.
2. Sensor Placement
Place the wireless outdoor sensor in a location that provides accurate readings and is protected from direct sunlight and heavy precipitation. Ensure it is within the 100-meter transmission range of the main unit. Avoid placing it near large metal objects or electrical appliances that may interfere with the wireless signal.
3. Initial Synchronization
After installing batteries in both units, the main display unit will automatically attempt to connect with the outdoor sensor. This may take a few minutes. Once connected, the outdoor temperature and humidity will appear on the main display.
Operation
Display Functions
- Large Backlit LCD Screen: Provides clear visibility of all readings.
- Temperature Display: Shows indoor and outdoor temperatures.
- Humidity Display: Shows indoor and outdoor humidity levels.
- Weather Icons: Displays weather forecasts based on barometric pressure changes (e.g., sunny, cloudy, rainy).
Button Functions
- CH (Channel): Used to switch between multiple outdoor sensors (if applicable) or to initiate a manual search for the outdoor sensor.
- SET: Used to enter settings mode for time, date, or other configurable options.
- MODE: Used to cycle through different display modes or confirm settings.
- MIN/MAX: Displays the minimum and maximum recorded temperature and humidity values. Press again to clear the recorded values.
- +/- Buttons: Used to adjust values in settings mode or switch between Celsius (°C) and Fahrenheit (°F) display.
Switching Temperature Units (°C/°F)
Press the +/- button (or a dedicated °C/°F button if present, otherwise typically the '+' button) to toggle between Celsius and Fahrenheit temperature display.
Viewing/Resetting MIN/MAX Records
Press the MIN/MAX button once to view the maximum recorded indoor/outdoor temperature and humidity. Press it again to view the minimum recorded values. To reset these records, press and hold the MIN/MAX button for a few seconds until the values clear.
Maintenance
- Cleaning: Wipe the display unit and sensor with a soft, damp cloth. Do not use abrasive cleaners or solvents.
- Battery Replacement: Replace batteries in both units when the low battery indicator appears on the display. Always replace all batteries at the same time.
- Outdoor Sensor Care: Ensure the outdoor sensor remains free of debris and is not submerged in water. The UV-resistant and weather-resistant material helps protect it from the elements.
Troubleshooting
- No Display on Main Unit:
- Check battery polarity and ensure batteries are fresh.
- Ensure batteries are properly inserted.
- No Outdoor Reading / "---" Display:
- Ensure batteries in the outdoor sensor are fresh and correctly inserted.
- Move the outdoor sensor closer to the main unit.
- Press the "CH" button on the main unit to initiate a manual search for the sensor.
- Avoid placing units near sources of electromagnetic interference (e.g., TVs, computers, microwaves).
- Reset both units by removing and reinserting batteries.
- Inaccurate Readings:
- Ensure the outdoor sensor is not in direct sunlight or near heat sources.
- Verify the main unit is not near heat or cold sources indoors.
Specifications
| Feature | Detail |
|---|---|
| Brand | JenNiFer |
| Model Number | 689473 |
| Display Type | LCD with Backlight |
| Indoor Temperature Range | 0°C to 60°C (32°F to 140°F) |
| Outdoor Temperature Range | -35°C to 65°C (-31°F to 149°F) |
| Temperature Accuracy | +/- 1°C |
| Humidity Range | 20% RH to 95% RH |
| Wireless Transmission Frequency | 433 MHz (868 MHz or 915 MHz optional, depending on region) |
| Wireless Transmission Range | Up to 100 meters (328 feet) in open air |
| Main Unit Power | 2 x AA 1.5V batteries (not included) |
| Sensor Power | 2 x AAA 1.5V batteries (not included) |
| Outdoor Sensor Material | UV-resistant and weather-resistant |
Warranty and Support
Information regarding warranty and customer support for the JenNiFer KG218 Weather Station is not available in the provided product details. Please refer to the retailer or manufacturer's website for further assistance.


