1. Introduction
This manual provides essential instructions for setting up, operating, and maintaining your Epson EcoTank L3156 Wi-Fi All-in-One Printer. This compact 3-in-1 device offers printing, scanning, and copying functionalities, along with Wi-Fi Direct connectivity for convenient mobile printing. The EcoTank system utilizes high-capacity ink tanks designed for efficient and mess-free refilling.
2. Product Overview
The Epson EcoTank L3156 is designed for home and small office use, featuring an integrated ink tank system that eliminates the need for traditional cartridges. Its compact design and front-facing ink tanks allow for easy monitoring of ink levels and simplified refilling.
Key Features:
- 3-in-1 Functionality: Print, Scan, and Copy.
- Wi-Fi and Wi-Fi Direct: Enables wireless printing from computers and mobile devices.
- Cartridge-Free Printing: Utilizes high-capacity ink tanks for reduced running costs.
- Enhanced Ink Filling System: Designed to minimize spills and ensure correct color filling.
- Borderless Photo Printing: Supports 10x15cm borderless photo prints.
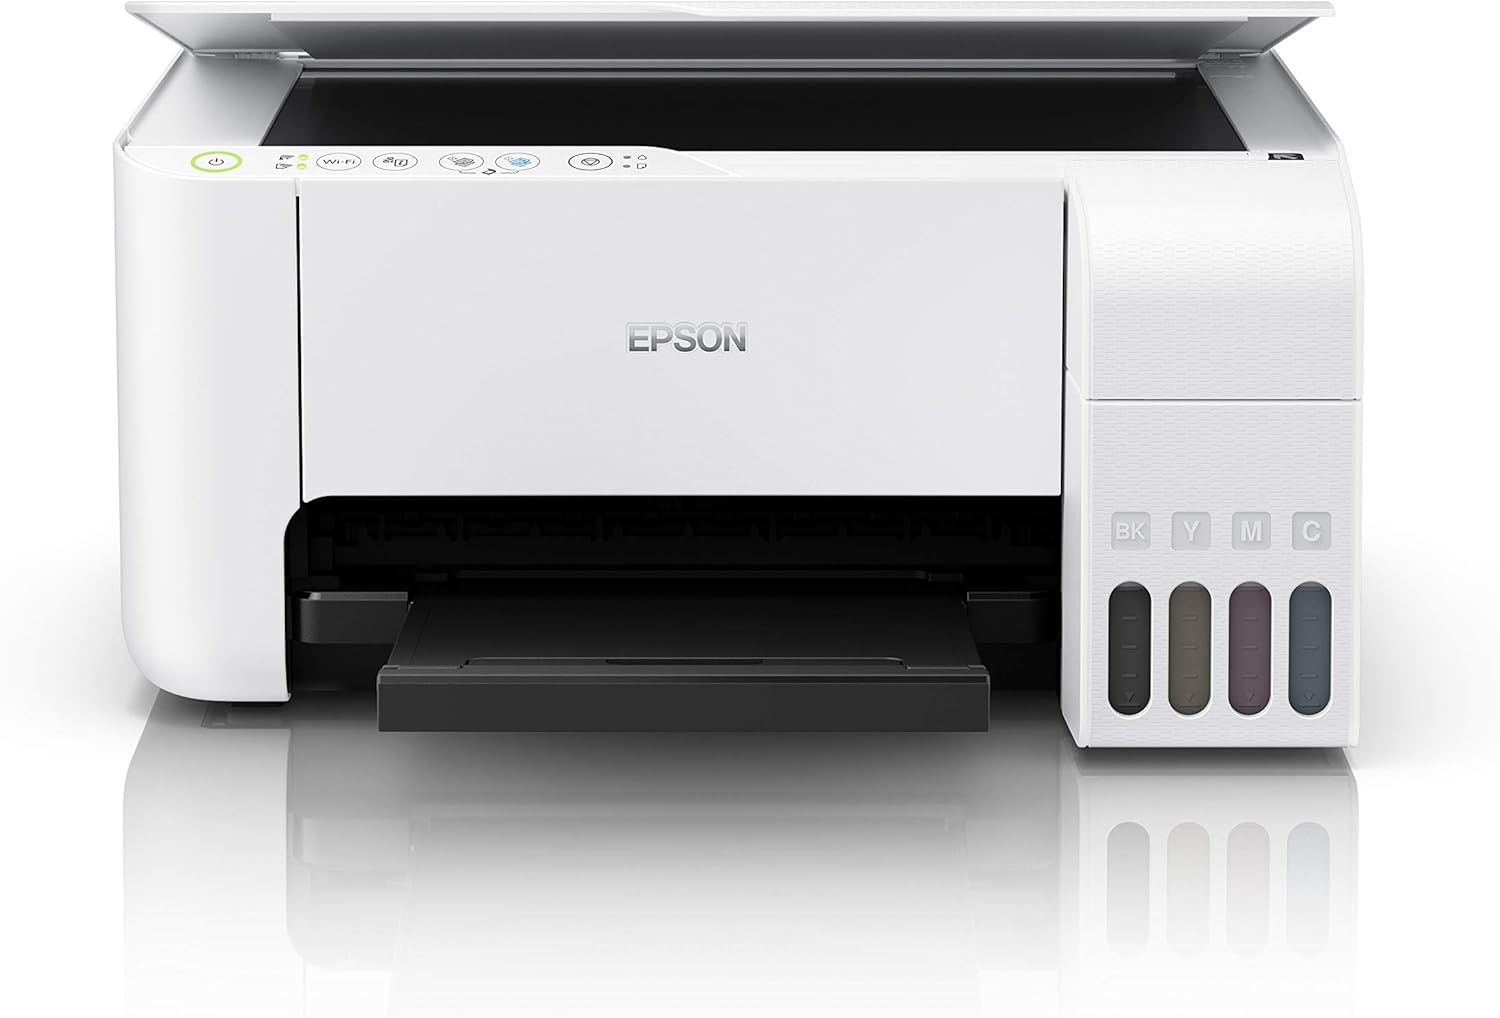
Figure 2.1: Front view of the Epson EcoTank L3156 printer, showing the control panel and output tray.

Figure 2.2: Angled view of the printer, highlighting the paper input tray and ink tanks.
3. Setup Instructions
3.1 Unpacking the Printer
- Remove the printer from its packaging.
- Remove all protective tapes and packing materials from the exterior and interior of the printer.
- Place the printer on a stable, flat surface.
3.2 Filling the Ink Tanks
The EcoTank L3156 features an innovative ink filling system designed to prevent incorrect color filling and spills.
- Open the ink tank unit cover on the side of the printer.
- Open the cap for the black ink tank (BK).
- Uncap the black ink bottle and insert it into the filling port. The ink will automatically start filling. Do not squeeze the bottle.
- Once the tank is full, the ink flow will stop. Remove the bottle and recap the ink tank.
- Repeat the process for the Cyan (C), Magenta (M), and Yellow (Y) ink tanks.
- Close the ink tank unit cover.
3.3 Power Connection
- Connect the power cord to the printer and then to an electrical outlet.
- Press the power button to turn on the printer.
3.4 Software Installation
- Insert the provided software CD into your computer's CD/DVD drive. If your computer does not have a CD/DVD drive, download the latest drivers and software from the official Epson support website.
- Follow the on-screen instructions to install the printer drivers and utility software.
3.5 Wi-Fi Setup
The printer supports both Wi-Fi and Wi-Fi Direct connectivity.
3.5.1 Standard Wi-Fi Connection (via Router)
- Ensure your wireless router is turned on.
- On the printer's control panel, press and hold the Wi-Fi button until the Wi-Fi indicator starts flashing.
- Follow the instructions in the printer's software utility on your computer to connect the printer to your wireless network. You may need to enter your network password (SSID).
3.5.2 Wi-Fi Direct Connection (Direct to Device)
- On the printer's control panel, press the Wi-Fi Direct button. The Wi-Fi Direct indicator will light up.
- On your mobile device or computer, go to your Wi-Fi settings and select the printer's Wi-Fi Direct network (e.g., DIRECT-xx-EpsonL3156).
- Enter the password displayed on the printer's control panel or in the network status sheet.
4. Operating Instructions
4.1 Loading Paper
- Open the paper support and pull out the extension.
- Slide the edge guides to their outermost positions.
- Load paper print-side up against the right edge guide.
- Slide the left edge guide against the paper, but not too tightly.
4.2 Printing from a Computer
- Open the document or image you wish to print on your computer.
- Select Print from the application's menu (e.g., File > Print).
- Choose your Epson EcoTank L3156 printer.
- Adjust print settings such as paper size, type, orientation, and quality as needed.
- Click Print.

Figure 4.1: The Epson EcoTank L3156 printer in operation, delivering a printed document.
4.3 Printing from a Mobile Device (Epson iPrint App)
- Download and install the Epson iPrint app from your device's app store.
- Ensure your mobile device is connected to the same Wi-Fi network as the printer, or directly to the printer via Wi-Fi Direct.
- Open the Epson iPrint app and select your printer.
- Choose the document or photo you want to print from within the app.
- Adjust settings and tap Print.
4.4 Scanning Documents
- Lift the scanner lid.
- Place the document face-down on the scanner glass, aligning it with the corner mark.
- Close the scanner lid gently.
- On your computer, open the Epson Scan utility or use the Epson iPrint app on your mobile device.
- Select scan settings (e.g., document type, resolution, destination).
- Click Scan.
4.5 Copying Documents
- Place the document face-down on the scanner glass.
- Close the scanner lid.
- On the printer's control panel, press the Black & White copy button for a monochrome copy, or the Color copy button for a color copy.
- To make multiple copies, press the respective copy button multiple times for the desired number of copies.
5. Maintenance
5.1 Ink Refilling
When an ink tank level is low, refill it using genuine Epson ink bottles. Refer to section 3.2 for detailed ink filling instructions.
5.2 Print Head Cleaning
If print quality declines (e.g., missing lines, faded prints), perform a print head cleaning using the printer utility software on your computer. This process clears clogged nozzles.
5.3 Print Head Alignment
If prints appear blurry or misaligned, perform a print head alignment using the printer utility software. This adjusts the print head position for optimal quality.
5.4 Cleaning the Scanner Glass
To ensure clear scans, regularly clean the scanner glass with a soft, lint-free cloth moistened with a mild glass cleaner. Avoid abrasive materials.
6. Troubleshooting
6.1 Printer Not Responding
- Check if the printer is powered on and connected to the computer or network.
- Ensure there are no error messages on the printer's control panel.
- Restart both the printer and your computer/mobile device.
- Verify that the correct printer is selected in your application's print dialog.
6.2 Poor Print Quality
- Check ink levels and refill any low tanks.
- Perform a print head cleaning (refer to section 5.2).
- Perform a print head alignment (refer to section 5.3).
- Ensure you are using appropriate paper settings for your print job.
6.3 Wi-Fi Connection Issues
- Ensure your router is functioning correctly and within range.
- Re-enter your Wi-Fi network password if prompted.
- Restart your router, printer, and connecting device.
- If using Wi-Fi Direct, ensure the printer's Wi-Fi Direct mode is active.
7. Specifications
| Feature | Specification |
|---|---|
| Model Name | L3156 |
| Functions | Print, Scan, Copy |
| Printing Technology | Inkjet (Micro Piezo printhead) |
| Connectivity | Wi-Fi, Wi-Fi Direct, USB 2.0 |
| Maximum Media Size | 4 x 6 inch (Photo), A4 (Document) |
| Max Input Sheet Capacity | 200 sheets |
| Scanner Type | Flatbed |
| Maximum Color Print Resolution | 600 x 600 dpi |
| Dual-sided Printing | Manual |
| Product Dimensions (W x D x H) | 34.7 x 34.7 x 17.9 cm |
| Item Weight | 3.9 Kilograms |
| Power Source | AC 100-240V, 50/60Hz |
8. Warranty and Support
A one-year limited warranty is provided as standard with your Epson EcoTank L3156 printer. Promotional warranties may offer extended coverage; please refer to your purchase documentation or the official Epson website for the latest warranty offers and terms and conditions.
For technical support, driver downloads, and additional resources, please visit the official Epson support website or contact Epson customer service.


