1. Introduction
Thank you for purchasing the GoolRC Wltoys A150 Airbus B747 RC Plane. This remote-controlled aircraft is designed for enthusiasts and beginners alike, offering a unique flying experience with its 3-channel control and durable EPP material construction. Please read this manual thoroughly before operating the aircraft to ensure safe and optimal performance.

Image: The GoolRC Wltoys A150 Airbus B747 RC Plane, highlighting its design and model number.
2. Package Contents
Verify that all items listed below are included in your package:
- GoolRC Wltoys A150 Airbus B747 RC Plane (main body and wings)
- 2.4G Remote Control Transmitter
- Rechargeable Li-battery
- USB Charging Cable
- Landing Gear Set
- Spare Propellers
- Screwdriver and small parts
- Instruction Manual

Image: All components included in the product package, laid out for inspection.
3. Safety Guidelines
To prevent injury or damage, observe the following safety precautions:
- Age Recommendation: This product is recommended for users aged 14 years and up.
- Flying Environment: Fly in open, clear areas away from people, animals, buildings, power lines, and water. Avoid flying in strong winds or adverse weather conditions.
- Battery Safety: Use only the provided charging cable and battery. Do not overcharge or short-circuit the battery. Discontinue use if the battery shows signs of damage or swelling.
- Propeller Safety: Keep fingers, hair, and loose clothing away from rotating propellers.
- Supervision: Adult supervision is recommended for younger users.
- Pre-Flight Check: Always ensure the aircraft and remote control are fully charged and properly paired before each flight.
4. Assembly
The GoolRC Wltoys A150 is designed for simple assembly. Follow these steps:
- Attach the Wings: Carefully slide the main wings into the designated slots on the aircraft body until they are securely in place.
- Install the Tail Fin: Insert the vertical tail fin into its slot on the rear of the aircraft.
- Attach Landing Gear: Secure the landing gear wheels to the underside of the aircraft. Ensure they are firmly attached for stable ground operations.
- Connect Battery: Open the battery compartment on the underside of the aircraft. Connect the rechargeable battery to the aircraft's power connector. Close the compartment securely.

Image: A detailed view of the aircraft's underside, showing the landing gear and engine placement.
5. Battery Charging
To charge the aircraft's Li-battery:
- Disconnect the battery from the aircraft.
- Connect the battery to the provided USB charging cable.
- Plug the USB charging cable into a USB power source (e.g., computer, USB wall adapter).
- The charging indicator light on the USB cable will illuminate during charging and turn off when fully charged.
- Charging time typically takes approximately 30-60 minutes. Do not leave unattended during charging.
6. Remote Control Setup and Functions
The 2.4G remote control provides stable and responsive control over your aircraft.
6.1. Battery Installation
Insert 3 x AA batteries (not included) into the remote control's battery compartment, observing correct polarity.
6.2. Pairing Procedure
- Ensure the aircraft battery is connected and the aircraft is powered on.
- Turn on the remote control.
- Move the left throttle stick (usually the left joystick) all the way up, then all the way down. The remote control will beep, and the indicator light will become solid, indicating successful pairing.
6.3. Control Functions
- Left Stick (Throttle): Controls acceleration/deceleration (up/down) and turning left/right (yaw).
- Right Stick (Elevator/Aileron): Controls ascent/descent (pitch) and banking left/right (roll).
- 360° Flip Button: Press this button and move the right stick in any direction to perform a 360-degree flip.
- Rudder Modes: The aircraft features two rudder modes (beginner/professional). Refer to the remote control diagram for switching between modes. Professional mode allows for advanced maneuvers like 360° flips.

Image: The 2.4GHz remote control, illustrating its use for various skill levels.
7. Operating Instructions
7.1. Take-Off
Place the aircraft on a flat surface with sufficient clear space. Gently increase the throttle. As the aircraft gains speed, it will lift off. Alternatively, you can hand-launch the aircraft by gently throwing it forward while applying throttle.

Image: The RC plane positioned on a flat surface, simulating a runway for take-off.
7.2. Flight
Use the remote control sticks to maneuver the aircraft. Practice gentle movements to understand its response. The 3-channel design allows for basic flight controls: accelerate/decelerate, turn left/right, and up/down. For advanced users, the larger rudder mode enables 360° flip stunts.

Image: Several RC planes in various flight positions, demonstrating the 360-degree flip capability.
7.3. Landing
Reduce the throttle gradually and guide the aircraft towards a clear landing area. Maintain a slight nose-up attitude to slow descent. Allow the aircraft to glide down gently. Avoid sudden drops or high-speed landings to prevent damage.
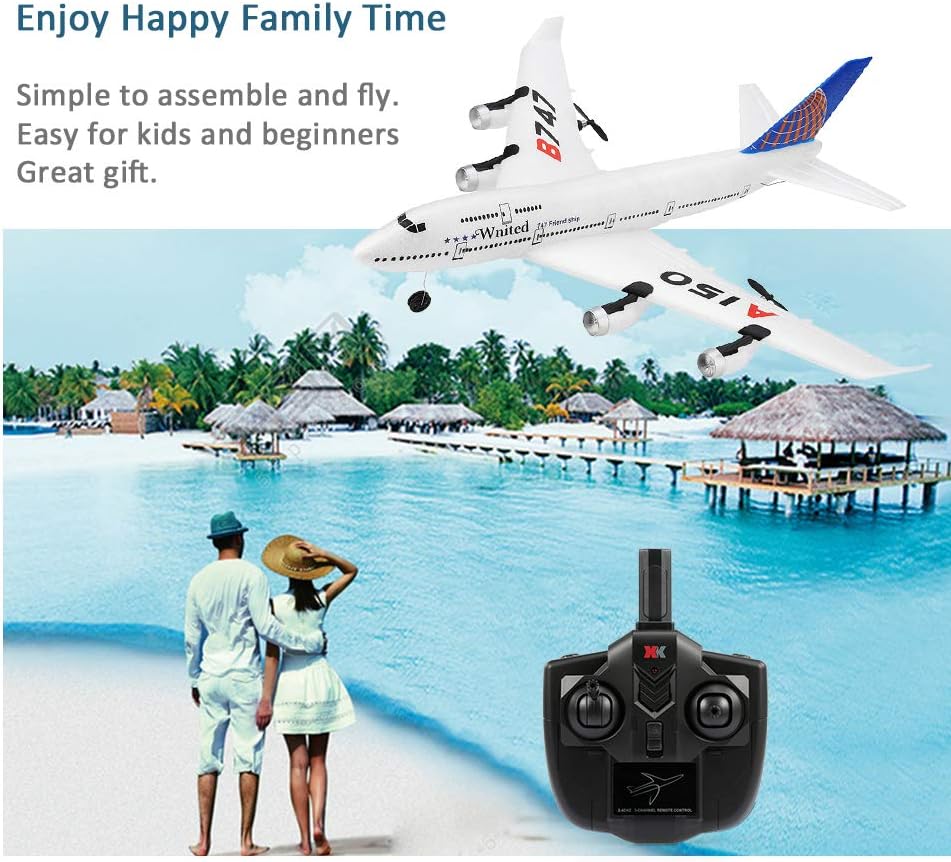
Image: The RC plane in flight, showcasing its maneuverability in an open environment.
8. Maintenance
- Cleaning: Wipe the aircraft with a soft, dry cloth after each use. Avoid using water or chemical cleaners.
- Storage: Store the aircraft and remote control in a cool, dry place away from direct sunlight and extreme temperatures. Remove batteries from the remote control during prolonged storage.
- Propeller Check: Regularly inspect propellers for damage. Replace any bent or broken propellers to ensure safe and efficient flight.
- EPP Material: The EPP material is durable but can be damaged by sharp objects or severe impacts. Minor damage can often be repaired with appropriate foam-safe adhesive.
9. Troubleshooting
- Aircraft not responding: Ensure both aircraft and remote control batteries are charged and correctly installed. Re-attempt the pairing procedure.
- Poor flight performance: Check for damaged propellers and replace if necessary. Ensure all control surfaces (wings, tail) are securely attached. Verify the aircraft is balanced.
- Short flight time: The battery may not be fully charged, or it may be nearing the end of its lifespan. Ensure proper charging and consider replacing the battery if performance does not improve.
- Aircraft drifts during flight: Perform a trim adjustment using the remote control's trim buttons to correct any unwanted drifting.
10. Specifications
| Feature | Detail |
|---|---|
| Brand | GoolRC |
| Model Number | A150 |
| Aircraft Type | RC Fixed-Wing Plane (Airbus B747 Model) |
| Channels | 3CH |
| Material | EPP Anti-crash Material |
| Control Frequency | 2.4G |
| Item Weight | 2.54 ounces |
| Package Dimensions | 20.8 x 11.5 x 5.2 inches |
| Recommended Age | 14 years and up |
11. Warranty and Support
For warranty information and customer support, please refer to the contact details provided on the product packaging or the official GoolRC website. Keep your purchase receipt as proof of purchase.


