1. Introduction
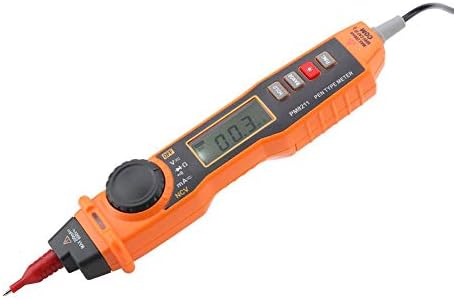
This manual provides essential information for the safe and effective operation of your Walfront PM8211 Digital Pen Type Multimeter. Please read this manual thoroughly before use and retain it for future reference. The PM8211 is a compact, handheld electrical tester designed for measuring DC voltage, AC voltage, DC current, AC current, resistance, diode, and continuity. It also features non-contact voltage (NCV) detection, sound and light alarms, and a built-in flashlight, making it suitable for various electrical testing and maintenance tasks in homes, factories, and automotive applications.
2. Safety Information
Always adhere to basic safety precautions when using electrical testing equipment to reduce the risk of fire, electric shock, or personal injury. This device is designed for safe operation when used according to these instructions.
- Do not exceed the maximum input values specified for each measurement range.
- Exercise extreme caution when working with live circuits.
- Ensure the test leads are in good condition, without any damage to the insulation.
- Do not use the device if it appears damaged or is not operating correctly.
- Always disconnect power to the circuit before making resistance or continuity measurements.
- Keep hands and fingers behind the probe barriers during measurements.
- Replace batteries promptly when the low battery indicator appears to ensure accurate readings.
3. Product Components and Features
The Walfront PM8211 Digital Pen Type Multimeter is designed for ease of use and portability. Below are the key components and their functions.


- Pen-Type Design: Ergonomic and lightweight (251g) for easy one-hand operation.
- Digital Display: Clear LCD for precise readings.
- Rotary Switch: Selects measurement functions.
- Function Buttons: Includes Data Hold, Range Selection, and Backlight/Flashlight activation.
- Non-Contact Voltage (NCV): Detects voltage without direct contact.
- Sound and Light Alarm: Provides clear indications during voltage detection.
- Automatic and Manual Ranging: Offers flexibility in measurements.
- Data Hold: Freezes the displayed reading.
- Auto-Off Function: Conserves battery life.
- Over-Shell Rubber Sleeve: Enhances durability and grip.
4. Setup
Before using your multimeter, ensure it is properly set up.
4.1. Battery Installation
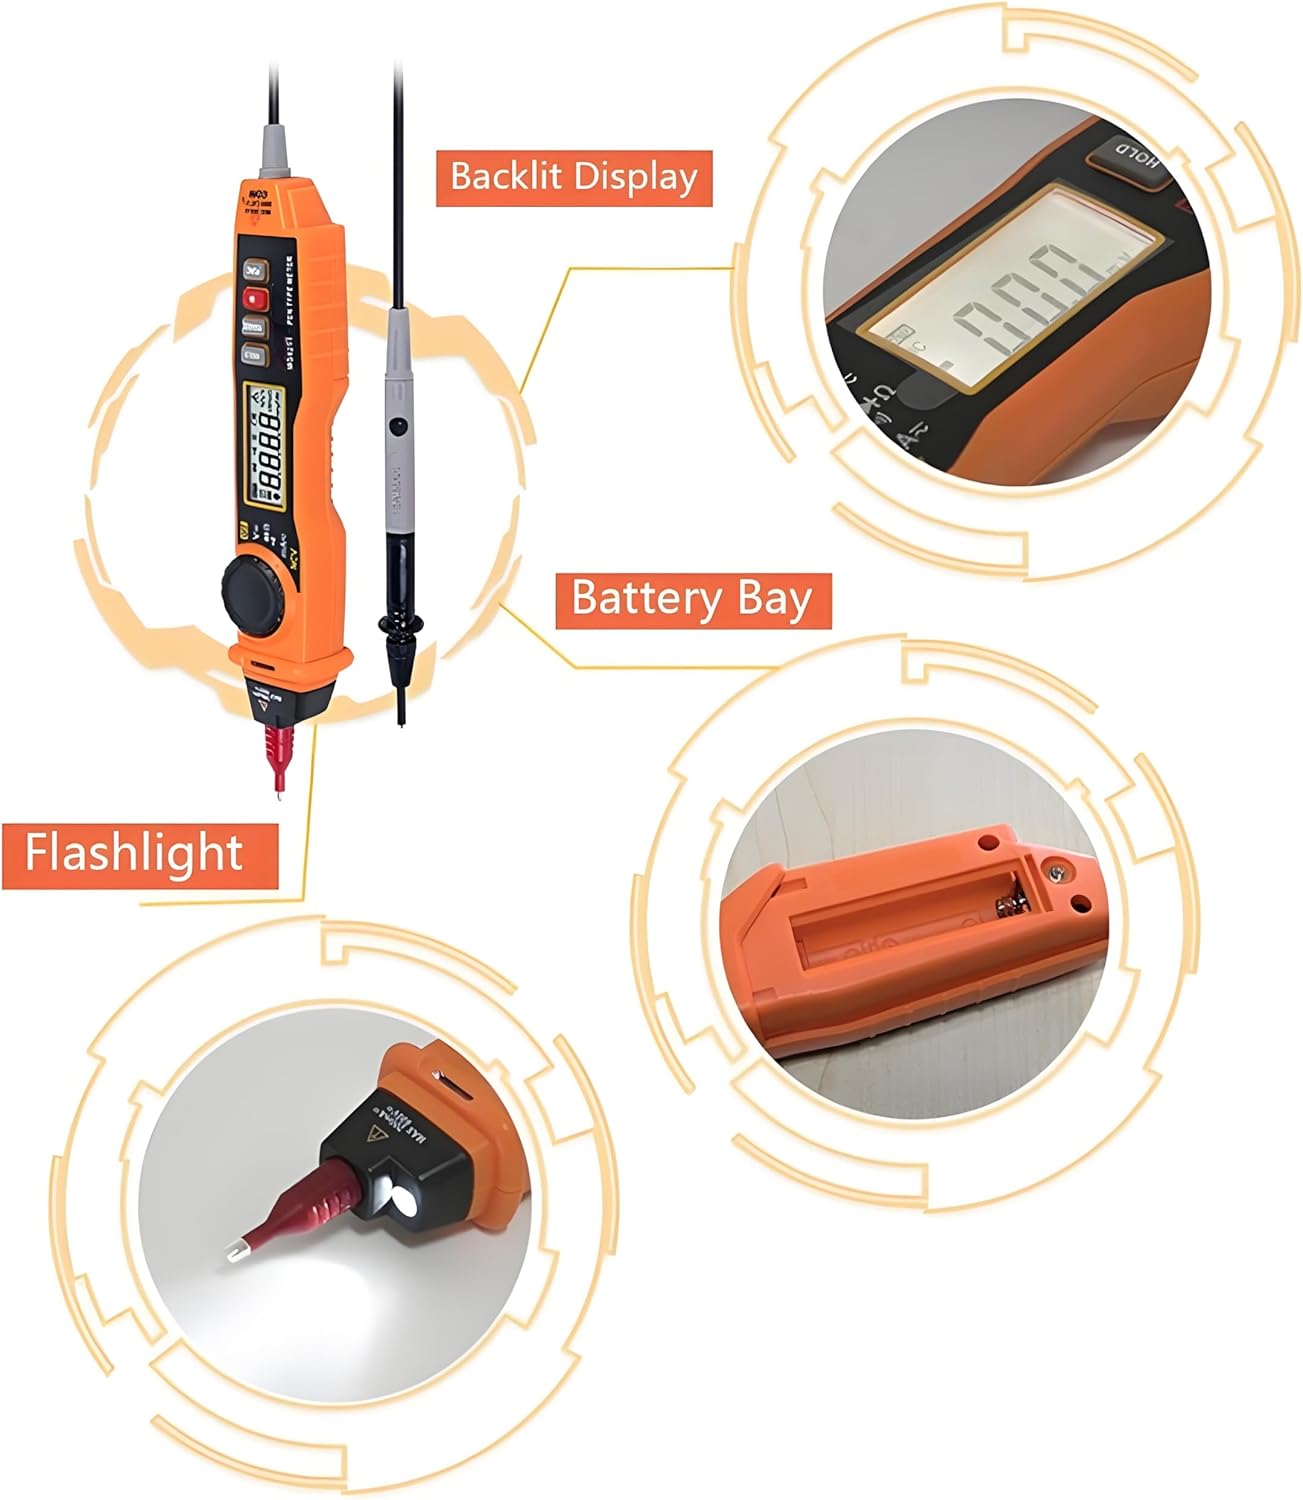
The multimeter requires 2x AAA 1.5V batteries (not included). To install or replace batteries:
- Locate the battery compartment cover on the back of the device.
- Use a small screwdriver to open the cover.
- Insert two AAA batteries, observing the correct polarity (+/-).
- Securely close the battery compartment cover.
4.2. Connecting Test Leads
The multimeter comes with integrated test leads. Ensure they are securely connected to the device before use. The red probe is for positive (+) connections, and the black probe is for common (COM) or negative (-) connections.
5. Operating Instructions
Familiarize yourself with the various measurement functions of the PM8211.
5.1. Power On/Off
Press the power button to turn the multimeter on. The device will typically enter auto-ranging mode. To turn off, press and hold the power button.
5.2. DC Voltage Measurement
To measure DC voltage:
- Set the rotary switch to the 'V=' position.
- Connect the red test probe to the positive (+) terminal of the DC source and the black test probe to the negative (-) terminal.
- Read the voltage value on the display.

5.3. AC Voltage Measurement
To measure AC voltage:
- Set the rotary switch to the 'V~' position.
- Connect the test probes across the AC voltage source.
- Read the voltage value on the display.
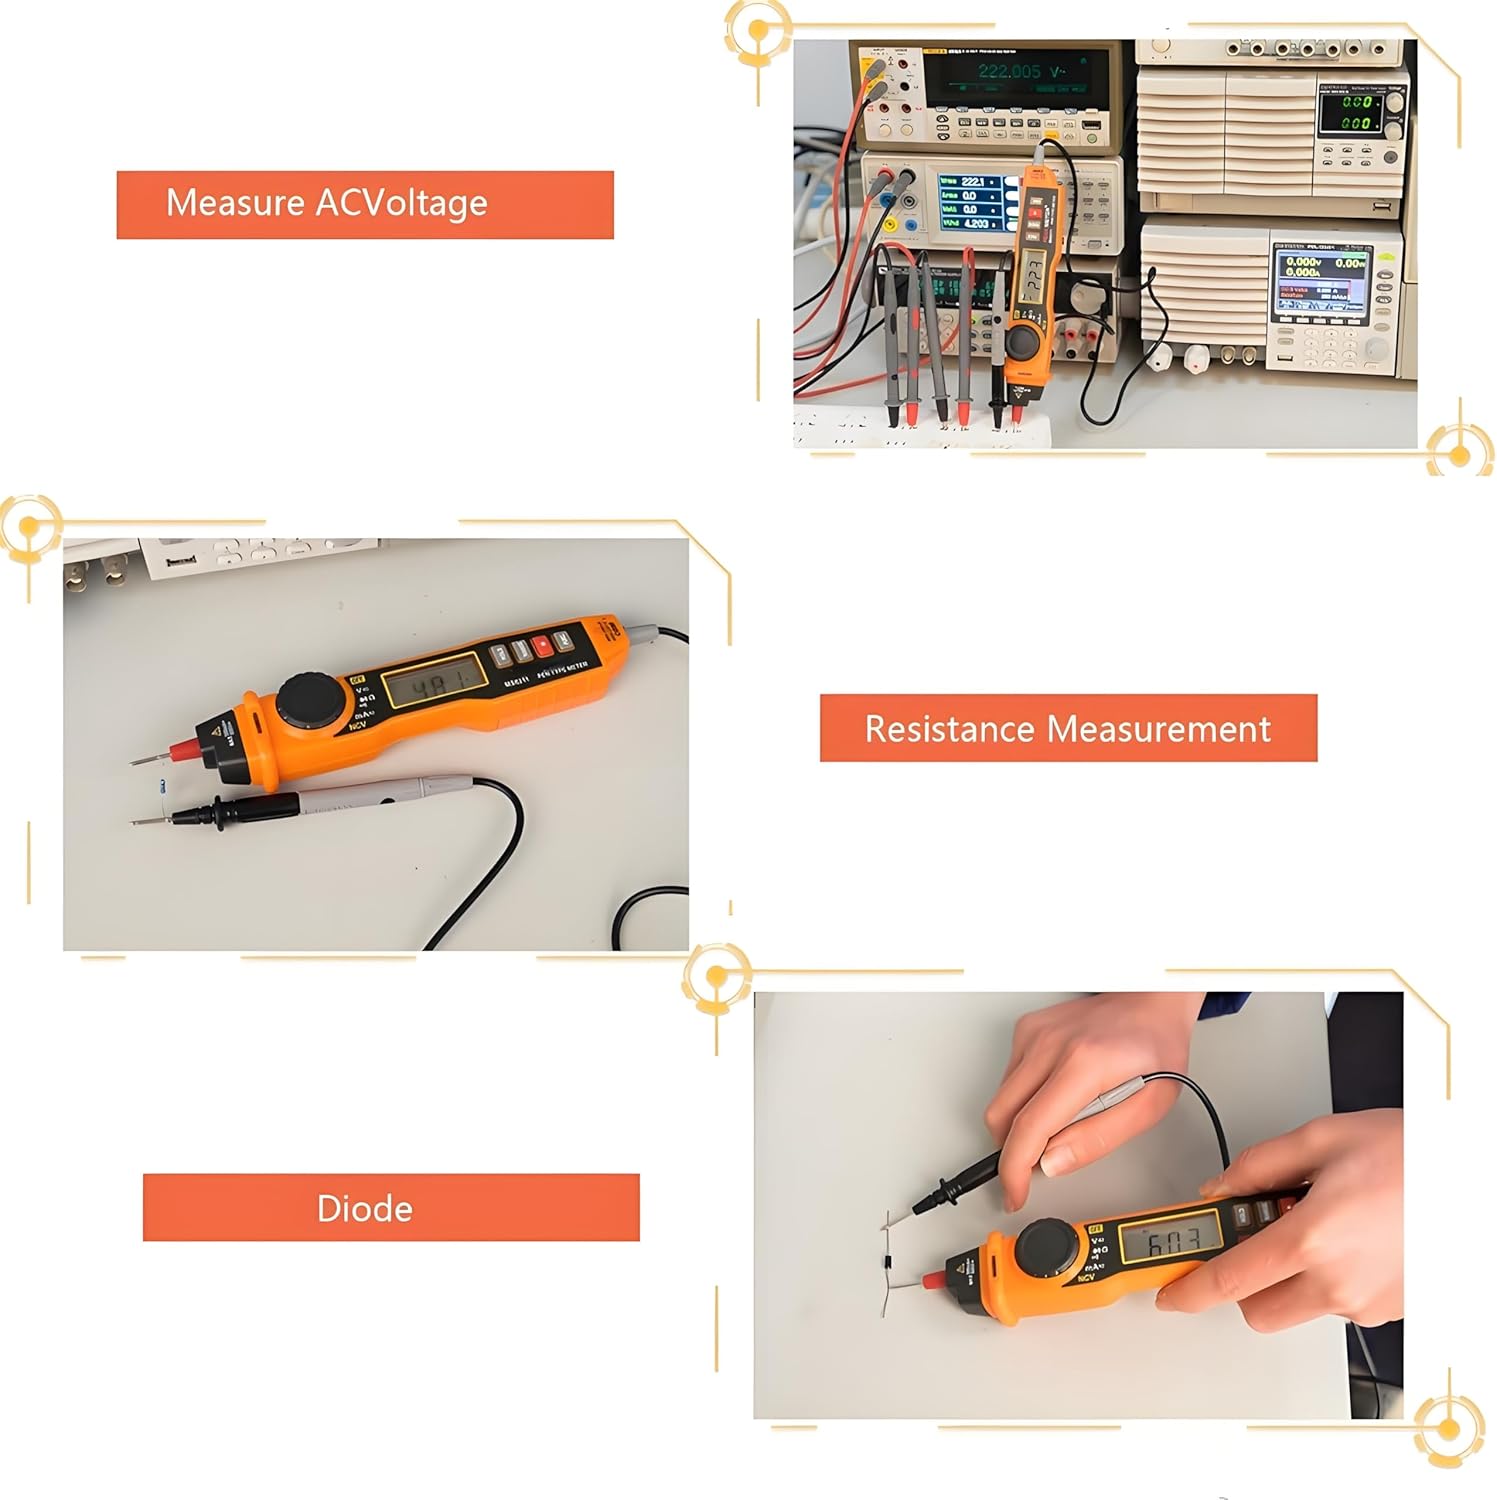
5.4. Resistance Measurement
To measure resistance:
- Ensure the circuit is de-energized before measurement.
- Set the rotary switch to the 'Ω' position.
- Connect the test probes across the component to be measured.
- Read the resistance value on the display.
5.5. Diode and Continuity Testing
To test diodes or continuity:
- Ensure the circuit is de-energized before measurement.
- Set the rotary switch to the 'Diode/Continuity' position.
- For diode testing, connect the red probe to the anode and the black probe to the cathode. The forward voltage drop will be displayed. Reverse the probes to check for open circuit.
- For continuity testing, connect the probes across the circuit path. A low resistance (typically less than 50Ω) will indicate continuity with an audible beep.

5.6. Non-Contact Voltage (NCV) Detection
The NCV function allows for voltage detection without direct contact with live conductors.
- Set the rotary switch to the 'NCV' position.
- Bring the tip of the multimeter close to the conductor.
- The device will emit an audible beep and the NCV indicator light will flash when AC voltage is detected. The frequency of beeps and flashes increases with higher voltage or closer proximity.
5.7. Flashlight and Backlight
Press the 'Backlight and Lighting Key' button to activate the display backlight for improved visibility in low-light conditions. Press and hold the same button to turn on the built-in flashlight located at the tip of the device.
5.8. Data Hold Function
Press the 'HOLD' button to freeze the current reading on the display. Press it again to release the hold and resume live measurements.
5.9. Auto-Off Function
The multimeter is equipped with an auto-off function to conserve battery life. If no operation is performed for a certain period (typically 15 minutes), the device will automatically power off. Press any button or turn the rotary switch to reactivate it.
6. Maintenance
Proper maintenance ensures the longevity and accuracy of your multimeter.
- Cleaning: Wipe the device with a dry, soft cloth. Do not use abrasive cleaners or solvents.
- Storage: Store the multimeter in a cool, dry place away from direct sunlight and extreme temperatures. If storing for extended periods, remove the batteries to prevent leakage.
- Battery Replacement: Replace batteries as soon as the low battery indicator appears to maintain measurement accuracy.
- Test Leads: Regularly inspect test leads for any signs of damage, such as cracked insulation or exposed wiring. Replace damaged leads immediately.
7. Troubleshooting
If you encounter issues with your Walfront PM8211, refer to the following common problems and solutions:
| Problem | Possible Cause | Solution |
|---|---|---|
| No display or weak display | Low or dead batteries | Replace batteries with new AAA 1.5V batteries. |
| Inaccurate readings | Low battery, incorrect function selection, damaged test leads | Replace batteries, ensure correct function is selected, check and replace test leads if damaged. |
| No continuity beep | Open circuit, high resistance, or incorrect mode | Verify the circuit path, ensure resistance is below threshold for beep, confirm continuity mode is selected. |
| NCV not detecting voltage | Voltage too low, incorrect mode, or device malfunction | Ensure NCV mode is active, test on a known live source, contact support if issue persists. |
8. Specifications
Detailed technical specifications for the Walfront PM8211 Digital Pen Type Multimeter.
- Product Dimensions: 9.84 x 1.57 x 1.3 inches
- Item Weight: 3.52 ounces
- Item Model Number: PM8211
- Manufacturer: Walfront
- Batteries Required: No (requires 2x AAA 1.5V, not included)
- Functions: DC Voltage, AC Voltage, DC Current, AC Current, Resistance, Diode, Continuity, Non-Contact Voltage (NCV)
- Special Features: Automatic/Manual Range, Data Hold, Auto-Off, Backlight, Flashlight, Sound and Light Alarm.
9. Warranty and Support
For warranty information or technical support, please refer to the product packaging or contact your retailer. Keep your purchase receipt as proof of purchase.