1. Product Overview
This manual provides instructions for the installation and maintenance of the UpStart Components 165314 Dishwasher Lower Dishrack Wheel Replacement. This 8-pack of wheels is designed to replace worn or damaged lower dishrack wheels in various dishwasher models, including Bosch SHE4AM16UC/01. These replacement wheels are engineered from premium quality materials for long-lasting durability and offer an affordable solution to restore smooth operation to your dishwasher's lower rack.
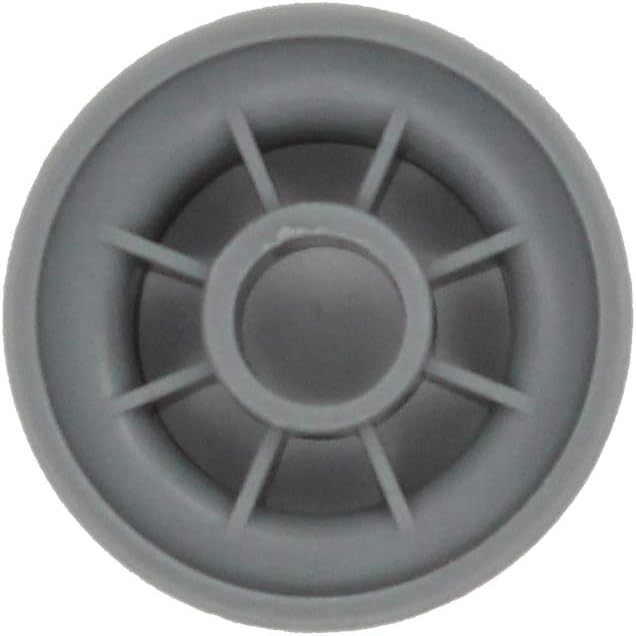
Image 1: A single UpStart Components 165314 dishwasher lower dishrack wheel, shown from a top-down perspective, highlighting its design.
2. Safety Information
Before beginning any repair or replacement, always ensure the dishwasher is disconnected from its power source to prevent electrical shock. Locate and unplug the appliance from the electrical outlet or turn off the circuit breaker. Wear appropriate personal protective equipment, such as gloves, to protect your hands during the process. Handle parts carefully to avoid injury.
3. Installation Instructions
Replacing the lower dishrack wheels is a straightforward process that typically requires no special tools. Follow these steps for proper installation:
- Step 1: Prepare the Dishwasher
- Unplug the dishwasher from the electrical outlet.
- Open the dishwasher door and remove the lower dishrack from the appliance. Place it on a clean, flat surface.
- Step 2: Remove Old Wheels
- Locate the existing lower dishrack wheels. These are typically clipped onto axles or posts on the dishrack.
- Gently pry off or unclip the old, damaged wheels from their mounting points. Some designs may require a slight twist or pull. Discard the old wheels.

Image 2: The replacement wheel shown alongside its separate clip/axle component, illustrating the two main parts involved in the assembly.
- Step 3: Install New Wheels
- Take a new UpStart Components replacement wheel.
- Align the center of the new wheel with the mounting post or axle on the dishrack.
- Press the wheel firmly onto the post until it clicks securely into place. Ensure it is seated properly and can rotate freely.
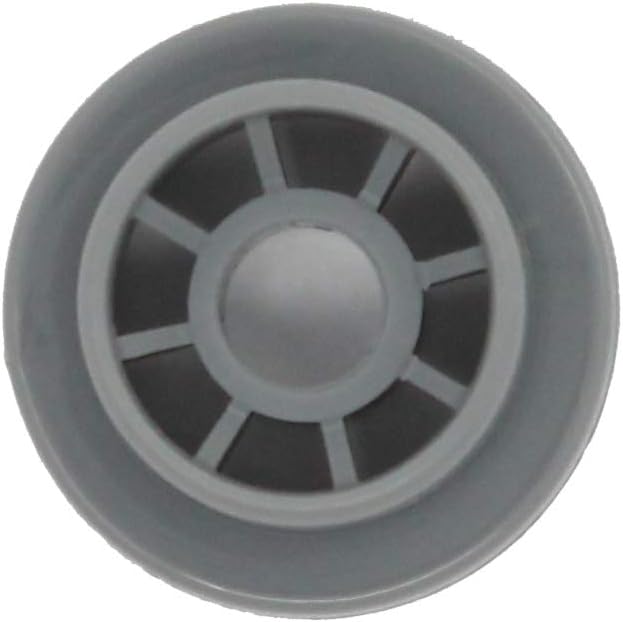
Image 3: An underside view of the replacement wheel, detailing the central attachment mechanism that connects to the dishrack post.
- Step 4: Repeat for All Wheels
- Repeat Step 3 for all remaining wheels on the lower dishrack. Ensure all 8 wheels are replaced for optimal performance.
- Step 5: Reinstall Dishrack
- Carefully slide the lower dishrack back into the dishwasher, ensuring it glides smoothly on the new wheels.
- Plug the dishwasher back into the electrical outlet.
4. Post-Installation Check
After installing the new dishrack wheels, perform the following checks to ensure proper function:
- Smooth Movement: Gently pull the lower dishrack in and out several times to ensure it glides smoothly and without resistance.
- Stability: Check that the dishrack feels stable and does not wobble excessively.
- Wheel Security: Visually inspect each new wheel to confirm it is securely attached to its mounting post.
5. Maintenance
To prolong the life of your dishrack wheels and ensure continued smooth operation:
- Regular Cleaning: Periodically remove the lower dishrack and clean the wheels and their tracks to remove any food debris or mineral buildup that could impede movement.
- Inspection: Occasionally inspect the wheels for signs of wear, cracks, or damage. Replace any damaged wheels promptly to prevent further issues.
6. Troubleshooting
If you encounter issues after installing the new dishrack wheels, consider the following:
- Dishrack Not Rolling Smoothly:
- Check for any obstructions (food particles, small items) in the dishrack tracks or around the wheels.
- Ensure all wheels are securely attached and rotating freely.
- Verify that the dishrack is properly aligned within the dishwasher tracks.
- Wheels Falling Off:
- Confirm that the wheels were pressed firmly onto their mounting posts until they clicked into place during installation.
- Inspect the mounting posts on the dishrack for damage; if damaged, the dishrack itself may need repair or replacement.
7. Specifications
This replacement part is manufactured by UpStart Components.
- Part Number: AP-165314-8PK-DL434
- Compatible Part Numbers: 00165314, AP2802428, 165314, 420198, 423232, AH3439123, EA3439123, PS3439123, PS8697067
- Quantity: 8 wheels per pack
- Material: Premium quality materials for long-lasting durability
8. Warranty and Support
This UpStart Components replacement part is not an Original Equipment Manufacturer (OEM) product and is not covered under any warranties offered by the original appliance manufacturers. Any warranties for this specific product are offered solely by UpStart Components. For support or warranty inquiries, please contact UpStart Components directly through their official channels.


