
DYMO LM 280
Contents
DYMO LabelManager 280 Kit User Manual
Portable Rechargeable Label Maker with QWERTY Keyboard
1. Introduction
This manual provides instructions for the proper setup, operation, and maintenance of your DYMO LabelManager 280 Kit. Please read this manual thoroughly before using your label maker to ensure optimal performance and longevity of the device.
The DYMO LabelManager 280 is a portable, rechargeable label maker designed for creating high-quality labels for various organizational needs. It features a QWERTY keyboard for easy text entry and can also connect to a computer for advanced label customization.
2. Kit Contents
Your DYMO LabelManager 280 Kit includes the following items:
- DYMO LabelManager 280 Label Maker
- 2 D1 Label Tapes: Black on White (12 mm x 7 m) and Black on Clear (9 mm x 7 m)
- Rechargeable Battery Pack
- USB Cable
- 2 AC Adapters (EU and UK)
- Quick Reference Guide
- Carrying Case

Image: The DYMO LabelManager 280 Kit, including the label maker, tapes, and carrying case.
3. Setup
3.1 Charging the Battery
- Insert the rechargeable battery pack into the battery compartment on the back of the label maker.
- Connect the USB cable to the label maker and then to one of the provided AC adapters.
- Plug the AC adapter into a wall outlet. The charging indicator on the label maker will illuminate.
- Allow the device to charge fully before first use. A full charge typically takes several hours.

Image: The LabelManager 280 connected to a power source for charging.
3.2 Installing a Label Cassette
- Ensure the label maker is turned off.
- Open the label compartment cover on the back of the device.
- Insert a D1 label cassette with the label side facing up, ensuring the tape and ribbon are positioned correctly in the guides.
- Close the label compartment cover securely.
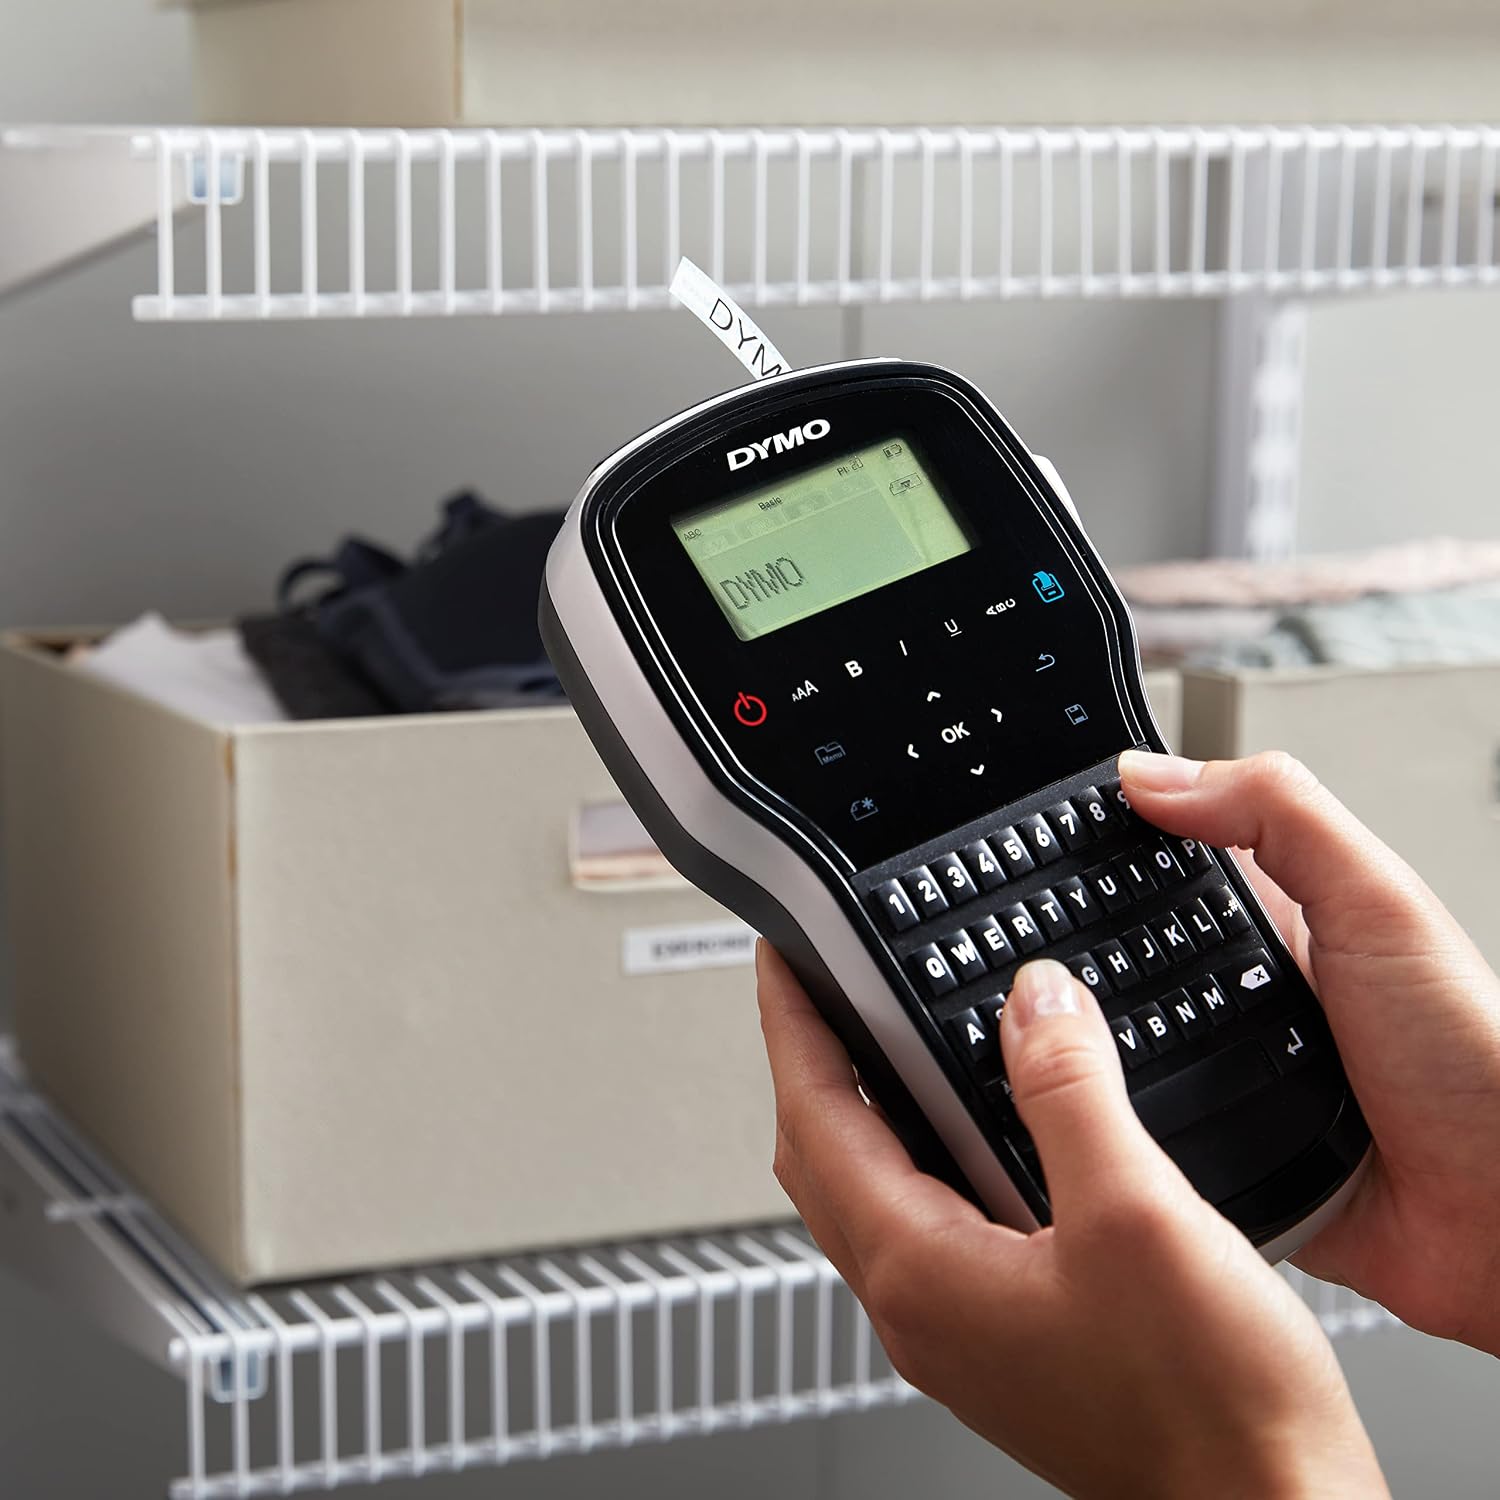
Image: The LabelManager 280 with a label tape correctly installed and ready for printing.
3.3 Connecting to a Computer (PC/Mac)
The LabelManager 280 can be connected to a computer to design and print labels using the DYMO Label software.
- Download and install the latest DYMO Label software from the official DYMO website.
- Connect the label maker to your computer using the provided USB cable.
- Launch the DYMO Label software. The software should detect your label maker automatically.

Image: The LabelManager 280 connected to a laptop, displaying the DYMO Label software interface.
4. Operating the Label Maker
4.1 Basic Label Creation
- Press the power button to turn on the label maker.
- Use the QWERTY keyboard to type your desired text.
- Use the navigation keys (left/right arrows) to move the cursor.
- Press the OK button to confirm selections or access menus.

Image: A user typing text on the QWERTY keyboard of the LabelManager 280.
4.2 Formatting Labels
The LabelManager 280 offers various formatting options:
- Font Size: Use the dedicated font size button (often marked with 'AA' or similar icon) to cycle through available sizes.
- Text Styles: Apply bold, italic, underline, or outline styles using the respective buttons.
- Symbols & Clip Art: Access a library of symbols and clip art to enhance your labels.
- Frames: Add decorative frames around your text.

Image: A user operating the LabelManager 280, demonstrating its portability and screen interface.
4.3 Printing Labels
- After formatting your label, press the Print button.
- The label maker will feed and print the label.
- Use the built-in cutter to cut the label from the tape.

Image: Example of storage boxes organized with labels created using the LabelManager 280.

Image: An office desk showing a notebook and pen holder labeled with the LabelManager 280.

Image: A USB drive clearly labeled with text created by the LabelManager 280.
4.4 Video Demonstration
Video: An official demonstration of the DYMO LabelManager 280 in use, showcasing its features and ease of operation.
5. Maintenance
5.1 Cleaning the Print Head
To maintain print quality, regularly clean the print head:
- Turn off the label maker and remove the label cassette.
- Use a clean cotton swab lightly dampened with rubbing alcohol to gently wipe the print head.
- Allow the print head to dry completely before reinserting the cassette and turning on the device.
5.2 Battery Care
- Avoid fully discharging the battery frequently.
- If storing the device for an extended period, ensure the battery is partially charged (around 50%) and recharge it every few months.
- Use only the original DYMO battery pack and AC adapters provided with the kit.
6. Troubleshooting
6.1 Common Issues and Solutions
| Problem | Possible Cause | Solution |
|---|---|---|
| No power / Device won't turn on | Battery discharged or improperly installed. | Ensure battery is fully charged and correctly inserted. Try connecting to AC power. |
| Poor print quality / Faded text | Dirty print head or old/incorrect label tape. | Clean the print head (see Section 5.1). Replace the label cassette with a new, genuine DYMO D1 tape. |
| Label jam / Tape not feeding | Improperly installed label cassette or debris in the mechanism. | Turn off the device, open the compartment, remove and reinsert the label cassette. Check for any obstructions. |
| Device not recognized by computer | USB cable issue or software driver problem. | Ensure USB cable is securely connected. Restart both the label maker and computer. Reinstall DYMO Label software. |
7. Specifications
| Feature | Detail |
|---|---|
| Brand | DYMO |
| Model Name | LM 280 (Product Code: 2091152) |
| Connectivity Technology | USB |
| Print Technology | Thermal Transfer |
| Special Feature | Portable, Rechargeable |
| Power Adapter Type | EU and UK included |
| Printer Output | Monochrome (Black text on various D1 label colors) |
| Max Print Speed | 10 mm/second (approximate) |
| Item Weight | 1 Kilogram |
| Compatible Label Widths | 6 mm, 9 mm, 12 mm (D1 and IND labels) |
8. Warranty and Support
For warranty information and technical support, please refer to the documentation included with your product or visit the official DYMO website. You can typically find detailed warranty terms, FAQs, and contact information for customer service there.
Ensure you register your product to receive updates and support.
Ask a question about this manual
Ask about setup, troubleshooting, compatibility, parts, safety, or missing instructions. Manuals+ will review the question and use this page’s manual context to help answer it.