
Introduction
This manual provides essential information for the setup, operation, and maintenance of your BenQ W5700 DLP Projector. Please read this manual thoroughly before using the projector to ensure proper and safe operation.
The BenQ W5700 is a high-performance 4K UHD DLP projector designed for home cinema environments, offering exceptional color accuracy and image quality.
Safety Information
Always observe the following safety precautions:
- Do not block ventilation openings.
- Do not expose the projector to rain or moisture.
- Do not open the projector casing; refer all servicing to qualified personnel.
- Avoid direct eye exposure to the projector lens when the lamp is on.
- Ensure proper power supply voltage as specified on the product label.
What's in the Box
Upon opening the package, verify that all items are present:
- BenQ W5700 DLP Projector
- Remote Control
- HDMI Cable
- Power Cord
- AAA Batteries (2)
- User Manual (this document)

Image: The BenQ W5700 projector's included accessories, showing the power cord and remote control.
Setup
1. Physical Placement
The BenQ W5700 projector can be placed on a flat surface or mounted to the ceiling. Ensure adequate ventilation around the unit.
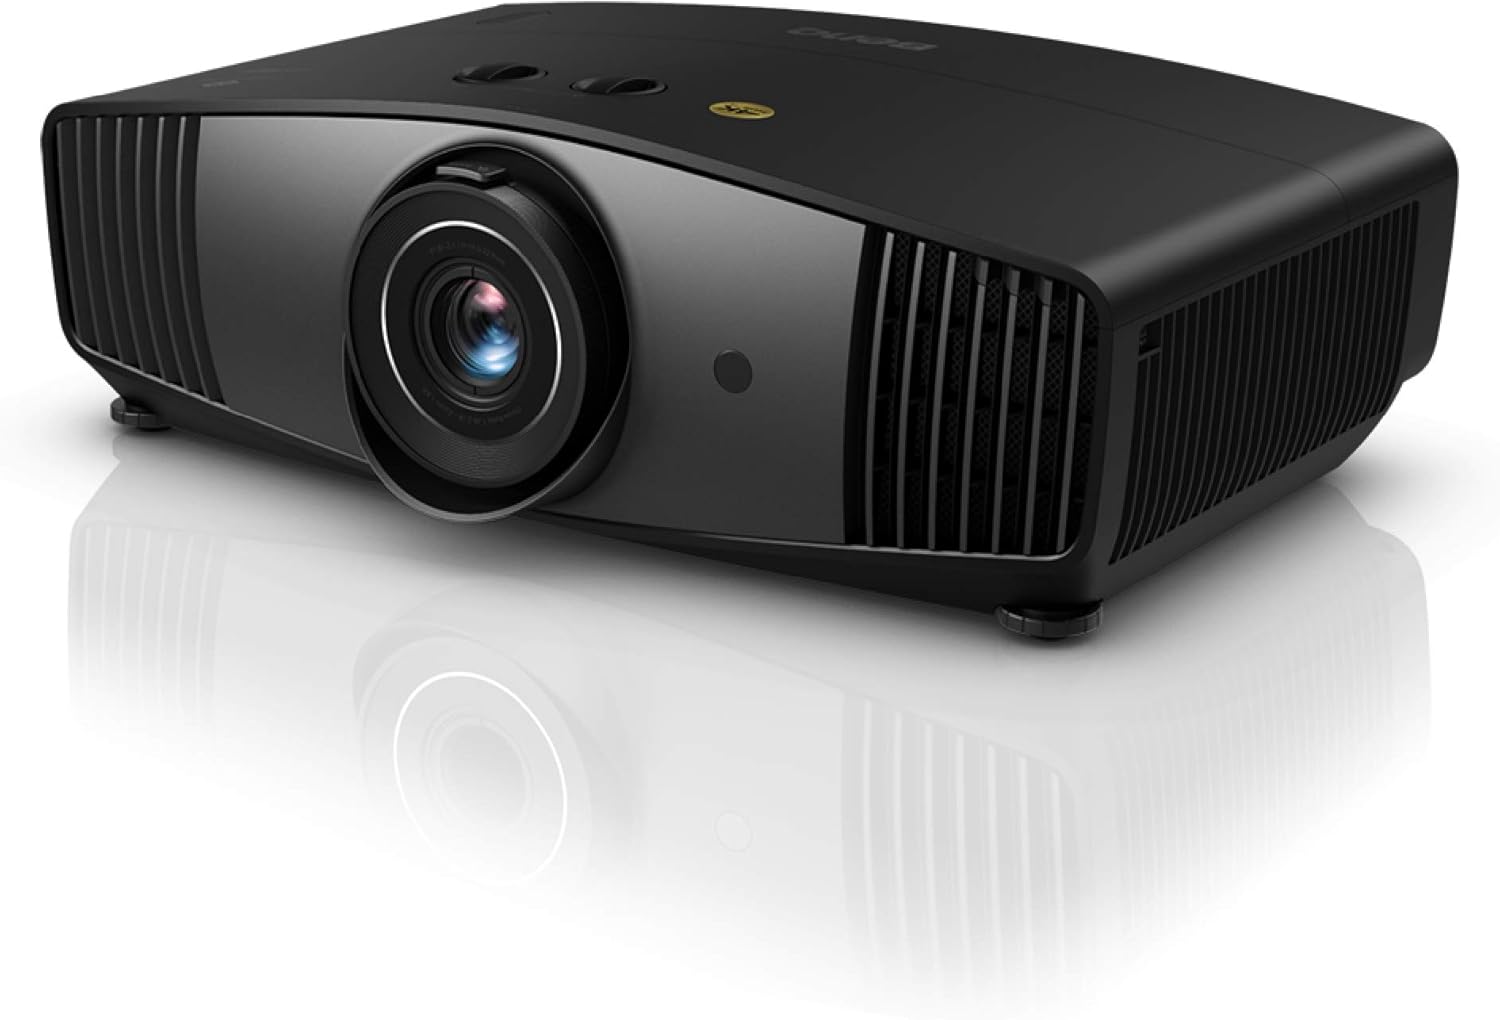
Image: Front-side view of the BenQ W5700 DLP Projector, showcasing its compact design.
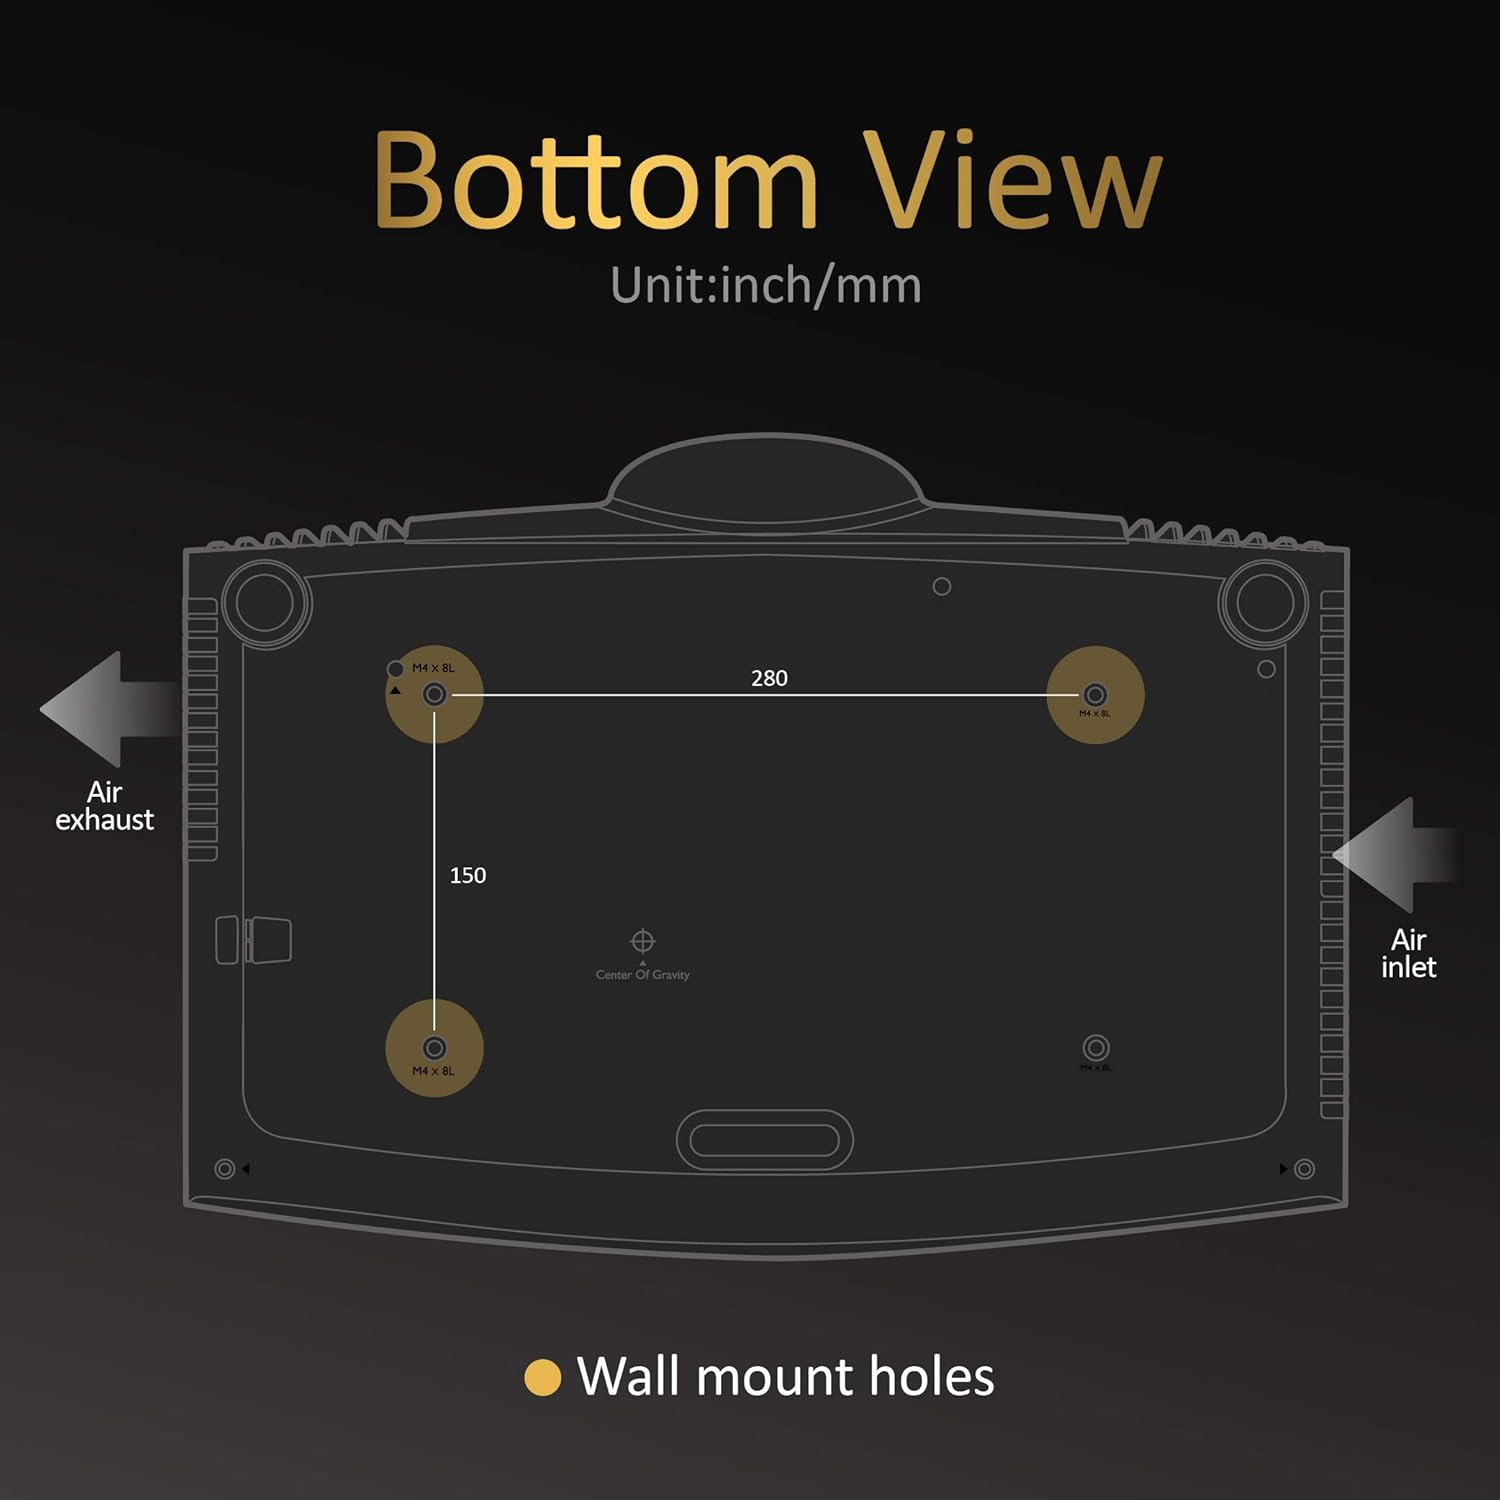
Image: Bottom view of the BenQ W5700 Projector, indicating the location of wall mount holes and air intake/exhaust vents. Dimensions for mounting are also shown.
For ceiling mounting, use compatible mounting hardware. The projector features standard wall mount holes (M4 x 8L) with a spacing of 280mm x 150mm.
2. Connecting Devices
Connect your source devices (e.g., Blu-ray player, gaming console, streaming device) to the projector's input ports.

Image: Diagram of the BenQ W5700 Projector's I/O ports, including LAN, SPDIF, 12V Trigger, USB 3.0, HDMI 1 (HDCP 2.2), HDMI 2 (HDCP 2.2), Service USB, RS-232, USB (Media), and Audio Out.
- HDMI Ports: The projector features two HDMI inputs (HDMI 1 and HDMI 2), both supporting HDCP 2.2 for 4K content. Use the provided HDMI cable for optimal performance.
- USB Ports: USB 3.0 for media playback and a service USB port.
- Audio Out: Connect external audio systems via the Audio Out port.
- LAN: For network connectivity.
- RS-232: For control system integration.
3. Powering On
After connecting all necessary cables, plug the power cord into the projector and then into a wall outlet. Press the power button on the projector or the remote control to turn on the unit.
Operating Instructions
1. Remote Control Functions
The included remote control provides full functionality for navigating the projector's settings and features.
Image: Layout of the BenQ W5700 Projector's remote control, showing buttons for power, menu, source selection, HDR, Cinema Master, color settings, and more.
- Power (Light On/Off): Turns the projector on or off.
- Menu: Accesses the on-screen display (OSD) menu.
- Source: Selects the input source (HDMI 1, HDMI 2, etc.).
- Navigation Buttons (Up/Down/Left/Right/OK): Navigates through menu options.
- HDR: Activates or deactivates HDR mode.
- Cinema Master: Accesses advanced image processing settings.
- Color/Gamma/Sharpness: Direct access to picture adjustment settings.
2. Image Adjustment
Adjust the projected image for optimal viewing experience.
- Focus Ring: Rotate the lens focus ring to sharpen the image.
- Zoom Ring: Adjust the image size without moving the projector.
- Lens Shift: Use the lens shift controls (if available on your model) to vertically or horizontally adjust the image position without tilting the projector.
- Keystone Correction: If the image appears trapezoidal, use keystone correction in the OSD menu to square it.
3. Key Features
The BenQ W5700 offers advanced features for a superior viewing experience:
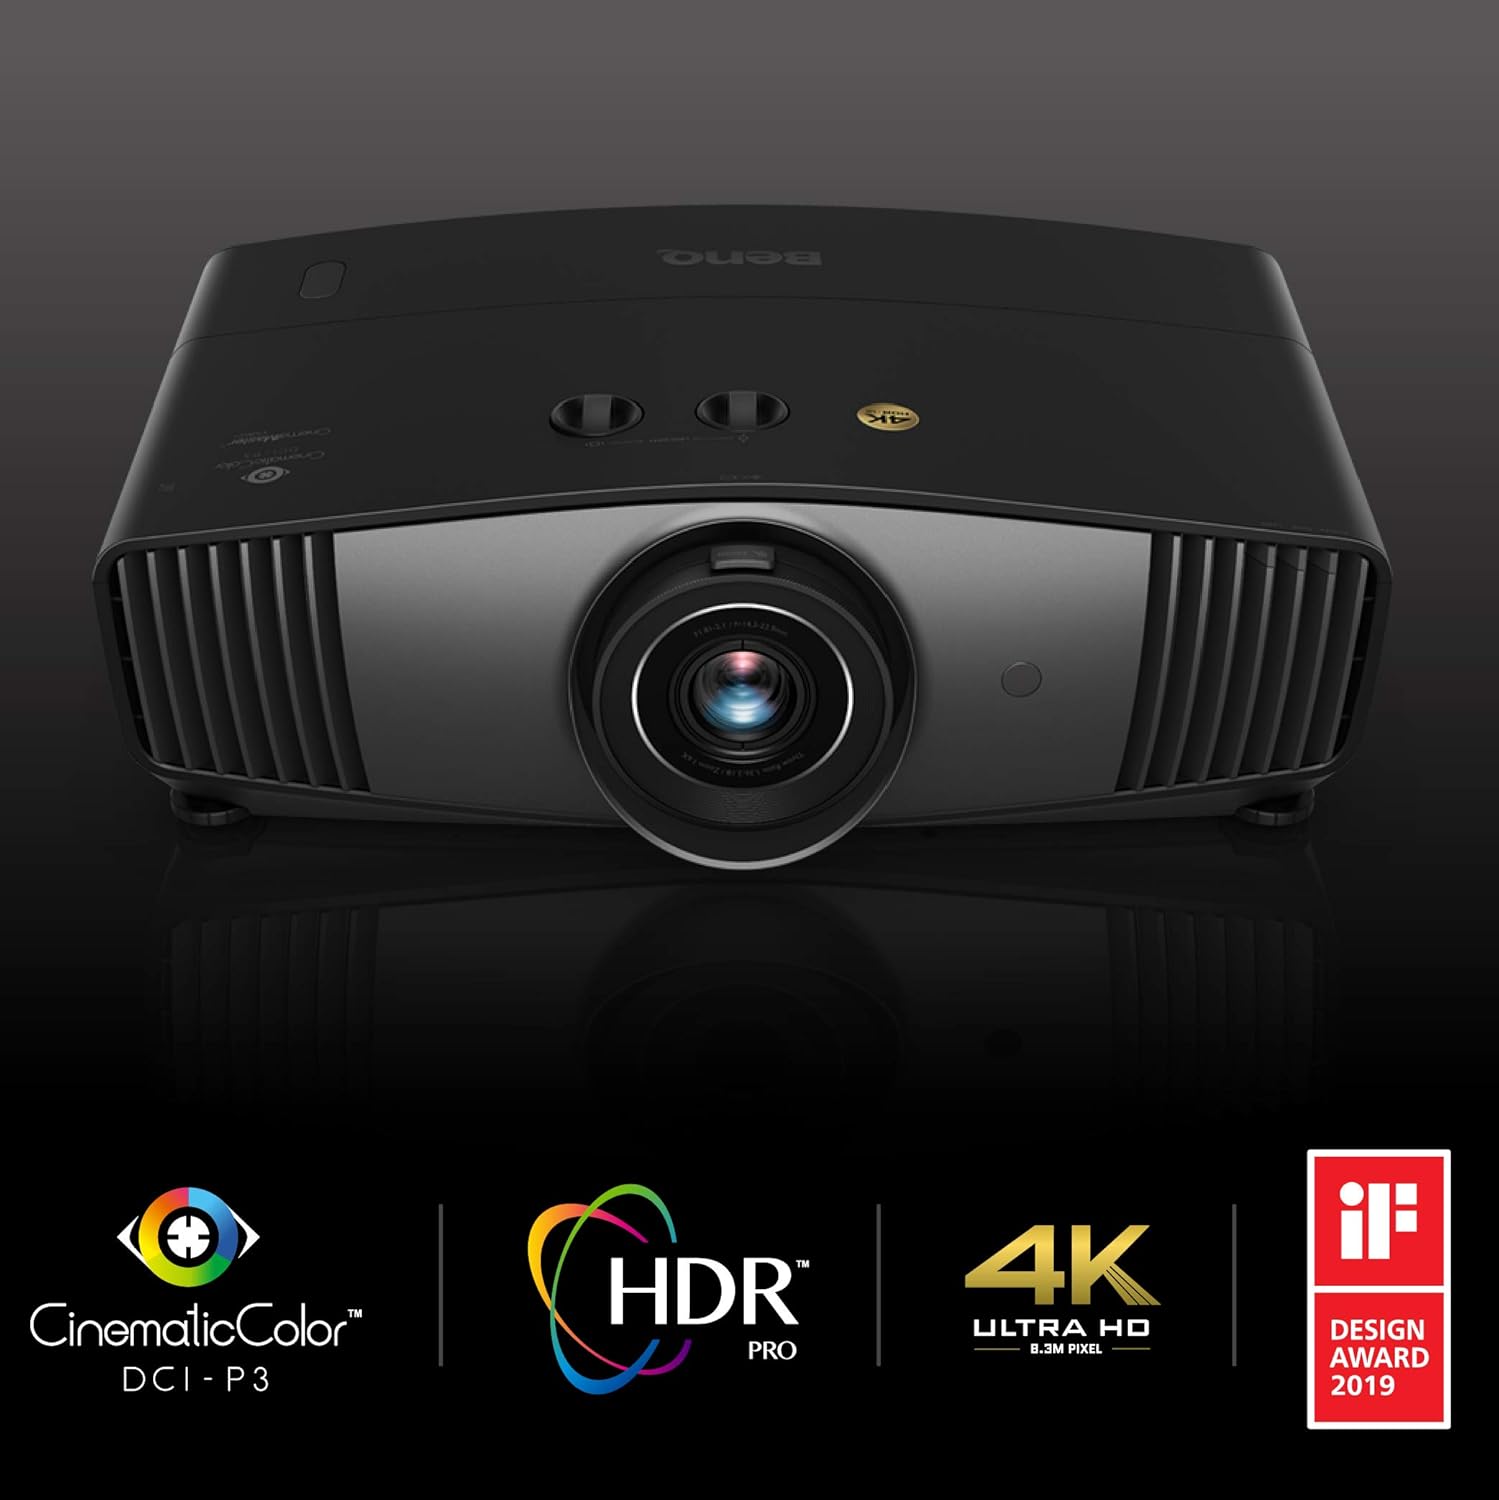
Image: Promotional image highlighting key features of the BenQ W5700 Projector: CinematicColor DCI-P3, HDR PRO, 4K Ultra HD (8.3M Pixel), and its recognition with a Design Award 2019.
- 4K UHD Resolution: Delivers stunning clarity and detail with 3840 x 2160 pixels.
- HDR (High Dynamic Range): Supports HDR10 and HLG for enhanced contrast and color depth.
- 100% DCI-P3 CinematicColor: Provides accurate and vibrant colors, meeting professional cinema standards.
- 3D Blu-Ray Ready: Compatible with 3D Blu-ray content (requires separate 3D glasses).
Maintenance
1. Cleaning the Projector
- Casing: Use a soft, lint-free cloth slightly dampened with water or a mild cleaner. Avoid abrasive cleaners.
- Lens: Use a professional lens cleaning kit. Gently wipe the lens in a circular motion from the center outwards.

Image: Close-up view of the BenQ W5700 Projector's lens area, highlighting the "Anti-Dust Lens Hood" feature designed to protect the lens.
The projector features an Anti-Dust Lens Hood to help protect the lens from dust accumulation. Keep it clean for optimal image quality.
2. Lamp Replacement
The projector lamp has a finite lifespan. When the lamp life is nearing its end, a warning message will appear on the screen. Refer to the full user manual for detailed instructions on lamp replacement. Always use genuine BenQ replacement lamps.
3. Air Filter Cleaning
Regularly clean the air filters to ensure proper ventilation and prevent overheating. Refer to the full user manual for instructions on accessing and cleaning the air filters.
Troubleshooting
If you encounter issues with your projector, refer to the following common problems and solutions:
| Problem | Possible Cause / Solution |
|---|---|
| No image on screen |
|
| Image is blurry |
|
| Remote control not working |
|
| Projector overheats or shuts down |
|
For more detailed troubleshooting, please refer to the comprehensive user manual available on the BenQ support website.
Specifications
| Feature | Detail |
|---|---|
| Brand | BenQ |
| Model Number | 9H.JKV77.1HE |
| Display Resolution | 3840 x 2160 (4K UHD) |
| Brightness | 1800 ANSI Lumens |
| Contrast Ratio | 100,000:1 |
| Connectivity Technology | HDMI (x2), USB 3.0, LAN, RS-232 |
| Special Features | 3D-Ready, Portable, HDR, 100% DCI-P3 |
| Item Weight | 14.33 pounds |
| Product Dimensions | 23.62 x 19.69 x 11.81 inches |
| Batteries Required | 2 AAA (included) |
| Color | Black |
Warranty and Support
BenQ provides a limited warranty for its products. For specific warranty terms and conditions, please refer to the warranty card included with your product or visit the official BenQ support website.
For technical assistance, troubleshooting, or service inquiries, please contact BenQ Customer Support. You can find contact information on the BenQ website or in your product's documentation.
Optional protection plans are available for extended coverage. Please refer to the product listing or contact your retailer for details on 2-Year or 3-Year protection plans.


