
1. Introduction
This manual provides essential information for the safe and efficient use of your ROMOSS 20000mAh Portable Charger, Model PAS20. Please read it thoroughly before first use and retain it for future reference.

Image 1.1: The ROMOSS 20000mAh Portable Charger. This image displays the compact black power bank with its LED digital display showing '100' and the ROMOSS logo. The input/output ports are visible on one end.
2. Product Overview
2.1 Key Features
- 20000mAh High Capacity: Provides multiple charges for various devices.
- Compact Design: Measures approximately 5.7 x 2.7 x 1.1 inches for portability.
- Precise LED Digital Display: Shows battery percentage from 0% to 100%.
- 3 Input Ports: Recharge the power bank using Micro-USB, Lightning, or Type-C cables.
- 2 USB Output Ports: Charge two devices simultaneously at up to 2.1A.
- Safety Protection: Built-in intelligent system protects against over-heat, over-charge, over-current, over-discharge, and short-circuit.
2.2 Components
The ROMOSS PAS20 features a streamlined design with clearly marked ports and an intuitive display.
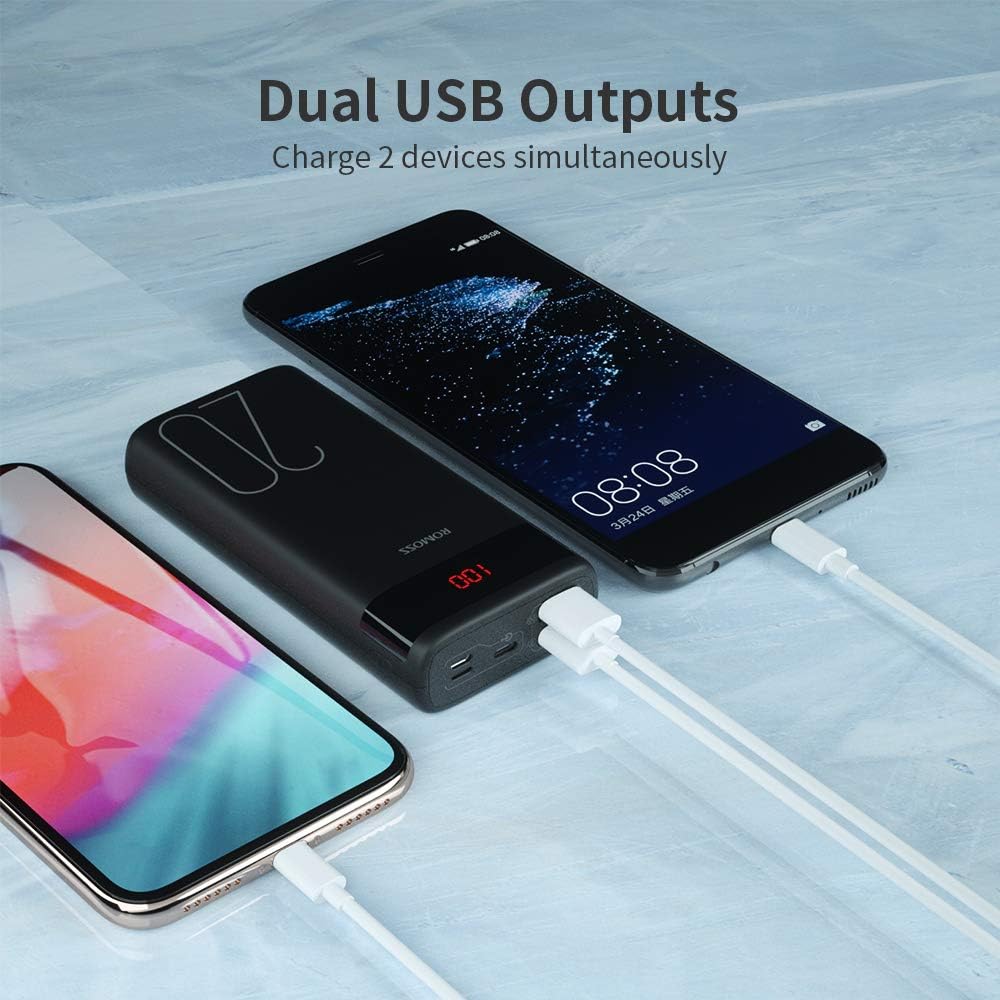
Image 2.1: Dual USB Output Ports. This image shows the end of the power bank with two USB-A output ports, allowing two devices to be charged simultaneously. Two smartphones are connected and charging.

Image 2.2: Charging Capacity Examples. This image illustrates the approximate number of charges the power bank can provide for various devices, including iPhone 8 (8.2 charges), iPhone XR (5 charges), Samsung S10 (4.4 charges), and Nintendo Switch (2 charges).

Image 2.3: Charging a Nintendo Switch. A user is shown holding a Nintendo Switch while it is connected and charging from the ROMOSS power bank, demonstrating its compatibility with gaming devices.
3. Setup
3.1 Initial Charging of the Power Bank
Before first use, it is recommended to fully charge your ROMOSS power bank. The power bank may not be fully charged upon initial receipt.
- Connect a compatible charging cable (Micro-USB, Lightning, or Type-C) to one of the input ports on the power bank.
- Connect the other end of the cable to a USB wall adapter (not included) or a powered USB port.
- The LED digital display will show the charging progress. It is fully charged when the display shows '100'.
Note: A charging cable is not included with the power bank.
4. Operating Instructions
4.1 Charging Your Devices
The power bank features two USB-A output ports to charge your electronic devices.
- Connect your device's USB charging cable to one of the USB output ports on the power bank.
- Connect the other end of the cable to your device.
- The power bank will automatically begin charging your device. If it does not, press the power button on the side of the power bank.
- The LED display will show the remaining battery percentage of the power bank.
4.2 Checking Battery Level
To check the remaining battery level of the power bank, simply press the power button once. The LED digital display will illuminate and show the current percentage.
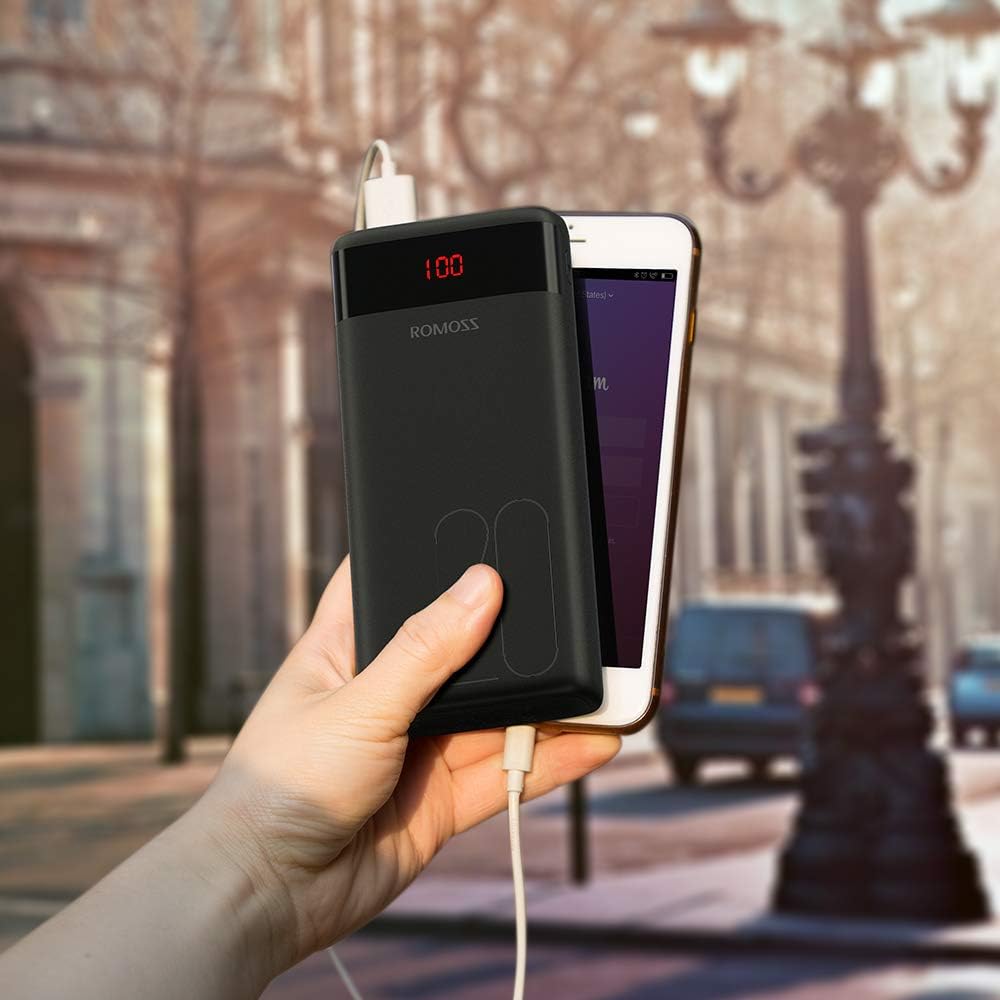
Image 4.1: Power Bank in Use. This image shows the ROMOSS power bank being held in a hand, connected to a smartphone via a charging cable, demonstrating its portable use.
5. Maintenance
- Keep the power bank away from extreme temperatures, direct sunlight, and liquids.
- Clean the device with a soft, dry cloth. Do not use abrasive cleaners or solvents.
- Store in a cool, dry place when not in use.
- If the power bank is not used for extended periods, charge it at least once every three months to maintain battery health.
6. Troubleshooting
- Power bank not charging: Ensure the charging cable is securely connected to both the power bank input port and the power source. Try a different cable or power adapter.
- Device not charging from power bank: Ensure the device's charging cable is securely connected to both the power bank output port and the device. Press the power button on the power bank to activate charging. Check if the power bank has sufficient charge.
- Slow charging: Ensure you are using appropriate cables and adapters. Charging speed can vary depending on the device and cable quality.
- LED display not working: Press the power button. If it still doesn't light up, the power bank might be completely discharged or require service.
7. Specifications
| Feature | Detail |
|---|---|
| Model Number | PAS20 |
| Battery Capacity | 20000 Milliamp Hours (mAh) |
| Product Dimensions | 5.73 x 1.17 x 2.75 inches |
| Item Weight | 15.2 ounces |
| Input Ports | Micro USB, Lightning, Type-C |
| Output Ports | 2 x USB-A (2.1A max) |
| Special Features | Digital Display, Portable, Travel-friendly |
8. Safety Information
Please observe the following safety guidelines to prevent injury or damage to the device:
- Do not disassemble, modify, or repair the device yourself.
- Do not expose the power bank to fire, water, or extreme temperatures.
- Avoid dropping or subjecting the device to strong impacts.
- Keep out of reach of children.
- Use only compatible charging cables and adapters.
- If the power bank swells, leaks, or emits an unusual odor, discontinue use immediately.
- The power bank is not fully charged when first used; charge it fully before use.
- If the power bank is not recharging, press the power button or reinsert the cable to activate the charger.
9. Product Video
Watch this official product video for a visual overview of the ROMOSS 20000mAh Portable Charger.
Video 9.1: ROMOSS 20000mAh Portable Phone Charger. This video provides a detailed visual demonstration of the power bank's features, including its compact size, LED display, multiple input/output ports, and charging capabilities for various devices.


