
CRAFTSMAN CMMT44201
CRAFTSMAN 15-Inch 1/2-Inch Drive Breaker Bar (CMMT44201)
User Instruction Manual
1. Introduction
This manual provides essential information for the safe and effective use of your CRAFTSMAN 15-Inch 1/2-Inch Drive Breaker Bar, model CMMT44201. This tool is designed to provide increased leverage for loosening stubborn fasteners, making tasks easier and quicker.
Key Features:
- Corrosion Resistance: Features a full polish chrome finish for enhanced durability and resistance to corrosion.
- Increased Torque: Designed to provide added leverage, facilitating the loosening of tight bolts and nuts.
- ASME Compliant: Meets or exceeds ASME specifications for quality and performance.

Image 1.1: The CRAFTSMAN 15-Inch 1/2-Inch Drive Breaker Bar, showcasing its polished chrome finish.
2. Safety Information
Always prioritize safety when using hand tools. Failure to follow safety guidelines can result in injury or damage to the tool or workpiece.
- Eye Protection: Always wear ANSI-approved safety glasses or goggles to protect your eyes from flying debris.
- Proper Socket Fit: Ensure the socket is correctly sized for the fastener and fully engaged on the breaker bar's drive. A loose fit can cause slippage and injury.
- Stable Stance: Maintain a balanced and stable stance when applying force to the breaker bar to prevent falls.
- Avoid Over-Leverage: Do not use extension pipes or 'cheater bars' unless specifically designed for the tool and application, as this can exceed the tool's design limits and cause breakage.
- Not a Pry Bar: This tool is designed for rotational force. Do not use it as a pry bar, chisel, or hammer, as this can damage the tool and cause injury.
- Inspect Tool: Before each use, inspect the breaker bar for any signs of damage, cracks, or wear. Do not use a damaged tool.
3. Setup
Preparing your breaker bar for use is straightforward:
- Select the Correct Socket: Choose a 1/2-inch drive socket that precisely fits the fastener you intend to loosen.
- Attach the Socket: Firmly push the selected socket onto the 1/2-inch square drive of the breaker bar until it clicks or is securely seated. Ensure it is fully engaged and does not wobble.
- Position the Tool: Place the socket onto the fastener, ensuring it is fully seated and square to the fastener head.

Image 3.1: Diagram highlighting the 1/2-inch drive and 15-inch length of the breaker bar, along with large stamped markings for identification.
4. Operating Instructions
The CRAFTSMAN breaker bar is designed to apply significant torque to loosen fasteners. Follow these steps for effective operation:
- Secure the Fastener: Ensure the fastener is accessible and that the socket is firmly seated on it.
- Grip the Bar: Hold the breaker bar firmly with both hands, positioning yourself to apply steady, controlled force. For maximum leverage, grip the bar near its end.
- Apply Force: Apply gradual, increasing pressure in the direction required to loosen the fastener (typically counter-clockwise for standard right-hand threads). Avoid sudden jerking motions.
- Listen and Feel: Pay attention to the feel and sound as you apply force. A 'break' or 'pop' indicates the fastener has begun to loosen.
- Continue Loosening: Once the fastener breaks free, you can often switch to a ratchet wrench for faster removal.

Image 4.1: The breaker bar in use, demonstrating its ability to provide extra torque through added leverage.
5. Maintenance
Proper maintenance ensures the longevity and performance of your CRAFTSMAN breaker bar.
- Cleaning: After each use, wipe the breaker bar clean with a dry cloth to remove dirt, grease, and debris. For heavier grime, use a mild degreaser and then wipe dry.
- Corrosion Protection: The full polish chrome finish provides excellent corrosion resistance. However, to maintain its condition, avoid prolonged exposure to moisture and corrosive chemicals.
- Storage: Store the breaker bar in a dry environment, away from extreme temperatures and humidity. A tool chest or wall-mounted rack is ideal.
- Inspection: Periodically inspect the drive head for wear or damage. While designed for durability, extreme forces can cause stress over time.
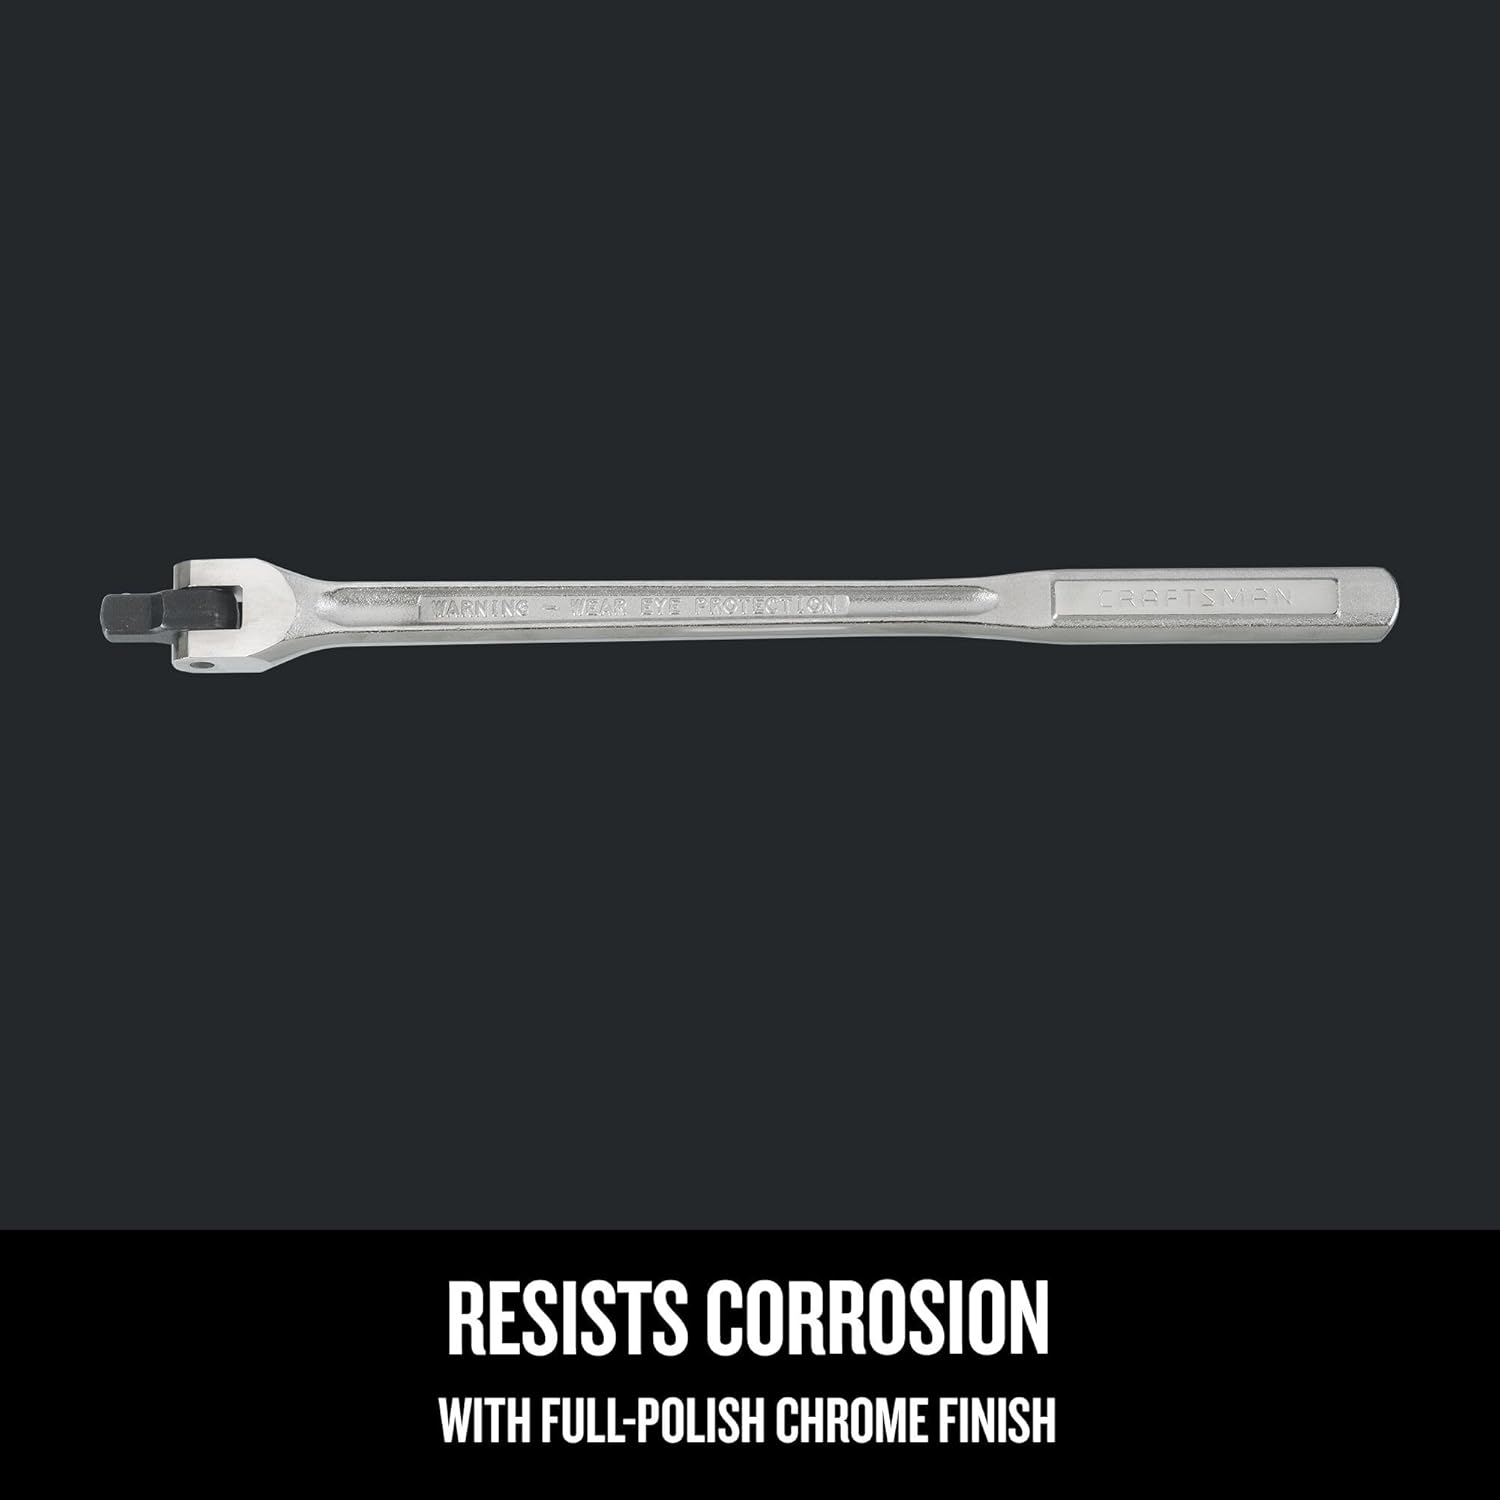
Image 5.1: The breaker bar's full-polish chrome finish, which provides resistance against corrosion.
6. Troubleshooting
Most issues with a breaker bar relate to extremely stubborn fasteners. Here are some common scenarios and solutions:
- Fastener Will Not Loosen:
- Ensure the socket is fully seated and the correct size.
- Apply penetrating oil to the fastener threads and allow it to soak for several minutes.
- If safe and appropriate for the application, consider using a rubber mallet to tap the end of the breaker bar while applying rotational force.
- Socket Slipping:
- Verify the socket is the correct size and not worn.
- Ensure the socket is fully engaged on both the fastener and the breaker bar's drive.
- Damaged Fastener Head:
- If the fastener head is rounded or stripped, specialized tools such as bolt extractors may be required.
- Avoid further damage by stopping immediately if the socket begins to slip.
7. Specifications
| Attribute | Detail |
|---|---|
| Manufacturer | CRAFTSMAN |
| Part Number | CMMT44201 |
| Product Dimensions | 16.81 x 2.72 x 1.81 inches |
| Item Model Number | CMMT44201 |
| Size | 15 in |
| Color | Full Polish |
| Style | 15" Breaker Bar |
| Finish | Full Polish Chrome |
| Material | Steel |
| Item Package Quantity | 1 |
| Head Style | Fixed Square |
| Measurement System | inch |
| Included Components | (1) 1/2" Dr 15" Breaker Bar |
8. Warranty and Support
CRAFTSMAN tools are known for their durability and are often backed by a strong warranty. This product typically includes a Full Lifetime Warranty, which means no proof of purchase is required for warranty claims.
For warranty service, technical support, or any questions regarding your CRAFTSMAN breaker bar, please refer to the official CRAFTSMAN website or contact their customer service directly. Keep your tool in good condition to ensure it serves you for years to come.
Related documentsCMMT44201


Ask a question about this manual
Ask about setup, troubleshooting, compatibility, parts, safety, or missing instructions. Manuals+ will review the question and use this page’s manual context to help answer it.