Introduction
The asiproper U8 Mini DV DVR USB Flash Drive Camera is a compact and discreet device designed for video recording and motion detection. Its small size and USB flash drive appearance make it suitable for various recording needs. This manual provides detailed instructions for its setup, operation, and maintenance.
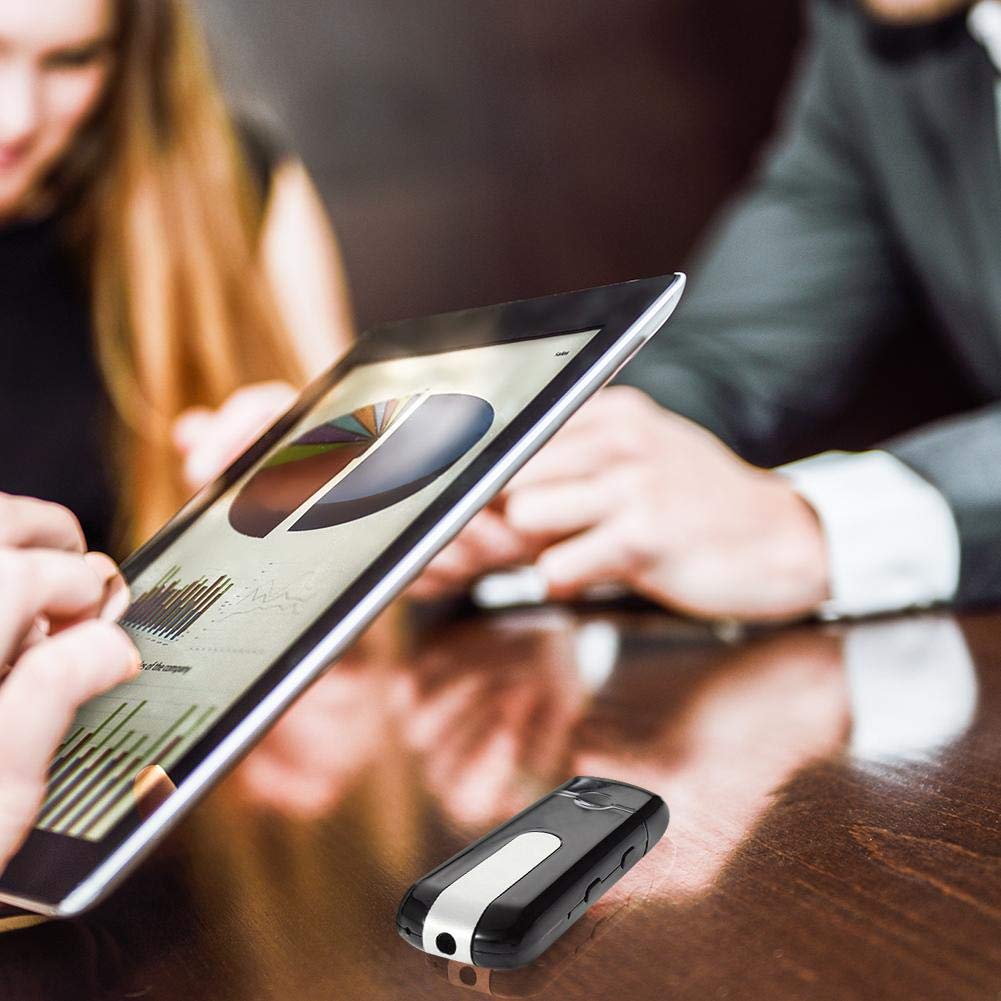
Image: The U8 Mini DV DVR USB Flash Drive Camera shown in a typical use scenario, placed on a table during a business discussion, highlighting its discreet design.
Product Components
The package includes the following items:
- 1 x USB Flash Drive Camera
- 1 x User Manual

Image: The U8 Mini DV DVR USB Flash Drive Camera displayed alongside graphical icons indicating its key features: Full HD video, integrated microphone, video recording capability, support for TF (MicroSD) cards, and its discreet nature.
Parts Identification
Familiarize yourself with the different parts of your U8 Mini DV DVR device:

Image: A detailed view of the U8 Mini DV DVR USB Flash Drive Camera, highlighting the small camera lens at one end, the indicator light, and the control buttons located on the side of the device.
- Camera Lens: Located at the front end of the device.
- USB Connector: Protected by a removable cap. Used for charging and data transfer.
- Indicator Light: Provides status feedback (e.g., charging, recording, standby).
- Control Buttons: Typically located on the side for power and mode selection.
- TF Card Slot: For inserting the memory card.
Setup
1. Charging the Device
Before first use, fully charge the device. The battery capacity is 300mAh, providing approximately 120 minutes of working time on a full charge.
- Remove the cap to expose the USB connector.
- Plug the device into a standard USB port (e.g., computer, USB wall adapter) for charging.
- The indicator light will typically show a specific color (e.g., red) during charging and change or turn off when fully charged. Charging time is approximately 2-3 hours.
2. Inserting the Memory Card
The device requires a TF (MicroSD) card for storing recordings. The memory card is NOT included.
- Locate the TF card slot on the device.
- Gently insert a TF card into the slot with the gold contacts facing down, until it clicks into place.
- To remove, push the card in slightly until it springs out.

Image: The U8 Mini DV DVR USB Flash Drive Camera with its protective cap removed, revealing the USB connector, illustrating how it connects to a power source or computer.
Operating Instructions
Power On/Off
- Power On: Press and hold the power button for a few seconds until the indicator light illuminates.
- Power Off: Press and hold the power button until the indicator light turns off.
Standard Video Recording
- Ensure the device is powered on and in standby mode (indicator light steady).
- Press the video recording button once to start recording. The indicator light will typically flash during recording.
- Press the video recording button again to stop recording. The device will save the file and return to standby mode.
Motion Detection Recording
The device features a motion-activated detector.
- Ensure the device is powered on and in standby mode.
- Press the motion detection button (or specific button combination as per device design) to activate motion detection mode. The indicator light will change to signify this mode.
- The device will automatically begin recording when motion is detected and stop when motion ceases, saving the video file.
- To exit motion detection mode, press the motion detection button again.
Connecting to a Computer
To access recorded files:
- Ensure the device is powered off.
- Remove the USB cap and plug the device into a computer's USB port.
- The computer should recognize the device as a removable disk.
- Navigate to the device's storage to view, copy, or delete video files.
Maintenance
- Cleaning: Use a soft, dry cloth to clean the device. Avoid liquid cleaners or abrasive materials.
- Storage: Store the device in a cool, dry place away from direct sunlight and extreme temperatures.
- Battery Care: To prolong battery life, avoid fully discharging the battery frequently. Charge the device regularly, even if not in use for extended periods.
- Data Management: Regularly back up important recordings to your computer and format the TF card to maintain optimal performance.
Troubleshooting
- Device not turning on: Ensure the device is fully charged. If the issue persists, try resetting the device (if a reset pinhole is available) or contact support.
- Not recording: Check if a TF card is properly inserted and has sufficient free space. Ensure the device is in the correct recording mode.
- Computer not recognizing the device: Ensure the device is powered off before connecting to the computer. Try a different USB port or cable.
- Poor video quality: Ensure the camera lens is clean. Check lighting conditions.
Specifications
| Video Format | AVI |
| Video Coding | M-JPEG |
| Resolution Ratio | 1280x960, 1280x720, 720x480, 640x480 VGA |
| Frame Rate | 30fps |
| Picture Format | JPG 1280x1024 |
| Image Pixels | 5M pix |
| Image Ratio | 4:3 |
| Battery Capacity | 300mAh |
| Working Time | Approx. 120 minutes |
| Charging Time | DC 5V (Approx. 2-3 hours) |
| Interface Type | Mini 4pin USB |
| Memory Card | TF card (MicroSD, NOT included) |
| Battery Type | High capacity polymer lithium electricity |
| Dimensions (L*W*H) | Approx. 7.5 x 2.3 x 1.2 cm (2.95" x 0.91" x 0.47") |
| Item Weight | 20 g |
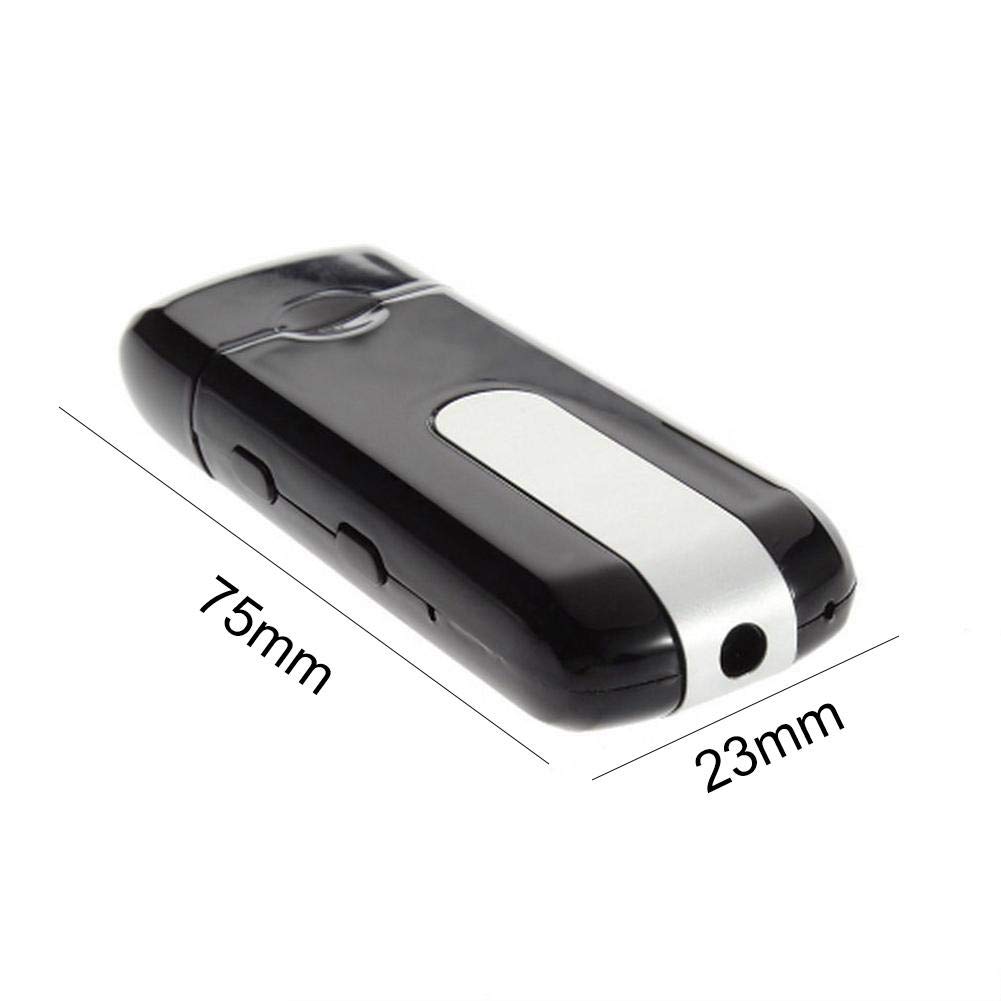
Image: The U8 Mini DV DVR USB Flash Drive Camera shown with its approximate dimensions, indicating a length of 75mm and a width of 23mm.
Safety Information
- Do not expose the device to water or moisture.
- Avoid dropping or subjecting the device to strong impacts.
- Do not attempt to disassemble or modify the device, as this will void the warranty and may cause damage.
- Keep out of reach of children.
Warranty and Support
For warranty information or technical support, please refer to the purchase documentation or contact the seller directly. Keep your proof of purchase for any warranty claims.


