1. Introduction
Thank you for purchasing the ELEPHAS RD-606 Mini Projector. This compact and portable projector is designed to provide a versatile home theater experience with features like Wi-Fi connectivity, 3D support, and a built-in battery. This manual provides essential information for setting up, operating, and maintaining your projector to ensure optimal performance and longevity.
The RD-606 utilizes advanced DLP technology to deliver clear images with a 1000:1 contrast ratio and up to 1080P resolution. Its lightweight design and integrated battery allow for flexible use in various environments.

Image: High-Definition Display Comparison. The ELEPHAS projector delivers superior image clarity and color reproduction.
2. Safety Information
Please read all safety instructions carefully before using the projector. Keep this manual for future reference.
- Do not look directly into the projector lens when the lamp is on, as the bright light can cause eye damage.
- Ensure proper ventilation around the projector. Do not block ventilation openings.
- Use only the power adapter supplied with the projector.
- Do not expose the projector to rain, moisture, or extreme temperatures.
- Avoid placing the projector on unstable surfaces.
- Do not attempt to disassemble or modify the projector. Refer all servicing to qualified personnel.
3. Package Contents
Verify that all items are present in your package:
- ELEPHAS Mini Projector (RD-606) x1
- Power Adapter x1
- Remote Control x1
- Micro USB Wire x1
- Free Tripod x1
- Carrying Bag x1
- User Manual x1
4. Setup
4.1 Powering On/Off
- Connect the power adapter to the projector's charging port (DC 5V) and then to a power outlet.
- Slide the Power Switch to the 'ON' position. The projector will power on.
- To power off, slide the Power Switch to the 'OFF' position.
4.2 Focus Adjustment
Rotate the focus ring on the side of the projector until the projected image appears clear and sharp.
4.3 Auto Keystone Correction
The RD-606 features an automatic keystone correction function. The projected image will adjust automatically to optimize the angle, correcting distortion up to ±40 degrees. No manual adjustment is typically required for this feature.
4.4 Connectivity
The projector supports various input sources:
- HDMI: Connect devices like laptops, gaming consoles (PS4), or streaming sticks (Fire TV, Roku Stick, Apple TV) using an HDMI cable.
- USB: Insert a USB flash drive to play media files directly.
- Micro USB: For charging or connecting compatible devices.
- 3.5mm Audio: Connect external speakers or headphones.
- Wi-Fi: Connect to your wireless network for online content and screen mirroring.

Image: Projector Ports and Compatible Devices. This image illustrates the various input ports and devices that can be connected to the RD-606 projector.
5. Operating Instructions
5.1 Basic Navigation
Use the included remote control to navigate the projector's on-screen menu. The directional buttons allow you to move through options, and the 'OK' or 'Enter' button confirms selections. 'Back' or 'Return' buttons typically exit menus.
5.2 Wi-Fi Connection
- Access the projector's settings menu.
- Select 'Network' or 'Wi-Fi Settings'.
- Choose your desired Wi-Fi network from the list.
- Enter the Wi-Fi password using the on-screen keyboard.
- Once connected, you can access built-in apps like YouTube and Koala (if available) for online content.
5.3 Wireless Screen Mirroring (Airplay/Miracast)
The projector supports wireless mirroring from compatible smartphones and tablets via Airplay (for iOS devices) or Miracast (for Android devices).
- Ensure your projector and smart device are connected to the same Wi-Fi network.
- On the projector, select the 'Screen Mirroring' or 'Wireless Display' option from the main menu.
- On your smart device, activate its screen mirroring feature (e.g., 'Screen Mirroring', 'Smart View', 'Airplay', 'Cast').
- Select the projector's name from the list of available devices on your smart device.
- The device's screen content will now be projected.

Image: Screen Mirroring with Phone/Tablet. This image demonstrates how to wirelessly share content from mobile devices to the projector.
5.4 3D Mode Operation
The RD-606 Series supports multiple 3D modes. To experience 3D content:
- You will need a pair of active DLP Link 3D glasses (sold separately).
- Play 3D content from a compatible source.
- Turn on your DLP Link 3D glasses. They should automatically synchronize with the projected image.
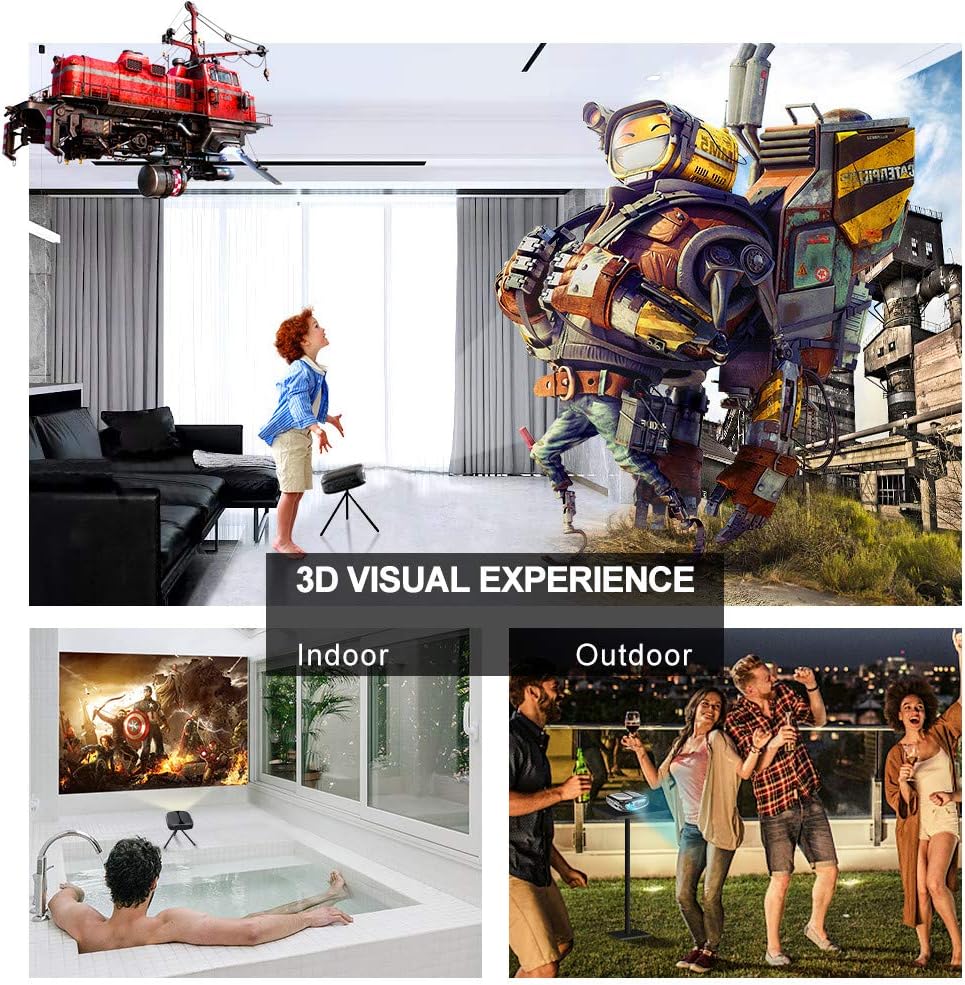
Image: 3D Visual Experience. The projector offers immersive 3D viewing for both indoor and outdoor settings.
5.5 Battery Operation and Portability
The built-in battery provides approximately two hours of continuous video playback, offering flexibility for use without a constant power source. For extended use, the projector can also be charged via a power bank.

Image: Embedded Battery for Portable Use. The projector's battery allows for convenient outdoor entertainment.

Image: Pocket Size and Lightweight Design. The projector's compact form factor makes it highly portable.
6. Maintenance
6.1 Cleaning the Lens
Gently wipe the projector lens with a soft, lint-free cloth specifically designed for optical surfaces. Do not use abrasive cleaners or harsh chemicals.
6.2 General Cleaning
Use a soft, dry cloth to clean the projector's casing. For stubborn dirt, a slightly damp cloth can be used, followed by a dry cloth. Ensure no liquid enters the device.
6.3 Storage
When not in use for extended periods, store the projector in a cool, dry place, away from direct sunlight and extreme temperatures. Use the provided carrying bag for protection against dust and physical damage.
7. Troubleshooting
- No Power:
- Ensure the power adapter is securely connected to both the projector and a working power outlet.
- Check if the power switch is in the 'ON' position.
- Verify the power outlet is functional.
- No Image:
- Check the input source selection on the projector to ensure it matches your connected device (e.g., HDMI, USB).
- Verify that the connected device is powered on and outputting a signal.
- Ensure all cables are securely connected.
- Blurry Image:
- Adjust the focus ring on the projector until the image is sharp.
- Ensure the projection surface is flat and the projector is at an appropriate distance.
- No Sound:
- Check the volume settings on both the projector and the connected source device.
- If using external speakers, ensure they are properly connected and powered on.
- Verify that the audio output settings on your source device are correct.
- Wi-Fi/Screen Mirroring Issues:
- Ensure both the projector and your smart device are connected to the same Wi-Fi network.
- Check for strong Wi-Fi signal strength.
- Restart both the projector and your smart device.
- Ensure your smart device's operating system is up to date.
8. Specifications
| Feature | Specification |
|---|---|
| Model | RD-606 |
| Display Technology | DLP |
| Image Brightness | 2600 Lumen |
| Image Contrast Ratio | 1000:1 |
| Native Resolution | 1920 x 1080 (Supports 1080P) |
| Special Features | Auto Keystone, HDMI Connectivity, Portable, Built-in Wi-Fi, 3D Ready |
| Connectivity Technology | HDMI, USB, Wi-Fi |
| Compatible Devices | Laptops, Smartphones, Media Players |
| Battery Type | Lithium Ion (1 included) |
| Battery Life | Approx. 2 hours video playback |
| Product Dimensions | 9.91 x 10.67 x 4.06 cm |
| Item Weight | 793.79 g (0.66 lb) |
| Mounting Type | Tabletop Mount |
9. Warranty and Support
ELEPHAS provides lifetime professional customer service and technical support for the RD-606 Mini Projector. If you encounter any issues or have questions regarding your product, please do not hesitate to contact our support team.
Contact Information:
- Email: support@elephas.com.hk
Please have your product model number (RD-606) and purchase details ready when contacting support to facilitate a quicker resolution.


