Raymarine E70534-05
Raymarine Element 9HV HV100 Transom Transducer Instruction Manual
Model: E70534-05
Introduction
This manual provides essential information for the proper installation, operation, and maintenance of your Raymarine Element 9HV with HV-100 Transom Transducer. The Element series is designed to enhance your on-water experience with advanced sonar and navigation capabilities. Please read this manual thoroughly before using the product to ensure optimal performance and safety.
Product Overview
The Raymarine Element 9HV is a CHIRP sonar/GPS display featuring HyperVision 1.2 megahertz super high-resolution sonar technology. It integrates DownVision, SideVision, and RealVision 3D sonar for detailed underwater imaging. The unit includes a 9-inch high-visibility display and a quad-core processor for fast chart redraw and smooth 3D rendering. Key features include:
- High-visibility sunlight viewable 9-inch display.
- Superior HyperVision CHIRP sonar technology for enhanced clarity.
- Built-in RealVision 3D sonar for accurate identification of underwater structures.
- Fast quad-core processor for responsive performance.
- 1.2 megahertz HyperVision sonar for outstanding resolution up to 100 feet.
- 350kHz Down and SideVision for photo-like imaging up to 600 feet.
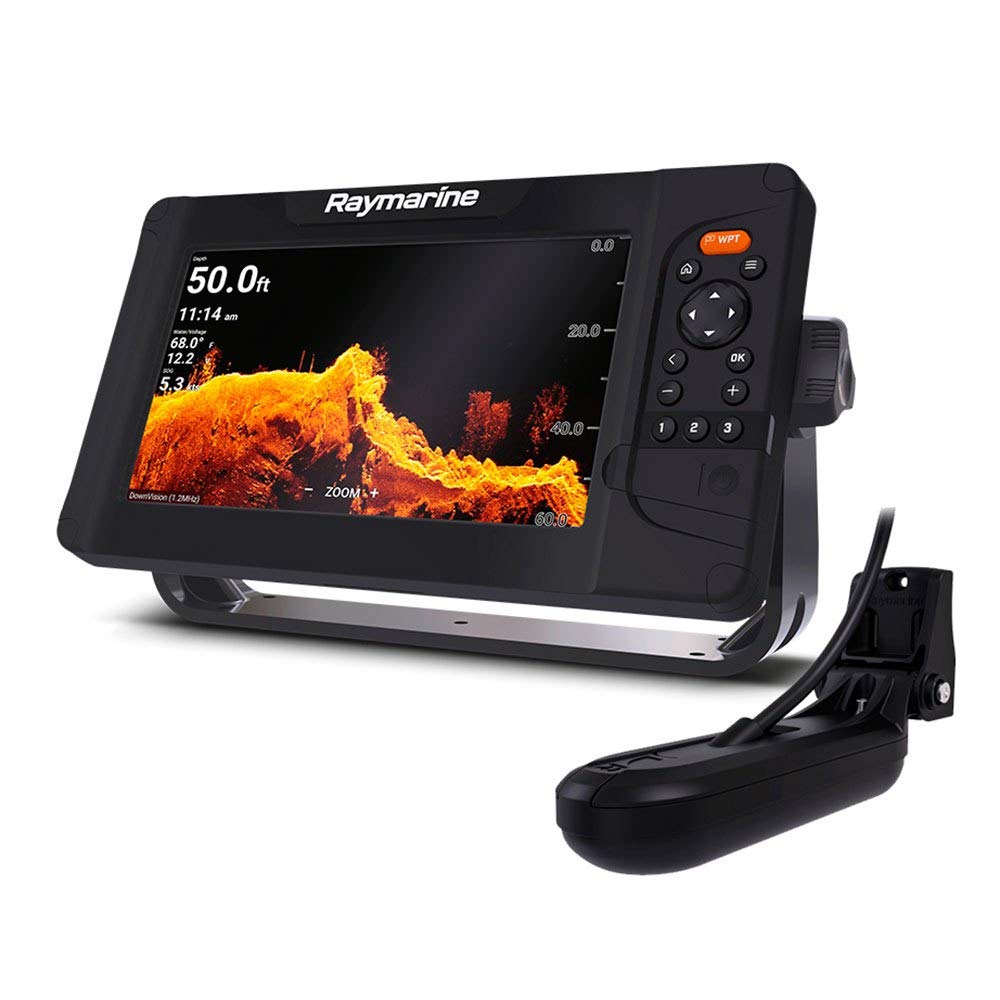
The image displays the Raymarine Element 9HV unit, featuring a detailed chart on its 9-inch screen. The screen shows current depth at 24.3 ft, time 11:16 am, water temperature 67.8°F, voltage 12.1V, and speed over ground (SOG) 5.1 kts. The chart illustrates underwater contours and a boat icon navigating towards a marked waypoint. Control buttons for navigation, menu, and waypoints are visible on the right side of the unit.
Setup
Unpacking
Carefully unpack all components from the box. Verify that all items listed in the packing list are present and undamaged. If any items are missing or damaged, contact your dealer immediately.
Installation
The Element 9HV is designed for transom mount installation of the HV-100 transducer. Ensure the mounting location on the transom is clear of obstructions and provides a clean water flow for optimal sonar performance. The display unit should be mounted in a location that is easily viewable and accessible from the helm, away from direct sunlight if possible, to prevent glare. Refer to the detailed installation guide included with your product for specific instructions on mounting the display and transducer, wiring, and power connections. Proper grounding is essential for safe operation.
Operating Instructions
Powering On/Off
To power on the unit, press and hold the Power button until the Raymarine logo appears. To power off, press and hold the Power button until the shutdown options appear, then select 'Power Off'. A quick press of the Power button will bring up the backlight and screen lock options.
Basic Navigation
Use the directional keypad to navigate through menus and pan charts. The 'OK' button confirms selections, and the 'Back' button returns to the previous screen or menu. The 'Home' button (house icon) returns to the main application page.
Sonar Operation (HyperVision, RealVision 3D)
The Element 9HV automatically selects the appropriate sonar mode based on depth and transducer input. Access sonar views from the main application page. Adjust gain, range, and frequency settings as needed for optimal target separation and clarity. HyperVision provides ultra-high-resolution imaging for detailed views of structure and fish up to 100 feet, while RealVision 3D offers a three-dimensional representation of the underwater environment.
Waypoint Management
Press the dedicated 'WPT' button to quickly mark your current location as a waypoint. Waypoints can be edited, named, and organized through the Waypoint Management menu. Use waypoints to mark fishing spots, hazards, or points of interest.
Maintenance
Cleaning
Clean the display screen with a soft, damp cloth. Avoid abrasive cleaners or solvents that could damage the screen coating. For the unit casing, use a mild detergent solution if necessary. Regularly inspect the transducer for marine growth or damage and clean as required to maintain sonar performance.
Storage
When not in use for extended periods, store the unit in a dry, cool environment, protected from direct sunlight and extreme temperatures. Disconnect power to prevent battery drain.
Troubleshooting
| Problem | Possible Cause | Solution |
|---|---|---|
| Unit does not power on | No power supply; Blown fuse; Loose connection | Check power cable connections; Inspect fuse; Verify battery voltage. |
| No sonar readings | Transducer not connected; Air bubbles on transducer; Damaged transducer | Ensure transducer is securely connected; Clean transducer face; Inspect transducer for damage. |
| GPS not acquiring position | Poor satellite signal; Unit obstructed | Move to an open area with clear sky view; Check for obstructions near the unit. |
| Screen freezes or is unresponsive | Software issue; Temporary glitch | Perform a soft reset (power cycle); Update software to the latest version. |
Specifications
| Feature | Specification |
|---|---|
| Brand | Raymarine |
| Model Name | E70534-05 |
| Power Source | DC Power Supply |
| Screen Size | 9 Inches |
| Display Type | LCD |
| Maximum Measuring Depth | 100 Feet (HyperVision) |
| Mounting Type | Transom Mount or Similar |
| Item Weight | 2.35 Kilograms |
| Item Dimensions (L x W x H) | 11.3"L x 6.34"W x 2.4"H |
| UPC | 723193828052, 723193831632 |
| Manufacturer Part Number | RAY.E70534-05 |
Warranty and Support
Raymarine products are designed for reliability and performance. This product comes with a standard manufacturer's warranty. For specific warranty terms and conditions, please refer to the warranty card included with your product or visit the official Raymarine website. For technical support, service, or to find an authorized dealer, please contact Raymarine customer service through their official channels. Keep your proof of purchase for warranty claims.
Related Documents - E70534-05
 |
Raymarine ELEMENT HV: Guida all'Installazione Questa guida dettagliata fornisce istruzioni passo-passo per l'installazione dei display Raymarine ELEMENT HV, inclusi consigli su montaggio, cablaggio e collegamenti dei trasduttori per un'esperienza di navigazione e pesca ottimale. |
 |
Raymarine ELEMENT HV: Guida all'Installazione e Manuale Tecnico Guida completa all'installazione e all'uso del sistema di navigazione Raymarine ELEMENT HV. Include specifiche tecniche, collegamenti, risoluzione problemi e accessori per chartplotter/ecoscandaglio. |
 |
Raymarine Rotavecta Wind Transducer Installation Instructions Comprehensive installation instructions for the Raymarine Rotavecta wind transducer, covering planning, mounting, cabling, operation, maintenance, and technical specifications. Includes details on compatible systems and support. |
 |
Raymarine REALVISION™ 3D High Speed Nose Cone Installation Instructions Installation guide for the Raymarine REALVISION™ 3D High Speed Nose Cone (Part Number: A80702), detailing product overview, parts supplied, compatible transducers, step-by-step mounting procedures, and anti-fouling recommendations for marine sonar systems. |
 |
Raymarine DST-800 Triducer to iTC-5 Connection Guide | Marine Electronics Learn how to properly connect the Raymarine DST-800 Triducer to the iTC-5 with this detailed installation guide. Includes wiring details, signal assignments, and important notes for marine electronics. |
 |
Raymarine Lighthouse Sport Version 3.10.xx: Advanced Operation Manual Comprehensive guide to operating the Raymarine Lighthouse Sport system, version 3.10.xx. Learn about setup, navigation, chart features, fishfinding, radar, and troubleshooting for your Raymarine marine electronics. |